Chevrolet Silverado 1999-2006: How to Install Trailer Wiring Harness
A trailer hitch cannot be legally used on your Chevy without properly fitting in a wire harness. Luckily, your first-generation Silverado already has a the necessary wires to make a hitch harness, so all you need to do is install the plug.
This article applies to the Chevrolet Silverado GMT800 (1999-2006).
Finding and installing a trailer hitch was the easy part, but unless you like getting citations every other day, you'll need to connect its electrical system. The wire harnesses controls the indicator, hazard, and brake lights. Fortunately, Chevrolet thought ahead and pre-installed a wire harness. It's tucked under the chassis, and you'll find it zip tied to one of the frame supports. The following instructions quickly explain how to connect an aftermarket tow-harness to your Silverado.

Materials Needed
- Drill
- Trailer wire harness kit
- Wire crimps
- Butt connectors
- Wire cutters
- Electrical tape
- Zip ties
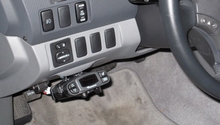
Step 1 – Mount the connector bracket
Since the hitch is located at the center of the bumper, be sure to mount the wire bracket somewhere close by. The preferred mounting location is on the left side of the hitch.
- Hold the bracket steady in place to the bumper frame.
- Drill two self-tapping screws through the bracket slots.

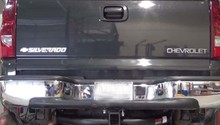
Step 2 – Locate the wire harness under the chassis
The wire harness is loomed with the other harnesses under the chassis, and is plugged into a block connector.
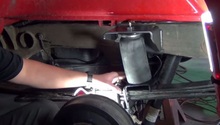
- Locate and unwrap the wire loom.
- Use a wire cutter to remove the end of each wire.
- Continue to pull the tow-harness down, and cut any zip ties holding it in place.
- Strip the ends of each wire.

Figure 2. Tow wire harness located under the chassis. 
Figure 3. Strip wires of the chassis harness.
Step 3 – Prepare the trailer wire harness
Each aftermarket trailer wiring kit uses wires of different colors. The first-generation Silverado has five wires in its trailer harness; however, some kits have harnesses with up to seven wires.
- Use the correct wires as directed by the aftermarket kit instructions (e.g., the blue and black wires in Figure 4 are not used).
- Strip each wire that will be used.
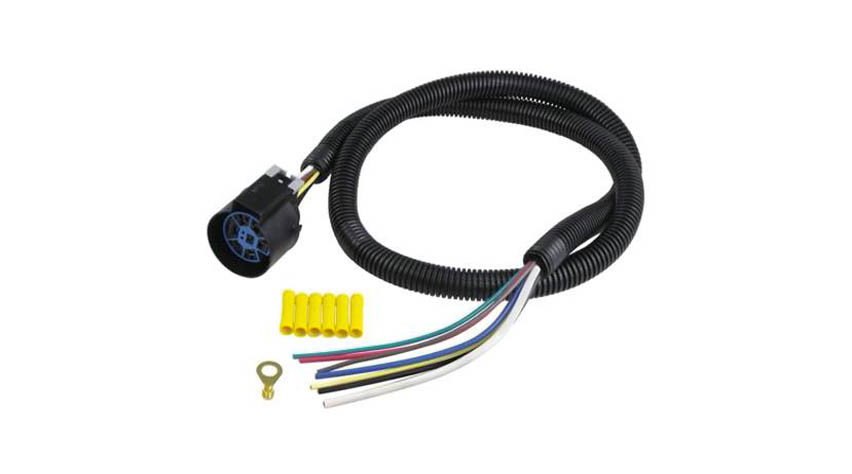
Figure 4. Aftermarket trailer hitch wire harness. 
Figure 5. Strip wires of the aftermarket tow-harness.
Step 4 – Connect the plug and chassis harnesses
- Insert the wires of the chassis harness and the aftermarket tow-harness into the butt connectors.
- Crimp the butt connectors to attach the wires.
- Wrap the new harness connections with electrical tape.

Figure 6. Install butt connector to the ends of each wire. 
Figure 7. Wrap wire connections with electrical tape.
Step 5 – Attach connector to the bracket
- Route the plug through the attached bumper bracket.
- Plug the wire harness plug into the connector.
- Clip the connector to the bracket.
- Secure the wire harness to the chassis with zip ties.

Figure 8. Route harness plug through the bracket. 
Figure 9. Connect the plug to its connector. 
Figure 10. Clip tow-harness connector to the bracket. 
Figure 11. Zip tie the harness to the chassis. 
Figure 12. Trailer wire harness installed.
Featured Video: Trailer Wiring Harness Installation
Related Site and Video
- How to Hook Up Your Brake controller - RandCarriages.com
- Installation of Trailer Wiring Harness on a 2002 Silverado - YouTube.com