Chevrolet Silverado 1999-2006: How to Replace 4WD Axle Actuator
In a way, the axle actuator is the heart of your Silverado's 4WD system. When your truck is in a rut, the axle actuator engages and locks the front axle differential to get you out of a stuck situation.
This article applies to the Chevrolet Silverado GMT800 (1999-2006).
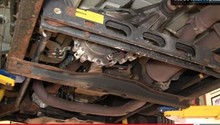
The 4WD axle actuator is located underneath the front end of your truck, and is naturally exposed to dirt, debris, salt, or other road threats. If the actuator's housing is cracked or damaged, debris can build up and cause the wheel bearings to wear as well as cause lubricant leaks, which can eventually lead to a damaged 4WD system. Actuators also simply wear out over time, or sooner if the 4WD system is abused by constant switching.
When the actuator stops working, you'll know because you won't be able to lock the front axles. This makes for a very ineffective 4WD system, and prevents power from being transmitted to all four wheels. The good news is replacing an axle actuator is simple and can be completed by the average DIY'er. Continue reading as this article will guide you through the process.

Materials Needed
- 15mm socket and ratchet
- Flat head screwdriver
- Large slip joint pliers
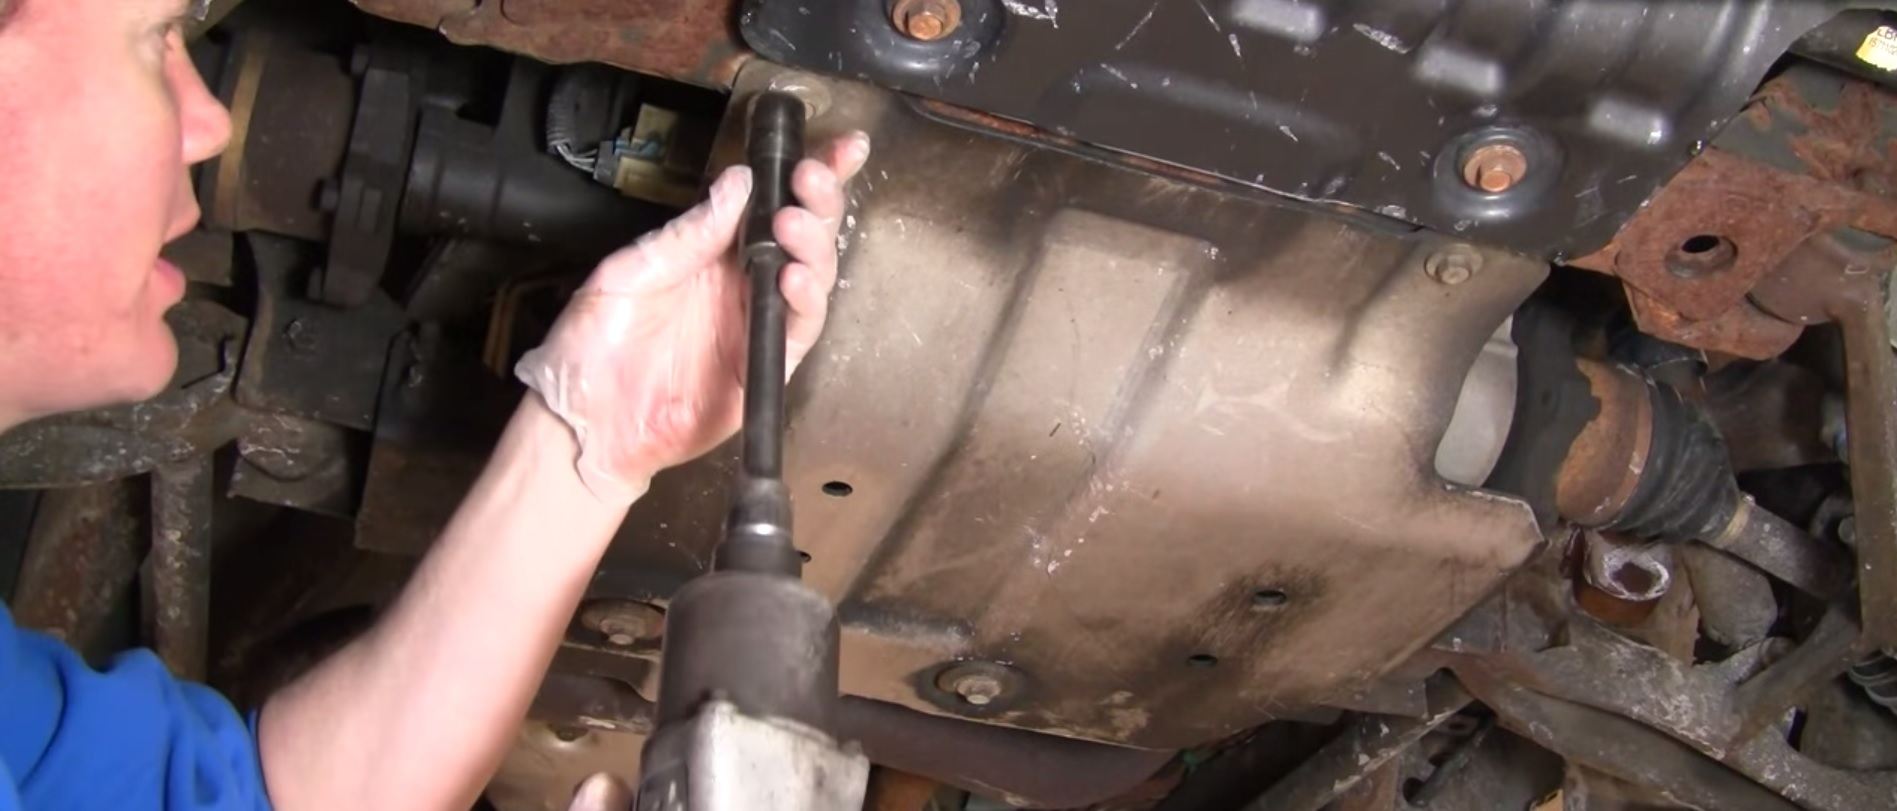
Step 1 – Remove the skid plate
Lifting your truck is optional. Because the actuator is located underneath the front end, gaining access won't be difficult. But when dealing with wiring and electrical components, always disconnect the negative terminal (black cover) of the battery as a safety precaution.
Use a 15mm socket to remove four bolts securing the skid plate to your truck's frame. Set the bolts and the skid plate aside.
Step 2 – Remove the axle actuator
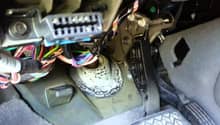
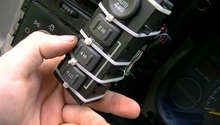
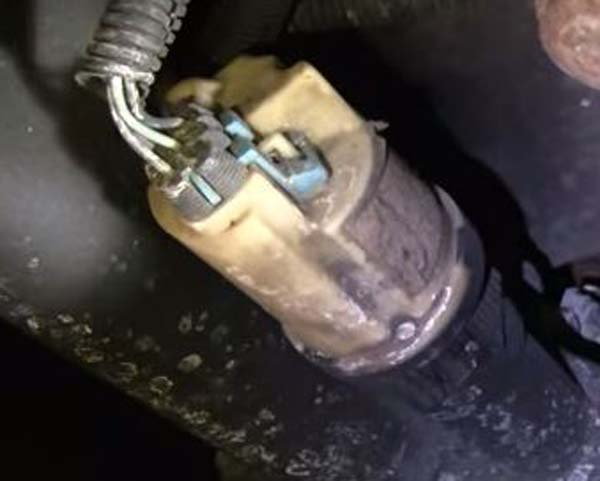
Use a flat head screwdriver to un-clip the tab on the axle actuator's wire harness connector. Then, pull the connector toward you to remove it. Using a pair of slip joint pliers, loosen the actuator by rotating it counterclockwise. Once the actuator is loose, unscrew it by hand and remove it.

Figure 3. Use a flat head screwdriver to remove the wire harness connector. 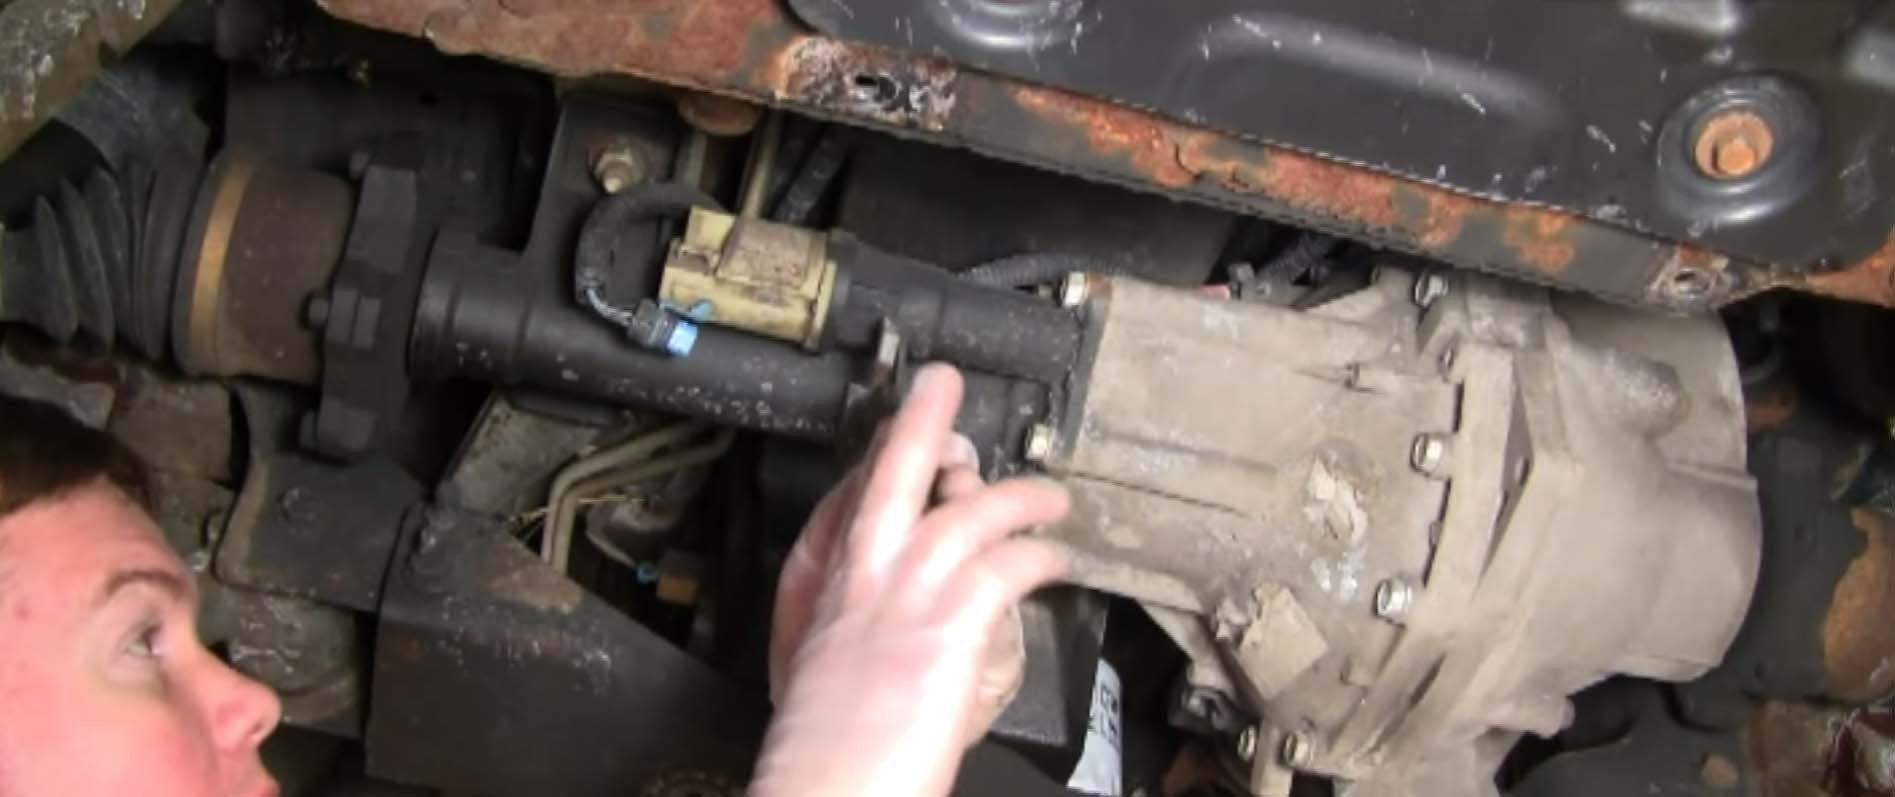
Figure 4. Use slip joint pliers to rotate the actuator.
Step 3 – Install the new axle actator
Set the new axle actuator in place and screw it in by hand. Tighten the actuator to a snug fit with your slip joint pliers, but be careful not to over-tighten and damage the unit. Plug the wire harness connector into the new actuator until you hear the plastic tab click. Lastly, reattach the skid plate using the four 15mm bolts.

Featured Video: How to Install Axle Actuator
Related Discussion
- Silverado 4WD Issue - ChevroletForum.com