Chevrolet Silverado 1999-2006: How to Replace Alternator
It's not only the battery that allows your Silverado's electronic components to run. The alternator is charging the battery that allows them to keep running. So if you need to replace your alternator, keep reading as this article will help you through the process.
This article applies to the Chevrolet Silverado GMT800 (1999-2006).
On all vehicles, the alternator is a necessary and complex multi-tasking component. Unfortunately, complexity means that this component can fail for multiple reasons. The alternator is mainly responsible for resupplying your truck's battery with DC power. But in order for this to happen, the AC power generated by the alternator must first be converted to the DC power and regulate the voltages. These functions can slowly begin to fade for several reasons. For example, leaving your lights on—or electronic devices plugged in—when the engine is off and starting the engine when the A/C is switched on will slowly stress the alternator, which will cause the battery to quickly deplete. When the longevity of both electrical components is reduced, other components may cease to work as well and the car may even fail to start. So if you notice the headlights getting dimmer for no reason, the battery dying more often and at a quicker rate, a faint rubber smell coming from the engine bay, or even if the alternator light in your gauge cluster illuminates, the alternator should be replaced as soon as possible. Follow the steps below to determine if your Silverado's alternator should be replaced, and if so, how to replace it yourself.

Materials Needed
- 8, 10, and 15mm sockets
- Ratchet and extension
- Torque wrench
- Flat head screwdriver
- Penetrating oil
- Alternator decoupler tool kit (optional)
- Voltmeter
Pro Tip
Before purchasing and installing a new one, perform a load test on the alternator to determine if it's still in working condition. Most auto parts stores have the equipment to perform this test, and will do it free of charge. Another way to check the alternator's condition is by using a voltmeter to read the power output on the battery while the engine is running. If you notice the that the reading is dropping, inconsistent, or fluctuating, the alternator should be replaced.
Step 1 – Remove the intake hose
Disconnect the negative battery cable (black) to ensure that you don't short out electronic components or blow a fuse. Now, before you can access the alternator, a few more components will have to be disconnected and removed. Use a flat head screwdriver to loosen the hose clamps on each end of the intake duct. There is one by the MAF sensor and another by the throttle body. Once the clamps are removed, the intake duct can be pulled off and set aside. Then, use an 8mm socket and ratchet to remove the center bolt on the engine cover. Lift the cover off, and set it aside as well.
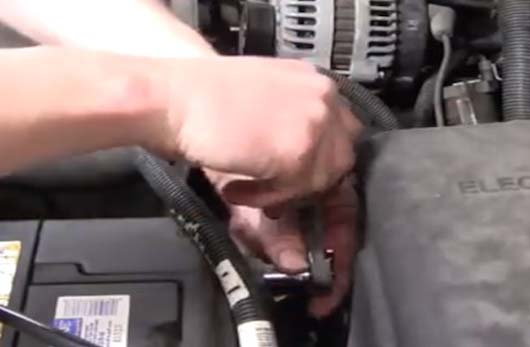
Figure 1. Disconnect the negative cable (black). 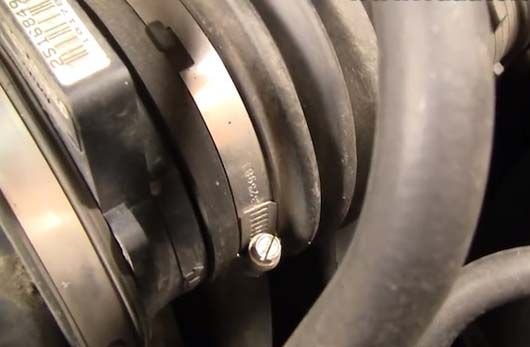
Figure 2. Loosen hose clamp by the MAF sensor. 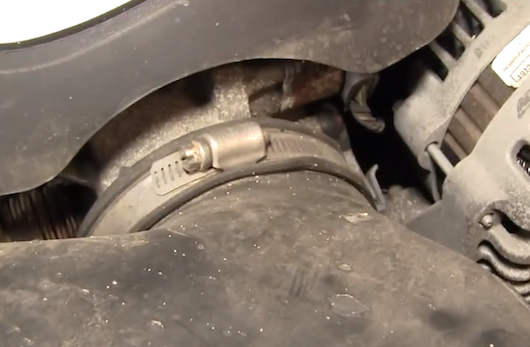
Figure 3. Loosen hose clamp by the throttle body.
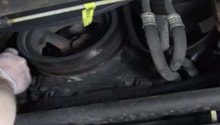
Step 2 – Loosen the drive belt
The drive belt does not have to be completely removed from the engine bay to replace the alternator. Attach a 15mm socket with ratchet and extension to the center bolt on the tensioner pulley. Use leverage to rotate the bolt counterclockwise, and pull the drive belt off the tensioner or idler pulley. Once the drive belt is loose, you can release the tensioner.

Step 3 – Disconnect the alternator
There are two cables on the alternator that must be disconnected; one is the battery lead with a small rubber covering. It is attached to the alternator by a 10mm nut. Remove the nut using the socket and ratchet. Then, slide the lead wire away from the alternator. The other harness connector is covered in a wire loom, which can be removed by lifting back on the tab and pulling the connector straight out.

Figure 5. Remove the alternator's battery lead wire. 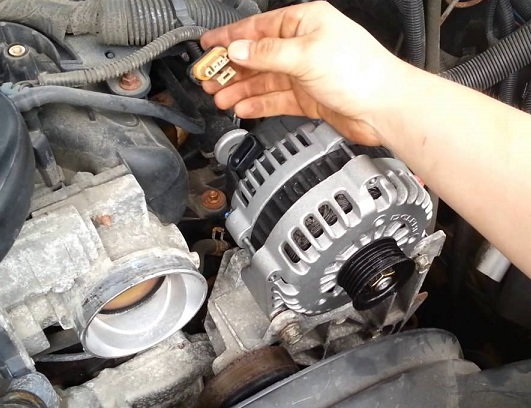
Figure 6. Unplug the alternator's wire harness connector.
Step 4 – Remove the alternator
The alternator is secured to a bracket by two 15mm mounting bolts. Loosen as well as remove the bolts with the socket and ratchet. Then, use a flat head screwdriver to pry out the alternator and remove it.
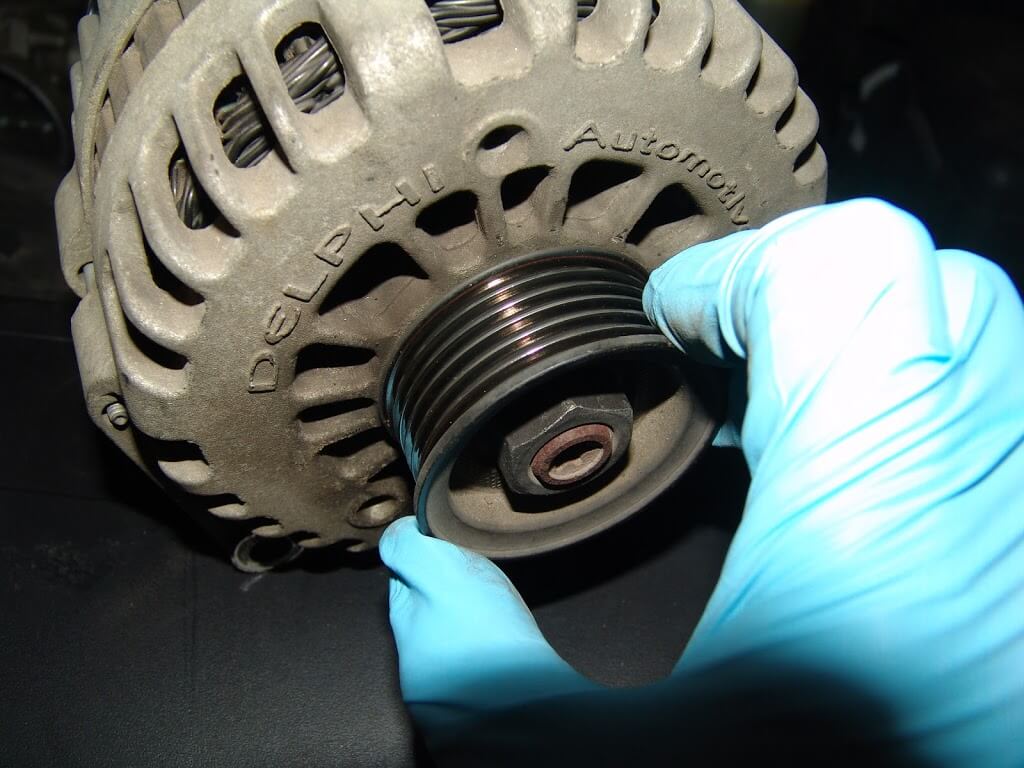
Step 5 – Swap the alternator pulley (if necessary)
Some new alternators do not come with a pulley, which will require you to remove the pulley from the old alternator and attach a new one. You can do this yourself with an alternator decoupler tool kit, or have it done at an auto shop for a small fee. If your alternator came with a new pulley installed, move on to the following step.
Step 6 – Install the new alternator
Spray a moderate amount of penetrating oil on the alternator bracket to ensure a smooth and easy fit installation. Position the alternator on the bracket, and fasten the mounting bolts between 30 to 40 ft/lbs. Plug in the harness connector, and then use the nut to fasten the battery lead wire.
Pro Tip
Refer to the tag in the glove box compartment to determine which alternator your truck requires.
Step 7 – Re-install the drive belt
Re-install the drive belt in reverse order to its removal. Loosen the tensioner and slide the drive belt over the alternator pulley. Then, allow the tensioner to reset, making sure the drive belt is routed correctly and seated properly on all of the pulleys (refer to Figure 9 for routing diagram). Reattach the engine cover, intake hoses, and clamps. Finally, reconnect the battery.
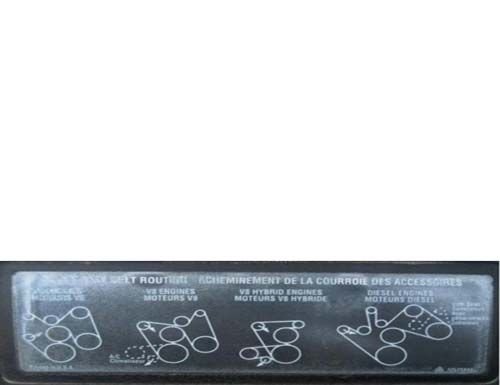
Figure 9. Drive belt routing diagram located on the radiator shroud. 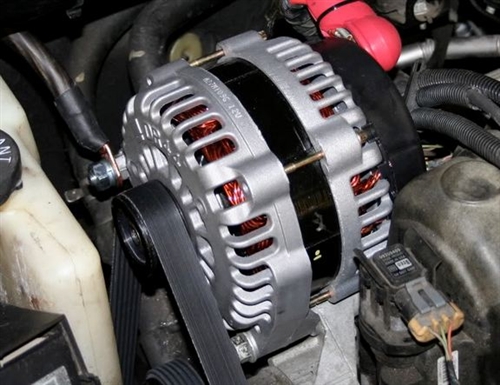
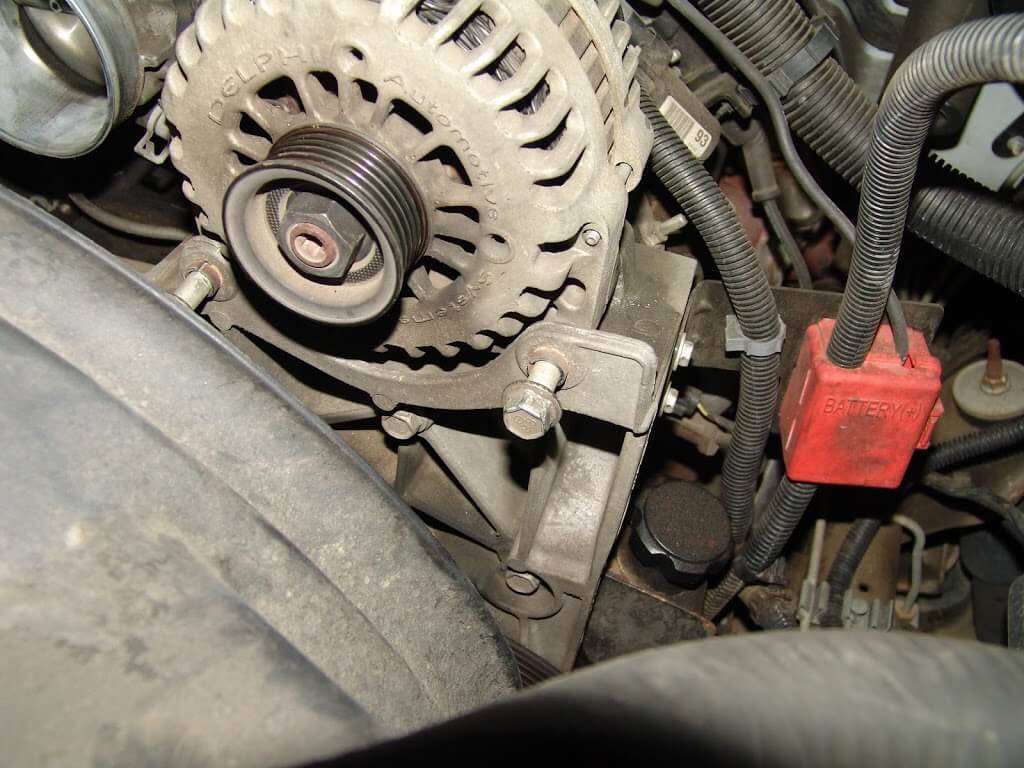
Figure 10. New alternator installed.
Featured Video: How To Install/Replace Alternator
Related Discussion
- Whine, Whine, Whine - ChevroletForum.com