Chevrolet Silverado 1999-2006: How to Replace Brake Pads, Calipers, and Rotors
Here's how to freshen up the brakes on your Chevy Silverado to keep it stopping at its peak performance.
This article applies to the Chevrolet Silverado GMT800 (1999-2006).
The life cycle of brakes varies between different types of trucks, and also depends how you drive it. It's hard to say when you should change your brakes based on mileage alone, and it's very easy not to notice when your brakes are overdue for a change. So when the time comes for you to get new brakes, installation is your next big task. Follow these tips and DIY steps to replace the brake pads, calipers, and rotors in your Silverado. It's not as daunting as it sounds.


Materials Needed
- Hydraulic floor jack and jack stands
- 18, 19, and 22mm sockets and ratchet
- Torque wrench
- Breaker bar (or impact gun)
- Large C-Clamp (or brake pad spreader tool)
- Drainage pan
- Rubber mallet
- Brake cleaner
- Penetrating oil
- Wire brush
You can verify whether your brakes are due for a change by first checking the brake pad thickness. Start by removing the wheel and looking at the brake pads from the top. There should be a piece of metal that extends from the pad and points towards the rotor. If this piece of metal looks as if it's about to touch the rotor, your brake pads should be replaced. If it's in direct contact with the rotor, you are long overdue for a pad change. To determine if the rotors need to be replace, measure their thickness. Most times there will be a minimum thickness measurement on the hat (center) of the rotor. If you measure the rotor at multiple points and any one of them is at or below the minimum thickness, your rotors need to be changed. Other indications that the rotors must be replaced are if the rotors have a heavily gouged or uneven surface.
Pro Tip
Before starting, remember that you always want to change the brakes in pairs. For example, change both front brakes before getting to the rear brakes.
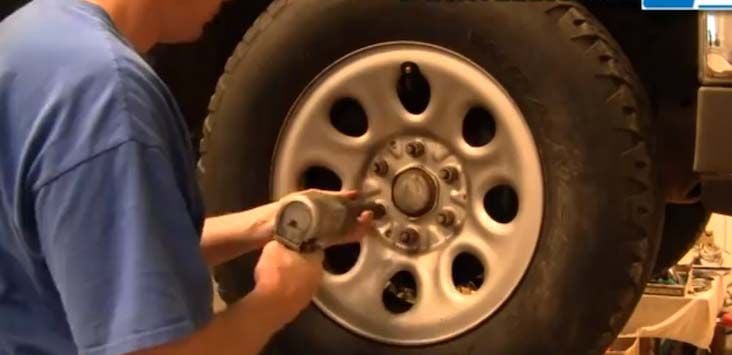
Step 1 – Remove the wheel
The entire truck does not have to be raised as only one wheel will need to be removed at a time.
- Loosen the wheel's lug nuts using a 22mm socket. You may need to use a breaker bar or impact gun for extra leverage.
- Use a floor jack to lift the truck, so the wheel is off the ground.
- Unscrew the lug nuts, and then remove the wheel.
Pro Tip
At this point it's a good idea to spray the brake assembly with brake cleaner. This will get rid of excess brake dust.
(Related Article: How to Jack Up Your Truck - ChevroletForum.com)
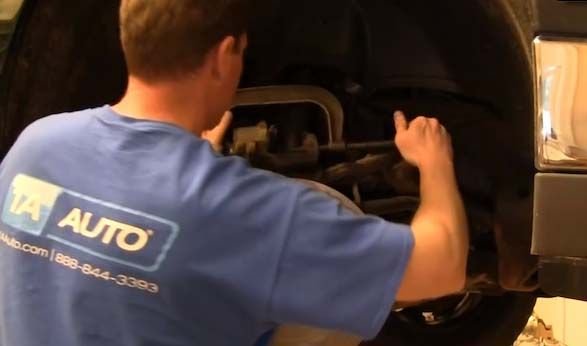
Step 2 – Remove the caliper mounting bolts
- Remove the two 19mm brake caliper mounting bolts holding the brake caliper to the bracket. These bolts can be found behind the bracket through the little rubber boots.
- Pull the caliper away from the rotor.
- Use a bungee cord to hang the caliper, so the brake lines do not get torn.
Pro Tip
Some bolts in the brake system might be corroded or rusty. Spray them with penetrating oil and let it sit for a short time, so the bolts are easier to remove.
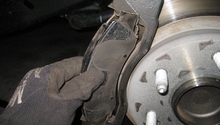
Step 3 – Remove the brake pads
The edges of the brake pads have metal tabs that sit in the grooves on the brake caliper mounting bracket.
- Insert a pry bar through the grooves and free the brake pads from the caliper.
- Then slide the brake pads out from the caliper.
- Remember to change out the metal tabs that sit between the brake pad and the caliper mounting bracket. These tabs allow the brake pads to slide into the grooves of the bracket. Most brake pad kits come with these tabs.
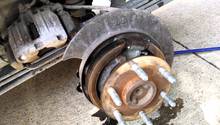
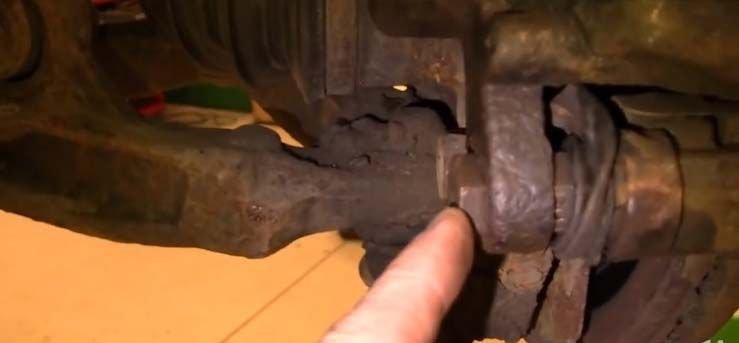
Step 4 – Remove caliper mounting bracket
- Remove the two 18mm bolts that secure the caliper mounting bracket to the steering knuckle.
- Then pull off the mounting bracket.
- Inspect the rubber boots that protect the caliper bolts as well as the caliper sliding pins. They should slide in and out freely. If they do not, you will need to remove them, apply new grease, and then re-install them. If the boots are torn, you will need to replace them completely.
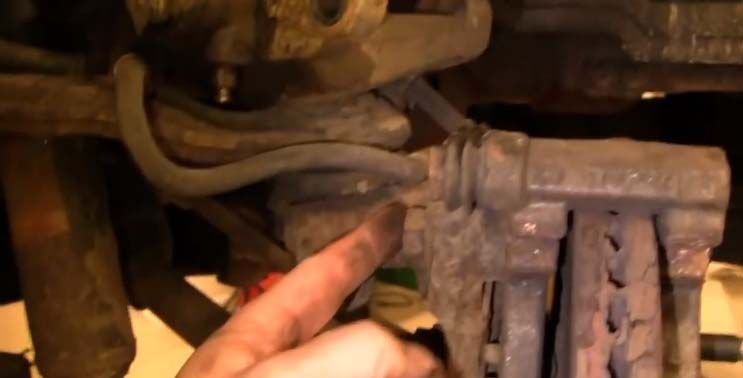
Figure 5. Remove the brake caliper mounting bolts. 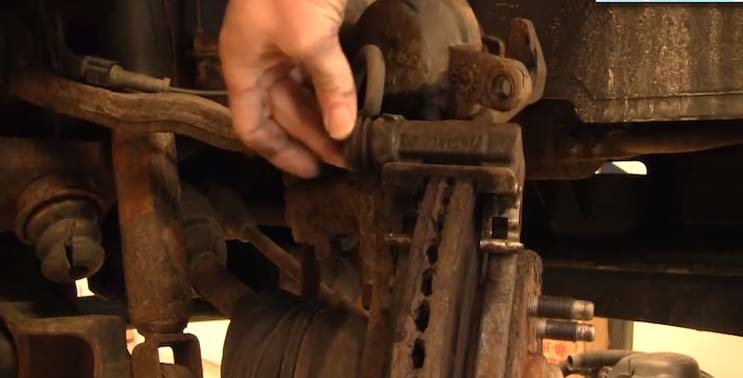
Figure 6. Rubber boots attached to the caliper sliding pins.
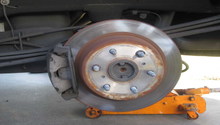
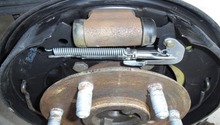
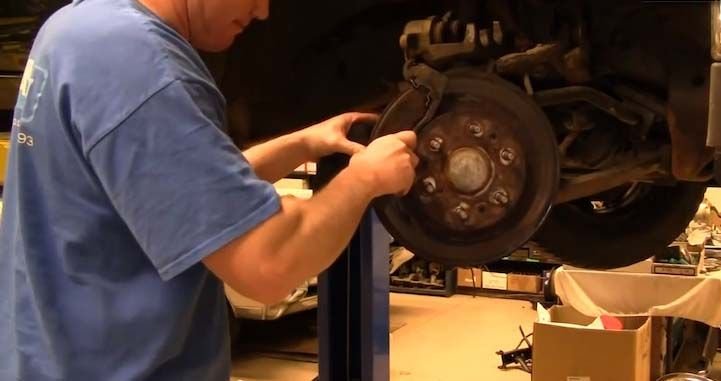
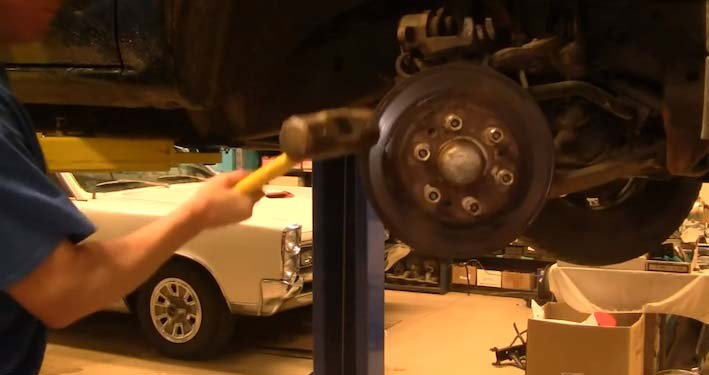
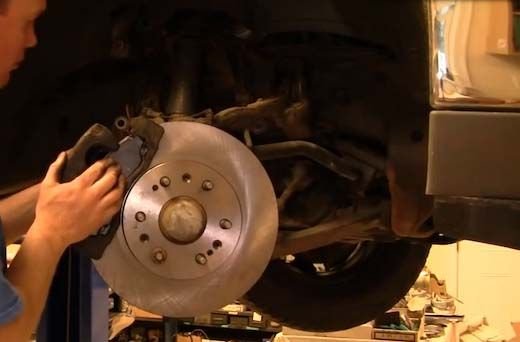
Step 5 – Remove the brake rotor
- Usually, there are small threaded washers on the wheel studs. You will have to remove these first if they are present.
- Use a rubber mallet to hit the back and front face of the rotor. Spin the rotor as you do in order to evenly knock the rotor loose.
- Then simply slide the rotor off of the wheel studs.
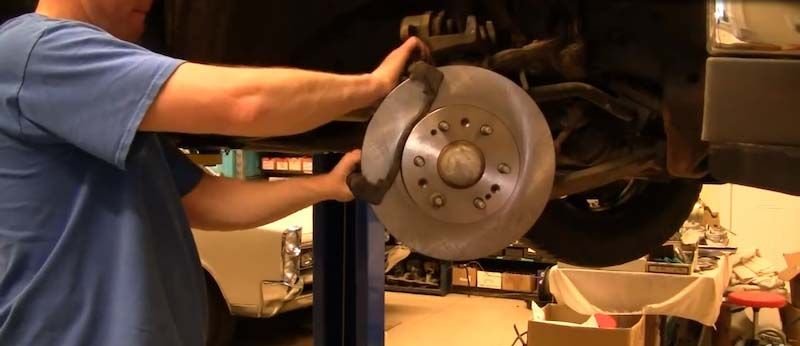
Step 6 – Install the new brake rotor
- When you take the rotor out of the box it might have residue on the faces of it. Make sure you clean all the residue off, and be very careful not to touch the faces of the rotor with your bare hands.
- Place the new brake rotor over the wheel studs. You can use a couple of wheel lug nuts to hold it in place.

Step 7 – Install the brake caliper mounting bracket
- Use a wire brush to clean the mounting bracket before re-installing it.
- Make sure your caliper sliding pins and their rubber boots are in good condition before re-installing the bracket.
- Slide the caliper mounting bracket onto the new rotor.
- Thread the two 18mm bolts back into place, and torque them to factory specs.
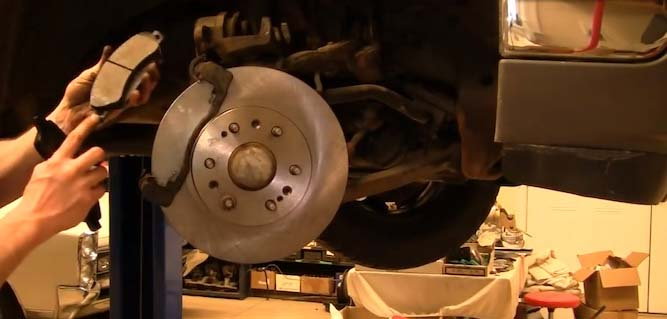
Step 8 – Install the new brake pads
- Remember to install the metal tabs that sit in between the brake pads and the grooves of the caliper mounting bracket.
- Use the metal tabs as a guide to insert the new pads into the grooves of the bracket. Make sure that the friction material is facing the rotor.
Step 9 – Retract the piston on the brake caliper
You will have to retract the brake caliper piston into the caliper because the new brake pads are thicker than the old ones.
- Place the old brake pad across the piston.
- Then, place the C-Clamp over the old pad and the body of the caliper.
- Turn the C-Clamp slowly until you start to see the piston retracting into the caliper. Continue until the piston is flush with the body of the caliper.
Step 10 – Install the brake caliper
- Disconnect the brake line attached to the rear side of the caliper. Place a drainage pan underneath because brake fluid will leak out.
- Slide the new caliper over the brake pads. You can give it a few taps to nudge it in place.
- Secure the caliper with the two 19mm bolts, and torque them to factory specs.
- Reattach the brake line to the new caliper.
Step 11 – Complete the installation
- Double check that all bolts are torqued and all parts have been properly installed.
- Mount the wheel and hand-tighten the lug nuts.
- Lower the wheel onto the ground and torque the lug nuts to factory specs.
- After all of the brake pads, caliper, and rotors have been replaced, you will need to bleed the braking system.
- Additionally, before driving the truck, pump the brake pedal a few times. Since you retracted the piston, it is not in direct contact with the brake pads, so pumping the brakes will ensure that the piston extends to the pads.
Featured Video: How to Install/Replace Front Brakes
Related Discussion
- Chevy Silverado Brakes - ChevroletForum.com