Chevrolet Silverado 1999-2006: How to Replace Camshaft Position Sensor
Is your Silverado having problems with hesitation and misfiring, or does it shut off intermittently? It might be time for a new camshaft position sensor. This article will show you how to replace it the right way.
This article applies to the Chevrolet Silverado GMT800 (1996-2006).
Your truck's camshaft position sensor measures the rotational position of the camshaft, which then transmits that information to your engine control module. When the sensor is going bad, you might experience difficulty starting your truck, the engine might suddenly shut off or die intermittently, you might notice engine misfires and hesitation upon acceleration, or you might simply get a check engine light. Replacing the camshaft position sensor on a Chevy Silverado can take some time because you have to remove the intake manifold to access it. Keep reading as this article will guide you through the process.

Materials Needed
- Flat head screwdriver
- 8 and 10mm sockets
- Ratchet and extension
- 3/8" fuel line disconnect tool
- Pliers
- Vacuum
- Penetrating fluid
- Torque wrench
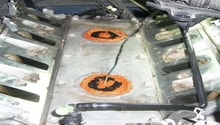
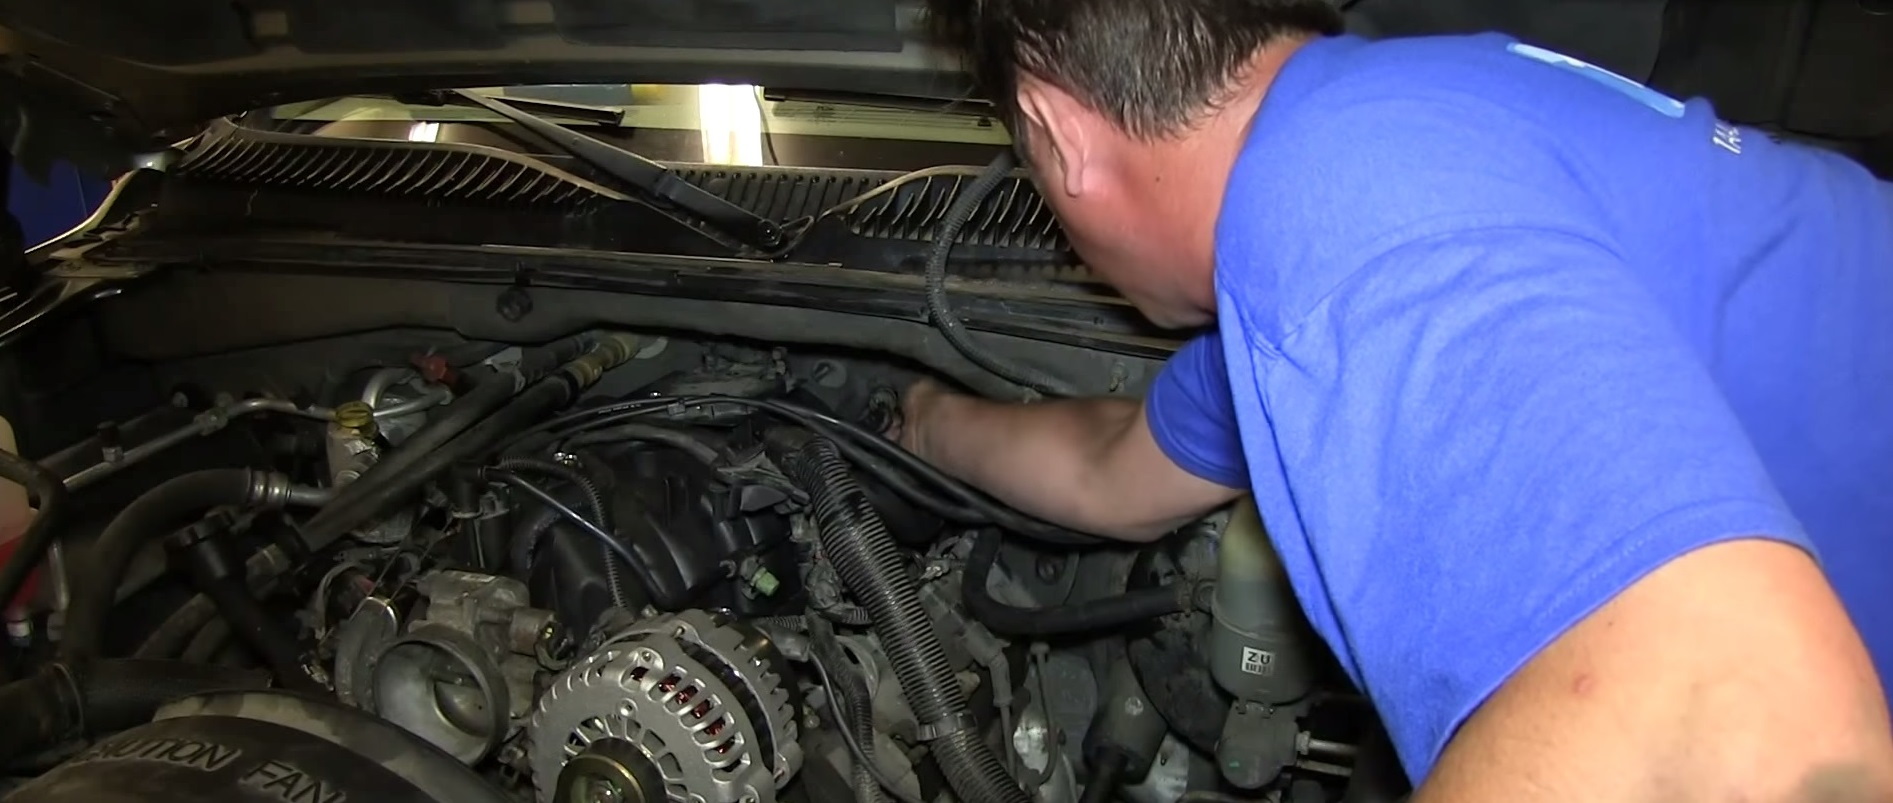
Step 1 – Remove the intake manifold
- Remove the 8mm bolt holding the engine cover in place.
- Use a flat head screwdriver to loosen the hose clamps on each end of the air intake hose.
- Pry the hose out of the intake cover and remove the cover.
- Remove the three 8mm bolts on top of the intake and the three bolts in front of them.
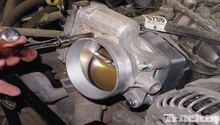
- Disconnect the harnesses connected to the throttle body, and pry out the air intake hose.
- Remove the three 10mm nuts holding the throttle body in place.
- Remove the 8mm bolt behind the throttle body.
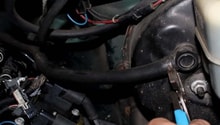
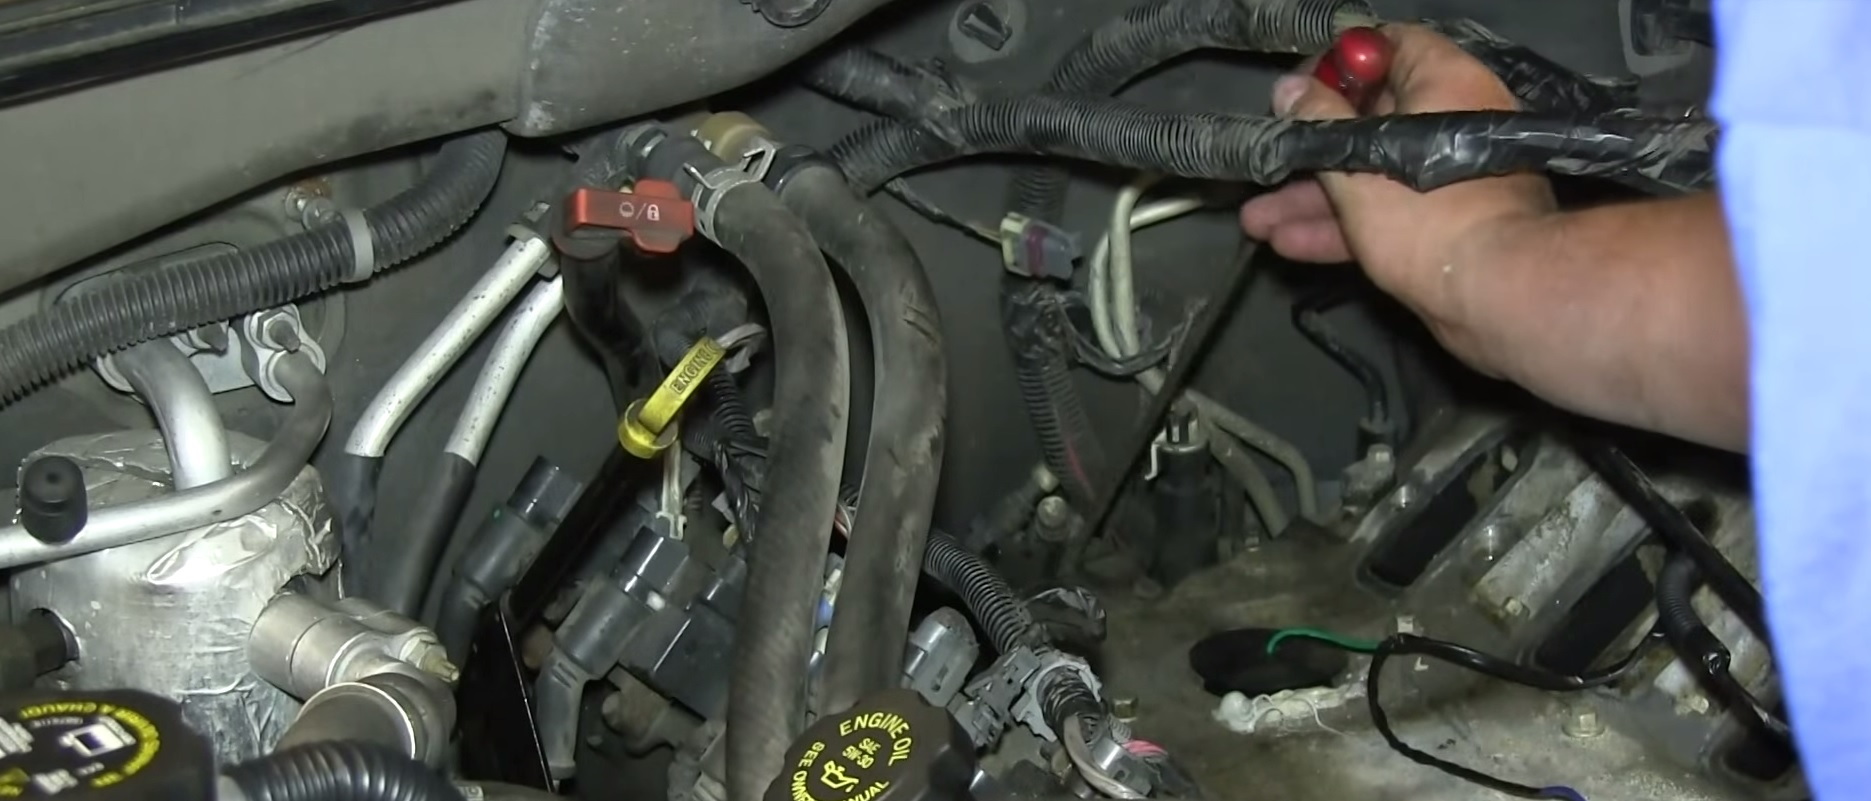
Step 2 – Disconnect the fuel line
- Separate the two hose clamps running across the top of the engine, holding the wiring looms in place.
- Set all the harnesses aside, and remove the exposed 10mm nut on the front side of the air intake.
- Pull back the clip on the harness of all eight fuel injectors and unplug them.
- Loosen the fuel line cap.
- Use a flat head screwdriver and a rag to push the tab on the fuel bleeder to relieve pressure.
- Use a fuel line separator tool to disconnect the fuel lines.
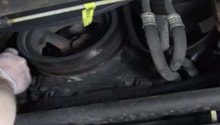
- Remove the series of 10mm bolts running along each side of the intake manifold.
- Lift the intake manifold up and out.

Step 3 – Remove the camshaft position sensor
- Disconnect the sensor wire harness.
- Remove the 10mm bolt above the sensor.
- Use a flat head screwdriver to pry the camshaft position sensor up and out.
Step 4 – Install the new camshaft position sensor
- Insert the new camshaft position sensor into place.
- Fasten the 10mm bolt and reconnect the harness.
- Set the intake manifold back into place and disconnect the EGR valve.
- Feed the hoses back through the side of the intake manifold and into place.
- Reconnect the hoses as well as hose clamps, reconnect the bracket, and re-install the throttle body.
- Push the EGR valve back into place and bolt it back in.
- Reconnect the hoses on top of the intake manifold, and re-install the bracket that sits on top of it.
- Re-install the second bracket that rests on top of the intake manifold and the bolts on each side of the manifold.
- Reconnect the fuel lines.
- Fasten the manifold bolts, starting in the middle and going across in a counterclockwise pattern. Torque to 44 inch-pounds on the first pass and 89 inch-pounds on the second pass.
- Reconnect each fuel injector.
- Re-install the air filter assembly and hose clamps.
Featured Video: How to Install/Replace Camshaft Position Sensor
Related Discussion
- Cam Position Sensor 2004 Silverado - ChevroletForum.com