Chevrolet Silverado 1999-2006: How to Replace Coolant Overflow Tank
If the radiator overflow bottle in your Chevrolet Silverado is broken, damaged, or split, it could be leaking radiator coolant. Suffice it to say, this component needs to replaced and fast because the loss of coolant could lead to permanent damage to your truck’s engine. The good news is that this is actually a fairly easy thing to do, and something that can be performed at home. Here’s how:
This article applies to the Chevrolet Silverado GMT800 (1999-2006).
When the coolant in your engine is heated, it expands. The point of an overflow bottle is to retain the coolant that escapes the radiator from being lost. It’s a pretty simple system; however, if the overflow bottle is old, damaged, or just plain worn out, then the coolant runs the risk of escaping. This leads to a decrease in coolant within the engine system, which in turn could result in the engine overheating and being permanently damaged.

If you notice your Silverado has a tendency to overheat and upon inspection see that your overflow bottle needs replacing, the good news is it’s a fix you can do yourself, at home, and in 30 minutes. Continue reading as this article will guide you through the steps.

Materials Needed
- New radiator overflow bottle
- Pliers
- 10mm socket and ratchet
- Flat head screwdriver
- Vice grips
- Funnel
- Pan (to catch coolant)
- 50/50 coolant mixture
Step 1 – Remove air intake box
Using a flat head screwdriver, remove the bolt that holds the air intake hose to the box. Once loosened, you can remove the box by hand, which will give you the room necessary to replace the radiator overflow bottle.
Step 2– Remove hoses from overflow bottle
Using pliers, pinch the clasps holding the hoses to the bottle to loosen them off the bottle itself. If you struggle to get the hoses off at first, loosen the cap; doing this relieves some of the pressure that might be holding the hose in place.
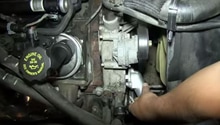
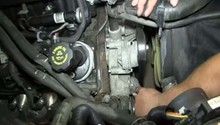
Step 3 – Remove bolts from overflow bottle
Start by removing the 10mm bolt from the front of the overflow bottle. Once removed, shift your attention to the 10mm nut in the back and remove it. Lift the bottle up, pull it out, and disconnect the connector that is attached to the bottom of the bottle.

Step 4 – Removing the overflow bottle
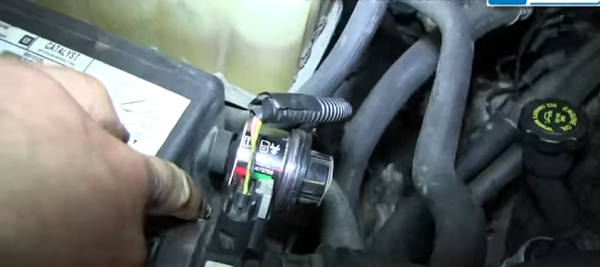
Tilt the bottle back and clamp the attached hose with a pair of vice grips. Next, using pliers, squeeze the clamp off the end of the hose and bottle, then slide the clamp down onto the body of the hose. You can now remove the hose from the bottle using a flat head screwdriver (some prying is necessary).
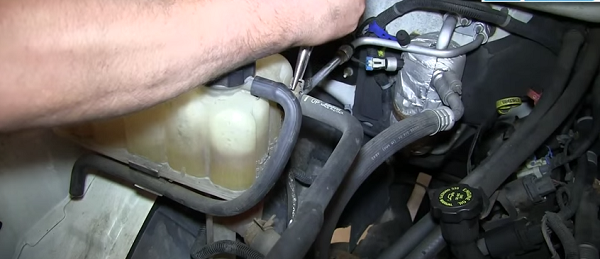
Remove the bottle from the vehicle, and pour remaining coolant into a catch pan (something to hold it in because this is going back into your new radiator bottle).
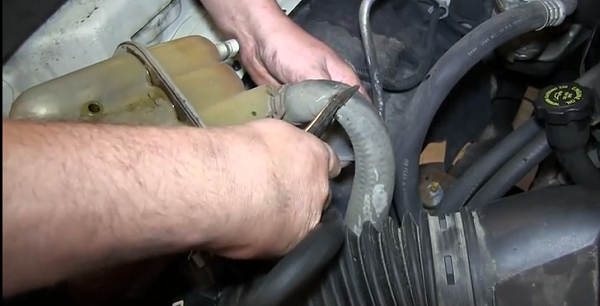
Figure 5. Putting vice grips on hose. 
Figure 6. Draining the overflow tank.
Step 5 – Install new radiator coolant overflow bottle
Tuck the new bottle into place and attach the hose. Disconnect vice grip and squeeze clamp back into place, which is over the hose and over the bottle neck entrance. Re-attach the clip to the bottom of the bottle, and line the unit back over the housing unit, so that it is aligned with where the bolts are fastened into place. Reconnect top hose using pliers (squeeze clip and slide into place). Pour radiator coolant back into overflow bottle and replace cap.
Put the air intake box back into place by pulling air intake hose back and putting the back of the case in first; then, push down on the front so that it falls into place (just make sure to line up the two holes in the case with the two holes in the body of the truck). Reconnect air intake hose and tighten screw on clip to ensure hose is securely fastened to the case.
Step 6 – Finishing up
Whenever you open the cooling system on your vehicle, it is a good idea to do a basic bleed of the system and ensure that there are no air pockets or bubbles trapped in the cooling system. To do so, fill the 50/50 coolant mixture up to the specified "cold" level in the reservoir. With that done, loosen the cap on the overflow and start the engine, letting it get to running temperature and long enough for the cooling fans to kick on. After letting the engine run for about 10 to 15 minutes, shut the engine off and secure the cap. Now you are done.
Featured Video: How to Install/Replace Radiator Coolant Overflow Tank Bottle
Related Discussions
- Coolant Reservoir Question - ChevroletForum.com
- Coolant Overflow Nasty - ChevroletForum.com
- How to Get Air Out of Coolant - ChevroletForum.com
- Boiling Radiator - ChevroletForum.com
- Changing Coolant - ChevroletForum.com