Chevrolet Silverado 1999-2006: How to Replace Heater Core
The heater core allows hot coolant to past through the ventilation system and warm the air. When one is clogged or damaged, the heater will no longer work. Learn how to replace the heater core here.
This article applies to the Chevrolet Silverado 1500 (1999-2006).
The heater core is as it sounds: the heart of the climate control system in your Chevy Silverado. It is essentially a mini radiator hidden deep inside the engine compartment behind the dashboard, which produces heat for the climate system. The heater core has coolant lines which connect to it and produce the actual heat. A fan then pushes the heat through the ventilation system and into the cabin. If a heater core gets clogged or the blend door becomes jammed, the unit will need to be removed. This task is not for the faint of heart and requires the complete removal of the dashboard, including the radio, airbags, and climate control system. However, this article can assist you in getting the job done and prevent that hole in your pocket from getting any bigger.

Materials Needed
- Metric socket set
- 3/8" ratchet
- Coolant
- Pliers
- Drain pan
- Screwdriver
- Shop rags
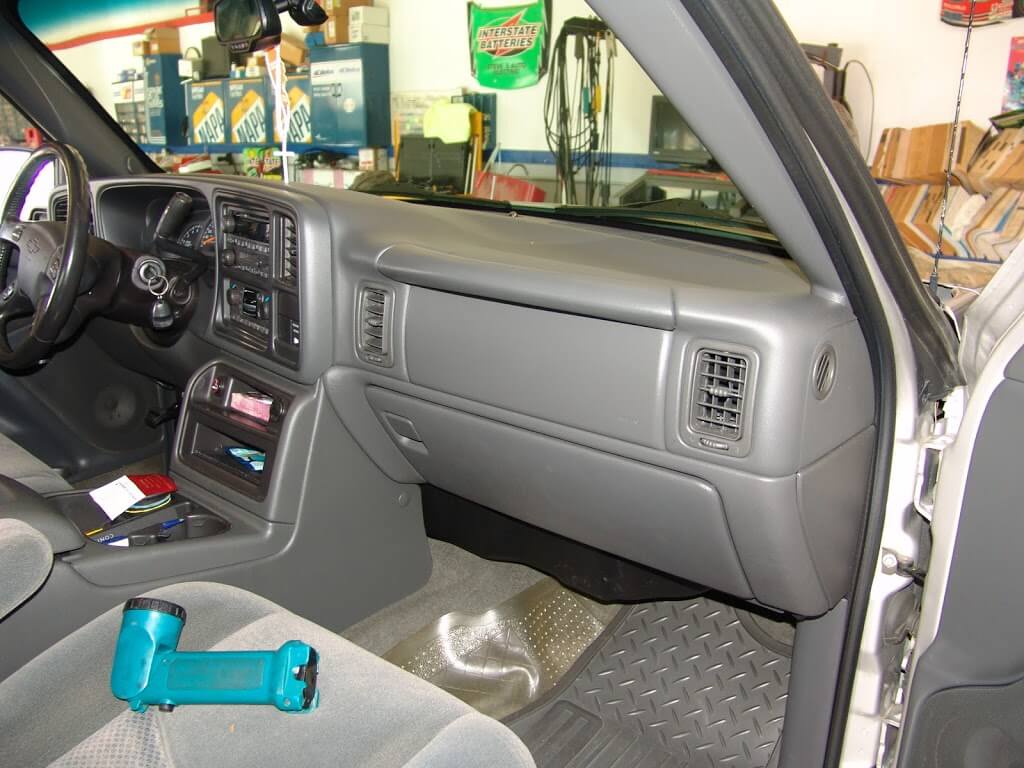
Step 1 – Remove the dashboard cover
The dashboard on your Chevy is installed piece by piece; the first part you will be removing is the upper dashboard cover.
- First things first, open the hood then disconnect the negative battery cable.
- Pry the air vents off of the dashboard.
- Lift and remove the side panels.
- Remove the two Phillips screws located under the removed dashboard panels.
- Remove the screws from behind the air vents.
- Push on the release tabs found on the top side of the air vents and remove the handle assembly.
- Remove the "A" pillar panel and disconnect the tweeter wiring.
- Grab the face panel of the dashboard and begin to pry it towards the cabin, then remove it.
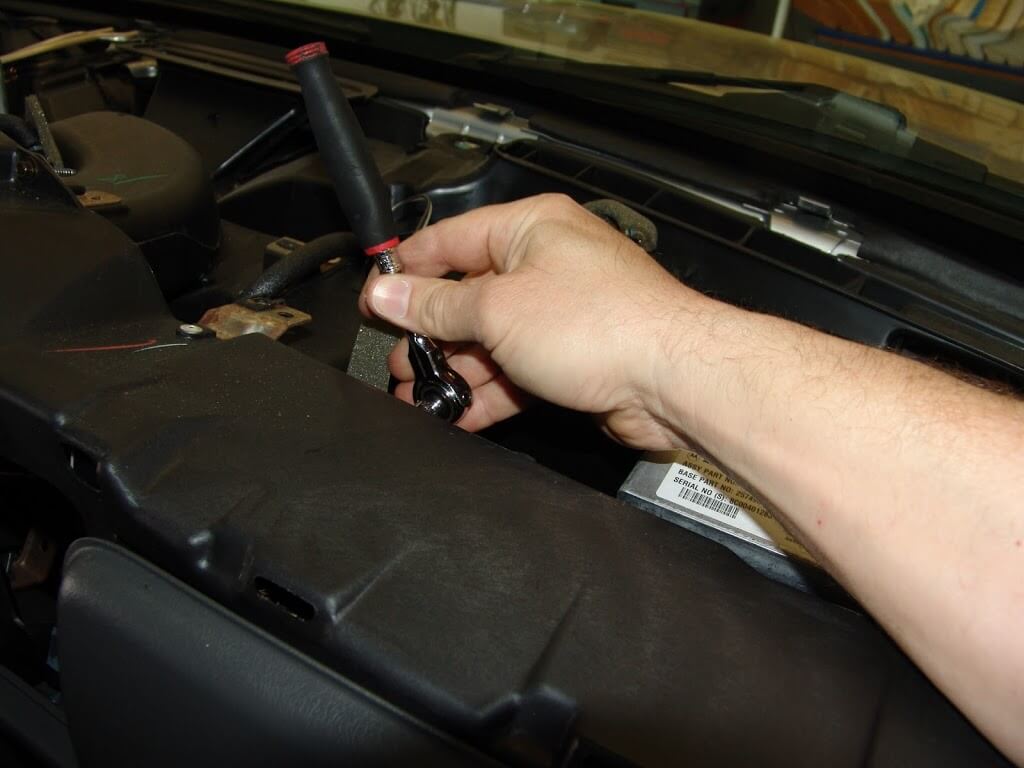
- Loosen and remove all of the dashboard cover 7mm bolts.
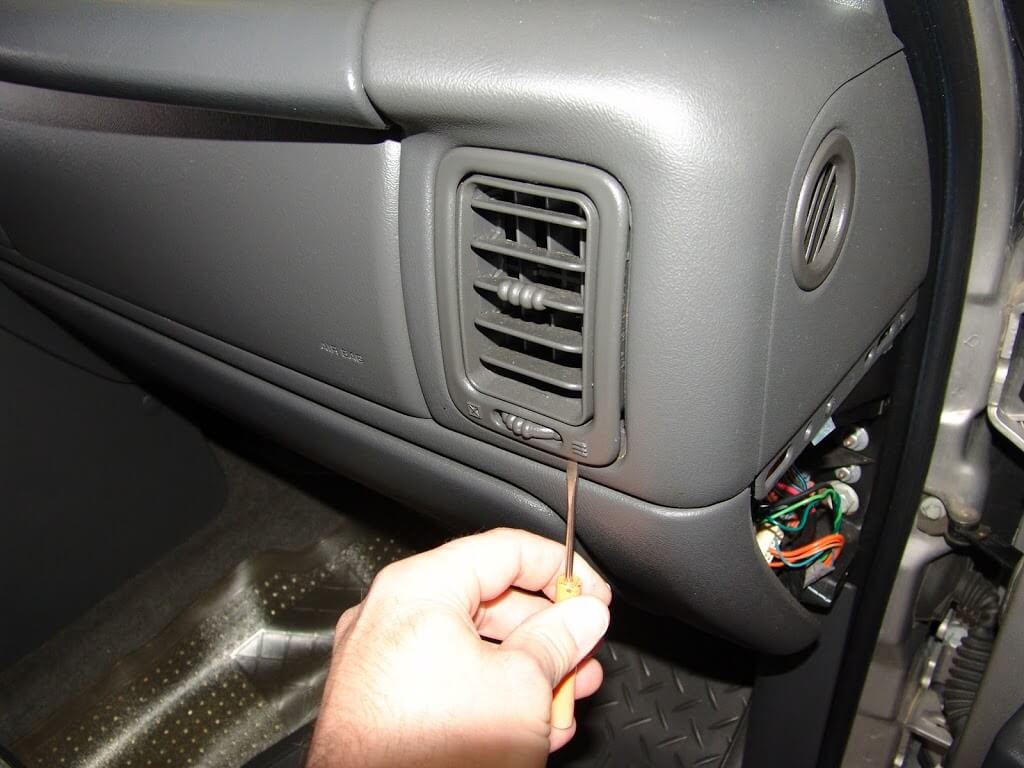
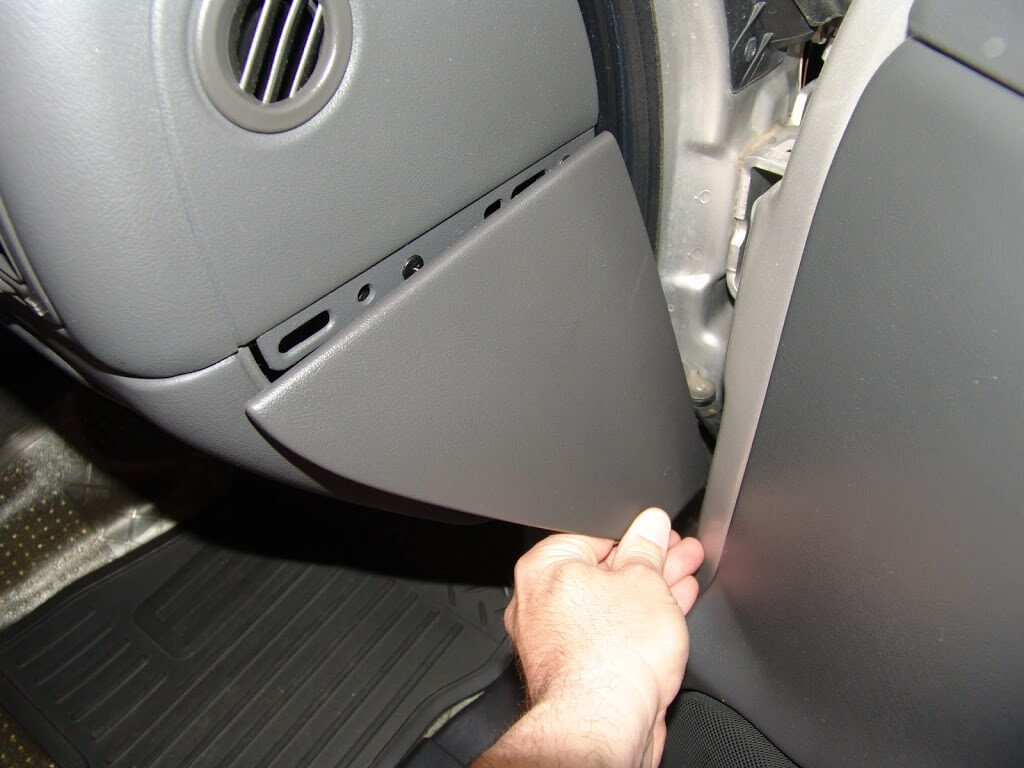
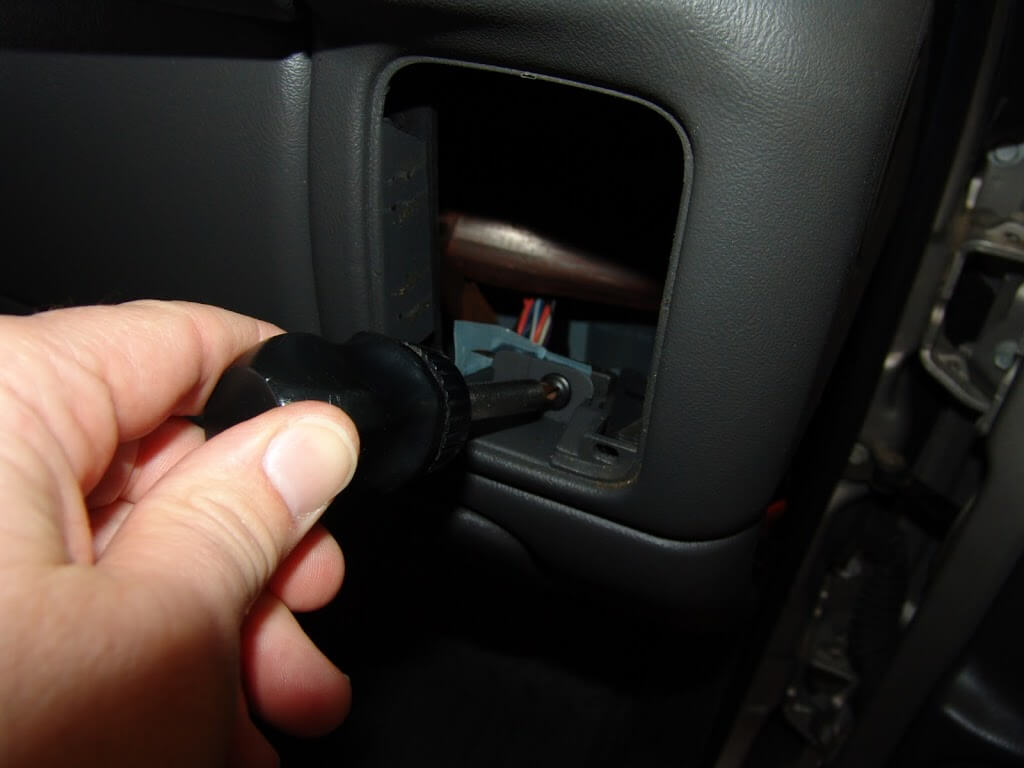
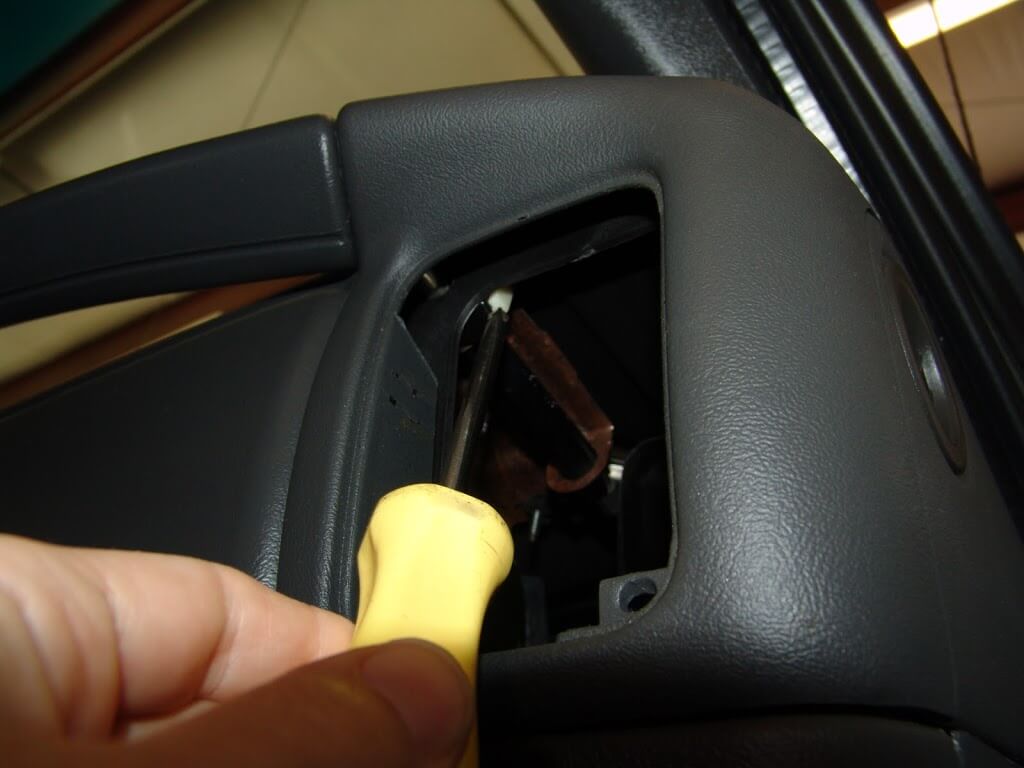
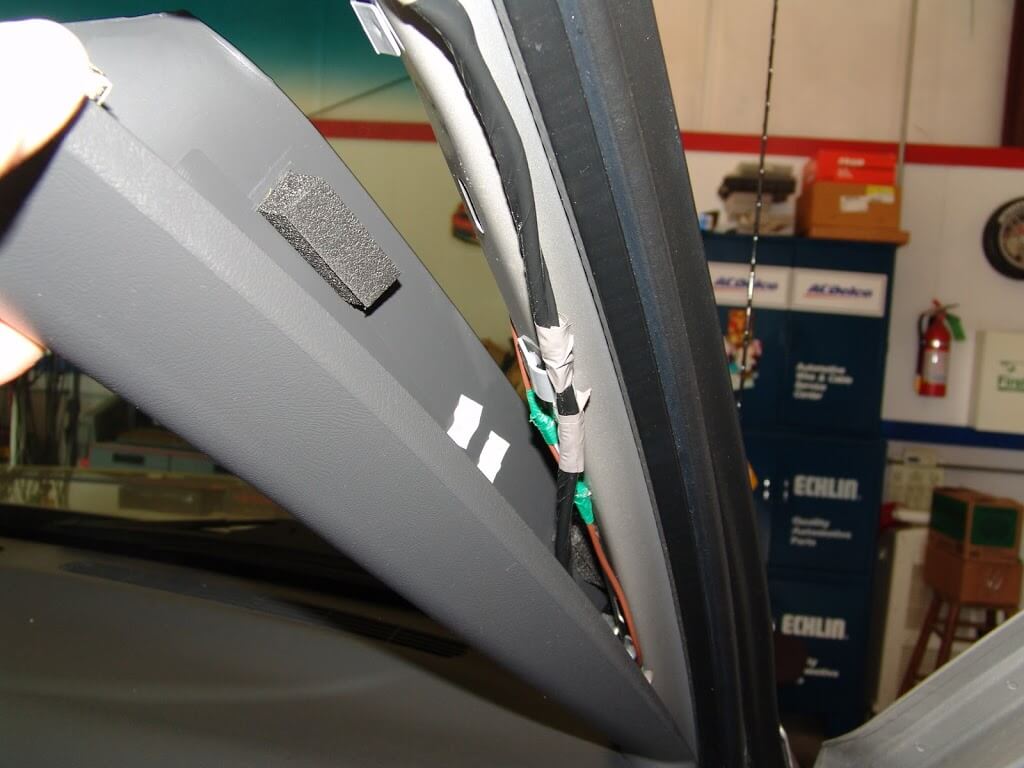

Figure 6. Pry off dashboard cover. 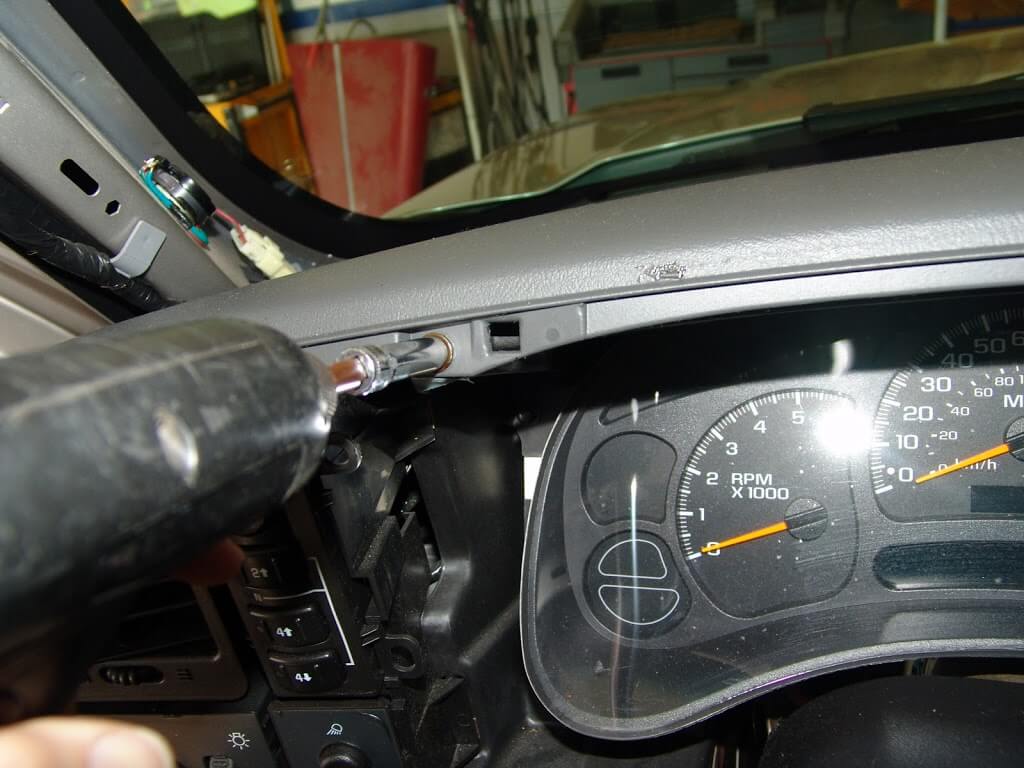
Figure 7. Loosen the 7mm bolts located across the dashboard.
- Disconnect all the wire plugs that connect to the dashboard.
- Gently lift the dashboard cover up and disconnect the ambient light sensor.
- Remove the dashboard cover.
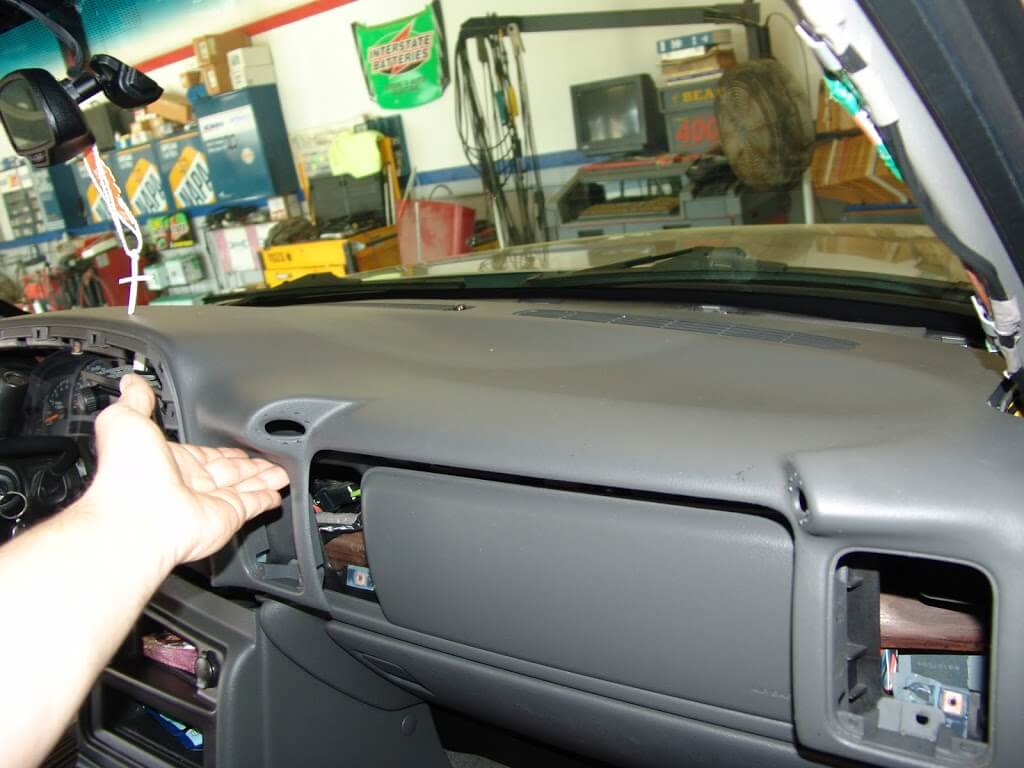
Figure 8. Pop off the upper dashboard trim. 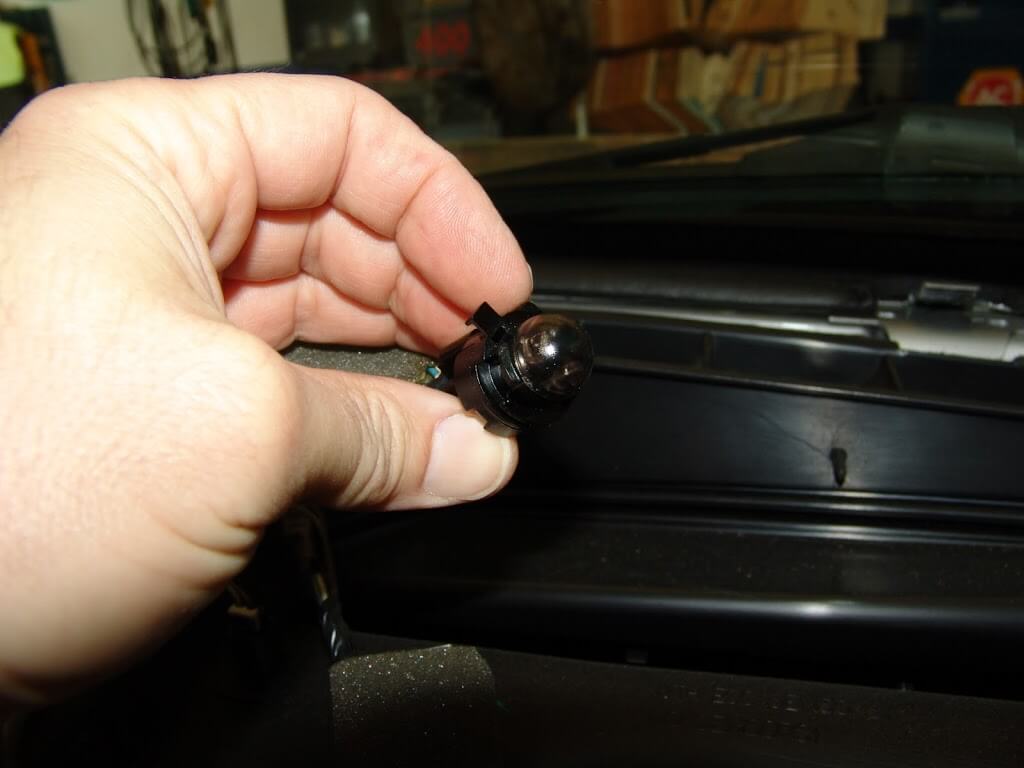
Figure 9. Disconnect the ambient light bulb. 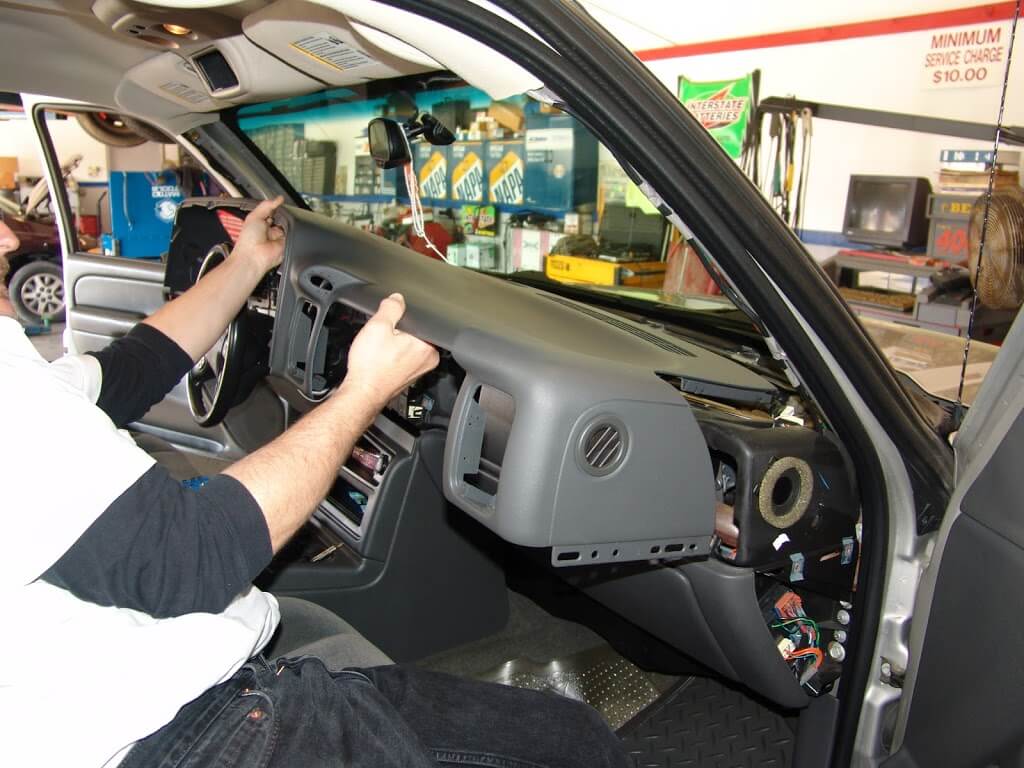
Figure 10. Remove the complete dashboard cover.
Step 2 – Begin disassembling the dashboard components
- Remove the 7mm vent register bolts.
- Remove the vent register assembly.
- Remove the passenger side air bag switch.
- Loosen and remove the steering column bolts.
- Then, remove the steering column covers and steering wheel.

Figure 11. Loosen the 7mm vent register bolts. 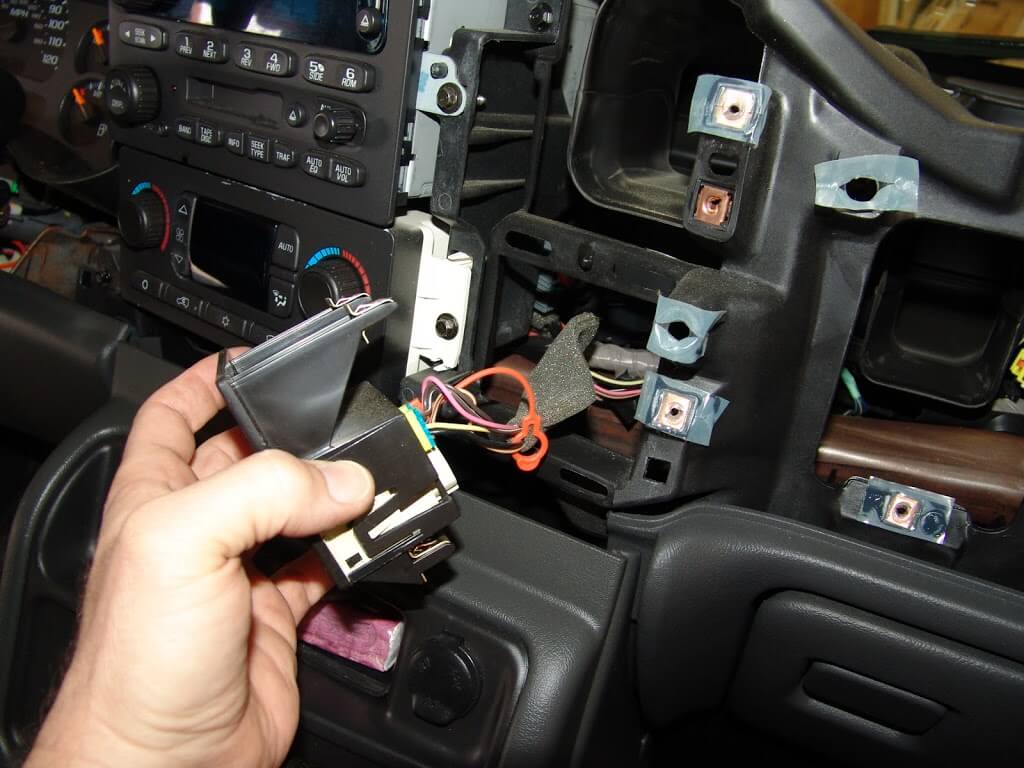
Figure 12. Remove the passenger side airbag switch. 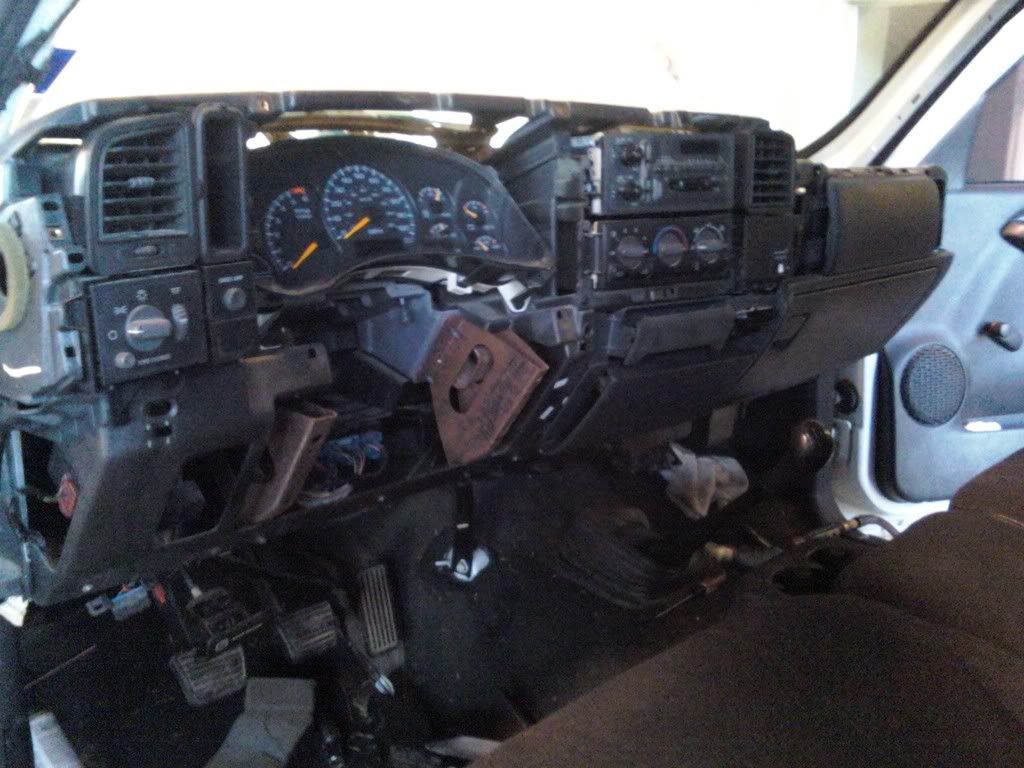
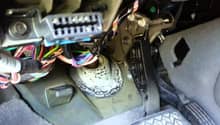
figure 13. Remove the steering column.
Step 3 – Finish removing the remaining dashboard components
- Pull the rear cup holder out as far as it goes.
- Lift the pocket of the center console up.
- Locate the four mounting bolts and remove them.
- Remove the center console.
- Remove the antenna and radio.
- Remove the wire harness clips from the interior cabin.
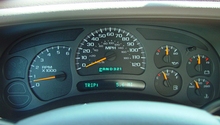
- Remove the instrumental panel cluster.
- Remove the parking brake release lever.
The passenger side airbag also needs to be removed.
- First disable the SRS system.
- Then remove the upper and lower 10mm airbag mounting bolts.
Some vehicles are equipped with optional accessories including the OnStar safety system; refer to Figure 15 for its removal.
- Locate the communication interface module and remove the three 10mm mounting bolts.
- Remove the unit.
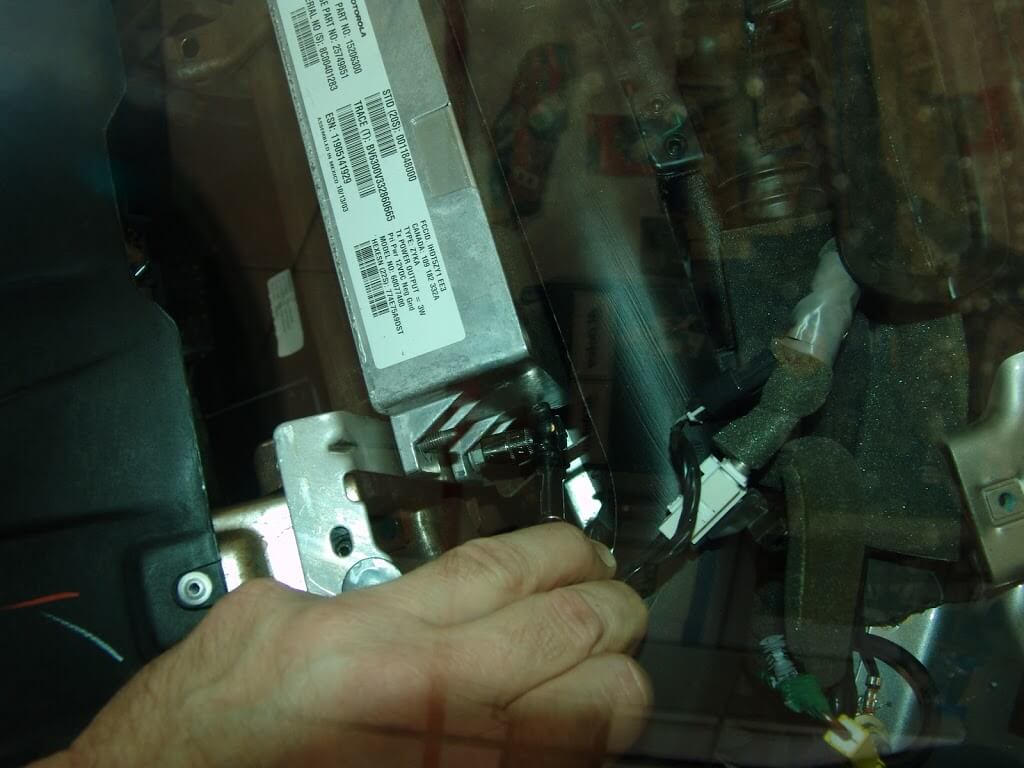
Figure 15. Remove the OnStar communications module. 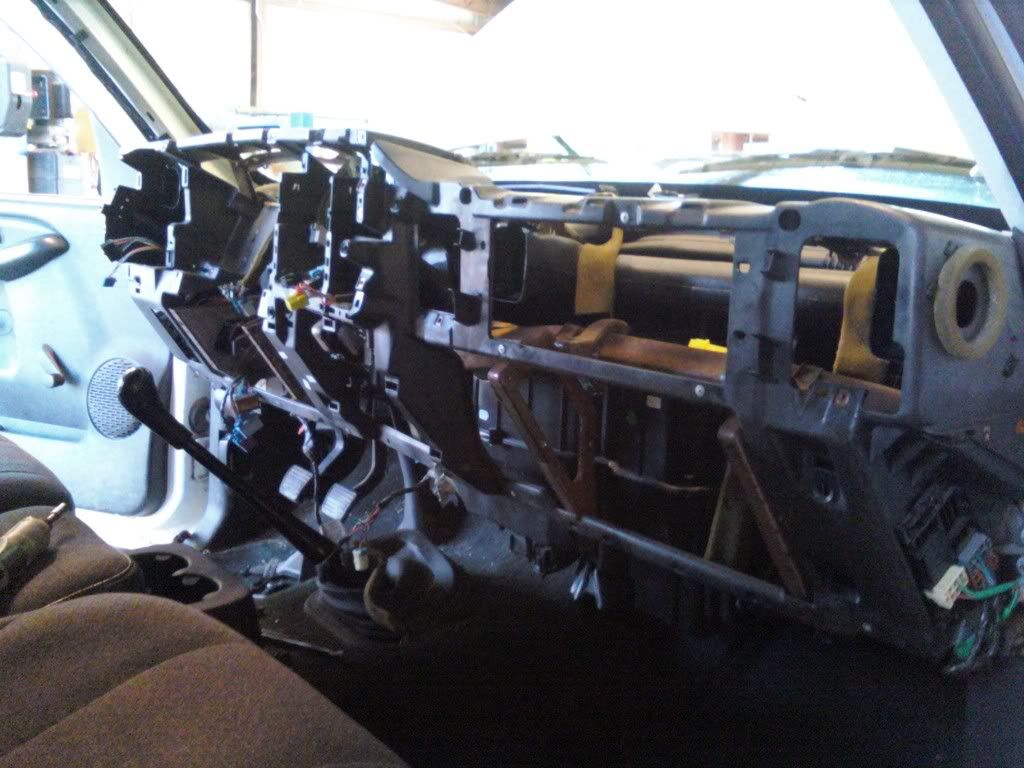
Figure 16. The electrical components, accessories and trim pieces all removed. 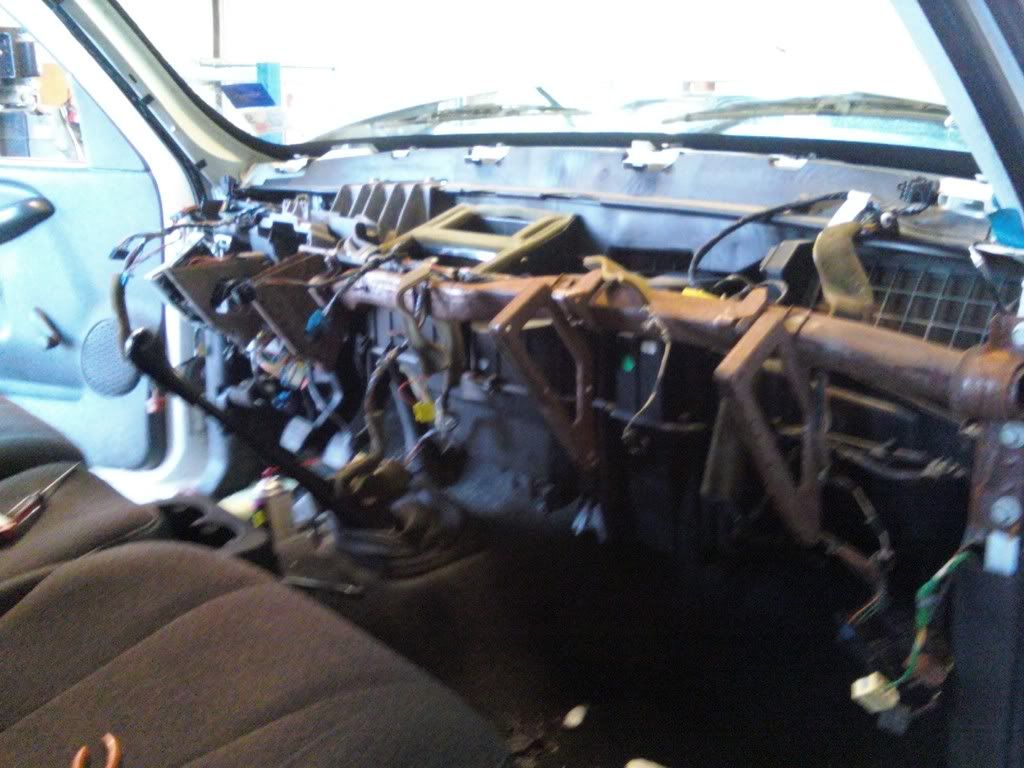
Figure 17. This image shows the dash carrier removed.
Step 4 – Empty the climate control system
- Drain the coolant from the system and evacuate the air conditioning system.

Step 5 – Replace the heater core
- Unbolt the HVAC assembly.
- Remove the heater core cover screws.
- Replace the heater core.
- Install the cover.
- Mount the assembly back onto the truck.
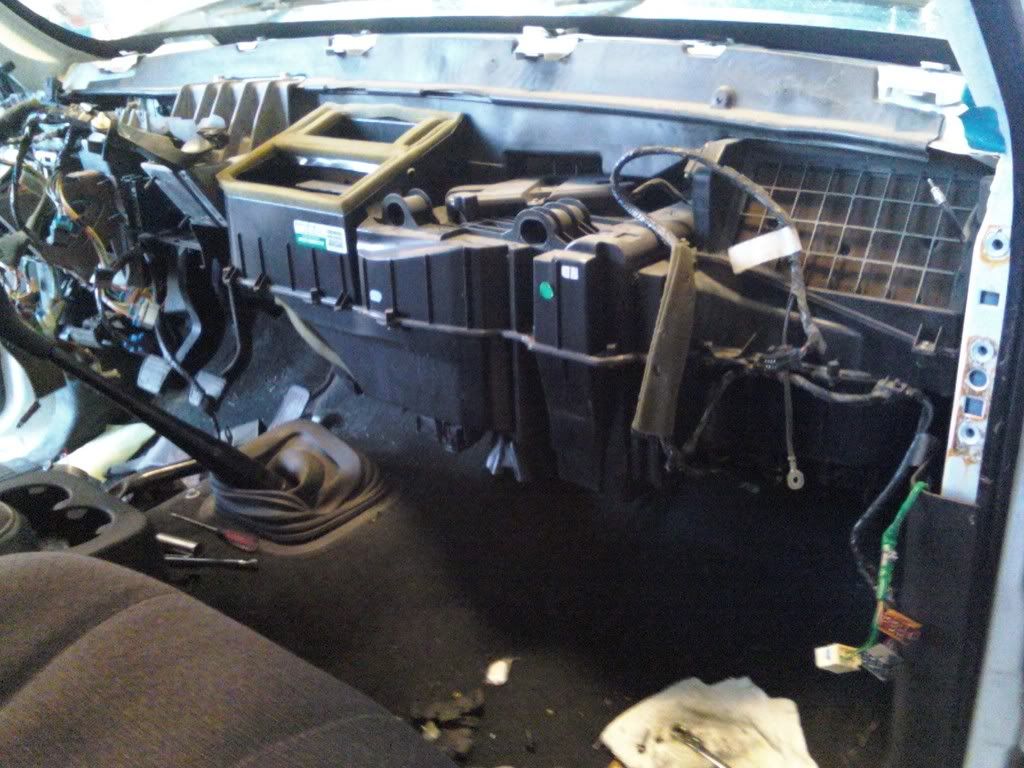
Figure 19. Unbolt the HVAC assembly. 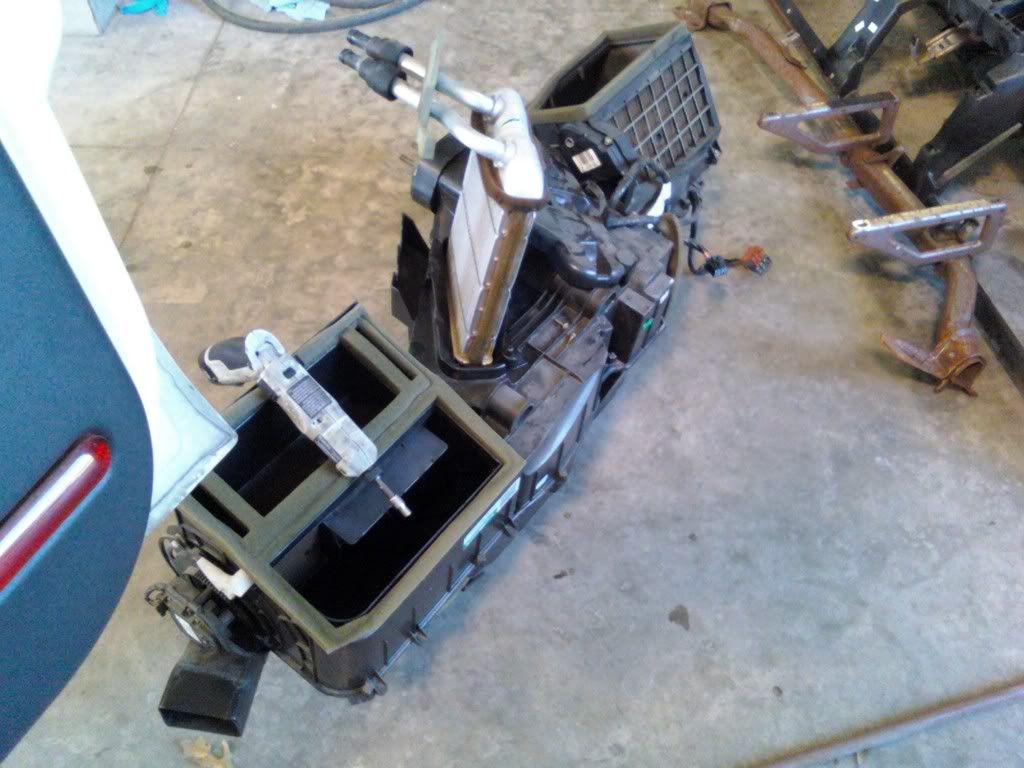
Figure 20. Replace the heater core.
Step 6 – Re-install everything
Once the deed is done, take your time and re-install all of the dashboard components. Be wary of the screws and bolts you use to re-install the components, as some are slightly longer and will not fit all the way in. After everything is back together, top off the coolant and reconnect the negative battery cable.
Related Discussions and Sites
- 2001 Silverado Heater Core - Chevroletforum.com
- Heater Problem - Chevroletforum.com
- Changing a Heater Core PICS - Performancetrucks.net
- 2004 Chevrolet Silverado, Dash Cover Removal - Sparkys-answers.com