Chevrolet Silverado 1999-2006: How to Replace Oil Pressure Switch Sending Unit
When it ceases to work, a component as small as the oil pressure switch can do some major engine damage. So if you notice that the needle in your Silverado's oil pressure gauge doesn't move or continuously fluctuates, replace the oil pressure switch as soon as possible.
This article applies to the Chevrolet Silverado GMT800 (1999-2006).
To run smoothly, an engine must be well lubricated—hence, the use of engine oil. And just as it's necessary to use the correct weight and type of engine oil in your Silverado, it's important to know if engine oil pressure is too high or too low. The oil pressure is constantly measured by the oil pressure switch sending unit, which relays pressure levels to the truck's on-board computer and then to the oil pressure gauge. It's always essential to keep your gauge in working condition to monitor the engine's health. Continue reading the instructions below on how to replace the oil pressure switch in your Silverado and do it yourself. It's a simple and quick job.

Materials Needed
- New oil pressure switch
- 8mm socket
- 1/16" deep well socket
- Ratchet and extension
Step 1 – Locate and remove the oil pressure switch
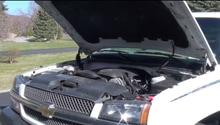
The engine cover must first be removed to access the oil pressure switch. Unscrew an 8mm bolt from the top center of the cover, and lift it off the engine. The oil pressure switch is located on the driver's side of the engine, near the firewall (see Figure 2). Push down on the latch of the harness connector to detach it from the oil pressure switch. Use the 1/16" deep well socket, ratchet, and extension to loosen the switch. Then, remove it by hand.
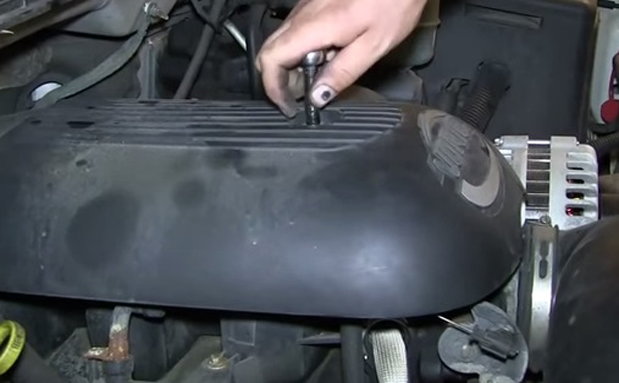
Figure 1. Remove 8mm bolt from the engine cover. 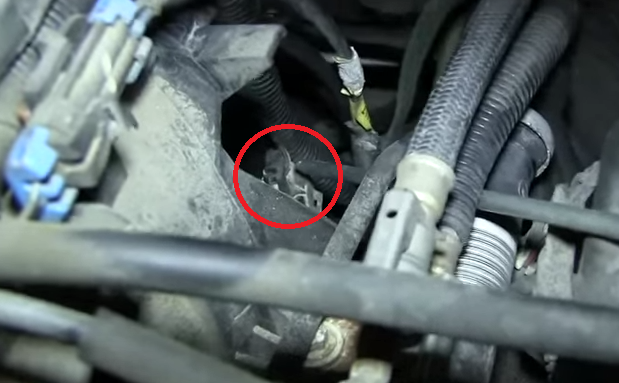
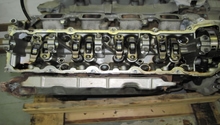
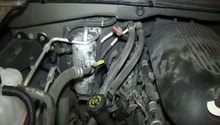
Figure 2. Location of oil pressure switch (circled in red). 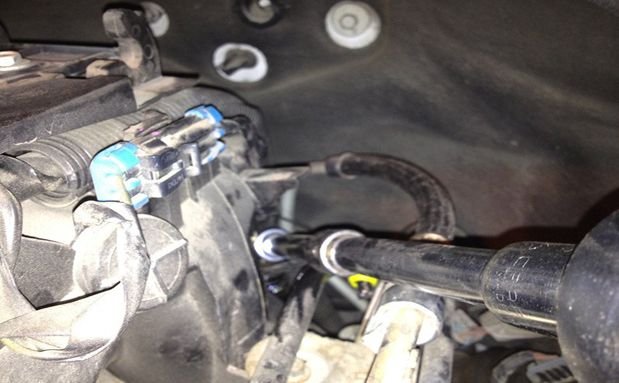
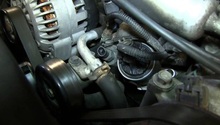
Figure 3. Remove switch with 1/16" deep well socket.
Step 2 – Install the new oil pressure sending unit
Thread in the new oil pressure sending unit by hand. Tighten it further using the 1/16" deep well socket, ratchet, and extension. Then, attach the harness connector to the new switch and re-install the engine cover. Once the engine is started, you should see a normal oil pressure reading on the gauge cluster.
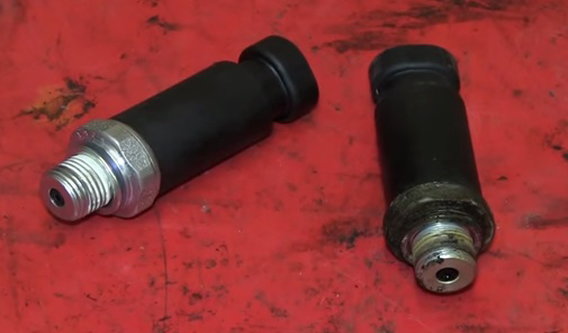
Figure 4. New (left) and old (right) oil pressure switch. 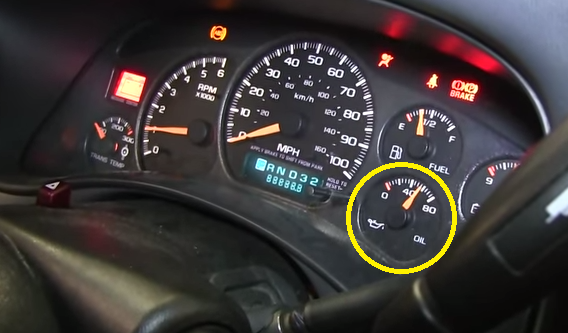
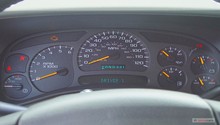
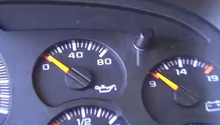
Figure 5. Working oil pressure gauge (circled in yellow).
Featured Video: How to Install/Replace Oil Pressure Switch Sending Unit
Related Discussions
- 2003 Silverado Oil Pressure Maxed - ChevroletForum.com
- '05 Silverado Oil Pressure Too High - ChevroletForum.com