Chevrolet Silverado 1999-2006: How to Replace Sway Bar Links
Do you hear a knocking noise coming from your suspension when driving over bumps? It might be time to replace your Silverado's sway bar links. This article will show you how it's done.
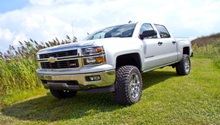
This article applies to the Chevrolet Silverado GMT800 (1996-2006).
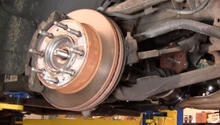
Sway bars prevent your Silverado's body from leaning excessively while cornering, which keeps your truck stable on turns. The sway bar connects to the body or frame via rubber bushings, and the outer ends of the sway bar are connected to the suspension. This part on the outer end is called a sway bar link, and (over time) the ball joints contained within the sway bar link wear out. Generally, you will know these are worn when you hear a knocking noise coming from the suspension as you drive over bumps. Once the wear gets at its worst, a total separation of the links can occur and cause some unsafe conditions. Keep reading, and this article will show you how to replace the worn out sway bar links in your Chevrolet Silverado.


Materials Needed
- Wrenches (assorted sizes)
- Metric socket set
- Ratchet and extension
- Large pry bar
Step 1 – Remove the sway bar link
- Unbolt each end of the sway bar link. To do so, use a socket, ratchet, and extension on the bottom bolt. Then use a wrench on the top bolt.
- Hold the top bolt stationary while turning the bottom bolt.
- Pull the sway bar link out.
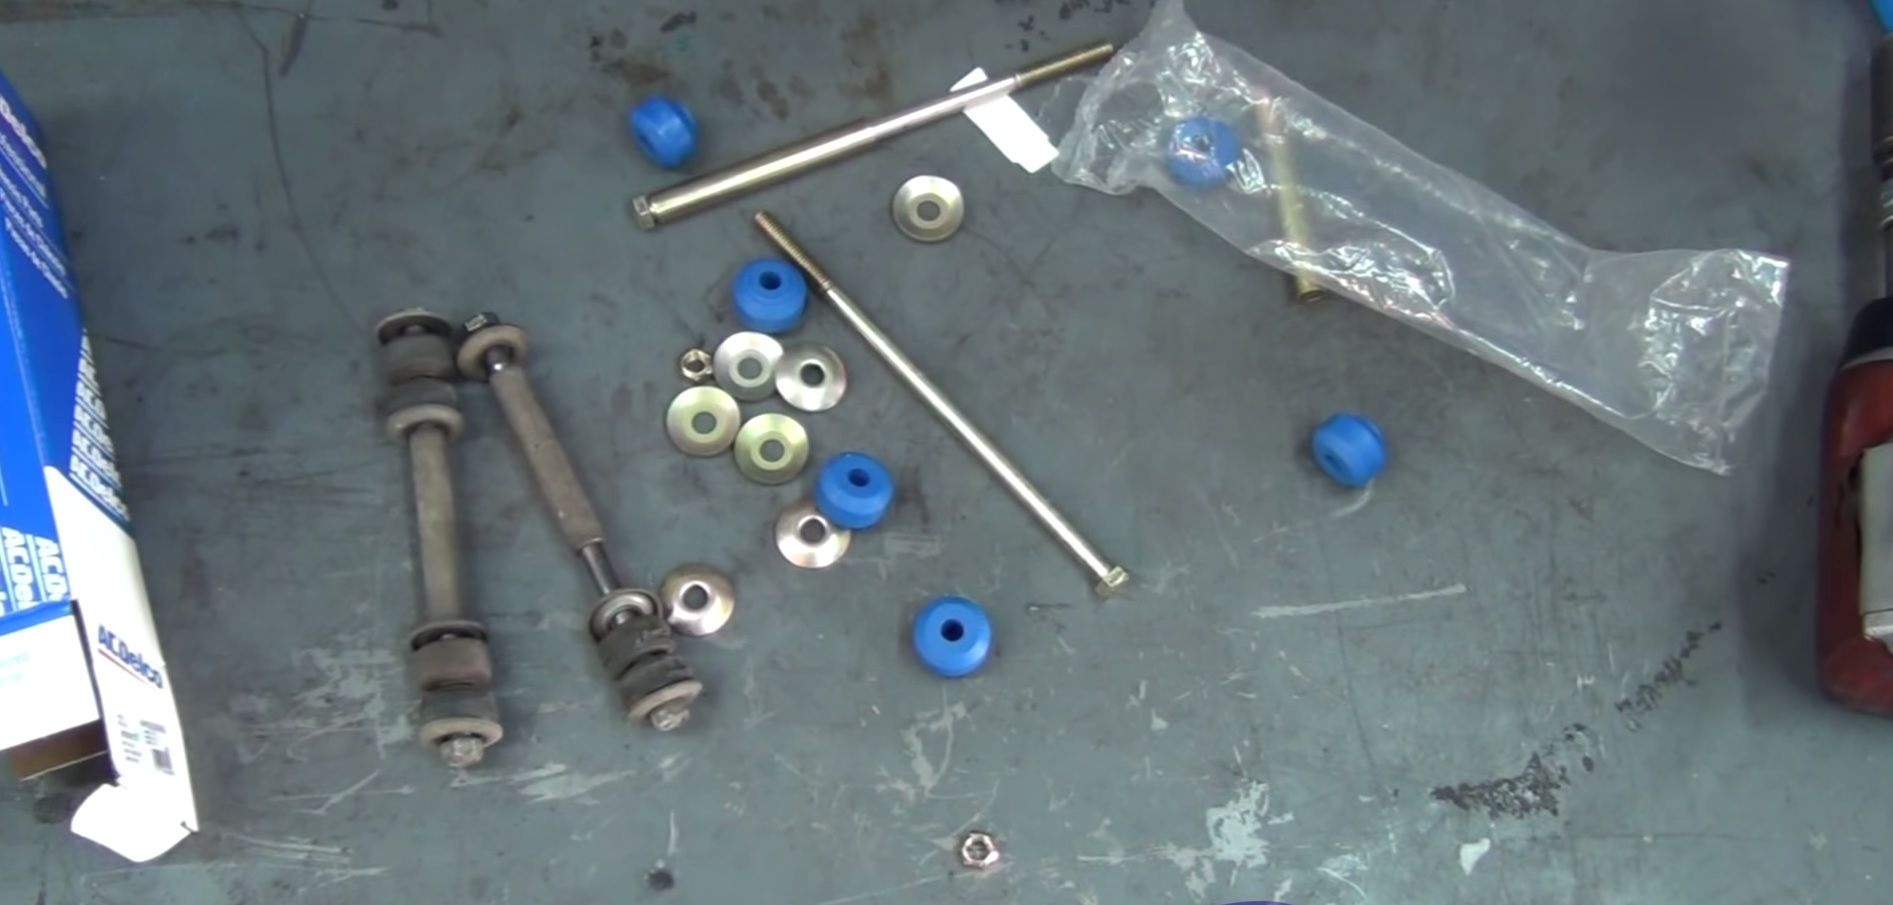
- Compare the old sway bar link with the new one to ensure they are identical before installing the new link.

Step 2 – Assemble the new sway bar link
The new sway bar link will come disassembled in the box.
- Assemble the new link by placing the bushings, washers, and metal sleeve in the exact same arrangement as the old link.
Step 3 – Install the new sway bar link
- Slide the new, assembled sway bar link into place.
- Hand-tighten the bolts on each end of the link.
- Tighten them further with the wrench and ratchet.
- Clearance can be rather tight in this area. If you have trouble getting the top nut into place, use a large pry bar to manipulate the sway bar into a workable position.
- Repeat this procedure on the other side of the sway bar to replace the other link.

Featured Video: Sway Bar Link Replacement
Related Discussion
- Suspension Upgrade Recommendations - ChevroletForum.com