Chevrolet Silverado 1999-2013: How to Replace Crankshaft Position Sensor
When your crankshaft position sensor stops working, it can cause all kinds of problems for your Silverado. This how-to will show you how to replace the sensor.
This article applies to the Chevrolet Silverado GMT800, and GMT900 (1999-2013).
The crankshaft position sensor keeps track of the position and rotations of the crankshaft. That makes it very important for monitoring the health of your engine. When it stops working, you'll notice quite a few problems, such as the tachometer no longer showing your revs, you may have a rough idle, and hard gear changes. Sometimes, none of these things occur, but it still triggers the check engine light. To be sure, take your truck to an auto parts store or mechanic to have the trouble code read. Once you're sure that the crankshaft position sensor has stopped working, follow the instructions below to replace it.

Materials Needed
- Replacement crankshaft position sensor (ACDelco recommended)
- Ratchet with 10mm socket
- Long curved pick (optional)
- Cloth or paper towel
- Gloves
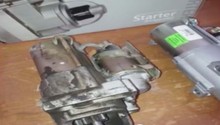
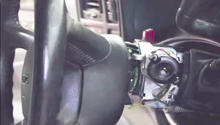
Step 1 – Remove the starter
The crankshaft position sensor is nestled under the engine block just above the starter. You'll find it on the passenger's side towards the rear of the engine block. You do not need to remove the starter completely, you just need to move it out of the way. This will still require you to remove the two long bolts on the front of the starter. Once these are removed, the starter should come loose. Set it aside where it will be safe and out of the way.
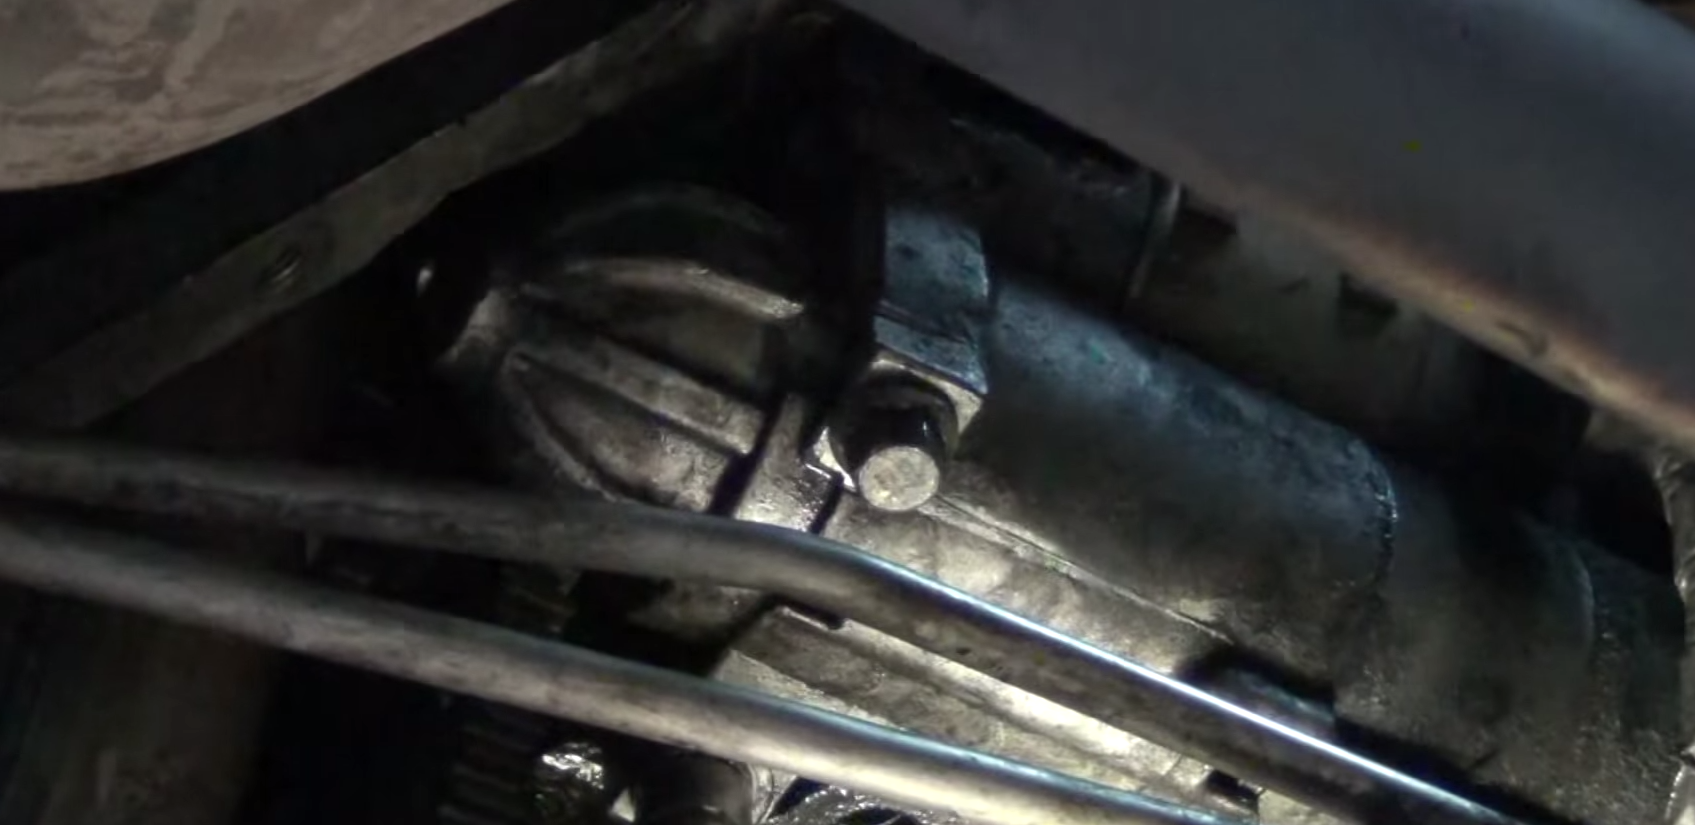
Step 2 – Remove the crankshaft position sensor
You should now be able to see the sensor. Unplug the wiring harness connected to the sensor. There is only a single bolt that holds it to the engine block. Remove that, and then you should be able to pry the sensor from the engine block. The sensor is bit difficult to pry out by hand, so you may want to use a pick to pry it from the engine block. Once it's removed, be sure to wipe away some of the oil and shavings from the area where the sensor plugs into the engine.

Step 3 – Install new crankshaft position sensor
Installing the new crankshaft position sensor is simply the reverse of the previous steps.
- Install the sensor to the engine block.
- Reinsert and tighten the bolt to the sensor.
- Plug in the electrical harness to the sensor.
- Re-install the starter and tighten the bolts for the starter.
- Run the engine to make sure the sensor functions.
The check engine light may not go off immediately even if the new crankshaft position sensor works properly, but it should go off after driving for some time. You can also use a code reader to clear the trouble code or disconnect the battery for a few minutes to wipe the computer's memory.
Featured Video: How to Replace Crankshaft Position Sensor
Related Discussions
- Crank Position Sensor - ChevroletForum.com
- NNBS Crank Position Sensor - ChevroletForum.com
- Where is the Crankshaft Sensor on 5.3 - ChevroletForum.com