Chevrolet Silverado 2007-2013: How to Install Air Suspension
Does your ride have too much sag when you are transporting heavy cargo? There is a cheaper fix available versus completely upgrading your suspension. Here is how to install an airbag suspension.
This article applies to the Chevrolet Silverado GMT900 (2007-2013)
When there is too much of a load on your truck's bed, its rear-end will sag, making for a rough drive. Rear airbags provide an extra form of support by using trapped compressed air to push the bed up. These units have air lines that run from each airbag to special Schrader valves mounted near the rear bumper. Airbags are commonly installed on light duty trucks to help with hauling, but can end up being a costly upgrade if done at a garage. However, with some patience, you can save half of what you'd spend and complete the job in the comfort of your driveway. Use the following instructions to safely install rear airbags on you Chevy Silverado.

Materials Needed
- Drill
- Standard socket set
- Standard open-ended wrench set
- Flat head screwdriver
- Jack and jack stands
- Air compressor
- Rotary tool
Step 1 – Raise the rear of the truck
- First, loosen the lug nuts from each of the rear wheels.
- Use a jack to raise the rear of the truck.
- Remove the wheels.
- Place jack stands under the correct jacking point on the chassis to secure it in place.

(Related Article: How to Jack Up Your Truck - ChevroletForum.com)
Step 2 – Remove the abs harness and install the air bag bracket
The airbag bracket bolts to a support plate, which installs inside the chassis of the Silverado.
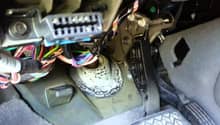
- Use a flat head screwdriver to remove the abs wire clip.
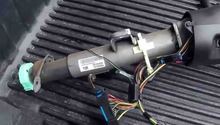
- Slide the airbag bracket plate into the chassis and thread its bolt in.
- Attach the airbag bracket to plate and chassis.
- Tighten the airbag bracket from the bottom bolt upwards.
- Mount the abs wire clip to its bracket.

Figure 2. Unplug the abs wire clip. 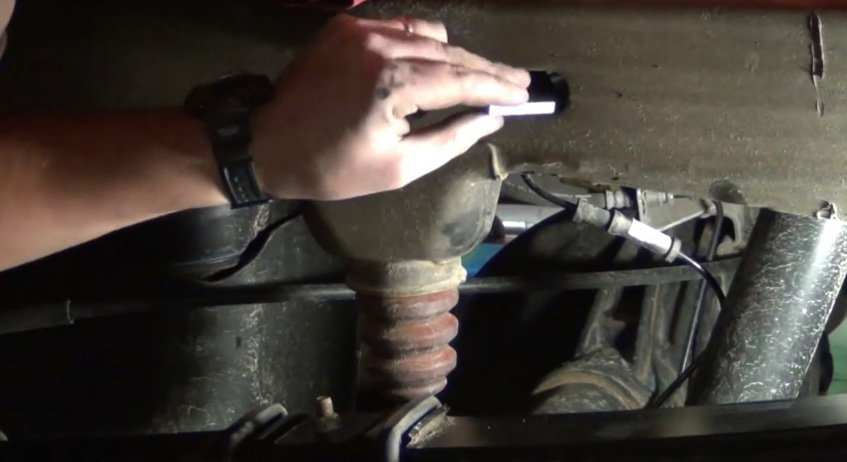
Figure 3. Slide the bracket plate into the chassis. 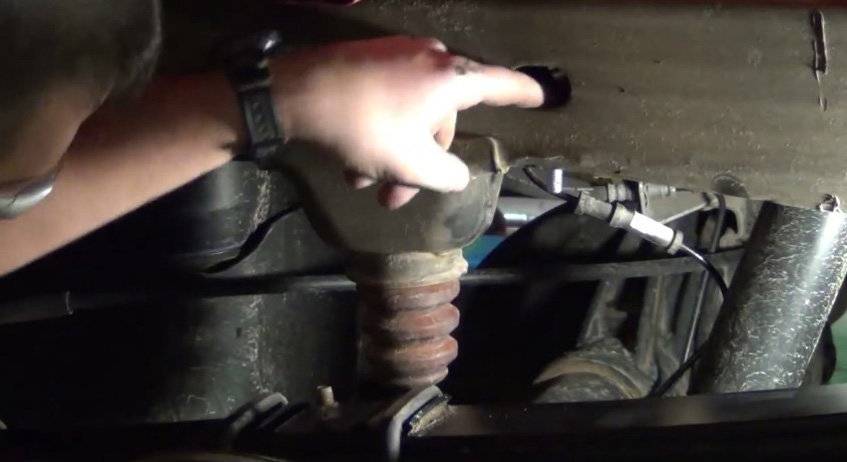
Figure 4. Place a bolt through the bracket plate. 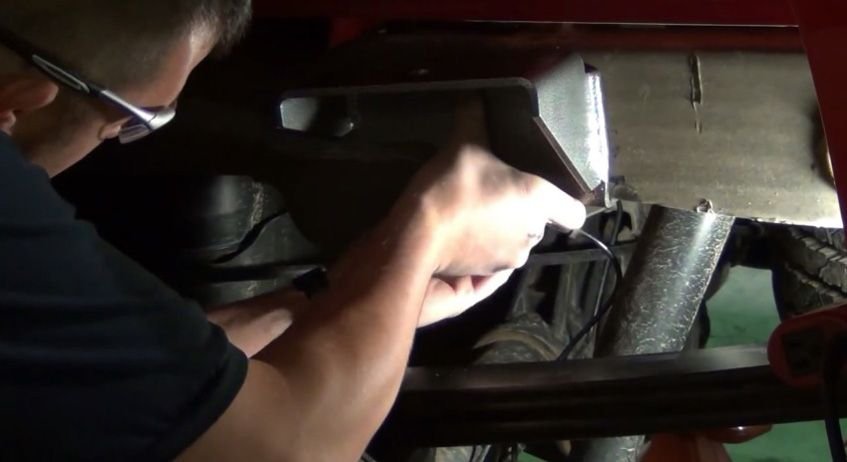
Figure 5. Install the airbag bracket. 
Figure 6. Tighten the airbag bracket into place. 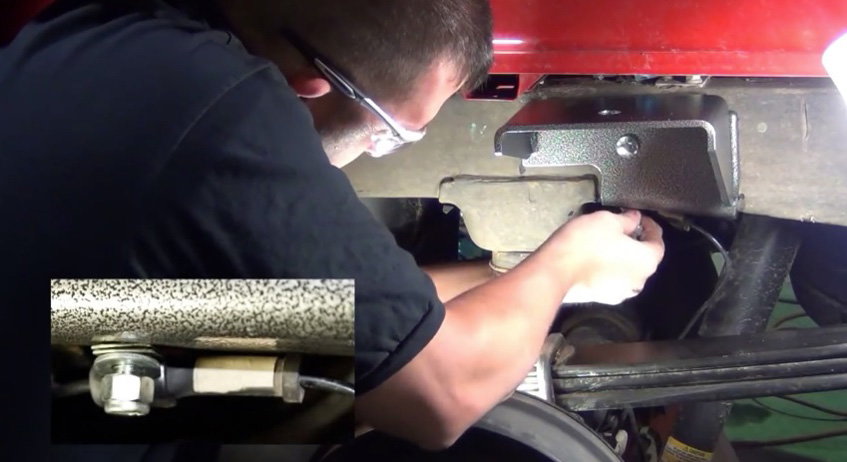
Figure 7. Reconnect the abs wire to the bottom of the bracket.
Step 3 – Mount the airbag
The base of the airbag mounts directly on top of the leaf spring. Place it there and fit the airbag in-between the upper and lower brackets.
- Once the airbag is situated, install a U-bolt to hold the bottom bracket in place.
- Trim the excess U-bolt threads off using a rotary tool.
- Tighten the U-bolt nuts in place.
There are two 3/4" nuts that mount to the top and bottom of the airbag brackets. After tightening the U-bolt in place, only tighten the upper bracket nut. The lower bracket nut will be tighten after the airbag is filled and adjusted in place (refer to Step 5).

Figure 8. Attach the lower airbag bracket. 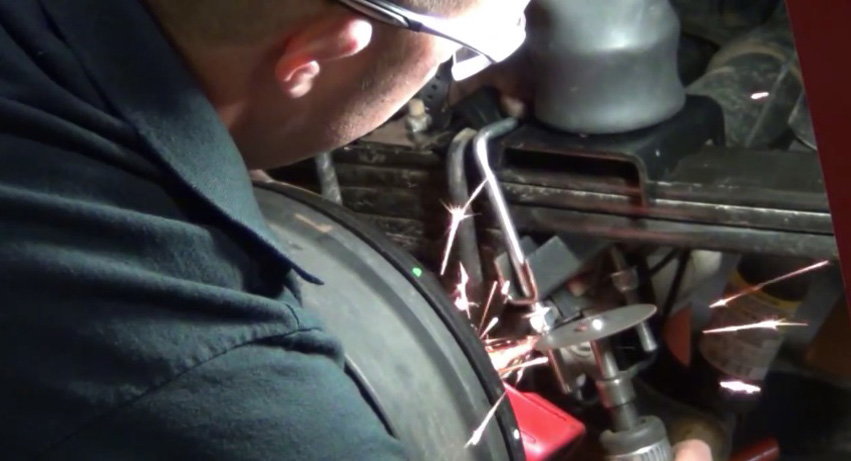
Figure 9. Cut the extended U-bolt threads off. 
Figure 10. Tighten the U-bolt nuts down. 
Figure 11. Tighten the upper airbag bracket nut.
Step 4 – Attach the Schrader air valve
- Attach the air valve to the top of the airbag bracket.
- Tighten the valve down.
- Drill a hole on the license plate.
- Attach the Schrader valves to the license plate holes.
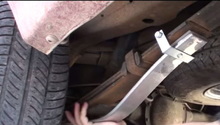
- Run the air tubes underneath the chassis and connect them to each Schrader valve.

Figure 12. Attach the Schrader valve to the top of the airbag bracket. 
Figure 13. Attach a Shrader valve to through the license plate. 
Figure 14. Run the air tubs underneath the chassis.
Step 5 – Adjust the airbag and torque it in place
- Fill the airbags up enough to adjust them on the brackets.
- Adjust the airbag so it sits center of both the upper and lower brackets.
- Torque down the nut on the bottom of the bracket.
- Check the valves for leaks.
- Install the wheels, lower the truck, and you are done!

Figure 15. Adjust the airbag. 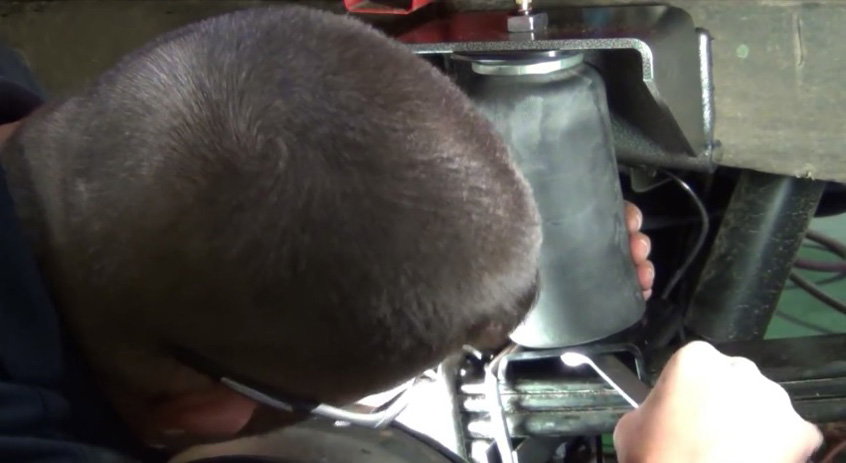
Figure 16. Tighten the lower bracket nut.
Featured Video: How to Install Air Suspension
Related Discussions
- Where to Mount Airbag Compressor - ChevroletForum.com
- Air Bag Helper Springs Question - ChevorletForum.com
- Air Suspension Question - ChevroletForum.com
- Removing Three Inch Lift - ChevroletForum.com