Chevrolet Silverado 2007-2013: How to Replace Alternator
The alternator is an important part of what keeps your truck running smoothly. So unless you like constantly jump starting your truck, you better replace that bad alternator.
This article applies to the Chevrolet Silverado GMT900 (2007-2013).
The alternator is responsible for powering your truck while the engine is on. It's also responsible for keeping the battery charged. If you've noticed that your battery isn't getting charged or that the power gauge in your truck is showing unusual spikes, then you probably need to either rebuild or replace your alternator. There are other reasons why you might need a new alternator. For example, having many aftermarket electronics installed in your truck may require a more powerful alternator to keep up. Follow the instructions below to install a new alternator to your truck.

Materials Needed
- Replacement alternator (recommended OEM ACDelco)
- 15mm wrench
- Ratchet with 8mm, 10mm and 15mm sockets
- Flat head screwdriver
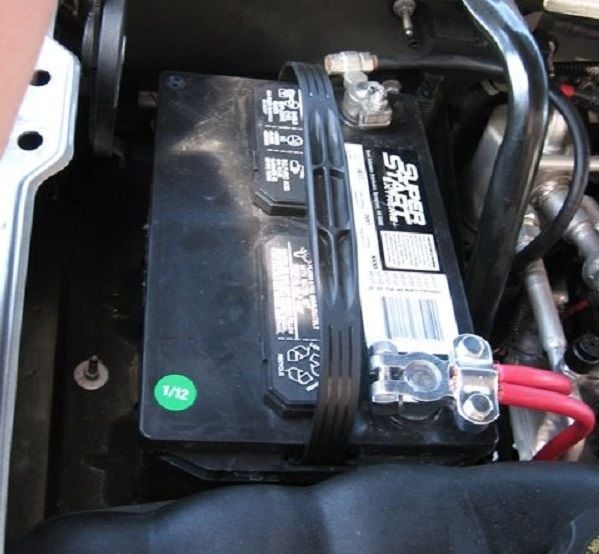
Step 1 – Disconnect the battery
Start off by disconnecting the terminals on your battery. This is a standard safety precaution whenever dealing with electrical work.
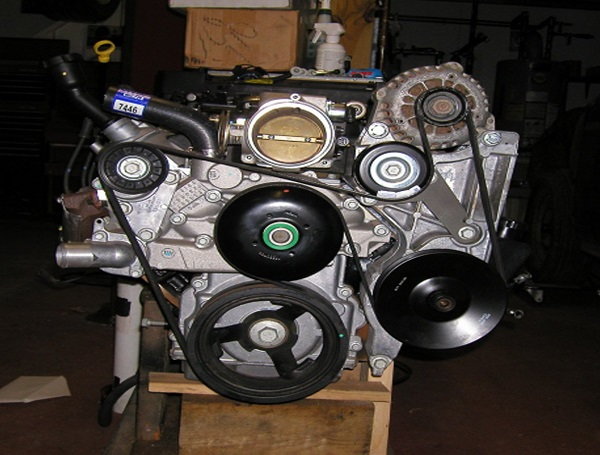
Step 2 – Remove the serpentine belt
If you need more room to work in, you can remove the plastic panel covering the alternator. Simply twist the knobs on the cover to loosen it. Next, go to the pulley farthest from the alternator, and use a wrench to loosen the tension on the serpentine belt. Slide the belt off the alternator. You don't have to remove the belt entirely.
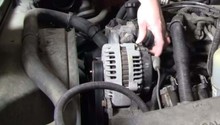
Step 3 – Remove the alternator
Remove the two mounting bolts on the bottom of the alternator, and pry it loose from its mount. Unplug the connector on the top and unbolt the connector on the back. Once these two connectors are removed, you can pull the alternator easily from the truck.

Pro Tip
If you want to make it easier to remove it, next time take a rubber mallet and tap on the fasteners inside the mounting bolt holes. Sometimes these will get lodged between the housing and the alternator, making it harder to pry out.
Step 4 – Install new alternator
Installing a new alternator is the reverse of the previous steps:
- Slide the alternator into the housing.
- Plug in the two connectors. Tighten down the one in the back.
- Tighten down the two mounting bolts.
- Slide the serpentine belt back into place and tighten it.
- Finally, reconnect the battery.
Pro Tip
When returning the serpentine belt, make sure that it is properly seated to the grooves on the pulleys. Also, make sure that it sits in the same configuration it was in before.
Featured Video: Alternator Replacement
Related Discussions
- 2007 NBS Silverado Battery Rundown - ChevroletForum.com
- Having Issue with 130 Amp Alternator Upgrade - ChevroletForum.com
- Erratic Alternator Gauge on 2010 Silverado - ChevroletForum.com
- 2008 Silverado Big Problems - ChevroletForum.com