Chevrolet Silverado 2013-Present: How to Replace Spark Plugs
One of the old classics of tinkering, a new set of plugs can refresh your engine and get it running like new. Read on to learn about this simple DIY.
This article applies to the Chevrolet Silverado K2XX (2014-Present).
Trucks have gotten a lot fancier and technical over the years, but one part that hasn't changed much are the spark plugs. These little porcelain pins take the electrical energy from the ignition system, and create a spark inside the combustion chamber to ignite the air/fuel mixture in order to make the engine go. Over time, being subjected to constant high energy discharges and explosions can wear the plugs out, which lead to misfiring issues. Chevy recommends replacement every 100k miles to keep the system in good working order.
Replacing the plugs is an easy enough job, but the hardest part is the lack of space to maneuver for the rearmost two. Still, the job takes only basic tools and can be done by almost any DIYer to save some cash. It's a good time to install some new plug wires as well, since they can lose efficiency over time, too.

Materials Needed
- Ratchet
- 5/8ths spark plug socket
- Various extensions
- Universal joint (swivel)
- Spark plug gap tool
- Spark plug boot pullers (optional)
- Owner's manual
- Anti-seize (optional)
Step 1 – Remove the coil packs
Unlike with old distributor systems, the COP (coil-on-plug) ignition on a new Silverado makes it almost impossible to mix up the wires, so you don't have to do them one at a time anymore. If you are replacing the coils, you don't need to be particularly careful on removal. If you are reusing though, take caution to pull ONLY from the boot and not the wire itself to avoid damaging the contacts inside. The boot puller tool is very helpful for this, as they can require a lot of force to remove.

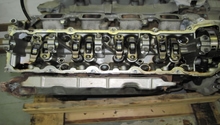
Step 2 – Remove the old plugs
Using the spark plug socket and ratchet, remove the spark plugs one by one. The front six will be relatively easy; although, they may require a good amount of force to break free. The rear two (cylinders 7 and 8) are the difficult ones, as there is not much room to move. Make sure you have a U-joint (universal joint) and a handful of small extensions on hand to find just the right combination to give you access.
Step 3 – Gap the new plugs
Use the gapping tool to ensure the new plugs are within spec. For the Silverado, you want either .040" or .060" gap depending on the model. Check your owner's manual to get the correct number for your truck. If the gaps are off, gently bend the ground on the plug until they are within spec. Do not pry against the electrode because you can damage it!

Step 4 – Install the new plugs
Install the new plugs. ALWAYS thread them in by hand first (holding onto the extension with the plug snug in the socket). Ensure you have several threads of engagement before ever putting a wrench to it. These are very easy to cross-thread, and that can be a very expensive repair.
Once threaded, use the ratchet to snug them down. These don't need to be very tight; just enough to crush the aluminum washer, and that's it. A general rule of thumb is use no more torque than you can apply by holding the ratchet in one hand by the head, not the handle. Of course, using a torque wrench to the exact factory spec listed in your manual is also a good idea. You can use anti-seize on the threads, but if torqued properly, they should be no problem to remove the next time. Pop the new plug wires into position (make sure they "snap" in place), and give it a test fire. You are done!

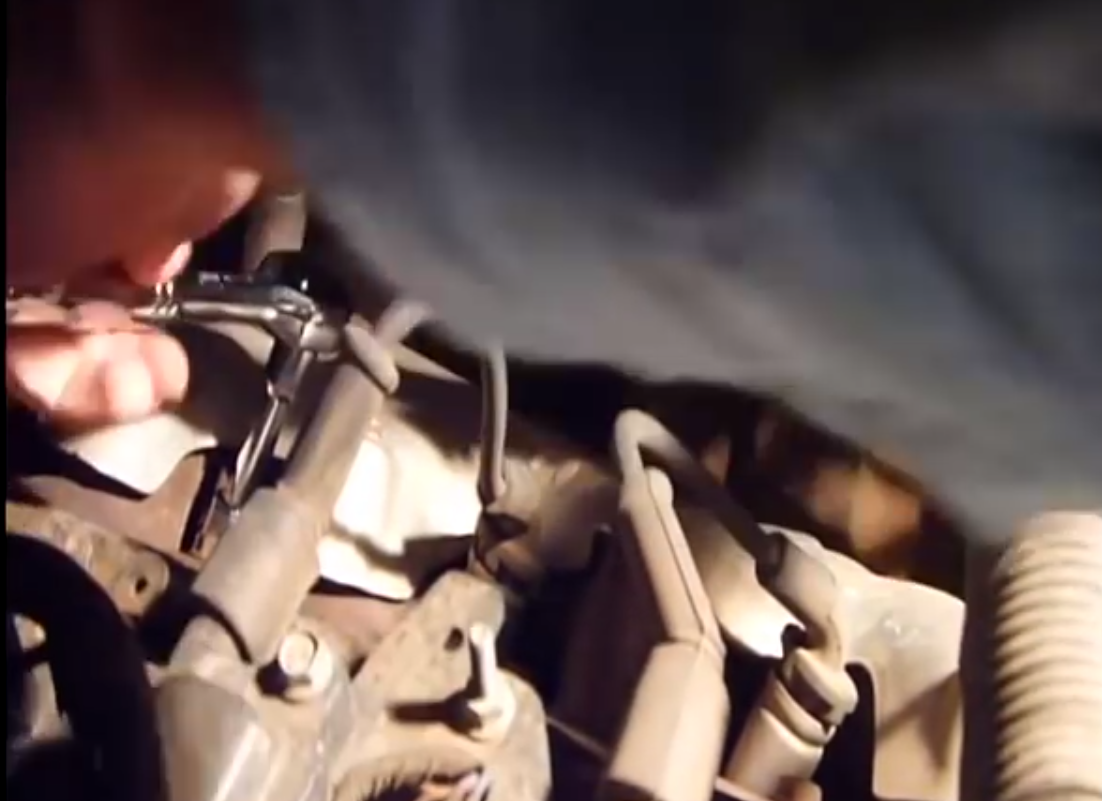
Featured Video: How to Change Spark Plug
Related Discussions
- Spark Plug Change - ChevroletForum.com
- Spark Plug Replacement Help - ChevroletForum.com
- Plug Questions - ChevroletForum.com