Chevrolet Silverado: How to Install Heated Seats
Heated seats were an option on leather seats for your truck from the factory. You can update yours with seat heaters.
This article applies to the Chevrolet Silverado GMT800, GMT900, K2XX (2007-2013).
Heated seats are such a nice option on your truck if you are in cold climates. The factory offered heated leather seats. To retrofit the factory seat heaters, it will be much, much simpler if your truck is an LT series with leather seats already installed. The wiring in the dash, the doors, and under the seats should already be installed, but not hooked up. The BCM (Body Control Module) will have to be re-flashed for the system to function. Aftermarket seat heaters can be put on leather or cloth seats. Companies like 1A Auto can sell you kits that include the heating pads, wiring, and switches to convert your seats. It is not a simple process to install either option, but it can be done if you are committed to see the project through.

Materials Needed
- Phillips, Torx, and standard screwdrivers
- Heating pad kit or entire heated seat kit
- BCM re-flash (if retrofitting GM heating pads)
Original Equipment Heated Seat Kits
Step 1 – Check for already installed wiring
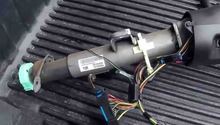
If your truck is an LT series model, it may have the wiring factory installed. Check under the seats for two wiring connectors that are not hooked up. One will be green and the other white. You can also look at a wiring diagram for your truck, and see if the wiring is under the dash as well as in the doors. If the wiring is present, you can add the heaters to the seats, the switches to the doors, and the fuse to the box.
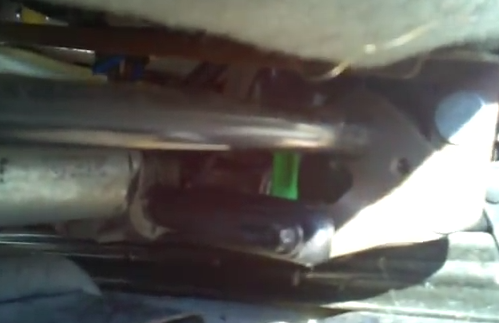
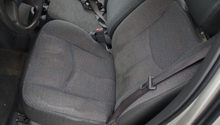
If you are ready to proceed with installing the components, the following sight should not make you uncomfortable because you will be seeing this and worse.
Pro Tip
You will need space to install all of the components. Be in a spot where you can spread out. Be confident that you can put all of the pieces back together, or you will be a very unhappy camper.
Step 2 – Install the parts for the heaters
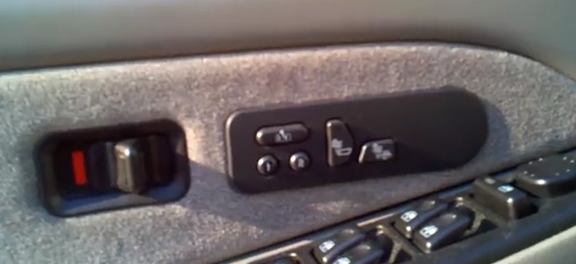
You can install the heat pads with the seats still installed, but it will be easier if you remove them. You will have to remove the cover from the top and back of the seat to install the heat pads. Once you have all of the heating pads installed, you can replace the seats and move on to the switches. Installing them should be as easy as removing the door panel, cutting a hole, and plugging the switches in. Install the fuse for the heaters in the fuse panel, and all you need to do is get the BCM re-flashed.
Step 3 – Take truck for BCM re-flash
The BCM ultimately controls the heated seats. So now that everything for them is installed, you must go to the dealer to have it reprogrammed and it can realize the heaters are installed. They should charge for 1/2 hour of labor.
Pro Tip
An independent shop can re-flash the BCM, too.
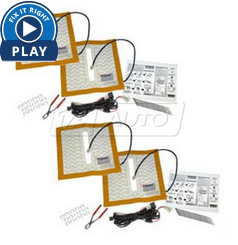
Aftermarket Heated Seat Kits
Step 1 – Lay the pieces of the kit out
The kit should come with the wiring, the heater pads, the switch, and instructions.
Step 2 – Install heat pads under upholstery
You have to remove the covers from the seat to slip the heating pads under them. 1A Auto has a generic video (below) to show what is generally involved. Your truck will not use hog rings to hold the upholstery on. Be sure that the wiring connector comes out under the seat. Take your time.
Step 3 – Run wiring to fuse panel
The kit will have wiring, including a relay, switch, and panel connector. The wiring should be run with care since, after all, it is wiring. The switch will need to go somewhere else other than the door. A hole must be drilled to install it in. Low on the dash would work.
Pro Tip
The aftermarket kit will not be as nice as the factory setup. That is why it is not expensive.
Featured Video: How to Install Car Truck Seat Heater or Heated Seat Kit
Related Discussions
- Anyone Installed GM Accessory Heated Seats - ChevroletForum.com
- Adding Heated Seats - ChevroletForum.com
- Driver's Side Heated Seat - ChevroletForum.com
- Heated Seat Help - ChevroletForum.com