Chevrolet Silverado: How to Install Rearview Back Up Camera
Installing a back up camera isn't as difficult as it may sound. Read our guide to learn how to install one in your Silverado 1500.
This article applies to the Chevy Silverado 1500 (1999-present).
If you can make a certain action safer and more efficient, why not do it? That's the situation with back up cameras; they help us park better, back up safer, and also keep us from causing any damage or injury to someone walking behind. Most Silverado's come equipped with back up cameras, but if your's doesn't have one then here is a step-by-step guide on how to install an aftermarket option. You could always visit a repair shop to have this done professionally, but you can definitely save some money by doing it yourself.

Materials Needed
- Back up camera kit
- Ratchet wrench
- 13mm socket
- 29mm drill hole
- Drill
- Phillips screwdriver
- Work bench (optional)
Step 1 – Prep tailgate
Your back up camera kit should come with a new tailgate handle bezel that includes the back up camera, but in order to install it you must remove the stock bezel. Start by using the ratchet wrench and 13mm socket to remove the three bolts on the back of the tailgate handle, pop out the bezel. Then unsnap the tailgate and set it down on a work bench or flat area to prep to drill. Use the template provided to drill the 29mm hole for the wiring on the right spot. There needs to be a hole drilled in the bumper as well.
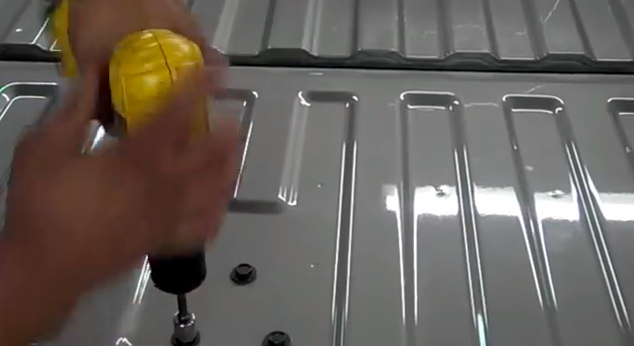
Figure 1. Unbolt the three 13mm bolts on the tailgate. 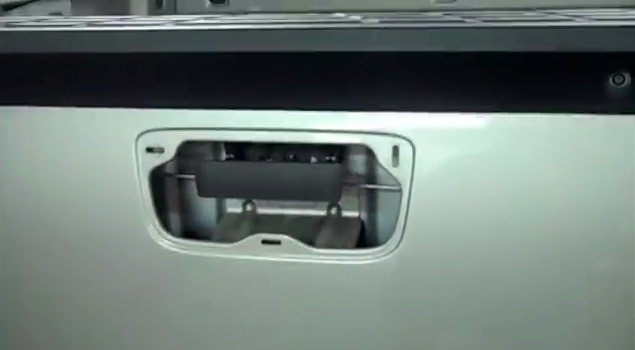
Figure 2. Unsnap the bezel. 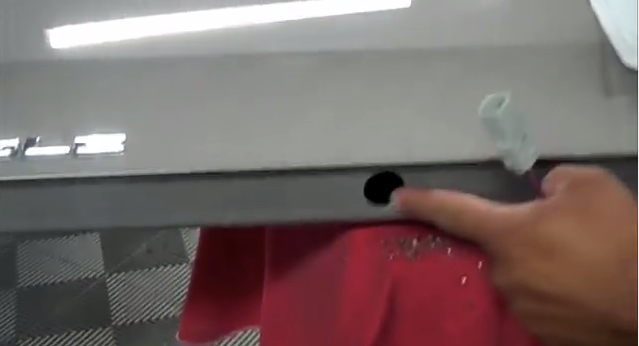
Figure 3. Drill hole according to template.
Step 2 – Run wiring
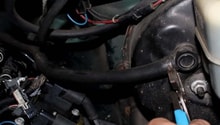
Now that the bezel and camera are in the back, you must run the wiring to the front of the truck to provide power. Run the wiring through the hole in the bumper and run along the frame of the truck. Make sure that you run the wiring along an existing wiring harness, that way it doesn't run the risk of getting damaged. Once you reach the front, drill another 29mm hole into the engine bay firewall heading into the cabin.

Figure 4. Run the wiring away from any heat or moving parts. 
Figure 5. Drill 29mm hole on firewall near the brake booster. 
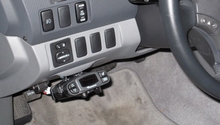
Figure 6. The inserted wiring should come out by the pedals.
Step 3 – Provide power
Now it's time to connect the wiring connector the the half that goes to the monitor, as well as connect it to power and ground. Use the provided diagram to connect the pins to the right fuse connectors, then hook up the ground chord and plug in chord to the monitor.
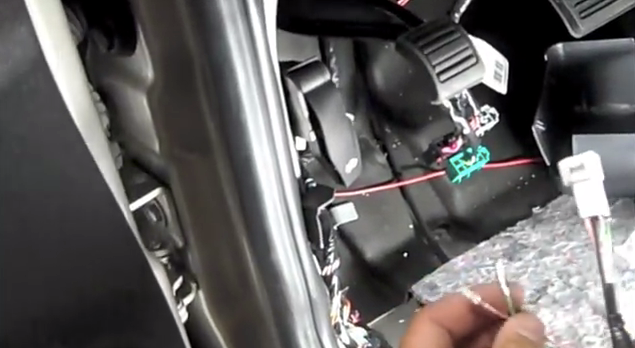
Figure 7. Connect to power and ground. 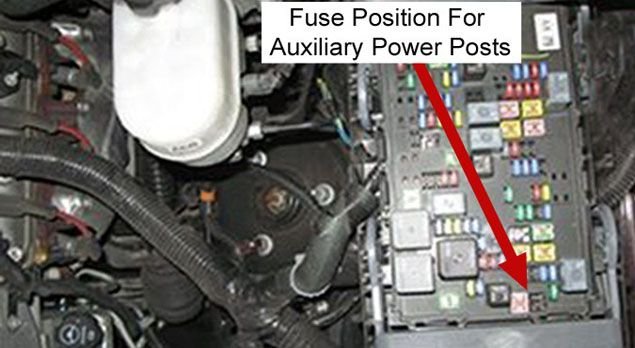
Figure 8. Use the diagram provided to connect the camera to the right power.
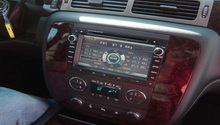
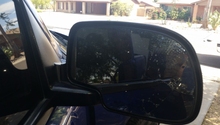
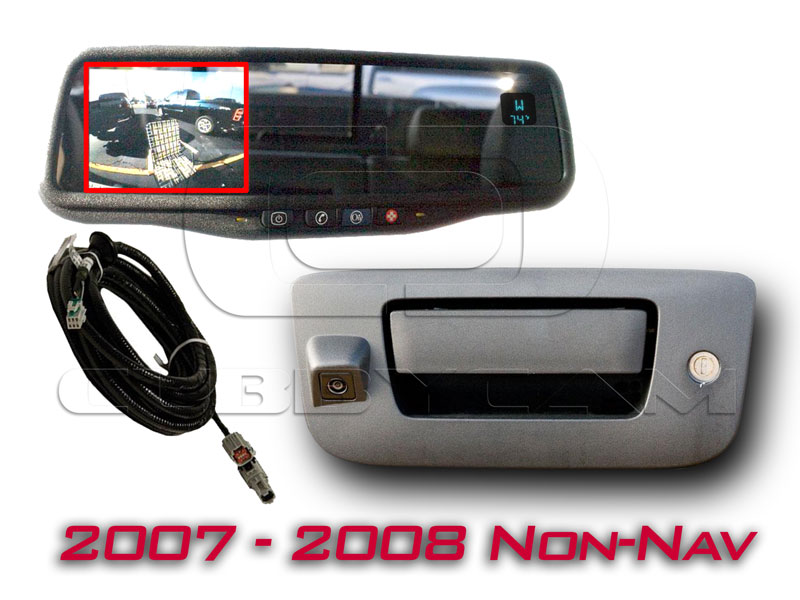
Step 4 – Connect to monitor
Most back up camera kits replace your rear view mirror with a new mirror with built in monitor, but some may be different. Now that the wiring and power is finished, plug in to the appropriate monitor or rear view monitor.
Featured Video: How to Install Silverado Aftermarket Camera
Related Site
- Aftermarket Silverado Back Up Cameras - Google.com