Chevrolet Silverado: How to Install Stereo System
Here's a step-by-step guide on accessing as well as removing the OEM stereo from your truck, and then installing an aftermarket one in its place. This is usually desirable so you can frugally get all those bells and whistles the newest vehicles have, including Bluetooth, HD radio, and satellite radio!
This article applies to the Chevrolet Silverado GMT800, GMT900, and K2XX (1999-Present).
To properly upgrade the sound system in your car, you'll want to start with a quality brain. The brain would be the head unit, otherwise called the OEM radio that came with your car. This will allow you to add many additional features such as Bluetooth or satellite radio. It is also desirable if you are planning on adding additional amplifiers, since it'll have the the necessary RCA pre-outputs to connect them. It'll provide a much cleaner and stronger signal for the louder sound. In some instances, a factory radio upgrade to an aftermarket can actually make your stock speakers and tweets sound even better as well as louder.

Materials Needed
- Ratchet and socket set, or even a hand socket driver with a 7 and 10mm sockets
- Plastic pry tool
- Soldering iron and heat shrink, or electrical pliers and butt connectors
- Dash mounting kit
- Phillips screwdriver
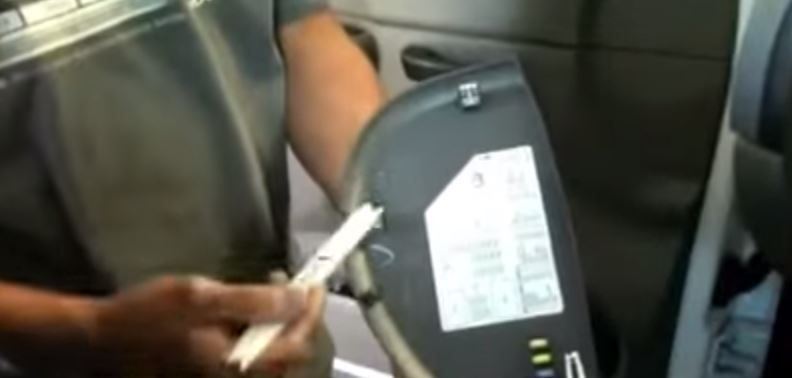
Step 1 – Remove fuse box panel
Starting with the panel on the left of the driver's kick panel, pry off the fuse box panel. This cover is hidden when the door is closed. It is held in with three clips and requires a pull to be removed. Pull it towards you, and you'll hear a loud crackling sound as the clip releases. Don't worry, you didn't break anything.
Step 2 – Remove driver's side kick panel
You'll need to use a Phillips screwdriver to remove the two screws under the steering wheel, and a 10mm socket to remove the small bolt holding it. Once you remove those, the top portion of the panel is held in by clips.
Pro Tip
Be careful of the sharp edges of the plastic panels. Some are rough cuts since they are hidden when installed and can be very sharp. Also, if a clip remains lodged in the dash, don't fret and just pry it loose, then put it back onto the panel for when you re-install it.
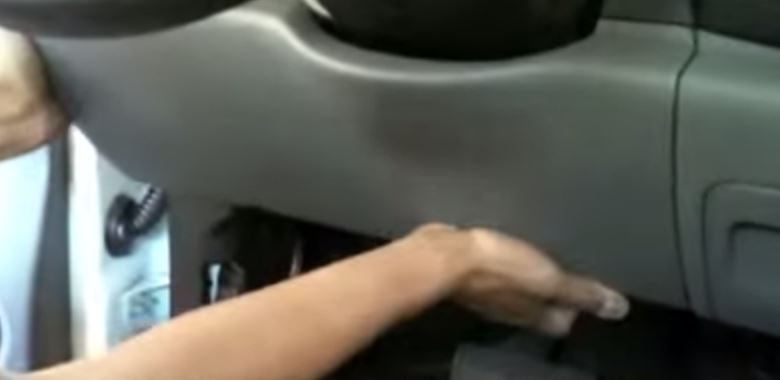
Step 3 – Remove ashtray panel
Now, remove the ashtray panel to the right of the driver's side kick panel. Grip from the bottom to pull it towards you, then insert your pry tool or finger, and work your way around the panel to remove this.
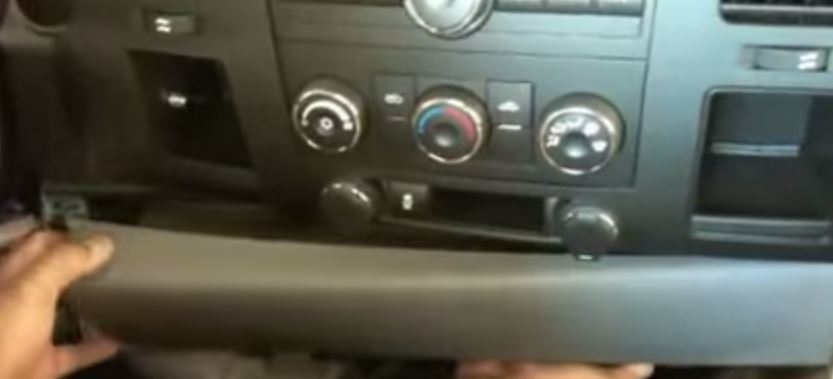
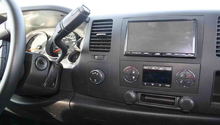
Step 4 – Remove radio surrounding
Same as before, grip from the bottom to pull it towards you, then insert your pry tool or finger, and work your way around the panel counterclockwise. You'll need to unplug the two 12v outlets and plug to free the panel. You will now see the six 7mm bolts holding the radio in.
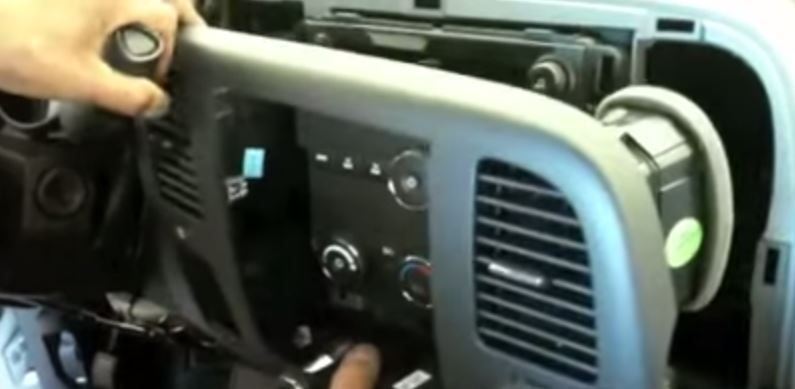
Figure 4. Radio surround coming out. 
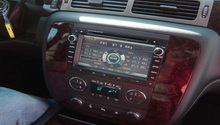
Figure 5. Faceplate removed.
Pro Tip
Since we've touched on electrical connections now, a tip is to unplug the negative (black) terminal on the battery to ensure you do not short anything out. You'll need to reset your clock and more than likely need a theft code for the OEM radio, so make sure you know it. If you need to power it up to remove a CD or something, now would be the time.
Step 5 – Remove radio
You'll unscrew the six bolts and pull the radio towards you. Unplug all plugs and antenna connections to get your radio free. Unscrew the radio itself from the console to free it from the bezel housing and the air conditioning controls. Mount your new radio in its place using the various mounting screw holes on the sides.
Featured Video: How to Remove Factory Radio
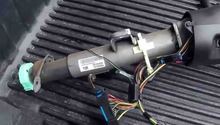
Step 6 – Solder wiring harness (unplug it from the radio for this step)
Soldering is a bit tricky at first, but once you get comfortable working the solder with the heat source, it's pretty painless. This step requires that you follow the instructions provided with your stereo kit, as the harnesses can differ from brand to brand. Match the requisite wires up and solder where needed. Once the wires have been soldered and the solder has hardened, protect your handy work with butt connectors. Some wiring connections may be able to operate fine with just the connector and no solder, but where possible, take the extra few minutes to ensure a better connection.
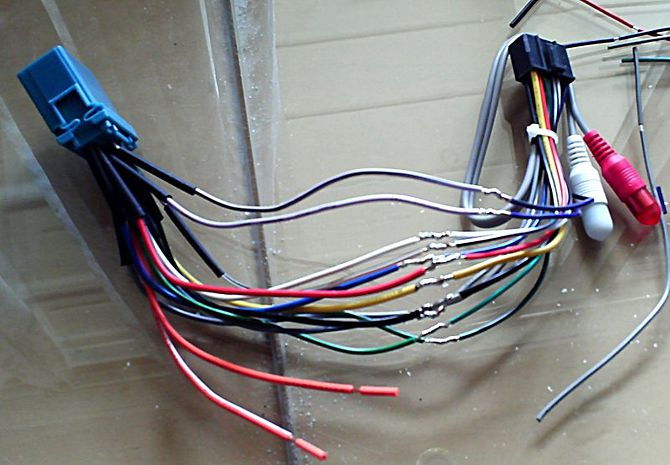
Figure 6. Harnesses being soldered together. 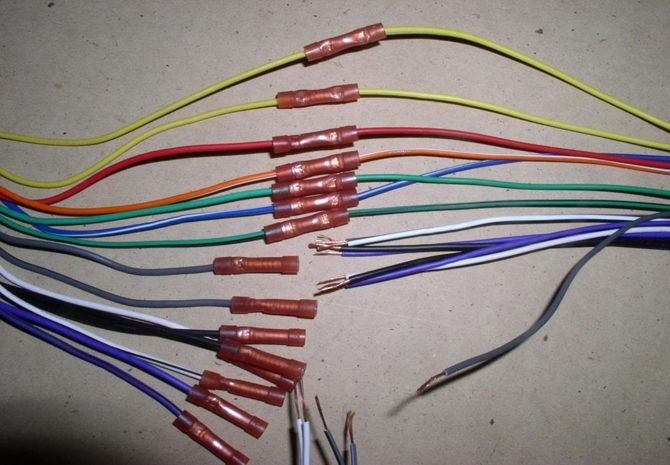
Figure 7. Butt connectors help join wires together securely.
Pro Tip
Do not worry about the blue "remote" wire, "power antenna," or "illumination," unless your vehicle specific harness has those as well. Remote wire should be connected as an easy way to turn on an external amplifier if you plan to add one.
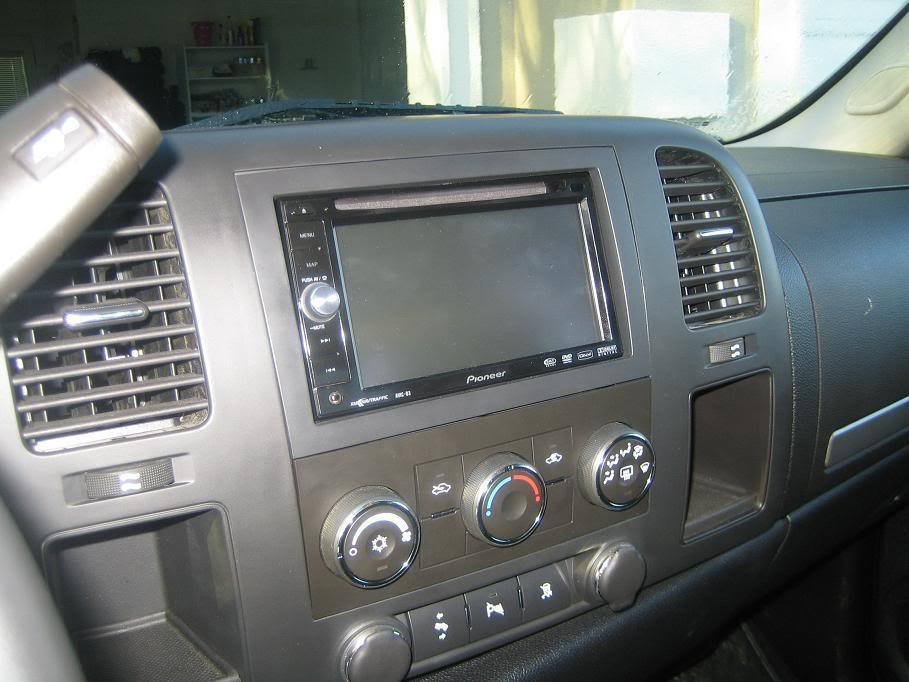
Step 7 – Re-install the radio
Once your wires are properly connected to one another, you can go back into the car and re-install the radio. It's as simple as plugging in the harness. If you are going to be adding additional amplifiers, now is the time to plug the RCA low level wiring to the RCA pre-outputs on the back of the aftermarket radio.
Pro Tip
Pay close attention to multiple RCA pre-outputs, as one will be for a subwoofer amplifer and the other two (some radios have three pre-outputs connections) will be for channel 1/2 (front) and 3/4 (rear).
Step 8 – Test the radio!
Read the manual and follow all instructions for setting the time as well as adjusting the settings. Now would be the time to reconnect the negative battery terminal to put power back to the car. If all is well, go ahead and re-install all of the kick panels in the reverse order of how you removed them.
Admire your hard work!
Pro Tip
As a disclaimer, if you feel unsure of any of the instructions given, feel free to ask in the comments section for clarification. If you're too shaky, there is nothing wrong with paying a professional to install.
Featured Video: How to Install Full Stereo System
Related Discussions
- Sub and Amp Install 2003 Silverado - ChevroletForum.com
- '08 Silverado Aftermarket Radio - ChevroletForum.com
- '09 Silverado Radio Replacement - ChevroletForum.com
- Problems After Radio Install - ChevroletForum.com
- 2004 Silverado Radio Change-out - ChevroletForum.com
- Factory Bose with Afetrmarket Stereo - ChevroletForum.com