Chevrolet Silverado: How to Replace Power Window Regulator
There are multiple components that make your power windows work, and the regulator is one of them. Learn how to replace it when yours goes bad.
This article applies to the Chevrolet Silverado 1500 (1999-present).
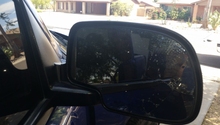
Power windows are now considered standard equipment in most cars. Power windows depend on multiple components in order to transform electrical power into an up and down motion. This is where the window regulator comes in. A regulator actuates the up and down motion that makes the window move up when you push the button, and move down when you push the down switch. Replacing a window regulator isn't all that complicated, but it requires removing door panels, etc. So if that's not your forte, then visiting a repair shop is recommended.

Materials Needed
- New window regulator
- Flat head screw driver
- Ratchet wrench
- 10mm socket
- Needle nose pliers
Step 1 – Prep door panel
In order to access the power components of the window, you must first use your flat head screw driver to pop the door handle cover and side mirror triangle cover off. Once they're out, use your 10mm socket and ratchet to undo the two 10mm bolts on the handle, and one bolt by the tray below the handle. Once those are out, remove the cover by the door armrest and undo the last two 10mm bolts.
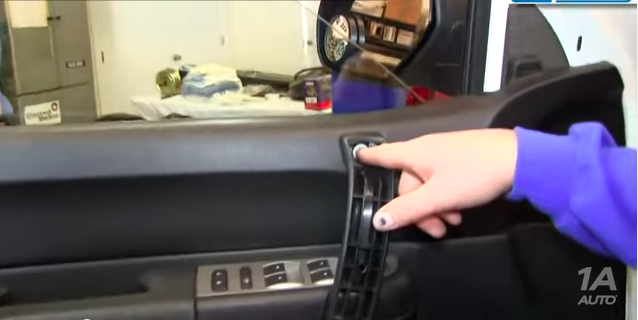
Figure 1. These are the two bolts located on the door handle. 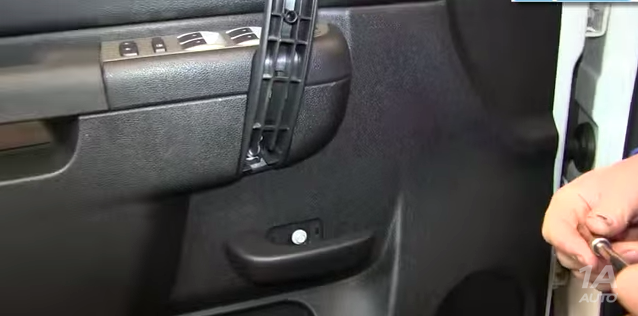
Figure 2. The third bolt is the one located all the way at the bottom by the small tray. 
Figure 3. Remove these two 10mm bolts as well.
Step 2 – Remove door panel
Now that the panel is unbolted, you must disconnect the power window mechanism and door lock. Start by popping out the power window switch panel and disconnecting the wiring connectors. Then pop the door lock up (unlocked position) and use your flat head screwdriver to pop the small plastic cover in order to fully remove the door lock. Then you can remove the entire door panel.

Figure 4. Unplug wiring connectors from window switches. 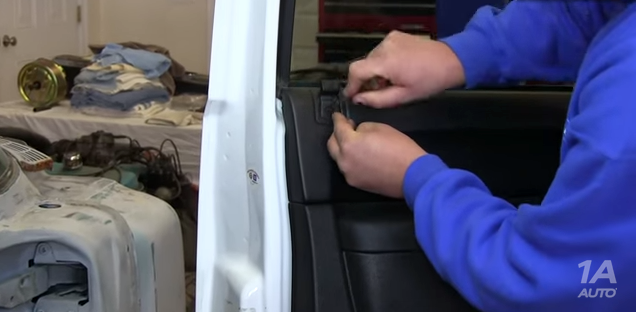
Figure 5. Use your flat head screwdriver to pop the door lock cover so it slides completely off. 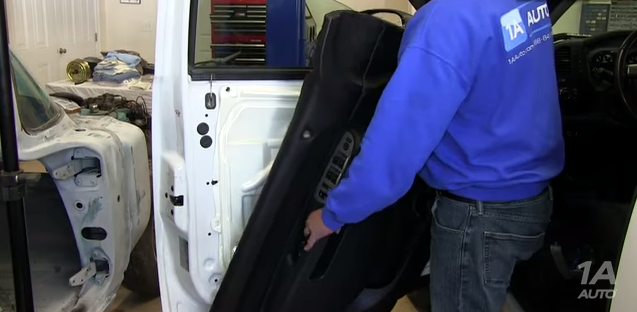
Figure 6. Pop out door panel.
Note
After the panel is off, carefully remove the water shield without tearing it.
Step 3 – Remove regulator
Now you must remove a few bolts in order to retrieve the window regulator. Start by removing the large metal cover attached to the door which is held in place by three 10mm bolts. Then undo five silver bolts to remove the regulator; there are two up top, another near the window motor, and two at the very bottom. Then you must carefully wiggle out the entire regulator assembly through the main center opening.

Figure 7. Remove the large metal bracket. 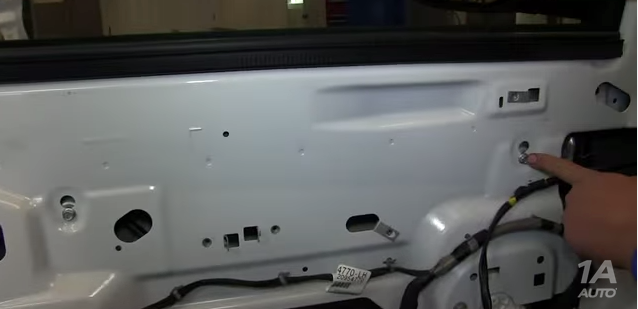
Figure 8. Undo a total of five bolts to release the regulator. 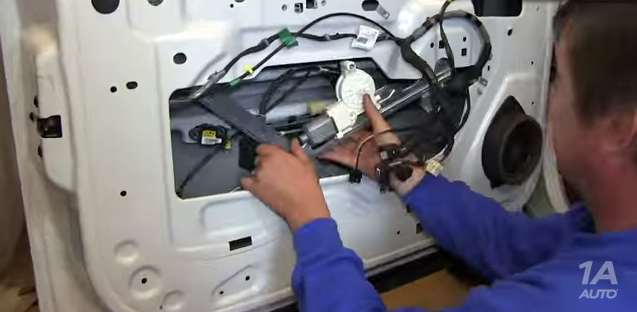
Figure 9. Carefully wiggle out the regulator assembly.
Step 4 – Install new regulator
Now that the old regulator has been removed, you can install the new regulator in its place. To do so, introduce the regulator through the opening and follow these steps:
- Bolt regulator with its 5 bolts.
- Bolt metal cover back on.
- Replace water shield.
- Mount door panel.
- Reconnect window switches.
- Replace door lock.
- Bolt down door panel.
Featured Video: How to Install/Replace Power Window Regulator
Related Discussions
- Window Regulator - ChevroletForum.com
- Power Window Problem - ChevroletForum.com
- Window Regulator Replacement Parts - ChevroletForum.com
- Window Makes Awful Noise - ChevroletForum.com
- Window Cable Disconnected - ChevroletForum.com