When you click on links to various merchants on this site and make a purchase, this can result in this site earning a commission. Affiliate programs and affiliations include, but are not limited to, the eBay Partner Network.
As promised here is my aftermarket stereo and backup camera installation information. Disclaimer, this is not a how-to and I am not an audiophile. This is just how I did it and some pictures that might help someone else. I purchased the least expensive items that had the features I wanted that appeared to have good user reviews. This is also not a review as I just installed it and I will not know for a few months or more what I think of it.
Items purchased for this install All the following was order together from sonicelectronix.com and I was given a deal on the accessories that were purchased with the stereo and recommended by the seller. The grand total spent on these items was $233.99
Double Din Stereo - Boss Audio Elite BV960NV
Antenna Adapter - Scosche CRAB / CRA
Dash Trim Kit - American International GMK318
Harness (no OnStar) - Axxess AX-GMLAN29
All the following was purchased at my local Lowes Crimp-on wire connectors$3.88
Extra Wire (I could not find a link) $6
I also had to source an old RCA cable from my box of random electrical crap my wife wants me to throw away.
Grand total ~$315.00
On with the install Backup Camera
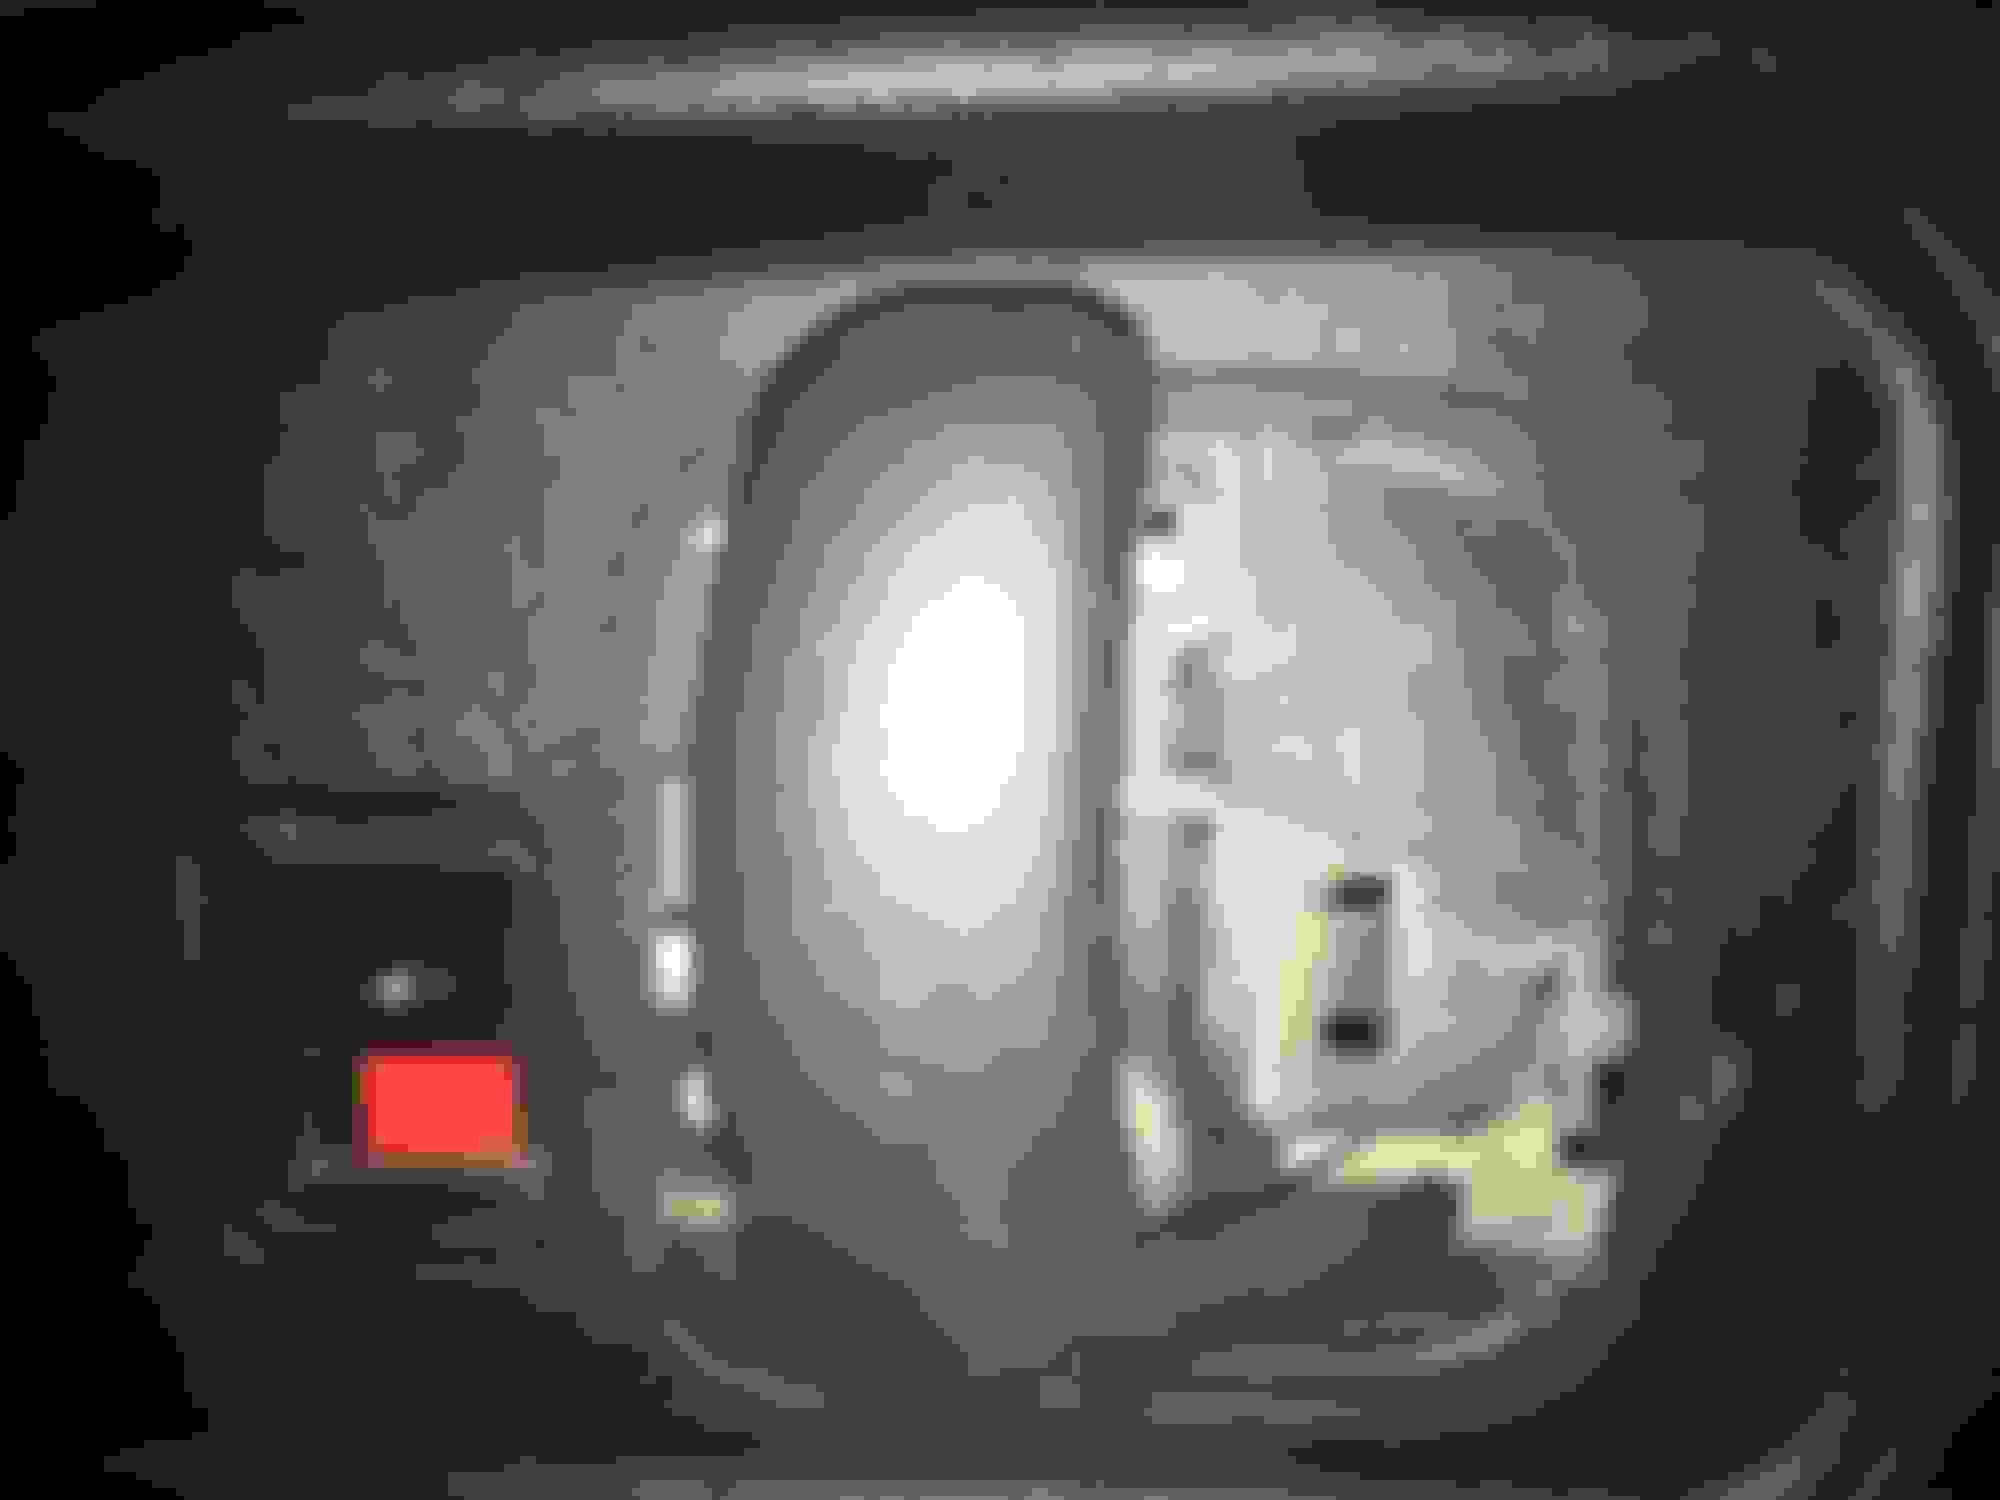
I started at the rear door by removing the small plastic cover around the handle
Then I removed the two screw under that cover. You can see the one screw hold just to the right of the top of the handle and the other is to the left of the handle just left of the red indicator on the lock switch.
Once those were out, I removed the larger plastic piece around the door handle and I just let that dangle from the wire connected to the lock switch while I pulled off the door panel. I started at the bottom of the door and worked my way up. Here is a picture of the back of the door to give you an idea of the tab locations
Here is how the top was attached to the door
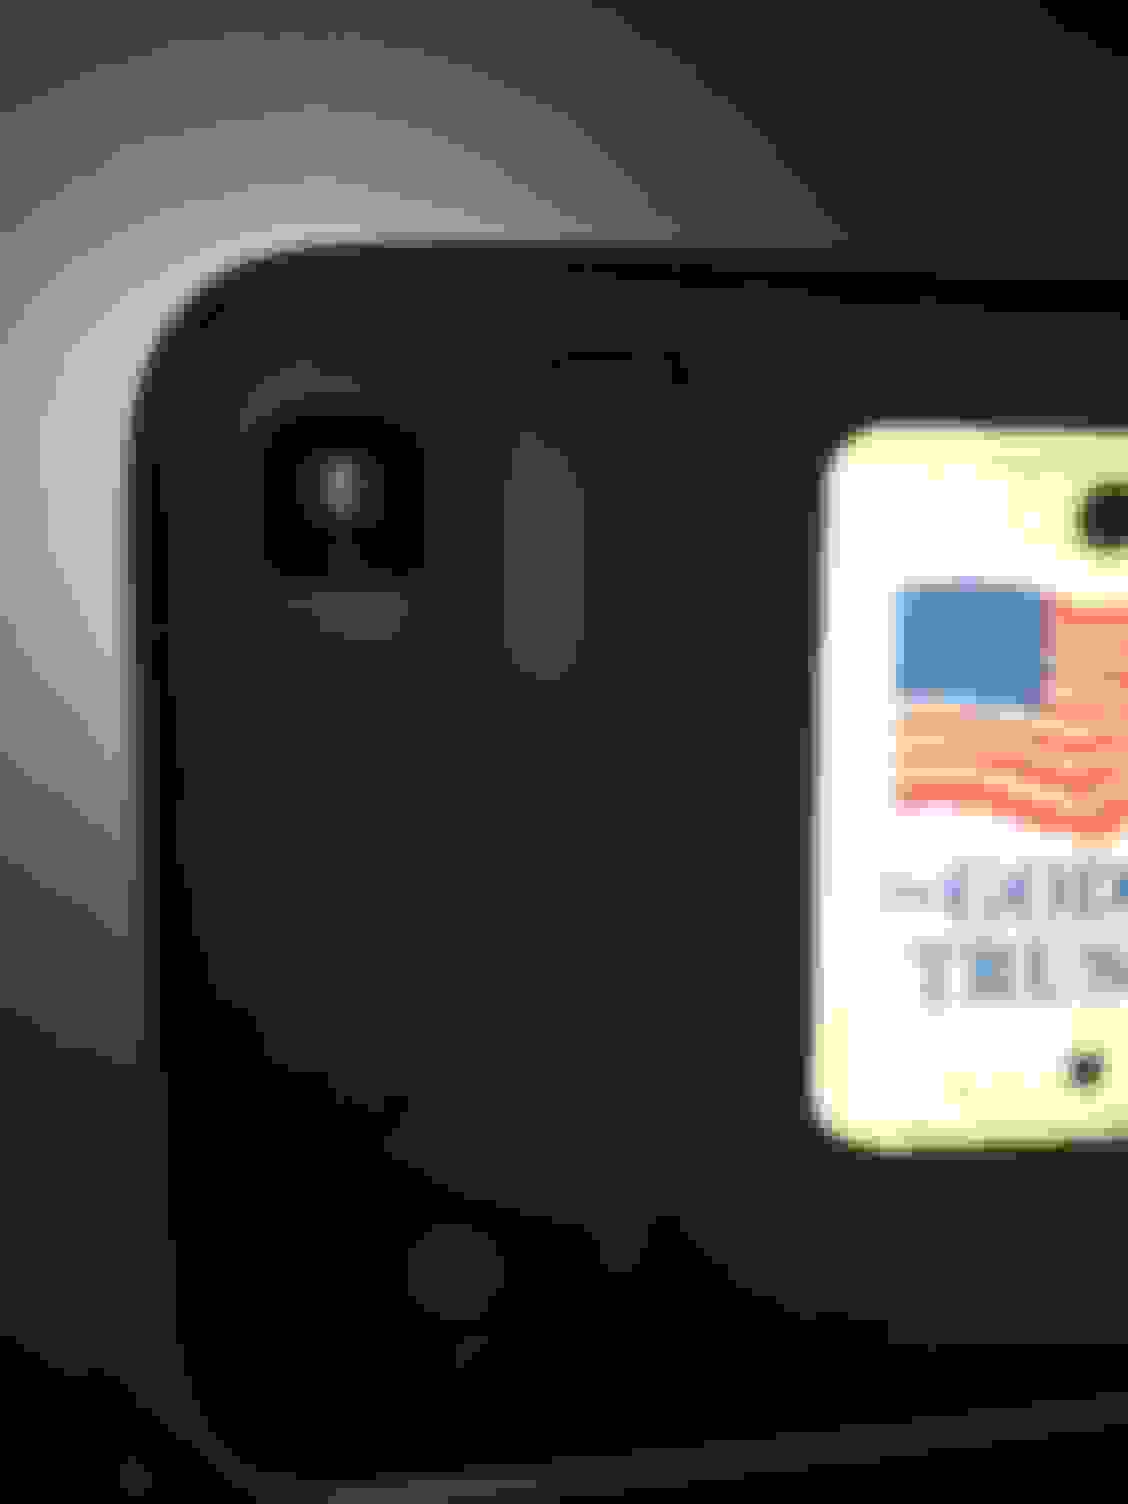
Next, I drilled a hole in my exterior plastic piece that supports the door handle and license plate, if I could do it again I would use a longer bit and drill it higher and to the left(in relation to the following picture). As it was I was not being patient and tried to use the big drill bit that was a regular length and it did not allow me to get exactly where I wanted. I should have used my smalled long bit to start the hole from the back side (Inside the door) and then move to the outside to finish the job with the bigger bit
The handle misses the camera by a few millimeters, so it would have been better to move it over a bit
Also, I used every wedge that came with the camera and this is my one complaint with this camera. The wedges did not hold the camera well and the next morning it had shifted up just a bit. I have contacted the camera manufacturer to see if they have a better wedge solution and I will let you know if I hear back **Update** The manufacturer responded by morning and said they are going to send me another camera, with more wedges and some pre-cut double stick to help prevent the shifting. I am not sure if it will work, but so far I am impressed by their response.
I then routed the wire through the rubber wire loom between the door and the back corner and this was no small feat because it is rather cramped in there. I used a long screwdriver with the loom scrunched up as much as I could to pull some nylon string through the reverse direction. I then tapped that string to the backup camera wire and pulled it through.
I then connected the longer section of wire the backup camera wire. I grounded the backup black wire here
The power is coming from the front GM aftermarket harness and my switch, so I just cut off a bunch of the red wire and capped what was left.
I then made the wires tidy and included a maintenance loop, just in case
Last edited by pile0g00; March 15th, 2019 at 10:07 AM.
I then removed the rear speaker pod and pulled down the rectangle plastic loom that runs under it. I cut the tape and ran my wire in there and then taped it up again
Once that was done I replaced the loom, and speaker pod. I ran the wire down the driver side
This picture was before tapping and wire ties. I did go back and make sure it was not rubbing sharp-edged and apply gorilla tape on sharp edges, also wrap the wire in electrical tap in those areas and in some cases use wire ties.
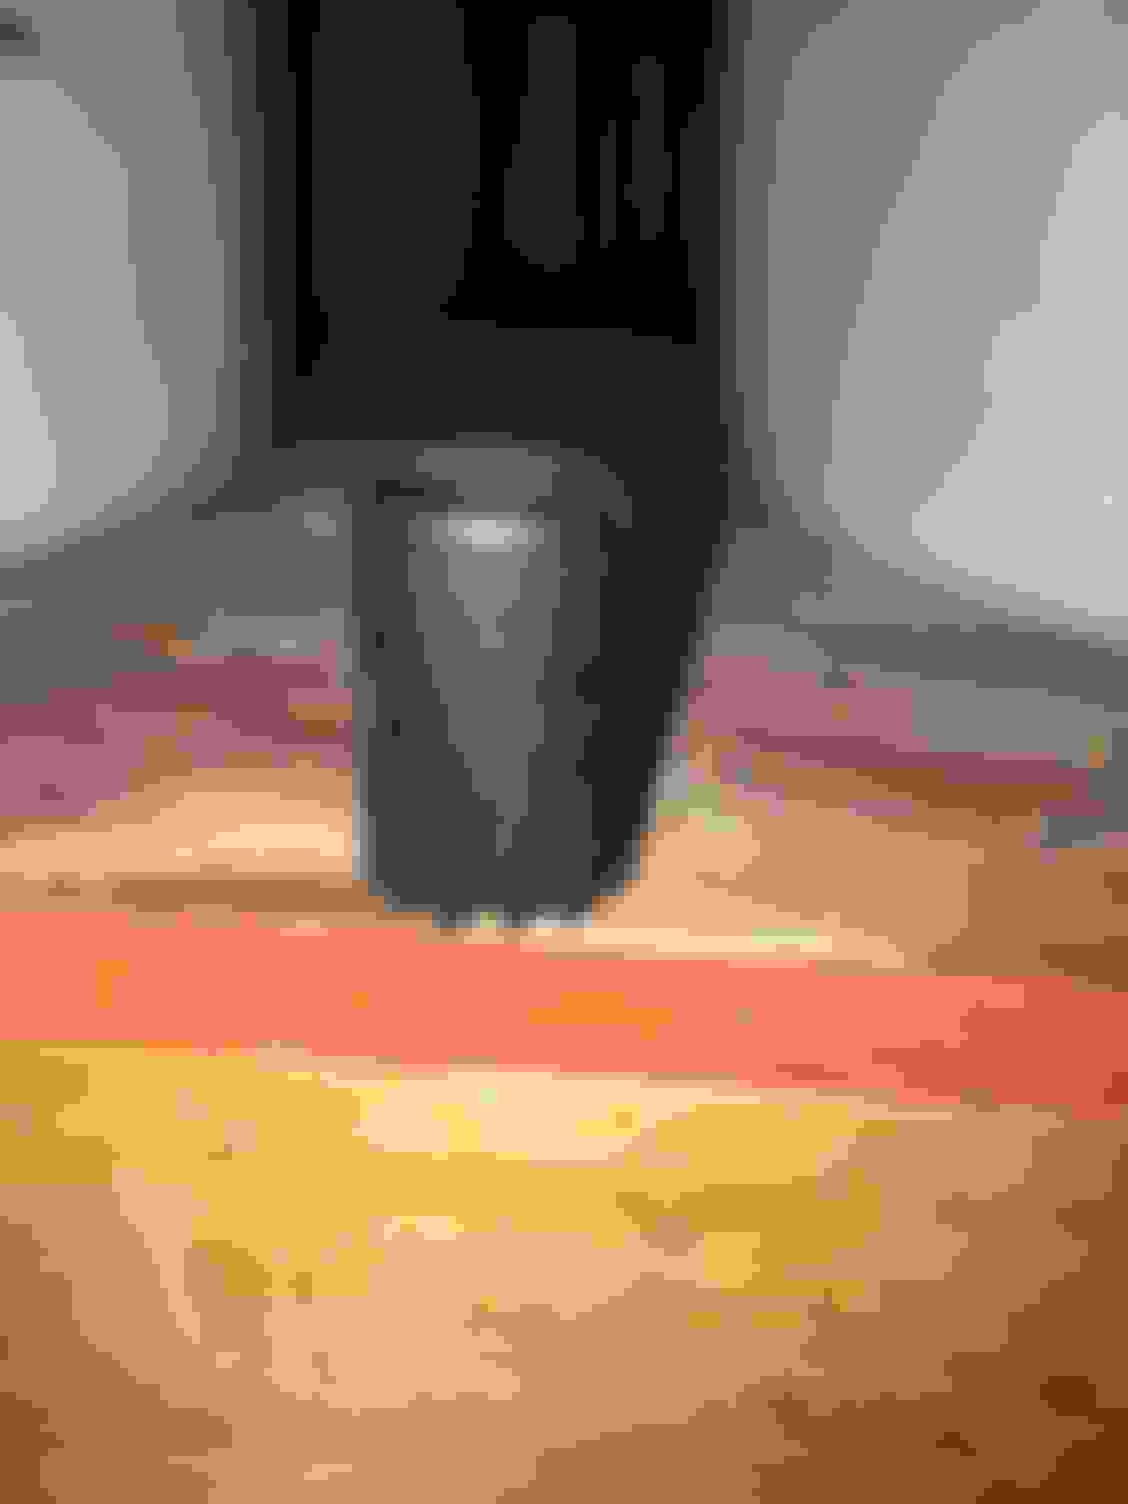
Did you see that gap in their ductwork? Here is a closer look
Come on Chevy, that is pathetic. Also, you will notice that there are almost zero sound deading mats anywhere under these panels so it is no wonder this thing sounds like an airplane taking off while driving down the freeway. Ok, small rant over... Sorry.
From this point, I went under the seat using a wire loom that was already there and had some room. I used some stiff wire that I had laying around as a snake
Here is from in front of the seat looking towards the back with my snake in there
and here is the opposite direction, it was pretty gross under the rubber flooring back here
I basically followed that across the floor and into here
Behind this panel, pull the hood latch to remove this panel
Sadly the wire was a few feet too short
I ended up using the wire from Lowes and old RCA cable and coupler that I mention in my parts list to extend this to the stereo.
That covers the backup camera. I will cover the stereo in the next post, but that was honestly much easier for me and I did not take as many pictures.
Stereo
You need to prepare the GM aftermarket harness and the stereo harness. They both came with all the information you could really ask for to wire this up. I just followed the labels on the stereo harness and matched those to the paperwork that came with the GM harness. For the most part, it was just a matter of matching colors, but you should always check and double check that against the harness paperwork and sticker on the stereo. Take your time and do it right. You can connect the wire any way you want. I just used the posi-twist connectors to connect two wires. I then used the crimp on wire connectors to cap wires I did not use. I tried to take a picture of this, but it just looked like a mess of wires.
You also need install the Dash Trim Kit on the new stereo. First, remove the little trim piece that came on the stereo
Remove the inner piece of the trim kit and install it on the new stereo. It is the labeled top inside this trim piece and you need to make sure you install it the right way
Now take the rest of the front trim piece and install the sides by coming in at an angle and then tipping them up
Take note of those oval plastic pieces on the inside top. Those also need to be installed in the location you see there.
Now you can slide the external trim piece onto the stereo starting from the back, up and over that internal piece and they will snap together making a nice clean look
Now to remove the dash you need to remove the kick/knee panels on both the driver and passenger side by taking the two bolts out of the bottom. Here is the driver's side
I was installing the stereo late at night and this is about the time that fatigue started to sit and I just wanted to get this over with, so not as many pictures were taken. Here is a picture after removing the other kick/knee plate. One of the tabs did not want to pull out on the passenger side, but who am I to judge with my 8 kids
If you haven't yet now would be the time to disconnect your battery. To remove the dash I started pulling on the driver side and worked my way across. Now that you have it lose you need to carefully disconnect all of the electrical connections to the dash. Watch for red locking tabs and remove those before you attempt to remove the plug. To get the dash off the steering column. I then lifted from the passenger side first and once that was mostly free I carefully worked the driver side free. One video I watched said that it helps to shift the gear lever, but I felt like it just got in the way when I shifted it.
Last edited by pile0g00; March 16th, 2019 at 11:54 PM.
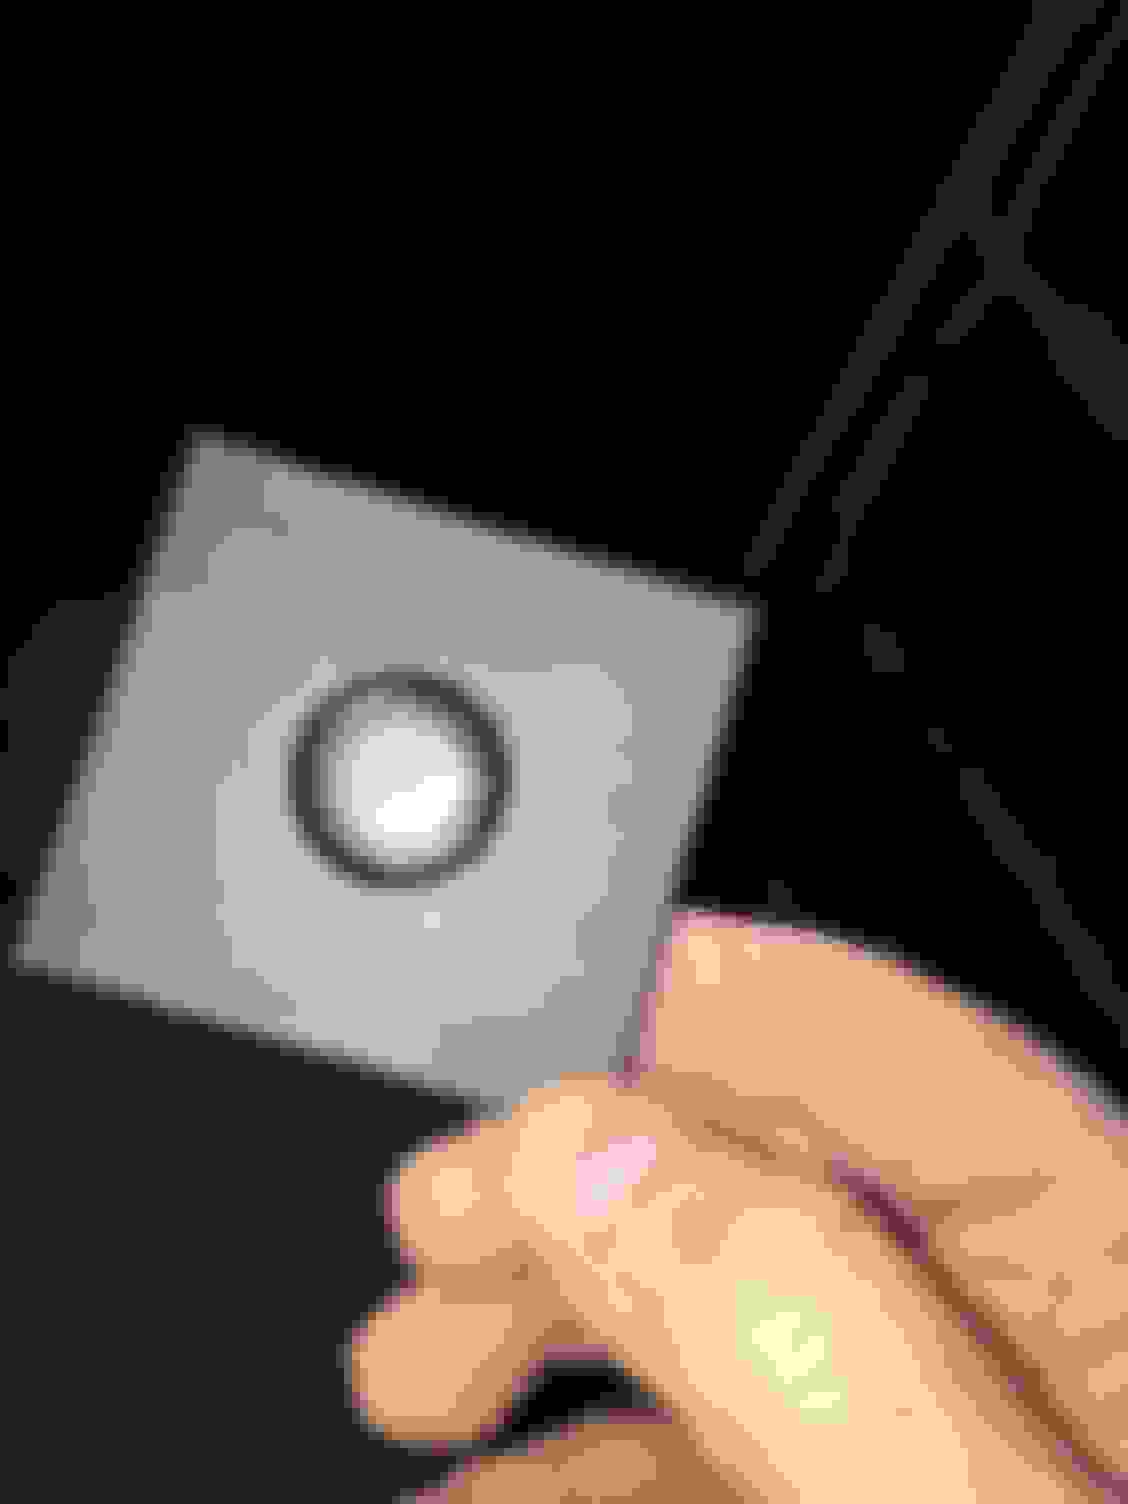
Now that I had the dash out I popped out the unused panels that I wanted to put my new accessories in. I then drilled them out and installed the switch and 3.5mm female input port
3/4" hole saw
1 1/8" hole saw
Drill part way through on the backside and then flip and finish from the front
FYI the panels are keyed, so if you want to move them around you will need to shave off the part the prevents you form putting it where you want. I just shaved it off with a utility knife and it was super easy.
Unscrew and unplug your stock stereo, remove the locking clips from the plugs first. Plug the harness that was in the stock stereo into the GM aftermarket harness and then plug the stereo harness into your stereo. I used double stick tape to secure my speaker box in the back, top, left of the stereo cabinet.
This part is specific to me wanting to be able to turn on my backup camera at anytime so if you don't want that you may want to skip this:
I now wired my backup wire in the harness to NO wire on my switch harness. I tapped the 12v accessory port wiring for power and wired that to NC on the switch harness as well the ground to the ground wire on the switch harness. I wired the common wire on the switch harness to the backup camera, backup trigger wire on the stereo, and the switch harness LED positive (this way the switch light only comes on when the backup camera has power).
I also plugged the RCA to 3.5mm female flush mount into the stereo's audio video input cables.
I then screwed the stereo in to place. FYI I did not use the rear support as I was having alignment issues and just decided it was not needed and removed it.
Now I just carefully reinstalled the dash in reverse order and put all my panels back on through the entire van.
Last edited by pile0g00; March 16th, 2019 at 11:51 PM.
Thanks, I can't remember who asked for this, but I hope someone finds the information useful. I know I would have appreciated knowing some of these things going into my install.
Question on functionality... can you have your camera on while playing a CD? The radio we have has a mode that enables the camera to be on anytime but, it mutes the CD or iPod when the camera is switched on and is a real PITA.

 March 15th, 2019, 12:57 AM