When you click on links to various merchants on this site and make a purchase, this can result in this site earning a commission. Affiliate programs and affiliations include, but are not limited to, the eBay Partner Network.
Tahoe & Suburban DIY and Useful ThreadsThis section is for DIY writeups, FAQs, and other useful threads. If you would like something posted in here, please contact a moderator.
If you're just looking to replace the yellow insert, I just did my 2016 Burb's this morning. Super easy. Get a large drill bit and drill a hole square in the middle of the bow toe. Just until it pops through the insert. I actually did three so I could get a slim screwdriver in and start prying it out. Go gently and it'll start releasing from the glue and will pop off. Then you can scrape out the remaining glue and put your new insert in.
Can't you use fishing line, dental floss, or a credit card to cut the adhesive like we did the one on the rear on the previous design?
You can, but you'd have to at least start it with prying back a corner and doing that may scratch or mar the outside of the bowtie insert "holder". My thought was, if you're just getting rid of the insert anyway, the drill option works best. When I removed and painted the bowties on my Avalanche, I did the fishing string since I was sanding, painting and reusing them.
Go to Home Depot and get some PlastiDip. Tape off around the bow tie and spray it. You'll have a black bow tie in secs for under 8.00. Looks great, works great, and easy to do.
Mine has lasted for years even through car washes etc.
If you're unfamiliar with PlastiDip, it sprays on like a rubber coating that you can peel off when you're finished and you're right back to where you started.
Go to Home Depot and get some PlastiDip. Tape off around the bow tie and spray it. You'll have a black bow tie in secs for under 8.00. Looks great, works great, and easy to do.
How does PlastiDip work on the new bowties that are more "textured" with the horizontal ridges? I've used it before with great results on smooth surfaces, but wondering how it would fill in and look on the ridges.
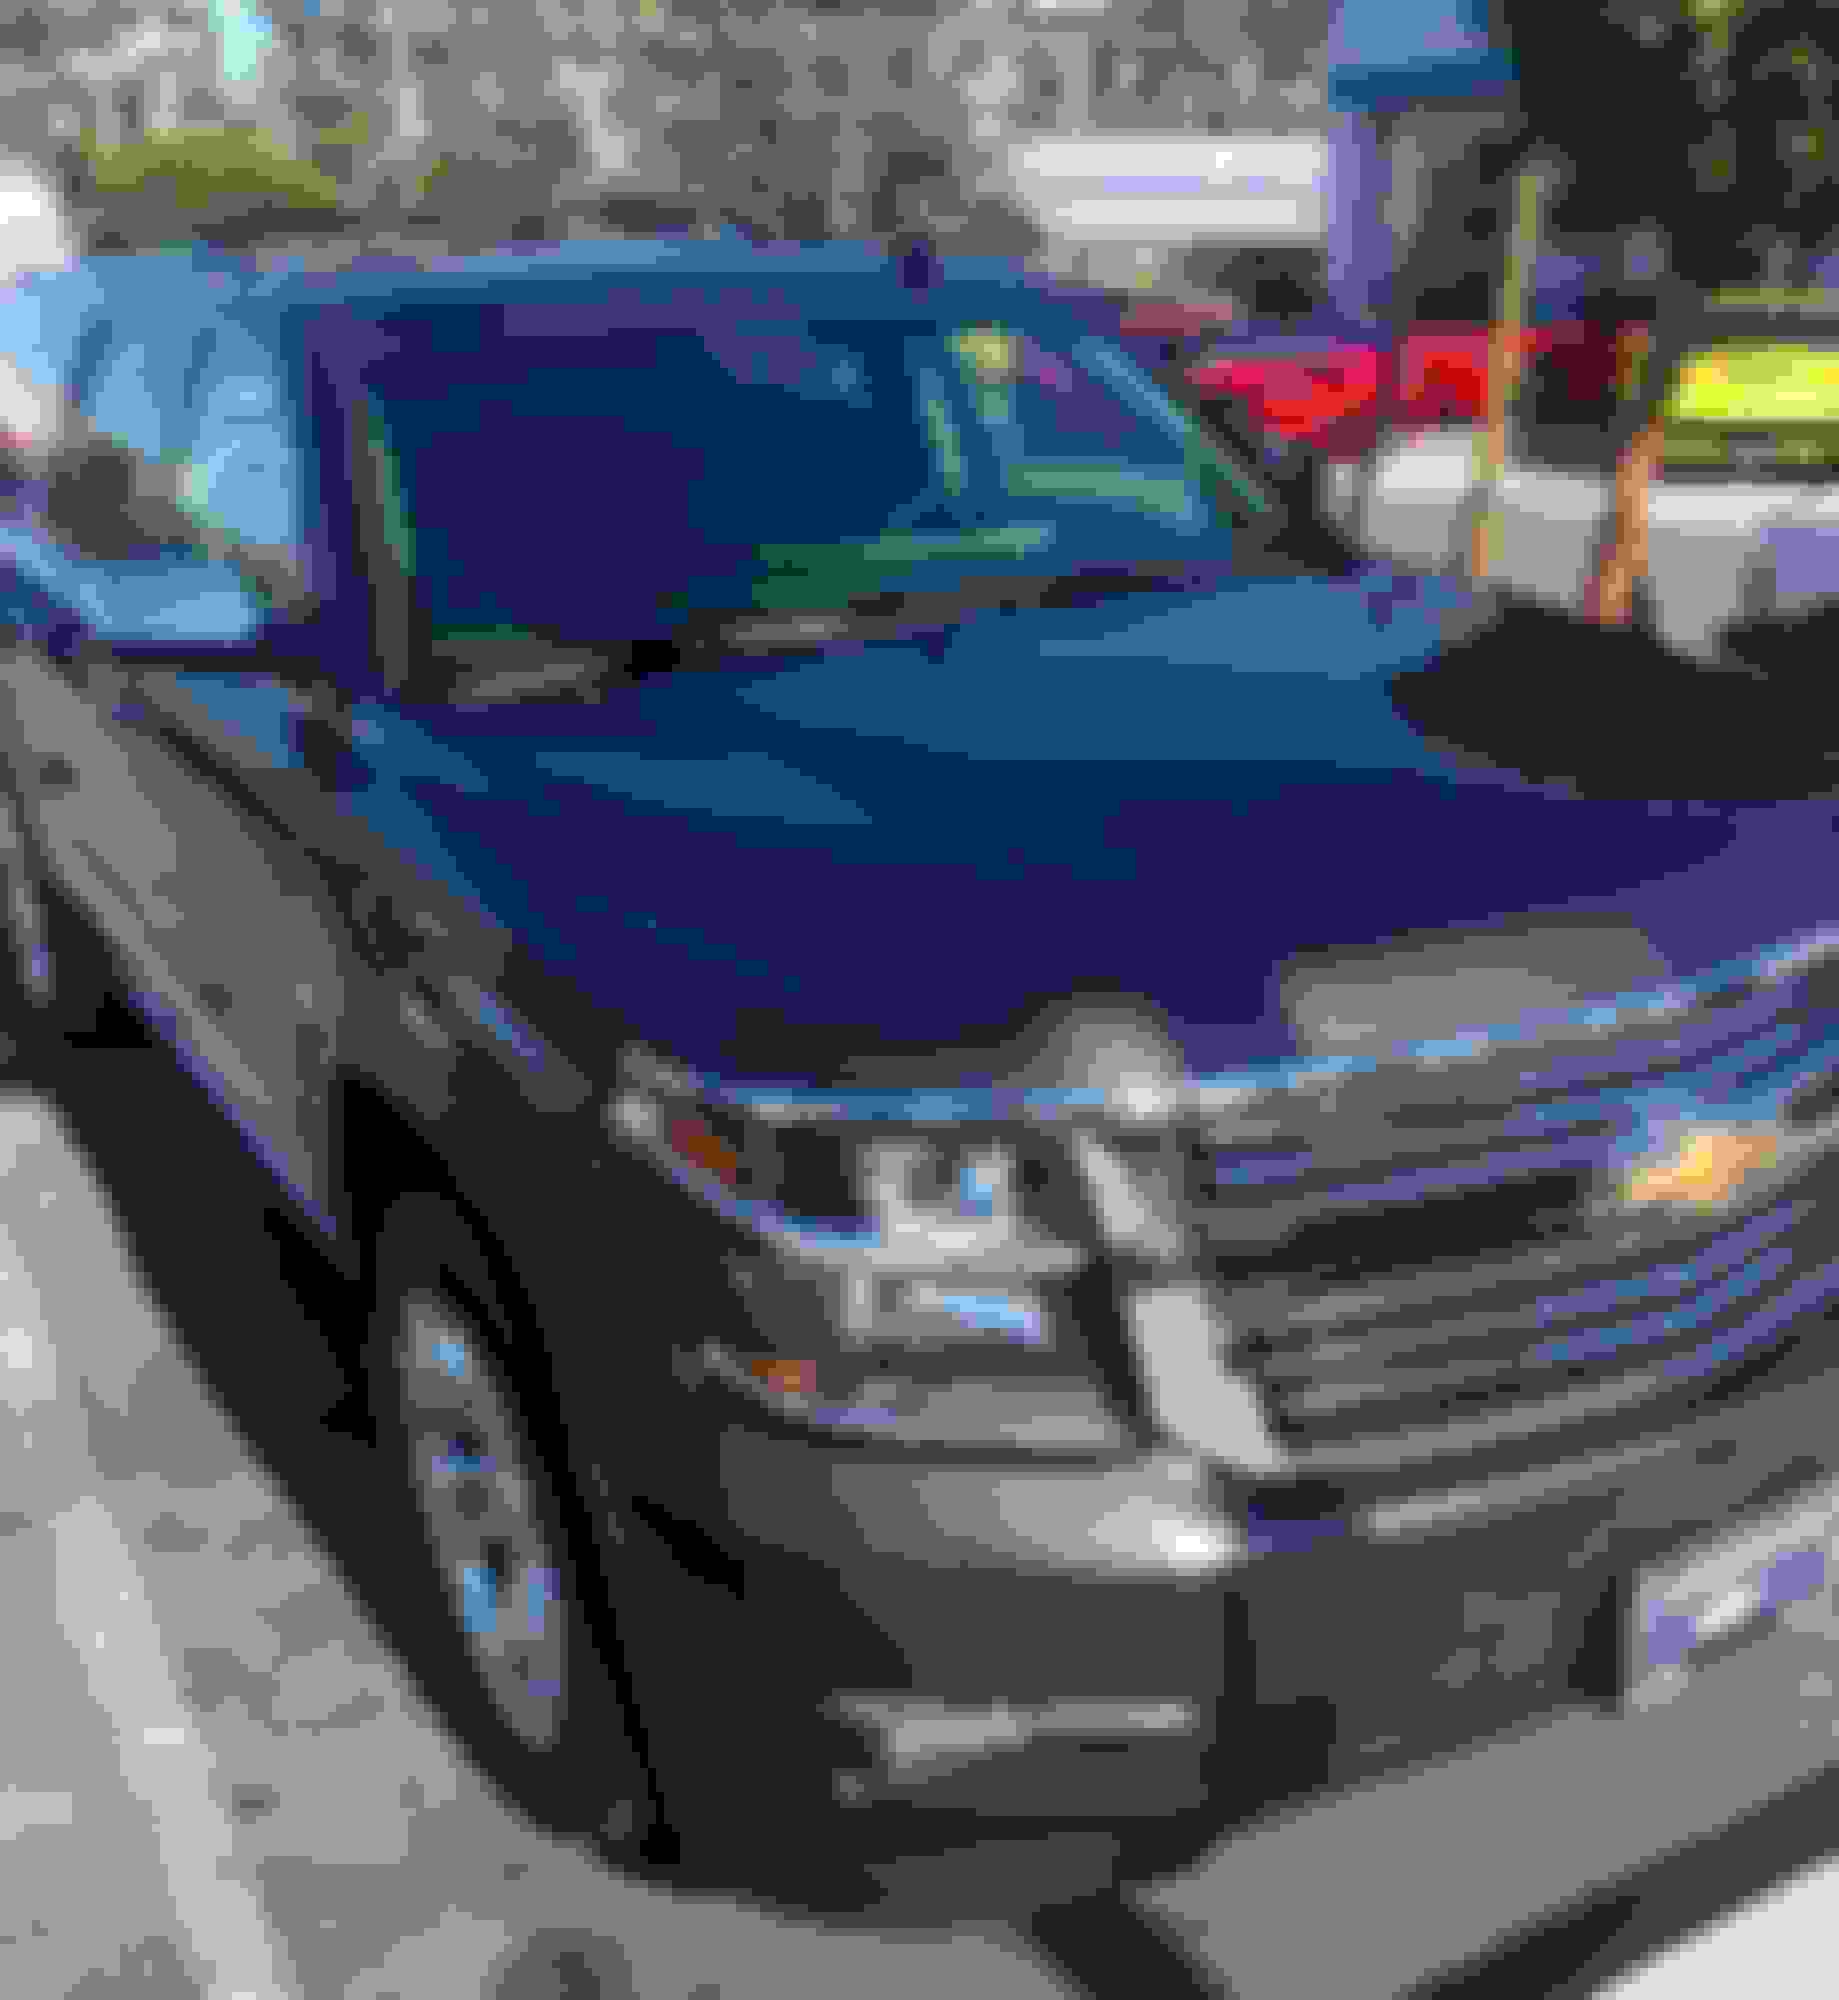
Plastidipped mine on my '16 Tahoe, and they look OEM. Front bow tie popped off easily when I slipped my hand down inside the grille, and unclipped it. I just used blue painters tape on the rear bow tie. Both look great! I used black to match my black Tahoe, but other colors are available. Wally World, $5.89 per can. I used 4 coats.


 August 20th, 2016, 2:26 PM