Chevrolet Silverado 2007-2013: How to Replace Brake Line
Stop! In the name of brakes. Before you hit something.
This article applies to the Chevrolet Silverado GMT900 (2007-2013).
To be clear here, we're talking about the flexible lines between your brake caliper and the stainless steel—so called "hard lines"—lines that run to the rest of your braking system. If you need to replace your hard lines, consider patching them instead. If you absolutely must replace all the hard lines in your truck, consider pushing it into a lake and forgetting you ever had a truck.
Okay, don't do that, but it is a giant job outside our present scope. What we can do is replace the flexible lines at all four corners, and maybe improve braking performance while we're at it.

Materials Needed
- Safe jacking equipment (jack, jack stands, wheel chocks)
- Brake bleeding stuff (catch can, hose, 10mm wrench, pedal operating partner)
- Line wrenches
If you're not familiar with the idea of a line wrench, it's a normal box end wrench with a slot cut out of it. You can use it on brake line fittings and other similar applications.

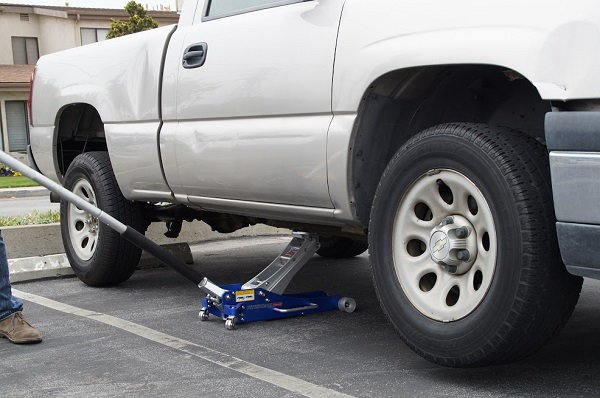
Step 1 – Safely jack up your truck and remove the wheels
Wheels are nice for driving your truck, but they are going to seriously get in the way during this operation. So let's just remove them and set them aside. Take care when jacking up your truck. Putting that much iron in the air is storing up a lot of potential energy, and potential energy can mean potential injury. You need all four wheels off the truck.
(Related Article: How to Jack Up Your Truck - ChevorletForum.com)
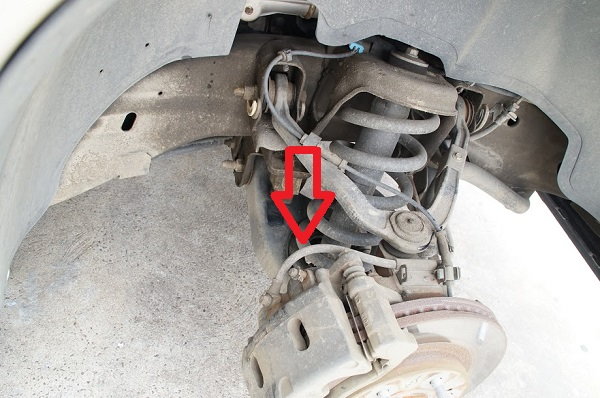
Step 2 – Remove the old lines
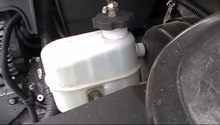
As soon as you use your line wrench to crack the nut on your old brake line, brake fluid is going to come out, so be sure to use a drip pan or some other fluid catching device. Try to work quickly to avoid wasting brake fluid, and make sure the reservoir remains topped up. If you accidentally suck air into the lines, it'll be annoying. Not the end of the world, but a pain in the rumpus.
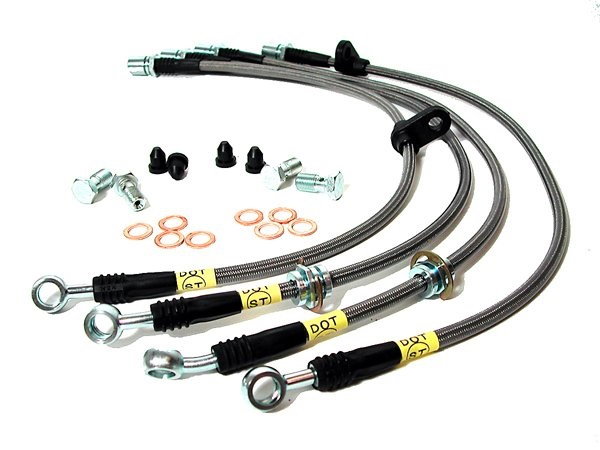
Step 3 – Install replacement lines
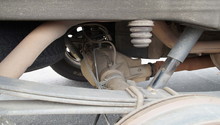
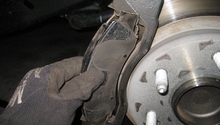
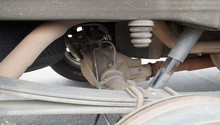
Brake lines, whether you're using the rubber kind or the stainless steel braided ones, are shaped especially for the wheel they're going to, so make sure you have the right one for the wheel you're working on. Attach it to the car's body, then the wheel caliper, and make sure all leaking brake fluid has stopped coming out.
Also, visually inspect to make sure the line won't rub or catch on anything during normal operation. Braking is a key safety component of your truck. We know you already know that because you're not a dummy, but it bears pointing out.
Step 4 – Bleed your brakes and re-install wheels
All that's left, once you've got all the lines in, is to bleed those brakes and make sure all air is out of the system. Then, you can drive safely, knowing you'll be able to stop when you get where you're going. If you smash into stuff every time you drive your car, you're going to get hurt, and you won't likely be invited back to friends' houses.

(Related Article: How to Bleed Brakes - ChevroletForum.com)
Related Discussions
- Brake Lines on Silverado - ChevroletForum.com
- Replacing Brake Hose - ChevroletForum.com
- Brake Line Replacement Tips - ChevroletForum.com