Chevrolet Silverado 2007-2013: How to Replace Outer Tie Rod
Do you hear clunking noise when you turn your steering wheel? The problem may not be as serious as you think. Here is the how-to on replacing your outer tie rods.
This article applies to the Chevrolet Silverado GMT900 (2007-2013).
The outer tie rods are responsible for steering the wheel hubs in the direction you want your truck to turn. They are located in-between the steering rack and wheel hub assembly. These components have an unfortunate reputation of cracking or snapping in half when put under large loads. Other times, the ball joints fail and cause the rod to be unstable. When a tie rod becomes damaged, the steering wheel may shudder, or you may here a clunking noise every time the truck is turning. The general procedure required to repair a bad tie rod is to install a replacement, followed by a complete wheel alignment. Although alignments must be done at professional shop, you can still save some money by handling the replacement procedure yourself. Use the following instructions to replace a damaged outer tie rod.

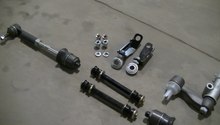
Materials Needed
- Jack and jack stands
- Metric socket set (up to 22mm)
- 16mm and 15/16" open-ended wrenches
- Grease gun
- Measuring tape
- Pliers
Step 1 – Raise the truck and remove the wheel
First, break loose the wheel lug nuts, but do not remove them until the chassis is lifted from the ground.
- Locate the jacking points under the chassis of the truck.
- Raise the truck up and secure it in the air using jack stands.

Step 2 – Measure the tie rod
The tie rod is an extremely important component in regards to your truck's alignment. While it is in the process of being replaced, you need to measure the length at which the original part sits, so you can install the new part as close as possible to the truck's stock alignment.
- Grab the hub assembly by hand and pull it outwards.
- Use a measuring tape to measure the distance from where the tie rod thread ends to the hub.
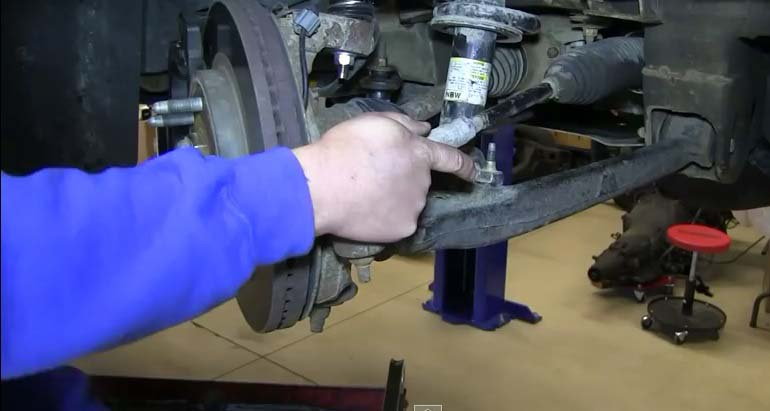
Figure 2. Pull the hub outwards. 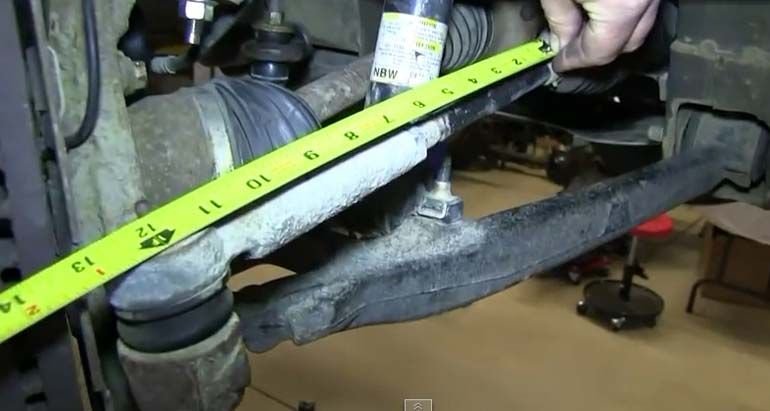
Figure 3. Measure the tie rod's location.
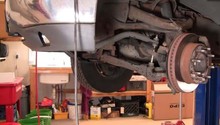
Step 3 – Remove the tie rod
- Use the 15/16" open-ended wrench to loosen the outer tie rod from the inner tie rod.
- Use pliers to straighten the cotter pin and remove it from the castle nut.
- Loosen and remove the castle nut.
- Use a hammer to break the ball joint loose from the hub assembly.
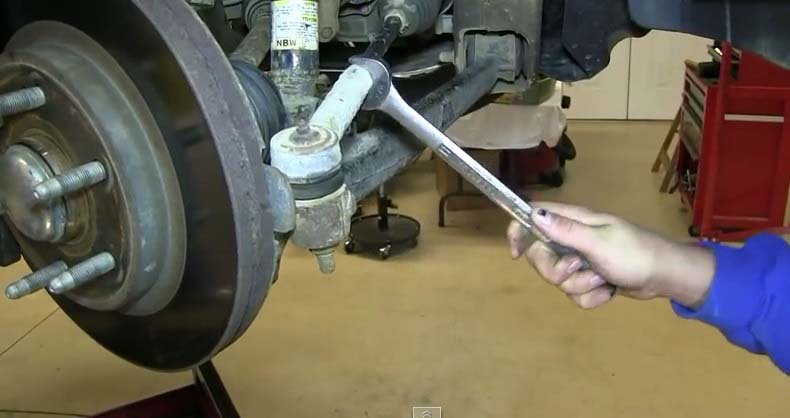
Figure 4. Loosen the rear of the tie rod. 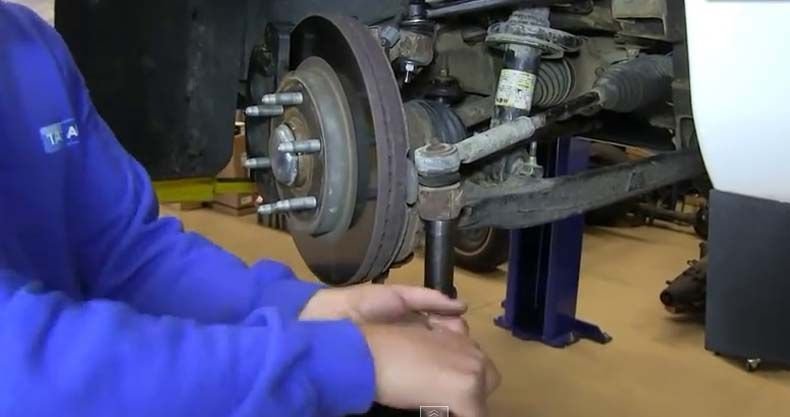
Figure 5. Remove the castle nut. 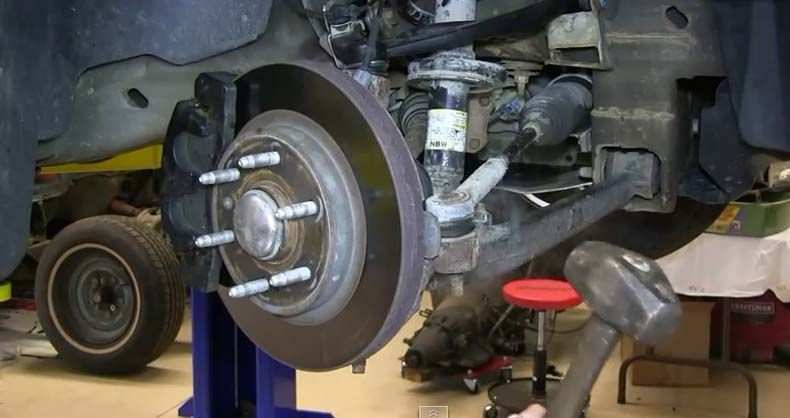
Figure 6. Break loose the ball joint.
Step 4 – Install the new tie rod
Take the new tie rod and thread it in place by hand. Then, use the measurements taken from the measuring tape and adjust the new tie rod to the same distance.
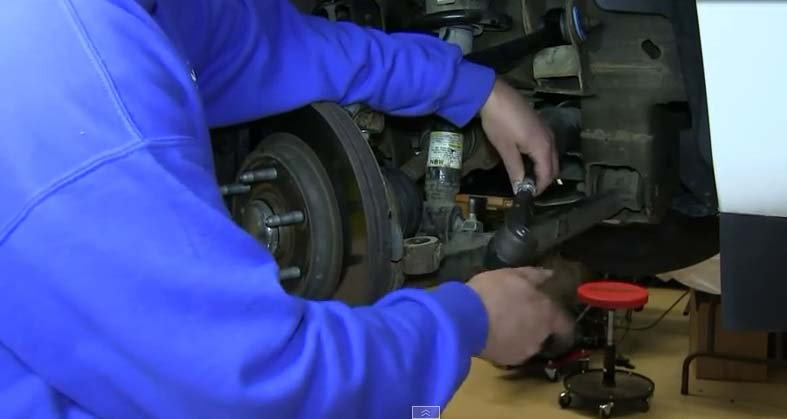
Figure 7. Thread the tie rod in place by hand. 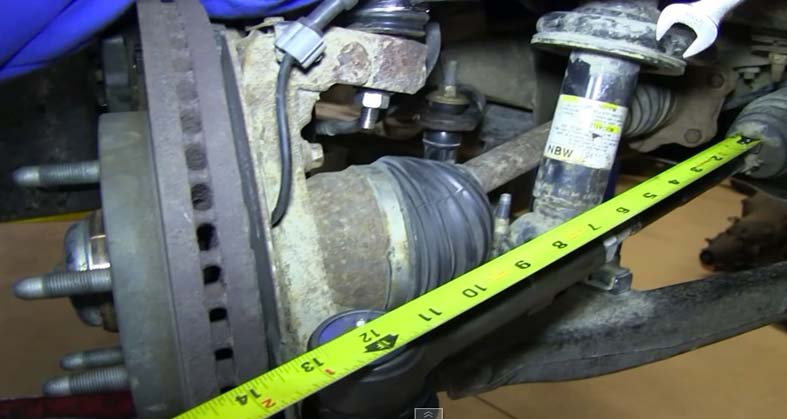
Figure 8. Measure the distance of the new tie rod.
- After taking the initial measurements, seat the ball joint into the hub assembly.
- Tighten the castle nut.
- Insert the cotter pin.
- Tighten the rear of the tie rod.
- Then, fill the ball joint with grease using the grease gun.

Figure 9. Tighten the castle nut. 
Figure 10. Tighten the rear of the tie rod. 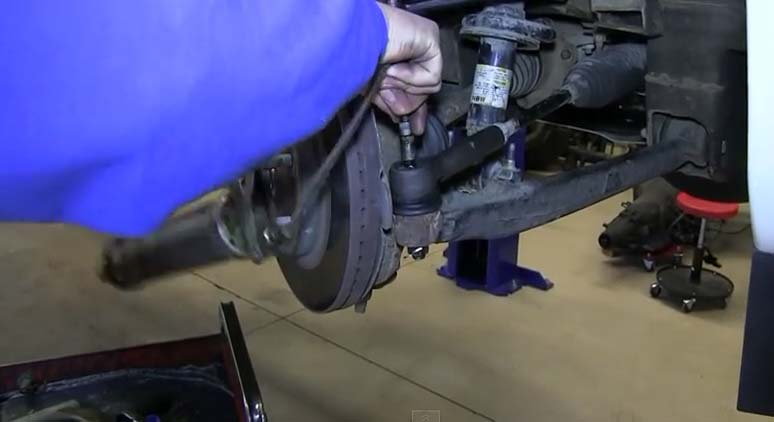
Figure 11. Use a grease gun to fill the ball joint.
Step 5 – Lower the truck
Once the tie rod is on tight, lower the truck and take it to the nearest alignment shop.

Featured Video: How to Replace Outer Tie Rods
Related Discussions
- Tie Rod Replacement - ChevroletForum.com
- Broken Tie Rod - ChevroletForum.com
- Changed Tie Rods On Both Sides and Still Clunks? - ChevroletForum.com
- Side to Side Play in Front Wheels - ChevroletForum.com