Using HTML in Signatures: A Quick Rundown!
#1
Hello members of Chevrolet Forum!!
We have a little permission that is available to the members of the site: the ability to use HTML code in your signatures. You may or may not have tried using HTML to organize your signature before and I know this sounds scary and daunting... all this internet browser language... but I promise this demonstration isn't too hard.
First, you'll have to open a new browser window or tab and navigate your way to the edit signature page. There is a text field on that page as you should know.
The most functional way to stay within size constraints with your signature is to put things side-by-side as you will often see in my signature. You can generally put up to 3 columns of HTML table in your signature depending on what is in it. In this example, we will only use two columns and one row.
-As with all things HTML, you'll start with tags. Don't worry about the usual opening tags, you won't need those. Instead we will use a very basic table tags.
-Start by typing
<textarea rows="1" cols="30"> <table border="0"></table> </textarea>
in the signature field. The opening tag gives you the option of having a border, the number in parentheses is the thickness of the border. Use "0" for no border.
-You will now put the rows between the table tags.
Row contents are placed within table row tags.
<textarea rows="1" cols="30"> <tr> </tr> </textarea>.
As stated above, you will only be using one row.
So far you have
<textarea rows="2" cols="20"> <table border="0"> <tr> </tr> </table></textarea>
-Now its time to put in the columns.
Column contents are place between table divide tags:
<textarea rows="1" cols="20"> <td> </td> </textarea>
We will only use two columns for this demo, so put these in twice, back to back between the table row tags.
Now you have:
<textarea rows="2" cols="20"> <table border="0"> <tr> <td> </td> <td> </td> </tr> </table> </textarea>
-I recommend placing the SIGPIC BB code tags within the first column.
<textarea rows="4" cols="20"><table border="0"> <tr> <td>[SIGPIC][/SIGPIC]</td> <td></td> </tr> </table></textarea>
-Now you can put whatever else in the second column. For this demonstation, I'm using a variation of my current signature.
Now my code looks like this:
<textarea rows="5" cols="40"><table border="0"><tr><td>[SIGPIC][/SIGPIC]</td><td> MATERIAL TO BE QUOTED INSIDE BB QUOTE TAGS </td> </tr> </table></textarea>
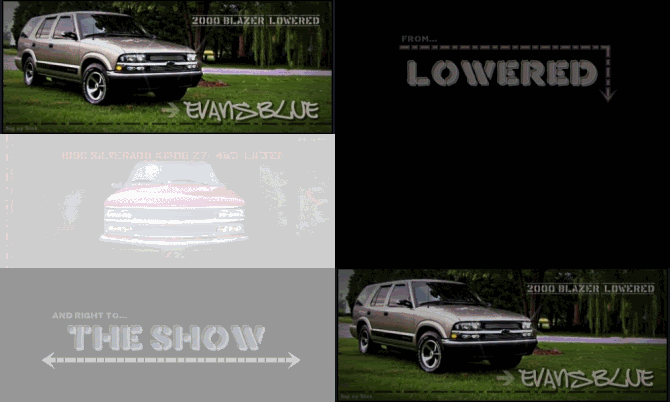
The end result looks like this:
<table border="0"> <tbody><tr> <td> </td> <td>
</td> </tr> </tbody></table>
<hr>
We have a little permission that is available to the members of the site: the ability to use HTML code in your signatures. You may or may not have tried using HTML to organize your signature before and I know this sounds scary and daunting... all this internet browser language... but I promise this demonstration isn't too hard.
First, you'll have to open a new browser window or tab and navigate your way to the edit signature page. There is a text field on that page as you should know.
The most functional way to stay within size constraints with your signature is to put things side-by-side as you will often see in my signature. You can generally put up to 3 columns of HTML table in your signature depending on what is in it. In this example, we will only use two columns and one row.
-As with all things HTML, you'll start with tags. Don't worry about the usual opening tags, you won't need those. Instead we will use a very basic table tags.
-Start by typing
<textarea rows="1" cols="30"> <table border="0"></table> </textarea>
in the signature field. The opening tag gives you the option of having a border, the number in parentheses is the thickness of the border. Use "0" for no border.
-You will now put the rows between the table tags.
Row contents are placed within table row tags.
<textarea rows="1" cols="30"> <tr> </tr> </textarea>.
As stated above, you will only be using one row.
So far you have
<textarea rows="2" cols="20"> <table border="0"> <tr> </tr> </table></textarea>
-Now its time to put in the columns.
Column contents are place between table divide tags:
<textarea rows="1" cols="20"> <td> </td> </textarea>
We will only use two columns for this demo, so put these in twice, back to back between the table row tags.
Now you have:
<textarea rows="2" cols="20"> <table border="0"> <tr> <td> </td> <td> </td> </tr> </table> </textarea>
-I recommend placing the SIGPIC BB code tags within the first column.
<textarea rows="4" cols="20"><table border="0"> <tr> <td>[SIGPIC][/SIGPIC]</td> <td></td> </tr> </table></textarea>
-Now you can put whatever else in the second column. For this demonstation, I'm using a variation of my current signature.
Now my code looks like this:
<textarea rows="5" cols="40"><table border="0"><tr><td>[SIGPIC][/SIGPIC]</td><td> MATERIAL TO BE QUOTED INSIDE BB QUOTE TAGS </td> </tr> </table></textarea>
The end result looks like this:
<table border="0"> <tbody><tr> <td>
 </td> <td>
EvansBlue: So when are they gonna oulaw singing while driving?
Nauticstar87: The day you sing with your windows down.
EvansBlue: Touché.
Nauticstar87: The day you sing with your windows down.
EvansBlue: Touché.
<hr>
#2
i have been wondering for quite sometime now. i wish to pimp my 2009 chevy captiva out- i am getting 5 18-20" chrome rims soon and i also wanna change the lights... now apparently i have h1 high beams and h8 fogs but i really cant seem to find out what type of low beams i have. i have been searching lately and saw something about them being 5dr but im not positive. does anyone know what type of low beam bulbs i have?????
Thread
Thread Starter
Forum
Replies
Last Post
biglg
Silverado, Sierra & Fullsize Pick-ups
46
November 4th, 2013 5:40 PM


