Chevrolet Silverado 1999-2006: How to Replace Fuel Pump
If your Chevrolet Silverado isn't performing the way it once did, or if you feel like you're stepping on the gas pedal and not much is happening, it may be time to replace the fuel pump.
This article applies to the Chevrolet Silverado (1999-2006).
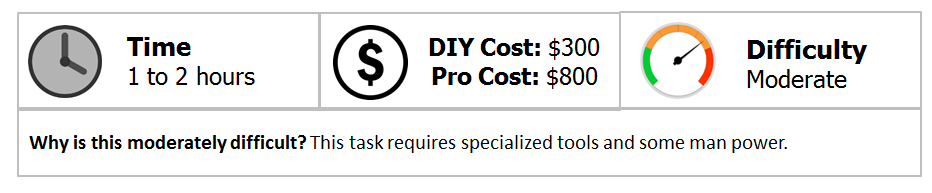
Bad fuel pumps are a nightmare to any Chevrolet Silverado owner. When they die, you are usually at the farthest point from your destination. If you suspect that you have a bad fuel pump or one that is nearing its end of life, don't get stranded, change the pump as soon as possible. Although this is a significant undertaking, it is remarkably easy to do yourself. A novice with limited to no mechanical abilities can swap out a fuel pump in just a couple of hours at home. A professional is going to cost a good deal of money to do this job. Doing it yourself will keep your costs at a minimum, save you a large bundle of cash from giving it to a pro and you'll have quite an accomplishment to brag about.
Materials Needed
- Ratchet with extension and 15 mm socket
- Wire snips and stripper
- Soldering tool
- Heat gun for wiring shrink wrap
- Plenty of shop rags for spilled fuel
There are two predominant methods for replacing the fuel pump on a Silverado. The first is to remove the bed and the second is to drop the fuel tank. There are pros and cons to each, and it is up to you which way you would prefer to proceed. This article will walk you through the second method of dropping the fuel tank.
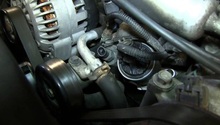
Step 1 – Relieve fuel line pressure
- Open the hood.
- Pull the fuel pump relay from the fuse box.
- Start the vehicle and let it run until it shuts down.

Pro Tip
Make sure that you are working in a well ventilated area free of any heat sources, sparks and open flames. Do not smoke while working around fuel sources.
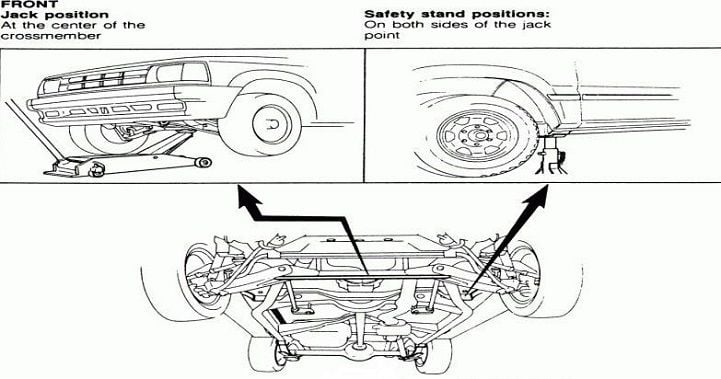
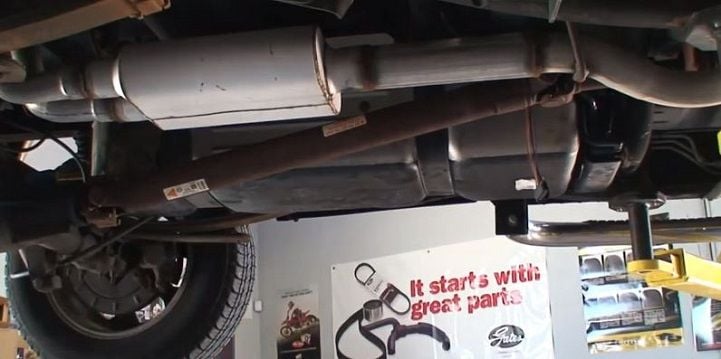
Step 2 – Lift the truck
Use the appropriate lifting points and place on jack stands in the manufacturer's recommended locations on level ground.
Pro Tip
If you don't have access to a lift, you should use four jack stands and lift the entire truck rather than just the rear end for this job.
(Related Article: How to Jack Up Your Truck - Chevroletforum.com)
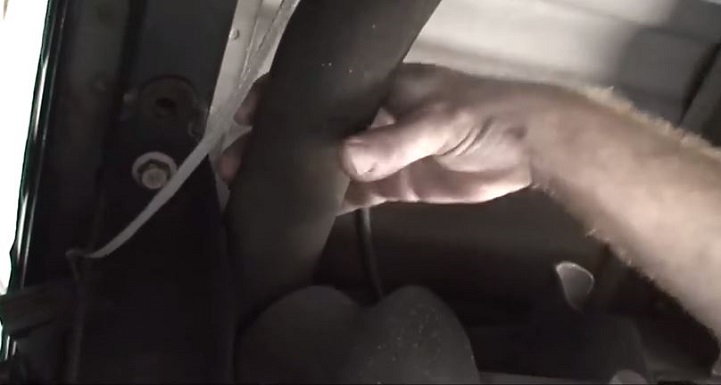
Step 3 – Remove fuel filler neck from tank
This step is a little difficult because the fuel filler neck is in a difficult position to access. On the driver's side of the tank and above the frame is where you'll find the fuel filler neck. This large diameter hose is connected to the tank with a hose clamp. Use a stubby flat head screwdriver to loosen the hose clamp and the fuel filler neck should pull right off fairly easily.
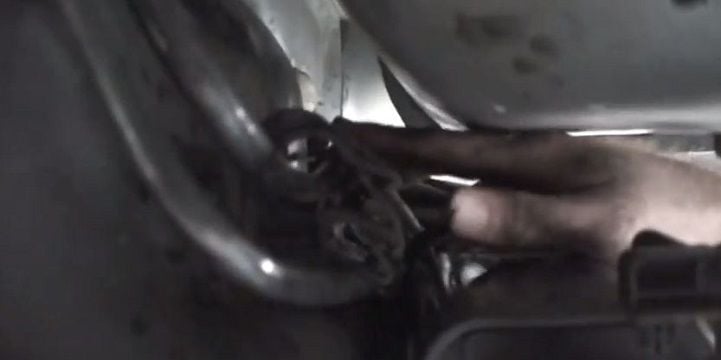
Step 4 – Disconnect fuel tank lines
Move around to the passenger side of the tank and disconnect all of the lines going into the top of the tank. Start with the vapor line and pull that off from the charcoal overflow tank. Disconnect the larger supply line next. These two lines have a similar type of connector that you'll squeeze at the base of the connection. The lines should pop right off with a little wiggling. There are two more lines above the vapor and supply lines that need to be disconnected as well. These two lines will pop right off, but you'll need two hands as there are white connector clips that need to be pushed in at the same time the other hand is pulling on the hose.
CAUTION
When you take these hoses off, a lot of gas is going to start spilling from the lines as there will still be just a little pressure left in the line.
Pro Tip
Make sure you wear safety goggles so as to not get gasoline in your eyes.
Step 5 – Disconnect power lines to the fuel pump
There are two quick release electrical plugs on top of the fuel tank that power the fuel pump. Disconnect these plugs from the pump.

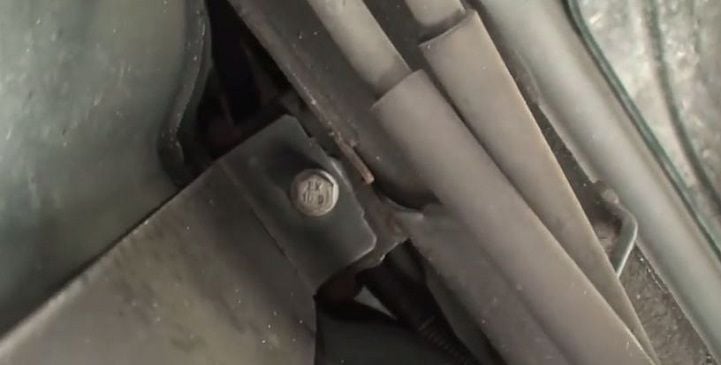
Step 6 – Remove gas tank straps and lower tank
Use a 15 mm socket and ratchet with a long extension to remove the gas tank straps. Remove the front strap completely. For the rear strap, you'll need an assistant to hold the tank while you remove it. The tank will be heavy, so you don't want it crashing down onto the floor. If you do not have a helper, you can use the hydraulic floor jack to hold the tank and then lower it carefully when the last strap is removed. Having as empty of a fuel tank as possible is very helpful in this step.
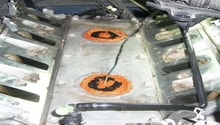
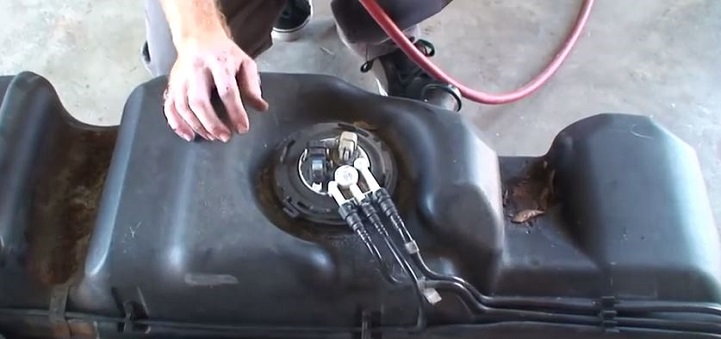
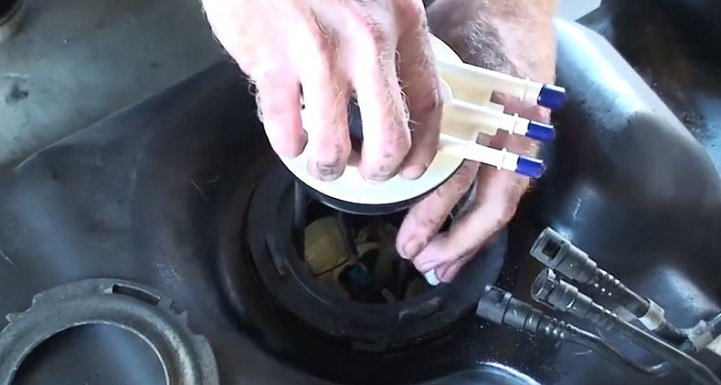
Step 7 – Remove fuel pump
When the tank is on the floor, clean around the fuel pump removing any debris, leaves, rust, etc. You don't want any of that stuff falling into the tank. Next, disconnect the three lines from the fuel pump. They are connected with quick release clips. Just squeeze in the clips with one hand and pull the hose off with the other hand. Once the hoses are off, turn the locking ring counter-clockwise and it should just pop right up. Then you can fish it off of the top of the tank. Pull up on the pump and remove the entire module. It will drain more fuel when it's out, so go slow and keep as much in the tank as possible.
Step 8 – Assemble and install the new fuel pump module
Your new fuel pump likely needs minor assembly. It was probably not packaged with the float attached to the fuel level gauge. No worries though, it simply snaps into place. Look at the bad pump you just removed for guidance. It also likely did not come with the seal in place. Again, look at the old pump and you can see exactly how this is attached. Then slide the fuel pump seal up to the top of the module. It may be easier to put the seal on before you put on the float arm. Take a close look at the new versus old electrical wiring harness on the top of the module and compare. They may have changed the design between the two of them. If so, you'll need to rewire with this new harness. Install the new fuel pump onto the tank and secure with the locking ring. Using a light spray lubricant on the seal will make it go back into the tank much easier. There is a tab on the pump that marries to the top of the tank so it can only go in one way. Replace the locking ring and turn it clockwise until it clicks back into position.
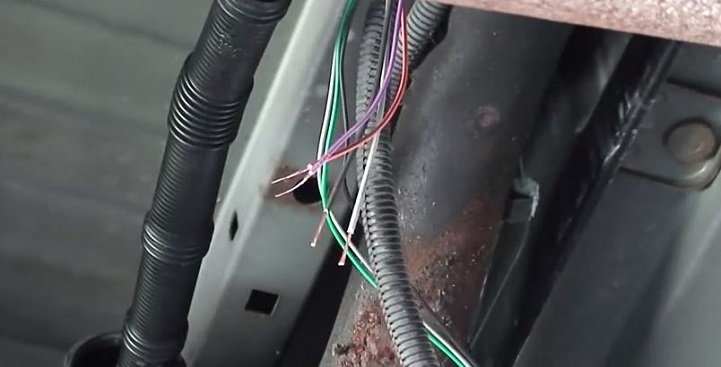
Step 9 – Reinstall lines and rewire harness (if applicable)
Pull the quick release tabs off of the old fuel lines and put them onto the nipples of the new fuel pump. Reconnect the three fuel lines to the quick connect tabs. If you have to swap out the wiring harness, make sure that you do not cut into the wires for the fuel pressure sensor. That harness always gets reused and should not have to be replaced. The supplied harness should have wire colors that match the existing wires. If not, be careful to follow the supplied instructions for re-wiring. The existing wires should include two thicker and two thinner wires. Be sure you are splicing the thick black wires together with the new thick black wires and the thin wires with the thin wires. Since getting to the fuel pump is a big job, consider soldering these wires together to ensure they don't go bad. Doing this will ensure you won't have to drop the tank again. Solder them together and use shrink wrap over the spliced area. Tuck all the cabling back into the plastic sheathing.
Step 10 – Reinstall gas tank
If you have assistants, have them lift the fuel tank back into position and reconnect the tank straps with the 15 mm socket and ratchet. Snug it down tight. You may want to use some blue Loctite on the threads of the bolts. Reconnect the power plugs to the top of the fuel pump with the quick connect wiring harnesses. Reconnect the fuel lines and lastly, reconnect the filler neck and tighten down the hose clamp and the vapor hose. Keep the truck in the air while you replace the fuel pump relay and start your truck. If there is a problem, the truck is already in the air so you can double check your work. If all is well, shut the truck down, lower it back onto the ground, close the hood and take it for a test drive not too far from home base. If all is well, pat yourself on the back for doing a significant job well done.
Featured Video: Chevy Silverado Fuel Pump Replacement
Related Discussion
- Good or Bad Fuel Pump - Chevroletforum.com