Chevrolet Silverado 1999-2006: How to Replace the Steering Box
Does your Silverado's steering have excessive play, or is your truck wandering all over the road? It might be time to replace your truck's old, worn out steering box. This article will show you how it's done.
This article applies to the Chevrolet Silverado GMT800 (1999-2006).
Your Silverado's steering gear effectively multiplies the the force you apply through the steering wheel and transfers that force to the linkage, which then turns your front wheels. When the gear starts to go bad, you may notice your truck veering to one side, excessive play in the steering, or you might hear a popping or grinding noise while turning. To replace the steering gear, you must first gain access your truck's steering box. And before you can replace the steering box, you must remove the radiator fan. Keep reading as this article will guide you through the entire process of replacing the steering box in your GMT800.


Materials Needed
- Phillips and flat head screwdriver
- Assorted wrenches
- Assorted sockets and ratchet
- Rubber mallet
- Large Crescent wrench
- Channel pliers
- Pitman arm puller
- Drain pan
Step 1 – Remove the radiator fan
- Open the hood and remove the air inlet hose from the air filter box. To do so, first loosen the two hose clamps, then pull the assembly up and out of the truck.
- Remove the two bolts that hold the radiator shroud in place and remove the shroud.
- Use a large Crescent wrench and rubber mallet to loosen the nut securing the fan to the the water pump.
- Rotate the fan counterclockwise to remove it.

Featured Video: Removing/Replacing Radiator Fan
Step 2 – Remove the steering box
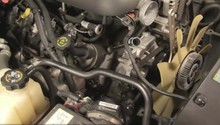
- Remove the lower radiator fan shroud.
- Disconnect the rubber line to the power steering box using a pair of channel pliers. To do so, squeeze the clamps together and pull the line straight out. The line will leak fluid, so be sure to have a drain pan ready.
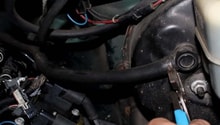
- Disconnect the second, hard line to the power steering box. Use a wrench to loosen the nut, and then pull the line straight out.
- Remove the bolt on the coupler to the steering linkage.
- Remove the nut holding the Pitman arm to the steering box.
- Remove the Pitman arm using a Pitman arm puller.
- Remove the three steering box mounting bolts located in the driver's side wheel well.
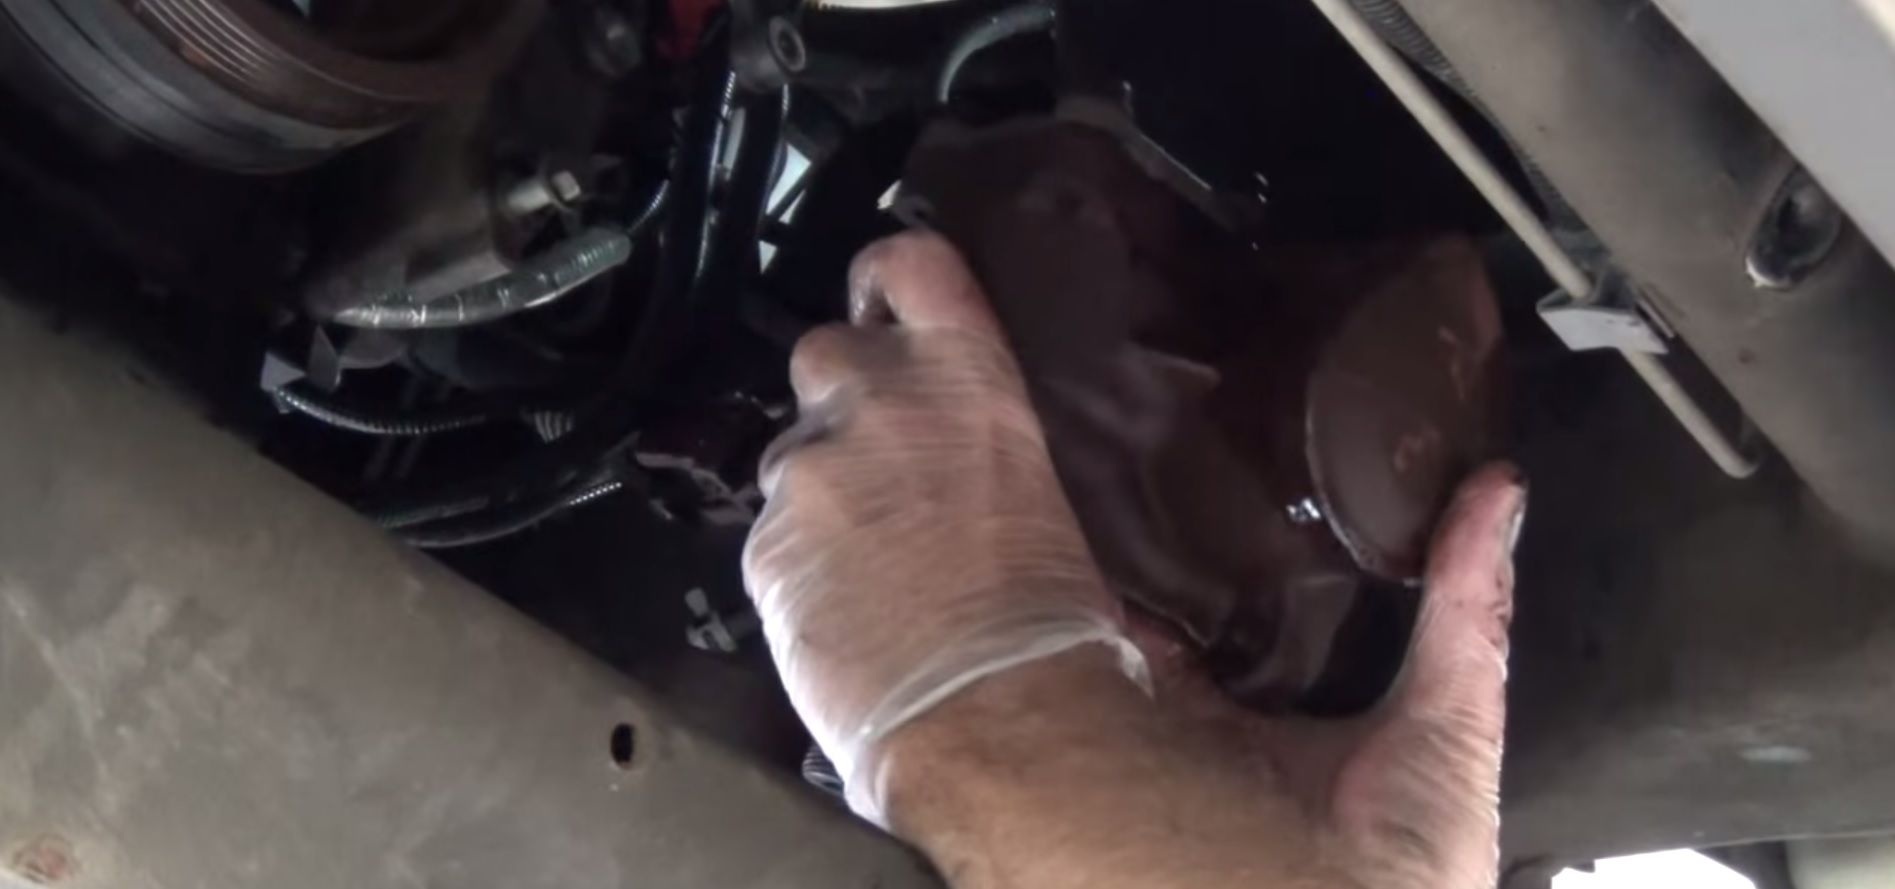
- Pull out the steering box.
Step 3 – Install the new steering box
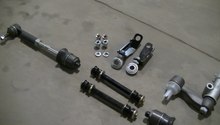
- Compare the two steering boxes to make sure they are the same.
- Install the new steering box, and fasten the three mounting bolts in the wheel well.
- Slide the Pitman arm back in place and fasten the bolt.
- Reconnect the power steering lines, and re-install the lower fan shroud.
- Reattach the fan to the water pump. Rotate the fan clockwise, and then tighten the nut to a snug fit.
- Reconnect the air inlet hoses and tighten the clamps.
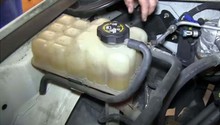
- Check your power steering fluid level and top off as needed.

Featured Video: Steering Box Replacement
Related Discussions
- Silverado Steering Issues - ChevroletForum.com
- Stiff Steering after New Steering Gearbox - ChevroletForum.com