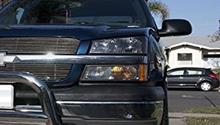
Chevrolet Silverado 2007-2013: How to Replace Headlight Bulb and Assembly
Replacing a broken headlight assembly or a burnt out bulb is simple if you have the right parts and tools. Check out the instructions below for more information.
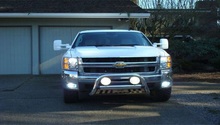
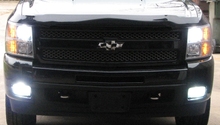
This article applies to the Chevrolet Silverado GMT900 (2007-2013).
A broken headlight can be a hassle and a major safety issue. If you need to drive your truck at night, then it's something that needs to be fixed urgently. Changing the headlight bulb is easy and can be done at any time, but replacing the headlight assembly will require waiting for a replacement part to get shipped. The repair job is simple and can be done in less than 30 minutes. Follow the instructions below to learn more.

Materials Needed
- Replacement headlight bulbs and/or headlight assembly
- Ratchet with 10mm socket
- Flat head screwdriver
- Pliers
- Clean cloth and gloves
You should handle headlight bulbs carefully. Only touch the bulb with either a clean cloth or gloves, so you don't get grease or oils on the bulb. Oils from your fingers will stain the bulb, creating hot spots and making the bulb likely to fail prematurely. Be sure to replace both bulbs at the same time because if one is already out, the other is likely on its way out.
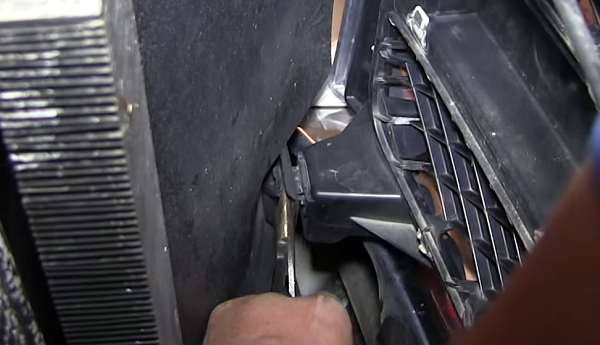
Step 1 – Remove the grill
Open your hood. You'll see that the grill is attached to a plastic cover at the top. There are eight tabs on this panel that you can pry off with a flat head screwdriver. Once you've removed the panel, there are four 10mm bolts along the top of the grill that need to be removed. Next, reach down to the back of the grill and pull out the four clips at the bottom of the grill. These can be removed with a pair of pliers. After that, the grill should come off.
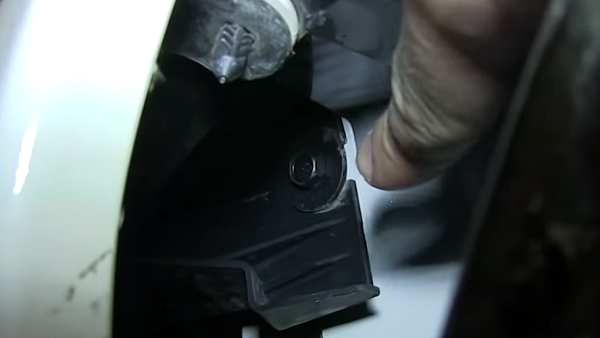
Step 2 – Remove the headlight assembly
Remove the two 10mm bolts at the top of the assembly. Then go underneath and pull back the wheel well lining to reveal another 10mm bolt at the bottom of the assembly. Once these three bolts are removed, you should be able to wiggle the assembly out from the truck. Don't forget to unplug the electrical harness as well.
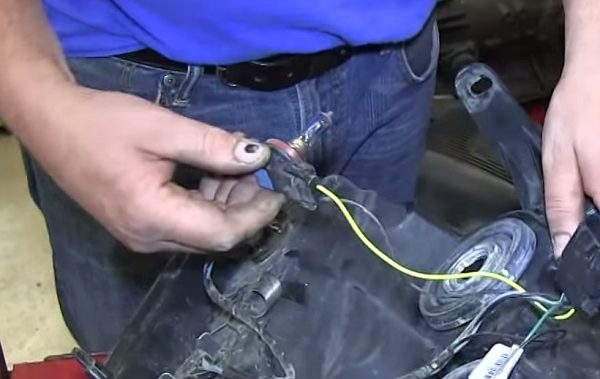
Step 3 – Replace headlight bulbs
To replace the bulbs, twist the bulb socket counterclockwise and pull it out from the assembly. Pull on the tabs of the socket and pull the bulb out. Insert the new bulb, then insert the bulb socket into the assembly and twist it clockwise to lock it in.
Pro Tip
To remove the bulbs without removing the assembly, you only need to apply Step 3. However, in order to access the passenger's side headlight, you'll need to remove the air filter box.
Step 4 – Replace the headlight assembly
Reconnect the electrical harness, and then line up the pegs on the side of the headlight assembly with the holes in the truck. Insert the assembly, then reattach the two 10mm bolts at the top and the one underneath. To reattach the grill, line up the four clips at the bottom and push it in. It should snap into place. Reattach the four 10mm bolts along the top of the grill. Then, reattach the top cover and press down the clips to lock it into place.
Featured Video: How to Install/Replace Headlight and Bulb
Related Discussions
- How to Remove Headlights? - ChevroletForum.com
- Silverado Headlight Bulb - ChevroletForum.com
- Automatic Lights - ChevroletForum.com