Chevrolet Silverado 2014-Present: How to Replace Tail Light Bulb and Assembly
A non-working tail light can not only result in a hefty ticket, it can also result in an accident. Learn how to replace a broken or faulty tail light on the Silverado 1500 here.
This article applies to the Chevrolet Silverado 1500 (2014-present).
It's important to know how to remove your tail light because it houses both your brake and reverse lights. When these lights burn out, you need to replace them as soon as possible; otherwise, you run the risk of getting a ticket or even worse, causing an accident where you're at fault. Going to the dealership or a repair shop just to get the bulbs changed can be costly and time consuming, so it's worth it to know how to do it yourself when it's so quick and easy.

Materials Needed
- Phillips head screwdriver
- New bulb(s)
- Gloves (optional)
Step 1 – Preparation
- Make sure the truck is turned off and all doors are shut so the brake lights aren't on. This will prevent you from shorting any wires or potentially shocking yourself when removing the bulbs.
- Lower the tailgate; it needs to be down to access the screws holding in the lights.
Figure 1. Tailgate lowered.
Step 2 – Remove screws
- Remove the two Phillips head screws located along the side of the bed opening.
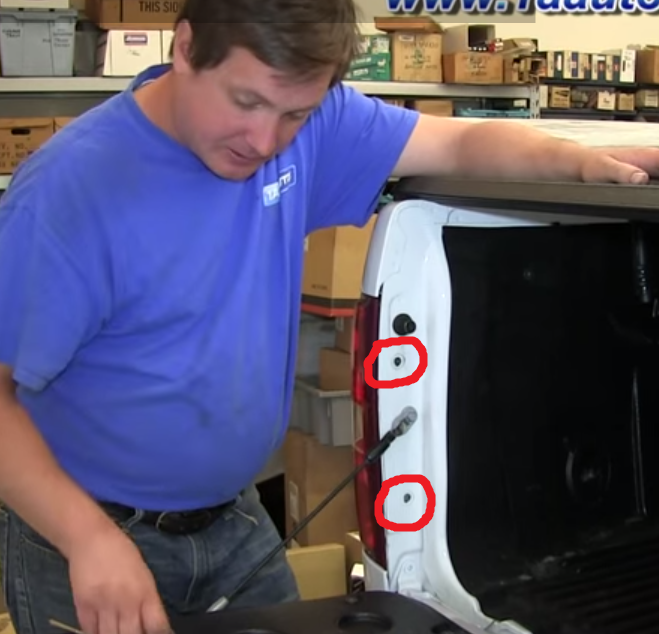
Figure 2. Screw locations (circled in red). - Holding the tail light at the top and bottom, you'll need to wiggle and pull it out. In addition to the screws you removed in the previous step, there are two rubber nubs that help secure it in place, so you'll need to use enough force to pull these out. Be careful, though, because as soon as it pops free you need to stop pulling as you only have a couple inches of slack in the bulb wiring harness.

Figure 3. Pull tail light out.
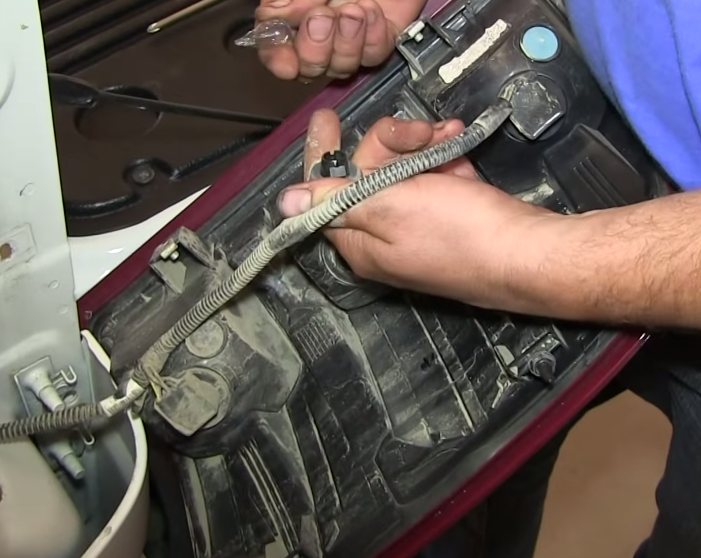
Step 3 – Replace bulbs
- Locate the position of the bulb you need to replace.
- Turn the bulb socket about a quarter turn counter-clockwise, then pull out to remove it from the tail light housing.
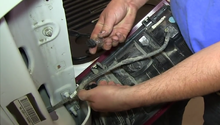
- With the socket out of the housing, you can pull the bulb firmly out of the socket.
- Push the new bulb into the socket. While not completely necessary, it is recommended to wear nitrile gloves or hold the bulb with a microfiber cloth so that the oils from your hand don't get on it.
- Push the socket into the housing, then turn it a quarter turn clockwise to lock it into place.
Step 4 – Re-install housing
Install is just the reverse process of removal. Before re-installing the housing, step on the brake pedal to double check that the new bulb is working and in the correct orientation.
- Line up the rubber nubs on the tail light housing with their mounting locations.
- Make sure all wiring is tucked back into the opening.
- Push the housing into place until you feel the nubs pop in.
- Re-install the two Phillips head screws on the side.

Featured Video: How to Install/Change Tail Light and Bulb
Related Discussion and Site
- Removing Tail Lights - GM-trucks.com
- How to Remove Tail Light - ChevroletForum.com