

Show off your van...pictures please!


CF Beginner
Joined: Oct 2012
Posts: 10
Likes: 1
From: Ripon UK
HI Guys!
We've had our Chevy Roadtrek for about 18 months now ... It has run like a dream so I've not really needed to look for a Forum ... but I am here now.
Here are a few photos of our van.
http://www.flickr.com/photos/bitchinrock/5838566239/http://www.flickr.com/photos/bitchinrock/5838566239/ by http://www.flickr.com/people/bitchinrock/, on Flickr
http://www.flickr.com/photos/bitchinrock/7895400336/http://www.flickr.com/photos/bitchinrock/7895400336/ by http://www.flickr.com/people/bitchinrock/, on Flickr
http://www.flickr.com/photos/bitchinrock/7894011116/http://www.flickr.com/photos/bitchinrock/7894011116/ by http://www.flickr.com/people/bitchinrock/, on Flickr
http://www.flickr.com/photos/bitchinrock/7742104256/http://www.flickr.com/photos/bitchinrock/7742104256/ by http://www.flickr.com/people/bitchinrock/, on Flickr
if anyone is interested in some more shots there are a load more on my Flickr and I have a blog come log at Roadtrek.in Europe


 ... But it was imported new by them (GoldRV) & they did the 240v conversion & alterations to lights etc to meet UK regulations. I'm this RT's second owner. B)


CF Beginner
Joined: Feb 2012
Posts: 10
Likes: 4
From: Colorado
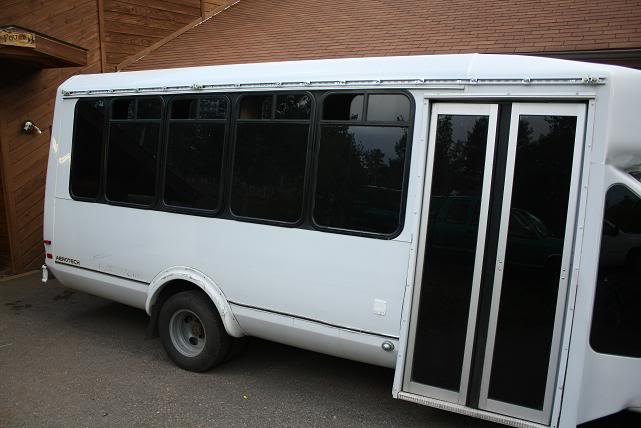
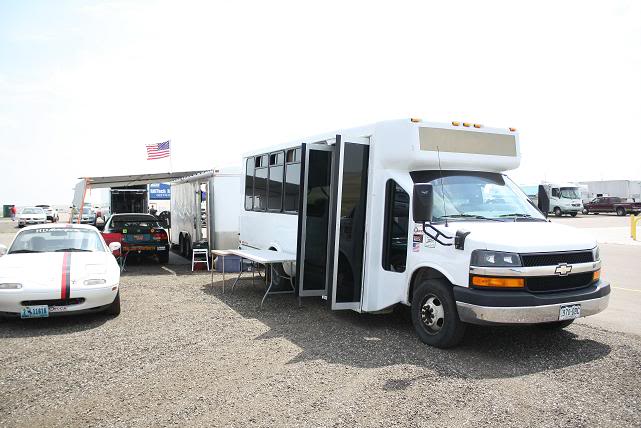
A lot of work done over the Summer.
Cabinets installed, sink & stovetop in...
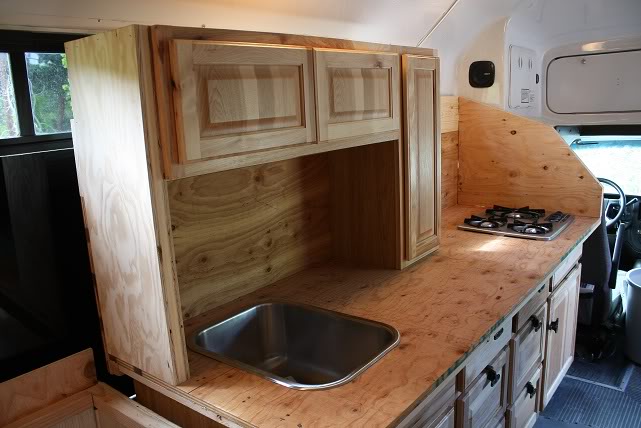
Bunk area done...
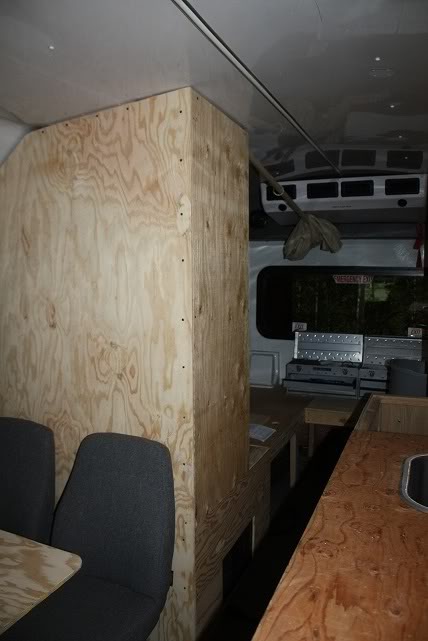
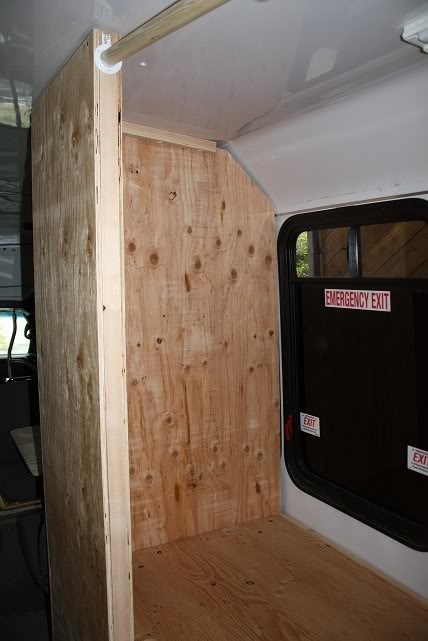
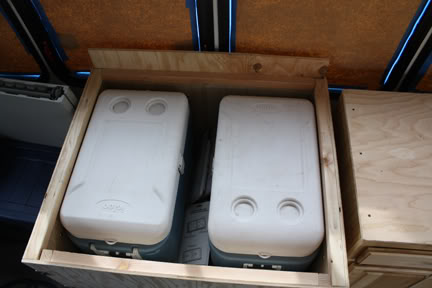
Insulated box for coolers (until 2-way fridge is installed)...
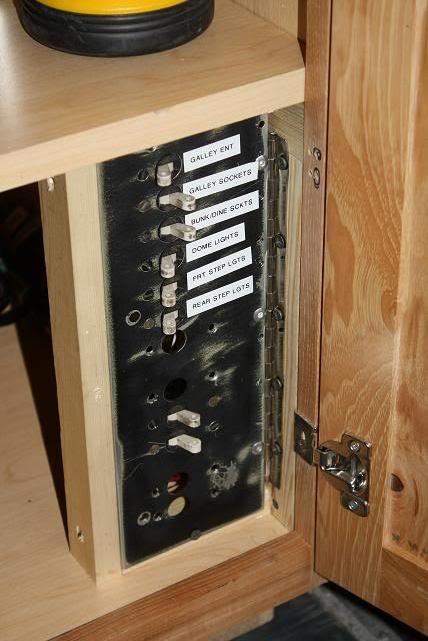
Breaker panel built and wired...
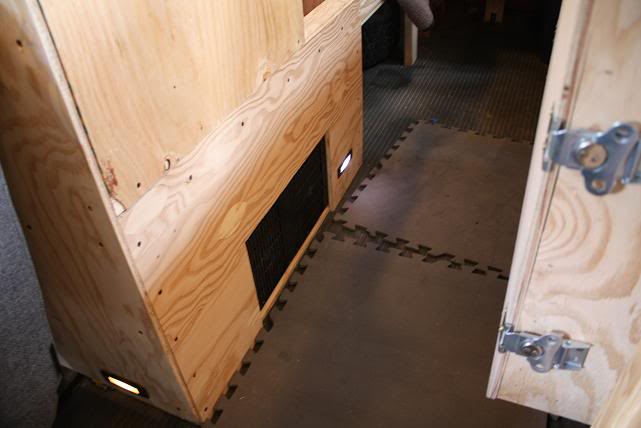
Aux heater moved and plenum built...
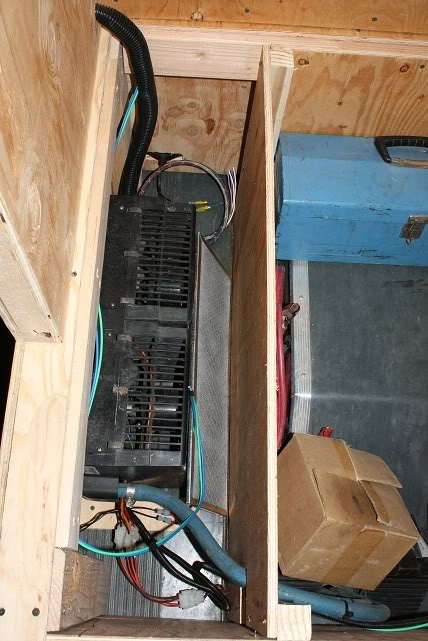
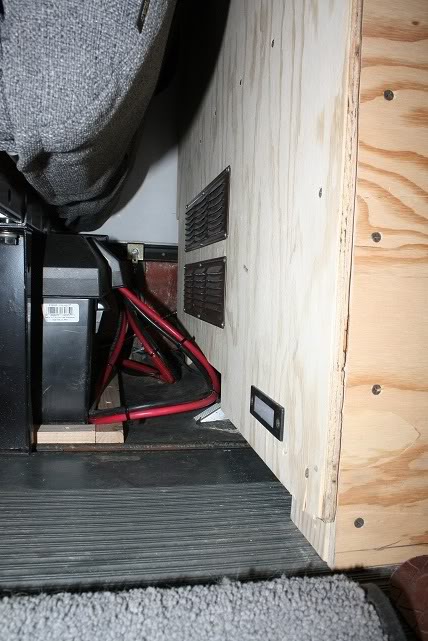
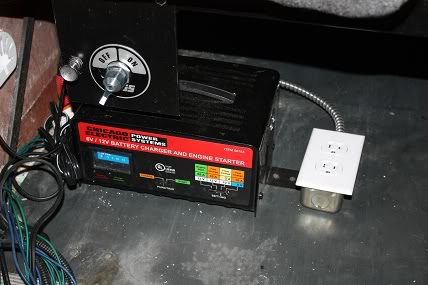
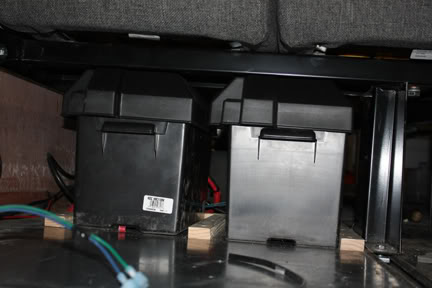
Coach batteries, iso switch, charger/converter installed and 110VAC wiring done...
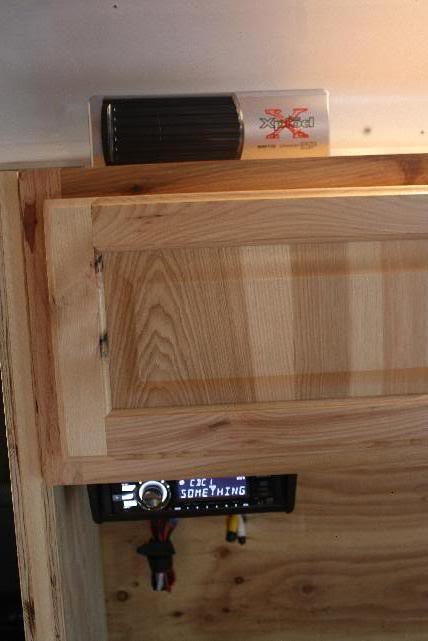
AM/FM/DVD player & 10 disc MP3 CD changer installed...
Windows either tinted or blocked...
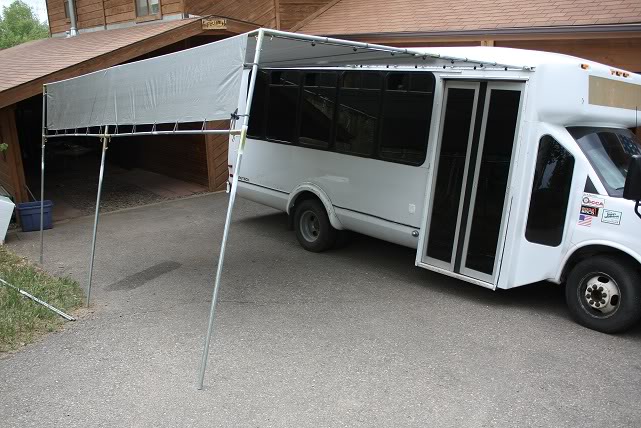
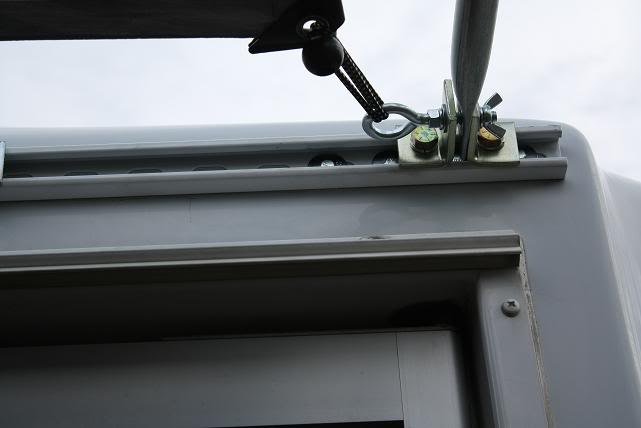
16'x10' canopy built...
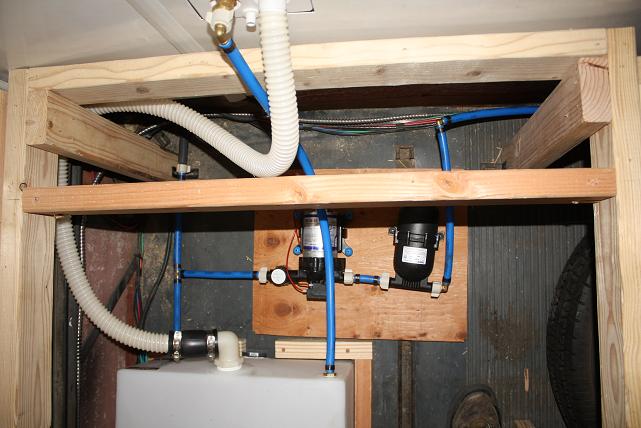
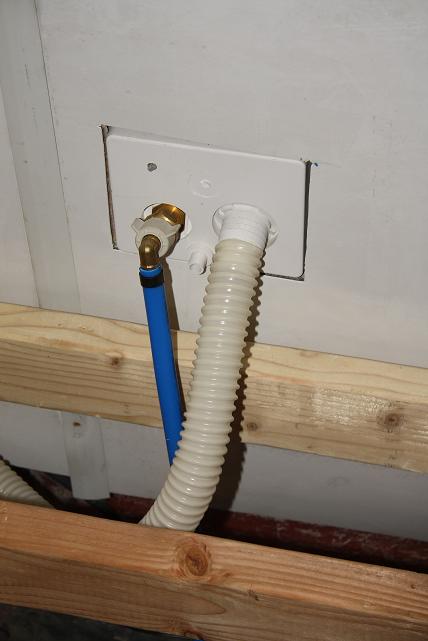
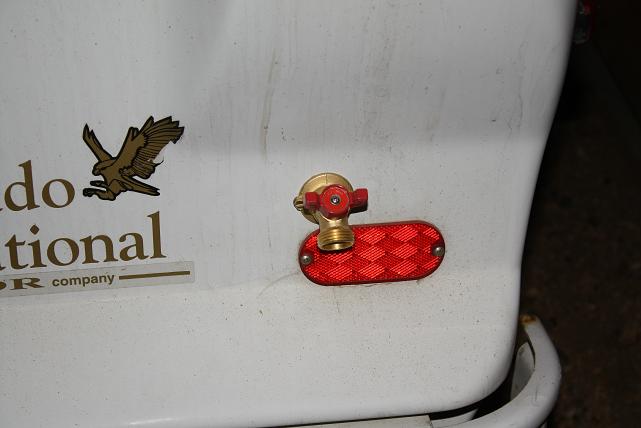
Water tank, pump, accumulator, PEX plumbing, water entries, drain and sink faucet installed...


Next up is a furnace and fridge then I can start to install the siding. I'm going with beetle killed pine tongue & groove on the walls, ceiling and floor. The counter top and back splash will get tile of some sort.
In-service back in May...
Cabinets installed, sink & stovetop in...
Bunk area done...
Insulated box for coolers (until 2-way fridge is installed)...
Breaker panel built and wired...
Aux heater moved and plenum built...
Coach batteries, iso switch, charger/converter installed and 110VAC wiring done...
AM/FM/DVD player & 10 disc MP3 CD changer installed...
Windows either tinted or blocked...
16'x10' canopy built...
Water tank, pump, accumulator, PEX plumbing, water entries, drain and sink faucet installed...
Next up is a furnace and fridge then I can start to install the siding. I'm going with beetle killed pine tongue & groove on the walls, ceiling and floor. The counter top and back splash will get tile of some sort.
In-service back in May...
Last edited by El Baz; Dec 16, 2012 at 9:27 AM.

CF Beginner
Joined: Dec 2012
Posts: 18
Likes: 3
From: South Jersey
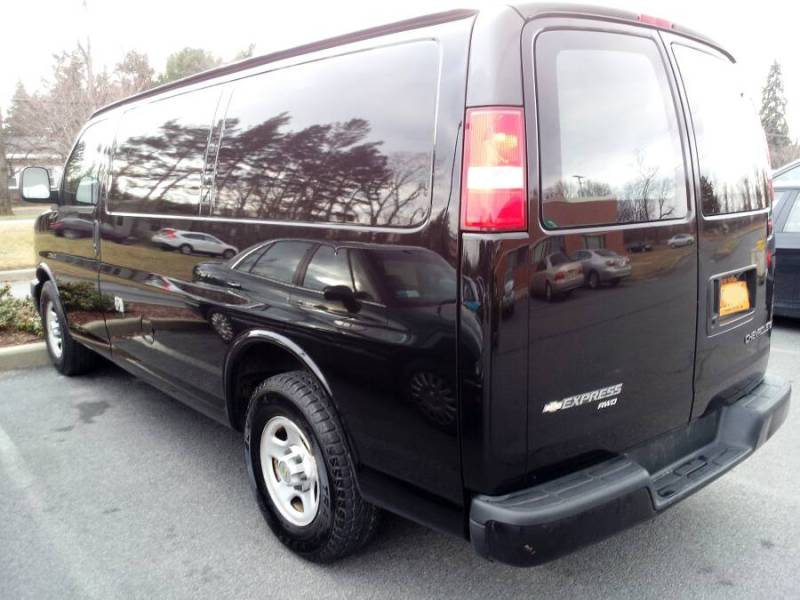
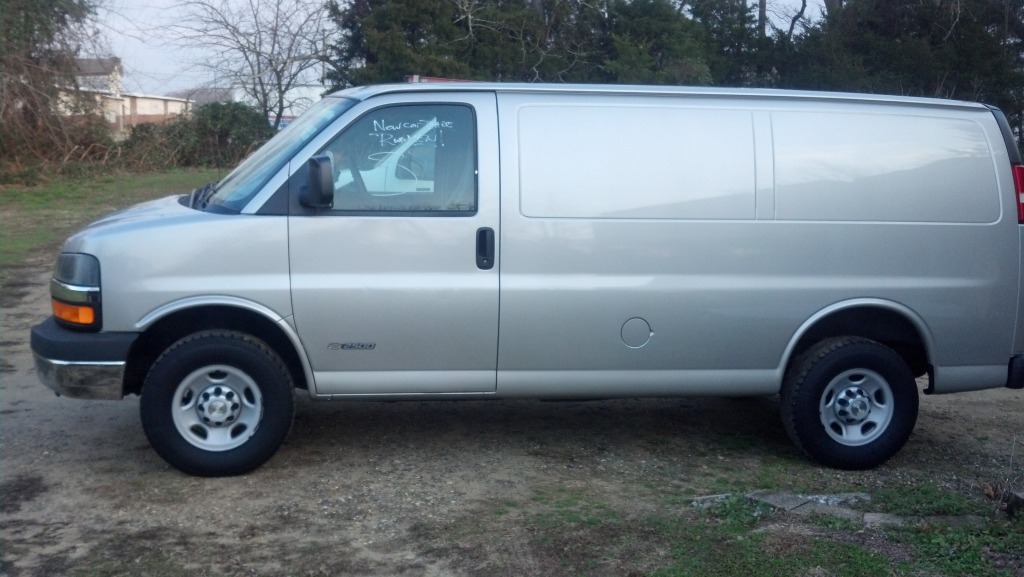
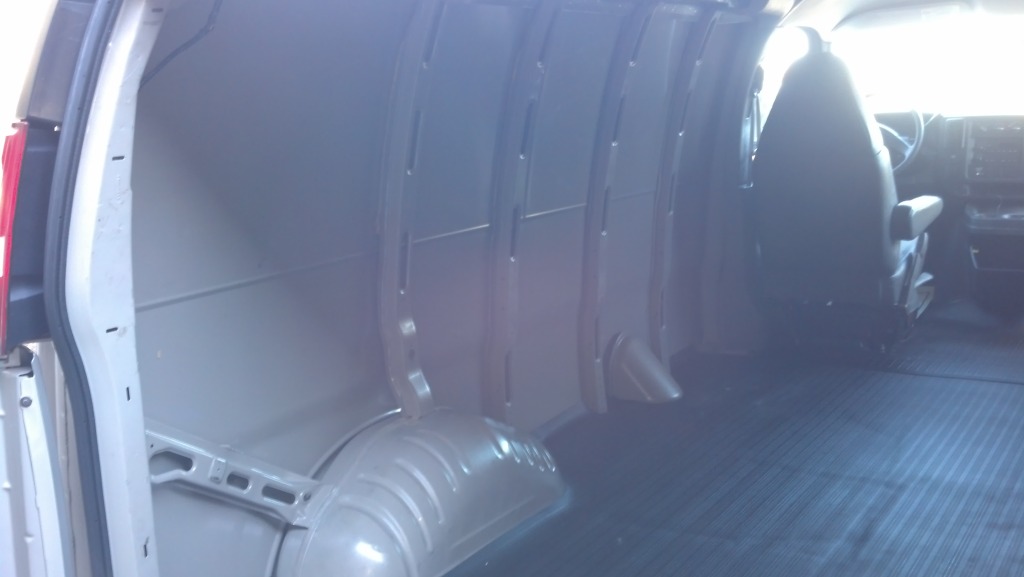
Here are some pics of my new (to me) '06 2500.
I just brought her home last Friday and am in the process of getting her ready for work.

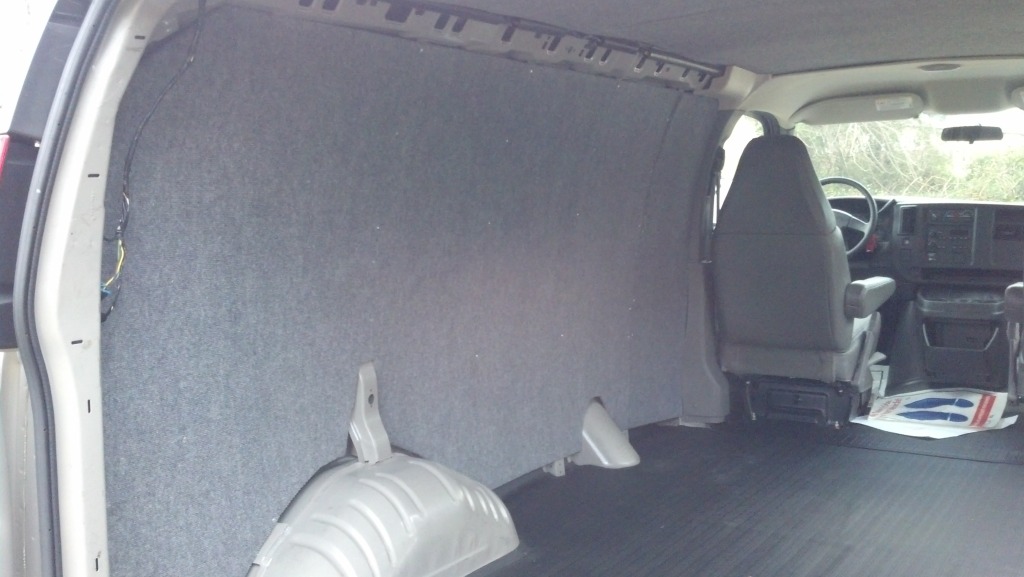
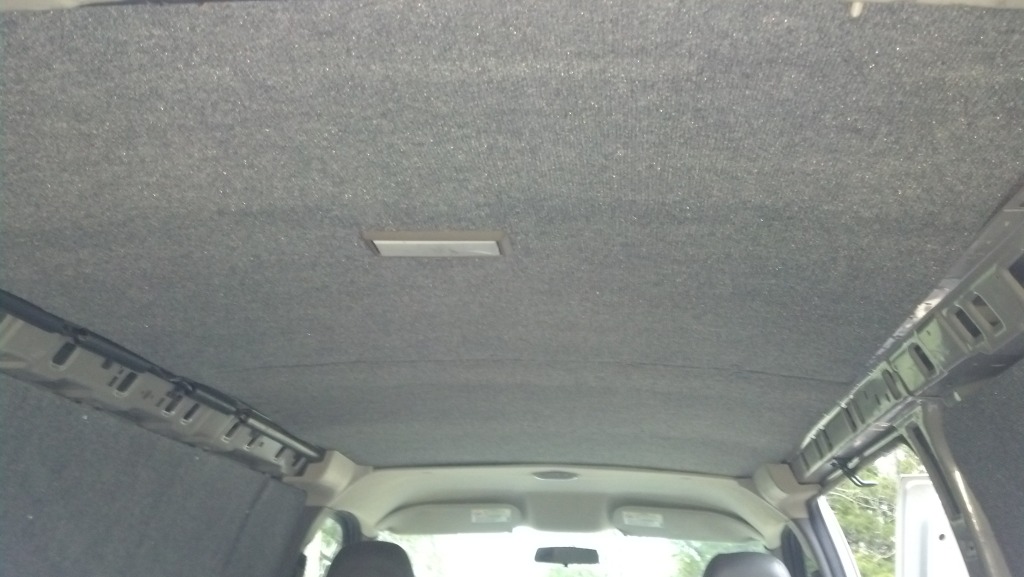
The interior before...
I attached felt carpet padding to the walls using carpet adheasive. I held the padding up about two inches to prevent any liquids that may spill from wicking up the walls and causing a moisture problem.
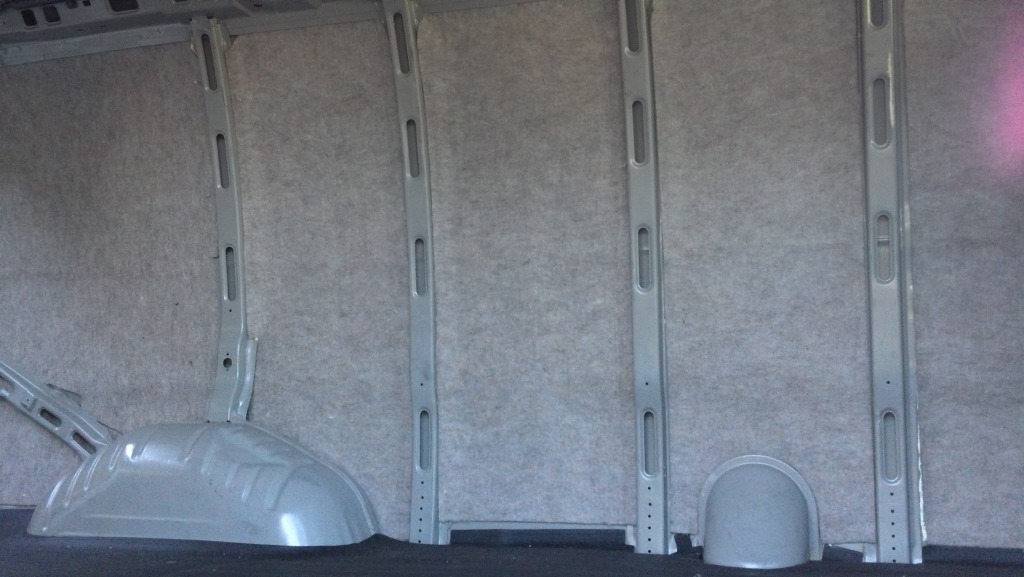
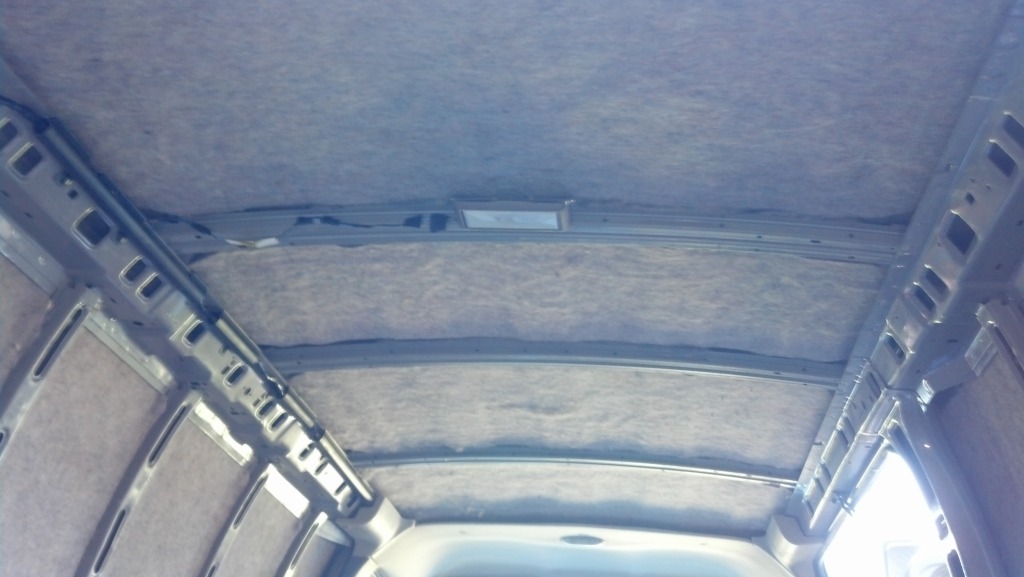
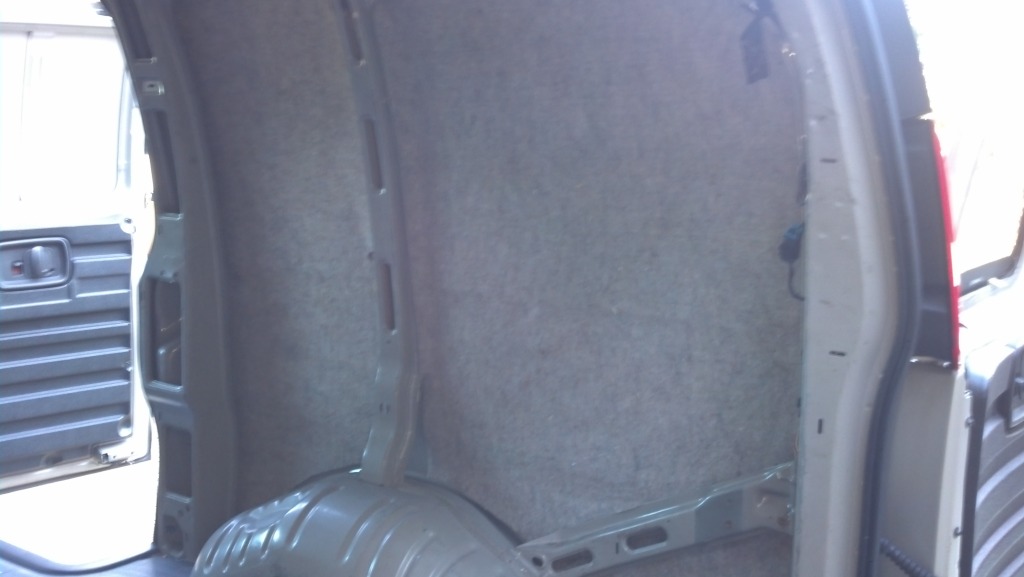
I measured and cut Luan underlayment to fit and glued indoor/outdoor carpet to it and wrapped it around the edges and stapled.
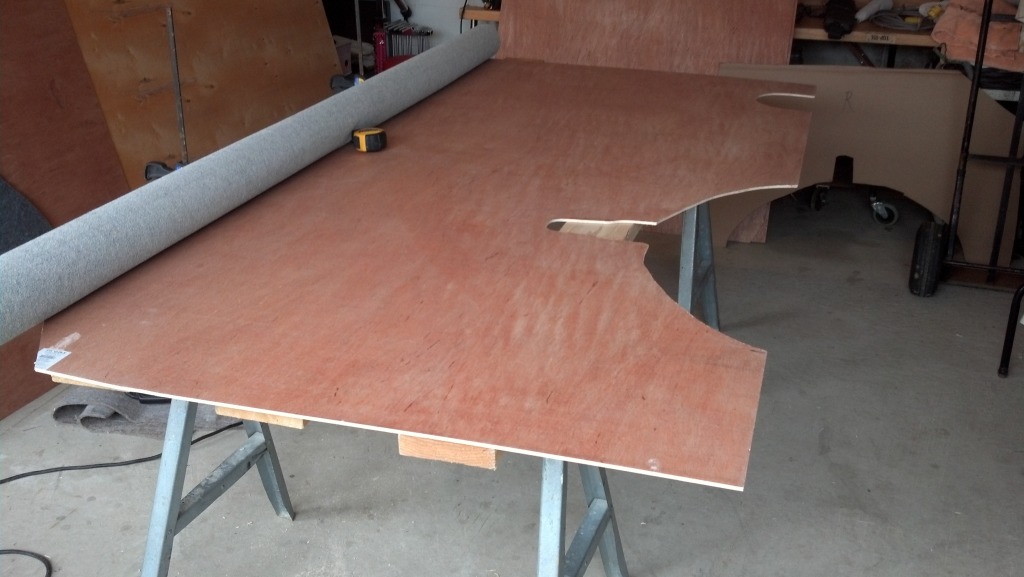
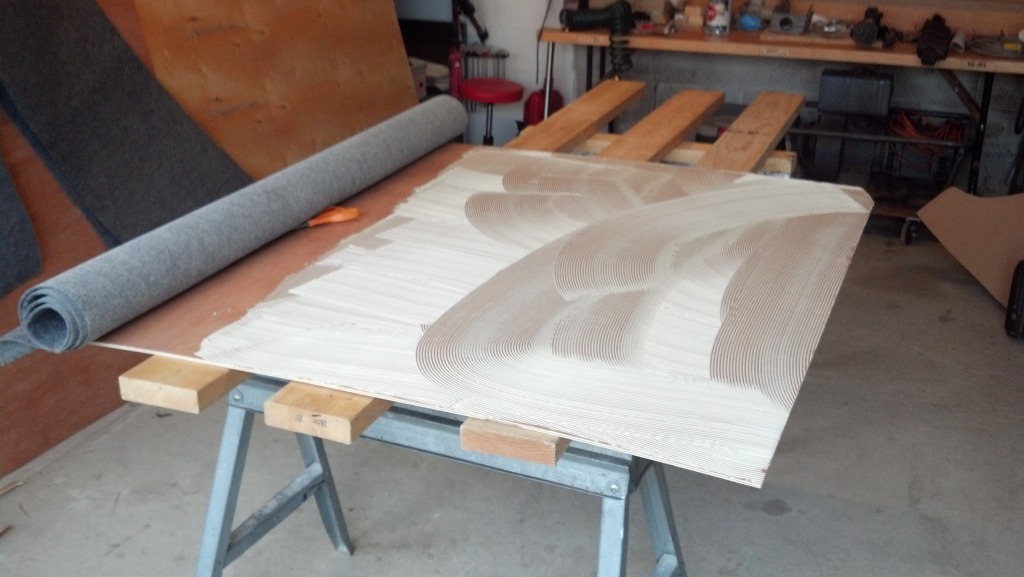
The panels were also left about 2 inches short at the bottom to allow air to circulate to prevent moisture and rust.
I have a few jobs to finish up with the old Econoline (can I say that here?) and I'll pull the shelving system out of that and swap it to the new van. I spent the entire day today sorting hardware so it would be organized for the new van. Amazing how much hardware you can accumulate left over from jobs.
I will update when I finish the swap if anyone is interested.
I just brought her home last Friday and am in the process of getting her ready for work.
The interior before...
I attached felt carpet padding to the walls using carpet adheasive. I held the padding up about two inches to prevent any liquids that may spill from wicking up the walls and causing a moisture problem.
I measured and cut Luan underlayment to fit and glued indoor/outdoor carpet to it and wrapped it around the edges and stapled.
The panels were also left about 2 inches short at the bottom to allow air to circulate to prevent moisture and rust.
I have a few jobs to finish up with the old Econoline (can I say that here?) and I'll pull the shelving system out of that and swap it to the new van. I spent the entire day today sorting hardware so it would be organized for the new van. Amazing how much hardware you can accumulate left over from jobs.
I will update when I finish the swap if anyone is interested.
Last edited by SnoDrtRider; Dec 27, 2012 at 5:37 PM.