When you click on links to various merchants on this site and make a purchase, this can result in this site earning a commission. Affiliate programs and affiliations include, but are not limited to, the eBay Partner Network.
As part of the Corona Van's renovation, we have been updating the audio-video system. As part of that update, we decided to install a second battery in the back of the van. The 2nd battery exclusively powers the entire A/V system, including the in-dash receiver.
The battery is tucked into an existing storage space we modified to fit the battery and accessories. Not a great pic, the space we chose is the compartment in the rear under the fire extinguisher in the bottom left of the pic.
Here is a pic of the preliminary fit of the battery. The compartment was not quite deep enough so we built out a frame to allow us to re-install the wood trim. I actually had some left over headliner material that matched the trim pretty well.
The 1/0 power wire for the battery was brought in through an existing grommet on the passenger side of the firewall.
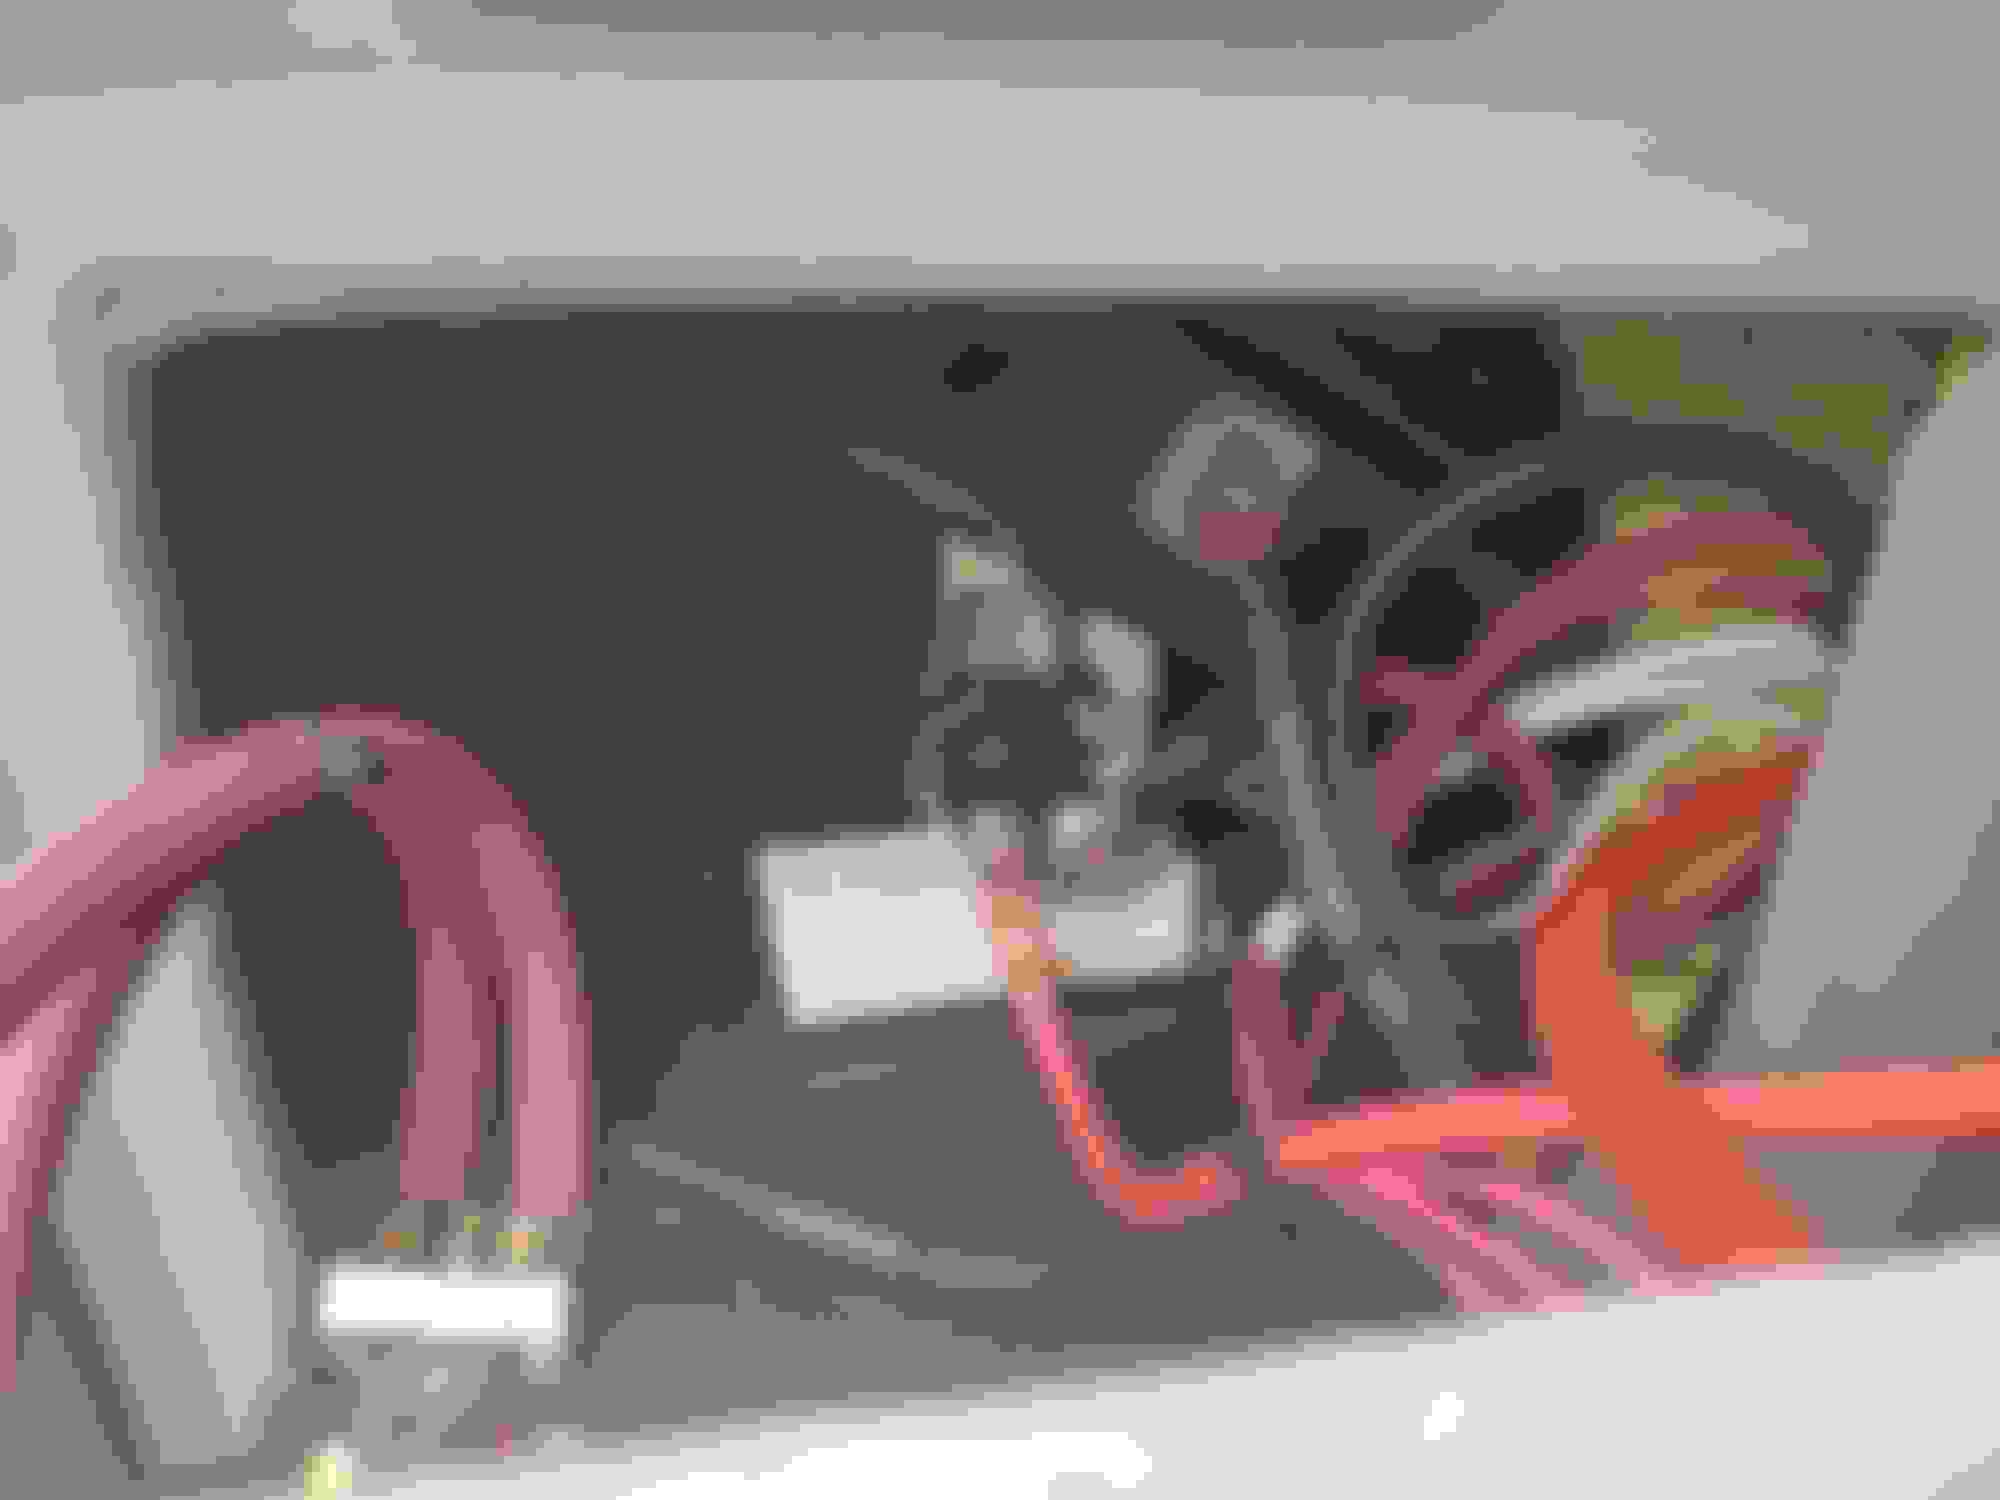
The previous owner had already replaced the side post battery with this top post battery. It wasn't a very good conversion and I ended up replacing all the battery cables. In the below pic, the positive cable on the left goes to the second battery, the two middle terminals go to the alternator and main fuse box, and the cable on the right goes to the starter.
Before going through the firewall, the cable for the 2nd battery goes through a 150A circuit breaker and a 200A battery isolator.
I am still putting final touches on the new battery compartment. Here is a pic of some of the initial wiring of the compartment. The component in the middle of this pic is an 80A battery isolator I am using as a relay to "turn on" the inverter that powers the TV, Blueray, gaming system, etc. A relay wired to the in-dash receiver's remote turn-on lead turns on the inverter any time the in-dash receiver is turned on.
I will post some pics of the finished compartment once I finish cleaning it up. In the meantime, here is a diagram of the overall install. I have lettered the parts I used and in a future post I will provide links to those components in case anyone is interested...
($17.95), One feature that attracted me to these battery terminals is that they don't need terminal lugs crimped onto the wires. The 150A circuit breakers are the same way.
Wow, if I only had the money and time. I was in a hurry so I went to pawnshop for inverter and got 2 smaller ones from walmart.
. Got multimeter a took with me to buy 3 used batteries and a plastic box to fit under computer desk. Got 2 cutoff switches from harbor freight and soldered in some big fuses from junkyard.
I was supposed to get solar panels with the money I saved but home depot put wen 4 stroke generator on sale. Runs 8 hours on a gallon.
Project is not finished. Just have to upgrade individual parts now instead of system and still looking for deal on panels
Three inverters, wow. We are running this 1000W inverter. Based on the little bit of research I did, it is NOT a very high-quality piece of gear. It was, however, new in box, and was included with the van when we bought it. And all it will usually be powering is an LCD TV (~50W) and a BlueRay player or gaming system (<200W).
Well you see I was(am?) A otr truck driver and wanted van equipped same as truck. So 32 in tv,fridge ,microwave,dyd,2 laptops,2 gps units and several androids aside from light bulbs..
. Large inverter is always expensive but even a small microwave sucks almost 2x rated watts. 750 watt will carry most tools. But the little fat max is the best. Quiet and it will power worklight,soldering iron and charge laptop at once.
. But when I get away from it all I get way out
In case anyone is wondering what we plan to power with the 2nd battery (I realize no one cares...), here it is. Under the rear bench seat, we mounted the (crappy, but new) 1000w inverter (pictured in an above post) along with an OLD Zapco A350 amp driving a not quite as old Alpine SBR-S8-4 ported 8" sub enclosure. Both the amp and the sub were in the van when we bought the van (as was the NIB inverter). I am not sure how old that Zapco amp is; I wouldn't be surprised if it was 20 years old. It is an oldy but a goody for sure; it is bridged mono, driving that sub nicely.
As you can see in the below pic, the subwoofer amp and the inverter are actually mounted on top of the sub enclosure. It was the only way we could make everything fit under there. When the rear seat folds flat a metal bar moves forward under the seat limiting the usable under-seat space.
Here it is all covered up.
As previously mentioned, the second battery also powers the in-dash receiver and a small Alpine 4-channel amp (also in the van when we bought it).
At $78, this Sony receiver was practically free and was the only new component we bought for the A/V system. It is a really great receiver and had all the features we needed without the stuff we don't need.
When listening to anything through the TV (using the in-dash receiver 3.5mm aux input) we did have some humming (a ground loop?). Thankfully this
On the Corona Van's first real drive since registering it this week, my son was sitting in the very back seat and suddenly he says to me "dad, there is smoke back here..." I suspected the (brand new) inverter was failing, so I told him to switch the inverter off and turn off the circuit breaker providing power to the unit. He did these things and also grabbed the fire extinguisher from the back and had it at the ready.
Thankfully the fire extinguisher wasn't needed. Shutting the inverter down and removing power from it was sufficient to end the emergency. Upon returning to the house, we removed the inverter which smelled a tad burnt. We removed the cover and sure enough, a capacitor had failed; the top had blown off and it was leaking. The funny thing is that the inverter wasn't even powering anything when it failed. It was on, but idle...


 May 12th, 2020, 5:42 PM