When you click on links to various merchants on this site and make a purchase, this can result in this site earning a commission. Affiliate programs and affiliations include, but are not limited to, the eBay Partner Network.
Removing the lower radiator hose does not drain the block. I only got about 2 gallons out with this method. This was verified at the end of the process when I could barely get 2 gallons of dexcool in the system at the end. This means that there was 1.5 gallons of water remaining in the block after the flush that I was not able to replace with distilled water. Fortunately the water supply is softened so the water wasn't full of calcium and hard elements. I would have drained the block with the plugs but one plug was behind the oil cooler and one plug was behind the starter, neither of which I wanted to remove. The coolant was a bit cloudy but didn't have any crap in it so I didn't see the point of going through all that work just to get the water out.
I did buy the T-fitting and hooked up the hose to flush everything out. I then reconnected everything, filled the radiator and the upper hose, and ran the engine to operating temp. Then let it cool and drained/flushed it again. I got more dexcool out this time. I also flushed backwards through the upper radiator hose and out through the heater ports on the water pump. More dexcool came out again. I flushed the heater core separately.
I put a whole gallon of dexcool down the upper radiator hose into the engine. I put the other gallon into the radiator but was only able to get half a gallon in. I started and ran the engine and let it get hot, once it got to temp and the thermostat opened I was able to get the rest of that gallon in. Put water/dex in the expansion tank and took it for a drive and everything's good.
A few thoughts I have on this:
As I said, I couldn't drain the block by just removing the lower hose from the water pump. This really needs to be done the right way by removing the coolant drain plugs.
Once the plugs are removed and the block is drained, it needs to be refilled from the upper radiator hose before running. This way you aren't bringing the engine up to temp with no water in the block. The water you put in the radiator won't make it into the block because the thermostat is closed until it gets hot.
Cleaning the expansion tank made a huge difference, I didn't realize how dirty it was. I can now easily see the coolant level.
I have a vacuum actuated heater valve on my van so I had to manually open it while flushing the heater core.
Overall this was an easy project. My initial confusion was from reading about the previous coolant system and how easy it was to damage the engine if done wrong. My 2013 was just like working on old simple cars back in the day. Drain, fill, cycle the air out, fill again.
Strange. Did you drain it out by the bottom hose first?
I took the bottom hose off and drained everything until it stopped. The 6.0L holds 13.8 quarts in the cooling system. I could barely get the two gallons of Dexcool in at the end, meaning there was 5.8 quarts of liquid sitting in the engine even after all 3 hoses (lower radiator hose and both heater hoses) were removed from the water pump. I assume this 5.8 quarts comes out when you remove the block plugs. I replaced those 5.8 quarts by flushing but not with distilled water since I couldn’t get it out.
Any chance you could share a photo of it? I searched and didn't find one on my 2013.
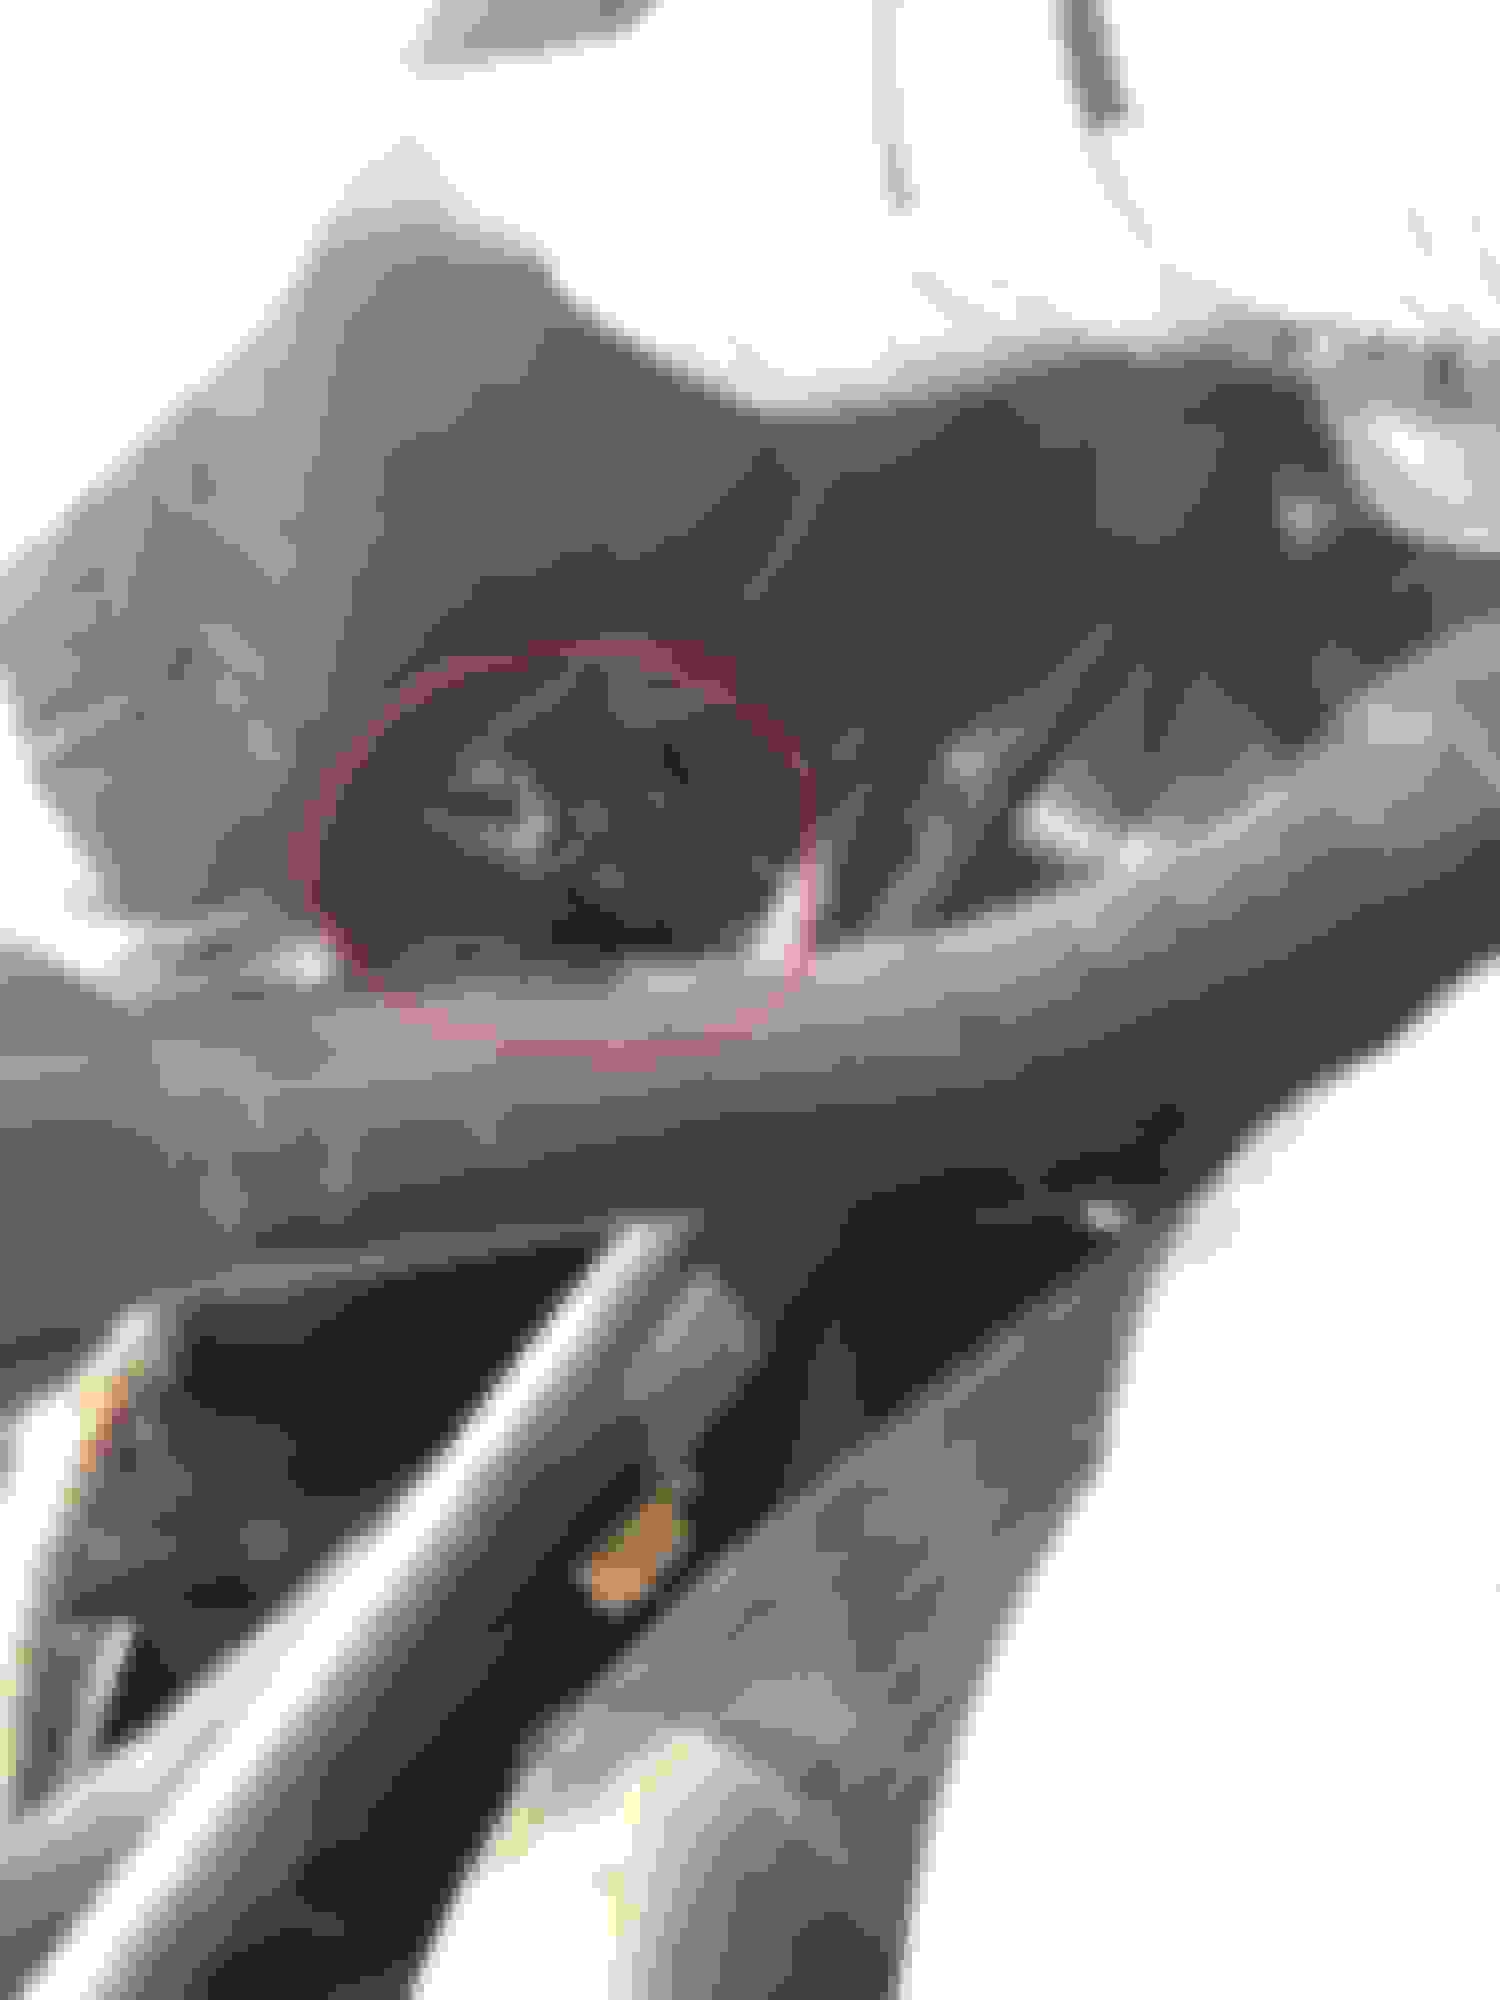
Here are two pics, one up close and one from looking down standing over the hood for perspective. The valve is directly below the heater core:
Here are two pics, one up close and one from looking down standing over the hood for perspective. The valve is directly below the heater core:
That's so weird! I just checked again today, and I definitely don't have any kind of heater valves on my 2013. Coolant goes straight from the pump to the heaters. Unlike you I have the 5.3L engine and a rear heater, but why would that make a difference.
Is your thermostat located next to the water pump, or up on top of the engine?
That is odd that they don't both have it. My thermostat is in the water pump housing on the front of the engine, inside the neck where the hose connects.
I think I might have found my answer (in the upfitter manual)
To provide satisfactory engine cooling and A/C performance, the following conditions must be met:
...
5. Continuous coolant flow is necessary from the heater connection on the engine to the heater connection on the radiator or water pump in order to control transmission oil temperatures during closed thermostat (warm-up) operation. Do not alter this flow as it may result in premature engine or transmission failure.
6. If a heater unit is not installed in the vehicle or a heater shut-off valve is required, a line connecting the heater connection on the engine to the heater connection on the radiator or water pump must be installed. When a shut-off valve is required in the heating system, it must be teed into the system in such a manner as to maintain continuous flow between engine heater connection - radiator heater connection at all times.

 September 17th, 2020, 8:47 PM