

 Jul 22, 2015, 1:07 PM
Last edit by: IB Advertising
See related guides and technical advice from our community experts:
Browse all: Lighting
- Chevrolet Silverado 1999-2006 GMT800 Fog Light Modifification and How to Instll HID Fog Lights
Overview of popular modifications to customize your Silverado and step by step instructions for do-it-yourself repairs.
Browse all: Lighting

How-to: HID Plug & Play install & DRL disable
Thread Starter
CF Monarch
Joined: Jul 2007
Posts: 5,891
Likes: 29
From: Princeton, NC, USA
How-to: HID Plug & Play install
[hr]
Some steps may vary for modelsolder than 1998.
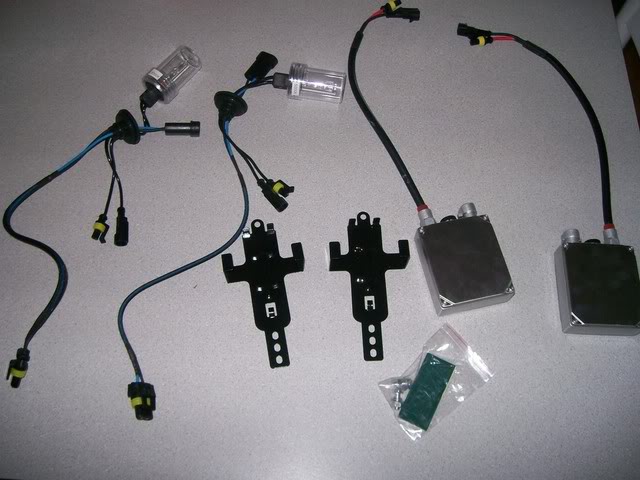
To install your new HID plug and play kit, you will need the following materials:
[ul][*]The kit (complete with wiring, ballasts, ballast mounts, andbulbs.)[*]Drill and zip-in screws[*]Double sided tape (may be included in some kits)[*]Pliers[/ul]
Your kit should look something like this:
First, when installing in high beams, you must disable your DRLs. To do this and keep your automatic function, read the following:
Go to the fuses located under the hood (black box next to air box.) Open it and find the relay labled DRL.
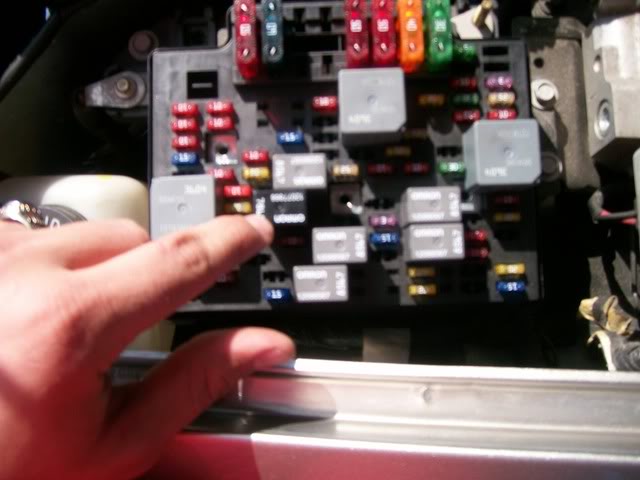
On the bottom of the relay you will see 5 prongs with the numbers 30, 85, 86, 87 and 87a. Use your pliers and bend the prong numbered 86 up toward the top of the relay.
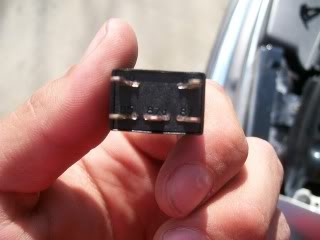
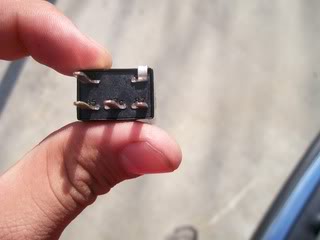
This will prevent that prong from engaging and will deactivate the DRL's. Replace the realay and put cover back on.
[hr]
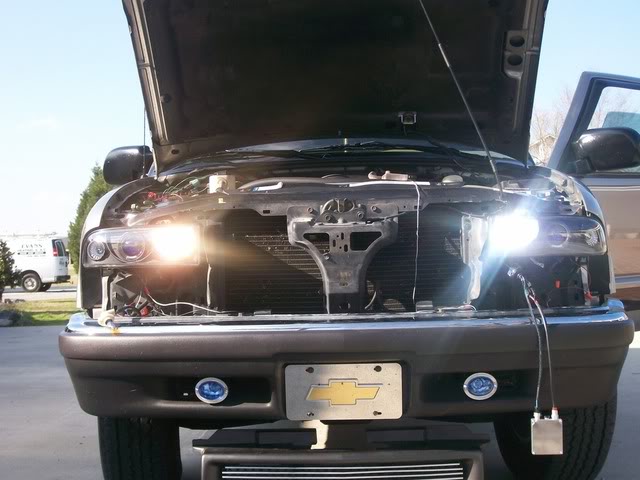
Pull off your grille. Just open the hood and give it a good pull by the handholds below the crossbar. Make srue you disconnect the parking lights from the bumper lense.
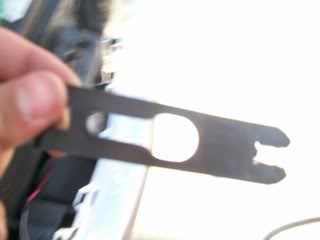
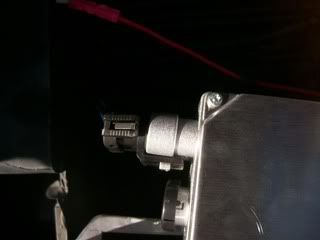
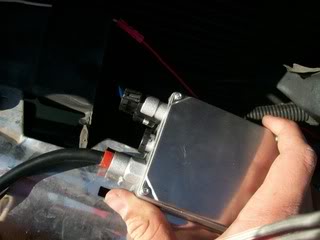
Locate your ballast mounts. They will look similar to this depending on the kit:
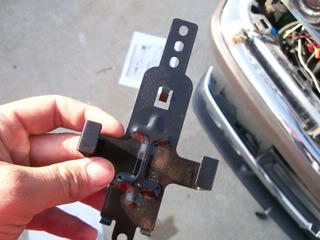
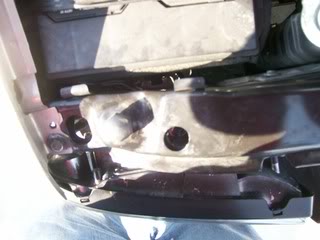
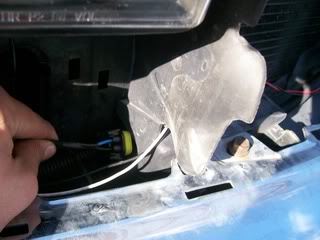
I chose to mount mine on the radiator scoop. The radiator scoop will pull air from above the license plate mount. This scoop will vary in shape depending on your model. Mounting it here will provide the ballasts with adequate airflow to keep them cool. You may mount them anywhere, its up to you.
Next, you will have to remove the headlights. To do this, locate the tabs on the back of the radiator support.
Pull out the tabs, you may have to use pliers, as they are sometimestight.
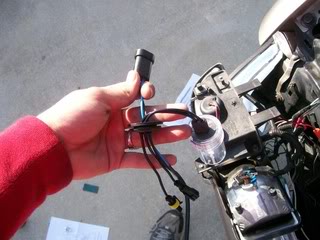
Once you've remove the headlamp from the radiator support, twist the bulb and pull it out.

Undo the bulb from the wiring.

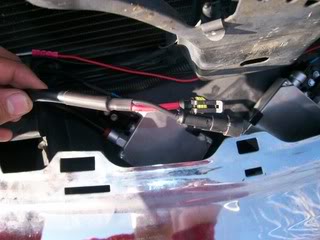
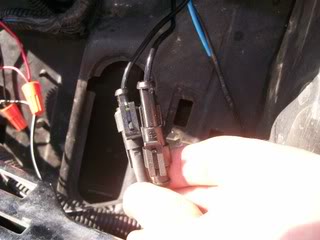
Connect the female end of the harness to wiring on the vehicle.
Insert the bulb in the headlamp assembly. Be careful NOT to touch the bulb. Fingerprints may weaken the ability of the glass to release heat and cause premature failure.
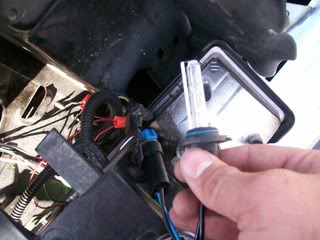
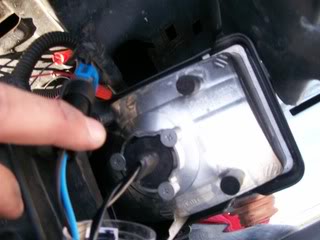
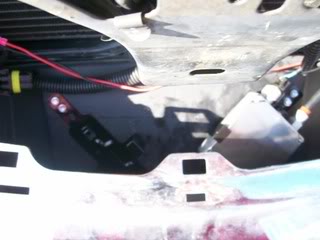
Run the male end of the wiring harness through the hole in the divider flap between the radiator and the headlights. Pull it all the way through.
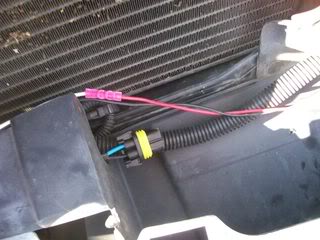
Connect the male end of the wiring to the ballast.
The wires coming from the ballasts will connect to the wires coming from the bulb.
Use your double sided-tape to secure the ballast to the mount.
You're done!
[hr]
Some steps may vary for modelsolder than 1998.
To install your new HID plug and play kit, you will need the following materials:
[ul][*]The kit (complete with wiring, ballasts, ballast mounts, andbulbs.)[*]Drill and zip-in screws[*]Double sided tape (may be included in some kits)[*]Pliers[/ul]
Your kit should look something like this:
First, when installing in high beams, you must disable your DRLs. To do this and keep your automatic function, read the following:
Go to the fuses located under the hood (black box next to air box.) Open it and find the relay labled DRL.
On the bottom of the relay you will see 5 prongs with the numbers 30, 85, 86, 87 and 87a. Use your pliers and bend the prong numbered 86 up toward the top of the relay.
This will prevent that prong from engaging and will deactivate the DRL's. Replace the realay and put cover back on.
[hr]
Pull off your grille. Just open the hood and give it a good pull by the handholds below the crossbar. Make srue you disconnect the parking lights from the bumper lense.
Locate your ballast mounts. They will look similar to this depending on the kit:
I chose to mount mine on the radiator scoop. The radiator scoop will pull air from above the license plate mount. This scoop will vary in shape depending on your model. Mounting it here will provide the ballasts with adequate airflow to keep them cool. You may mount them anywhere, its up to you.
Next, you will have to remove the headlights. To do this, locate the tabs on the back of the radiator support.
Pull out the tabs, you may have to use pliers, as they are sometimestight.
Once you've remove the headlamp from the radiator support, twist the bulb and pull it out.
Undo the bulb from the wiring.
Connect the female end of the harness to wiring on the vehicle.
Insert the bulb in the headlamp assembly. Be careful NOT to touch the bulb. Fingerprints may weaken the ability of the glass to release heat and cause premature failure.
Run the male end of the wiring harness through the hole in the divider flap between the radiator and the headlights. Pull it all the way through.
Connect the male end of the wiring to the ballast.
The wires coming from the ballasts will connect to the wires coming from the bulb.
Use your double sided-tape to secure the ballast to the mount.
You're done!
Thread Starter
CF Monarch
Joined: Jul 2007
Posts: 5,891
Likes: 29
From: Princeton, NC, USA
Thanks.
Here are the pics of them. I took them the other night and I haven't added them in yet.
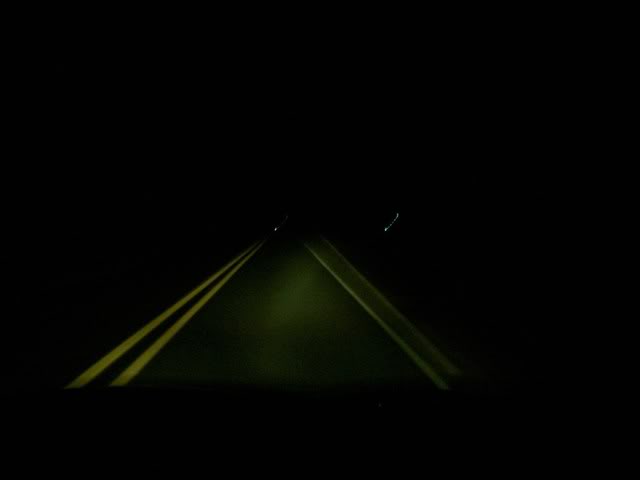
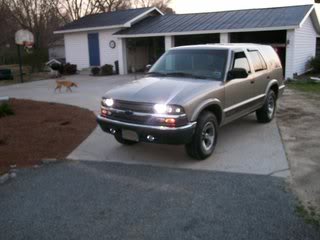
Before:
After:
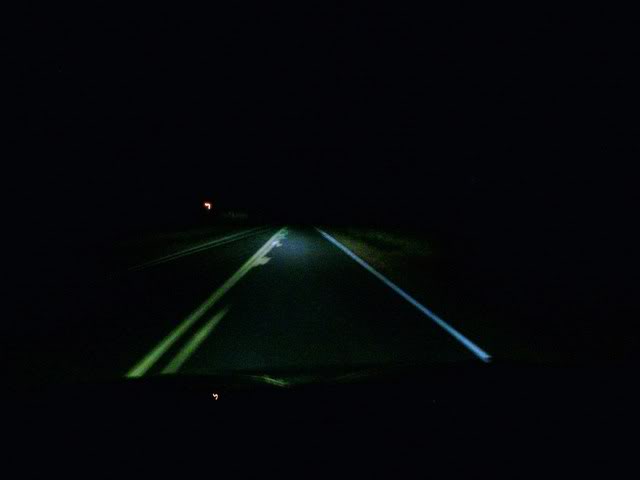
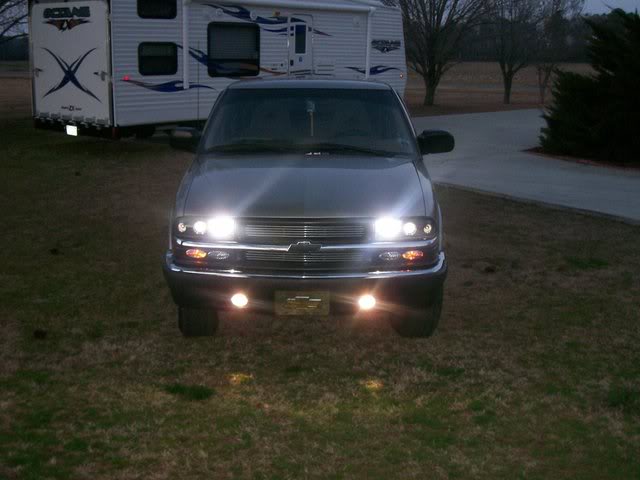
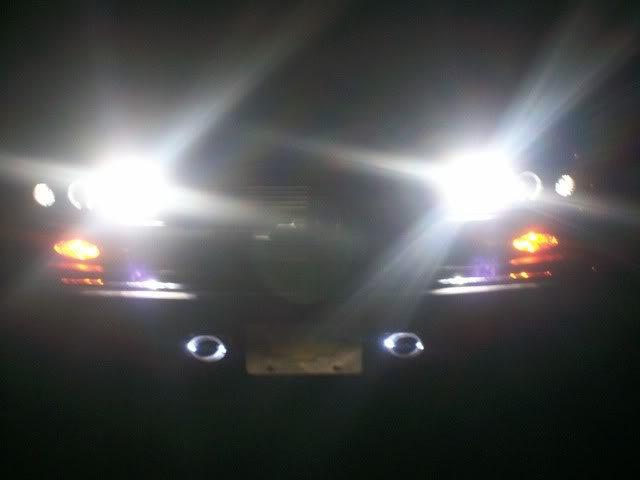
Silvania silverstar bulb on the passenger side, HID on the drivers side.
Here are the pics of them. I took them the other night and I haven't added them in yet.
Before:
After:
Silvania silverstar bulb on the passenger side, HID on the drivers side.
CF Active Member
Joined: Apr 2006
Posts: 219
Likes: 0
From: SoCal
looks good, for the merc, I didn't need to tear everything apart. I just did a bulb/balast replacement and added the converters. the head already had projectors just replaced the halogon to HID. what k rating is your fogs. they still look none xenon.... when I get a chance I will take some night shots of mine.
Thread Starter
CF Monarch
Joined: Jul 2007
Posts: 5,891
Likes: 29
From: Princeton, NC, USA
Tearing it down wasn't a problem at all. Its all one piece.
I thinkthey are rated at 4300k, but they are closer to 39-4100k.I just have silverstars in them. Nothing special.I ordered them at autozone and they came with the 7-color halos, but I modified them a little so they would be white only.
I thinkthey are rated at 4300k, but they are closer to 39-4100k.I just have silverstars in them. Nothing special.I ordered them at autozone and they came with the 7-color halos, but I modified them a little so they would be white only.
CF Active Member
Joined: Apr 2006
Posts: 219
Likes: 0
From: SoCal
ORIGINAL: EuroGoldLS
Tearing it down wasn't a problem at all. Its all one piece.
I thinkthey are rated at 4300k, but they are closer to 39-4100k.I just have silverstars in them. Nothing special.I ordered them at autozone and they came with the 7-color halos, but I modified them a little so they would be white only.
Tearing it down wasn't a problem at all. Its all one piece.
I thinkthey are rated at 4300k, but they are closer to 39-4100k.I just have silverstars in them. Nothing special.I ordered them at autozone and they came with the 7-color halos, but I modified them a little so they would be white only.
and as your picts show yours are so much better then thestocks as well!
Trending Topics
CF Active Member
Joined: Apr 2006
Posts: 219
Likes: 0
From: SoCal
ORIGINAL: EuroGoldLS
Higher the K, the more color it has. 4300 is the whitest you can get.
Higher the K, the more color it has. 4300 is the whitest you can get.
Thread Starter
CF Monarch
Joined: Jul 2007
Posts: 5,891
Likes: 29
From: Princeton, NC, USA
Probably should have included this in the writeup
http://upload.wikimedia.org/wikipedi...ckianLocus.png
http://upload.wikimedia.org/wikipedi...ckianLocus.png
