
03 3500HD Dually Fuel Filter Change
 September 16th, 2009, 7:35 PM
#1
CF Beginner
Thread Starter

Join Date: Sep 2009
Location: NC
Posts: 4
Likes: 0
Received 0 Likes
on
0 Posts
I just changed the fuel filter on a 03 2500 with the duramax now it wont run and there is no fuel in the filter how do i purge the system and what was i supposed to do when i change it
 September 16th, 2009, 11:07 PM
#2
Super Moderator
ROTM Coordinator
ROTM Coordinator
Fuel System Priming
NOTE: In order for the DURAMAX diesel engine fuel system to work properly, the fuel lines must be full of fuel and contain no air. If air gets into the fuel lines, it will be necessary to prime the fuel system to eliminate the air before operating the vehicle. Air could have entered to system in one of the following ways:
NOTE: Prior to priming the engine, ensure that the following is complete:
<CENTER><TABLE width=400 border=0><TBODY><TR><TD align=middle>
</TD></TR></TBODY></TABLE></CENTER>
 <CENTER><TABLE width=400 border=0><TBODY><TR><TD align=middle>
</TD></TR></TBODY></TABLE></CENTER>
NOTE: In order for the DURAMAX diesel engine fuel system to work properly, the fuel lines must be full of fuel and contain no air. If air gets into the fuel lines, it will be necessary to prime the fuel system to eliminate the air before operating the vehicle. Air could have entered to system in one of the following ways:
- The vehicle ran out of fuel.
- The filter was removed for service or replacement.
- The fuel lines were removed or disconnected for servicing.
- The fuel filter water drain **** was opened while the engine was running.
NOTE: Prior to priming the engine, ensure that the following is complete:
- There is fuel in the fuel tank.
- The fuel filter has been installed and properly tightened.
- The fuel lines are properly connected.
- The fuel filter is cool to the touch.
- Any dirt or debris is removed from the fuel filter head and vent valve
<CENTER><TABLE width=400 border=0><TBODY><TR><TD align=middle>
</TD></TR></TBODY></TABLE></CENTER>
- Before servicing the vehicle refer to the precautions at the beginning of this section
- Open the vent valve by turning the screw counterclockwise several full turns
<CENTER><TABLE width=400 border=0><TBODY><TR><TD align=middle></TD></TR></TBODY></TABLE></CENTER>
- Operate the priming pump until a small amount of fuel seeps from the vent valve
- Allow the pump to return upwards between pumps
- When fuel is present, the filter is full of fuel and the system should be primed
- Close the vent valve
- Clean any fuel which accumulated on the fuel filter
- Start the engine and allow it to idle for a few minutes
- Check the filter for leaks
- Test drive the vehicle to confirm the repairs
Last edited by Mike Sigmond; September 17th, 2009 at 9:48 AM.

 September 17th, 2009, 9:24 AM
#5
Super Moderator
ROTM Coordinator
ROTM Coordinator
Dont give me too much credit, it was just a copy paste off my database .
.
I see the diagram pics went away, Ill see if I can get that fixed.
.I see the diagram pics went away, Ill see if I can get that fixed.

Trending Topics
September 17th, 2009, 9:59 AM
#8
CF Senior Member
Join Date: Jun 2009
Location: northern california
Posts: 518
Likes: 0
Received 0 Likes
on
0 Posts
Fuel filter write up<!-- google_ad_section_end -->
<HR style="COLOR: #d1d1e1" SIZE=1 itxtvisited="1"><!-- google_ad_section_start -->I had some time today and my truck is about due for a fuel filter so I decided to take pics and do a write up. Here it goes.
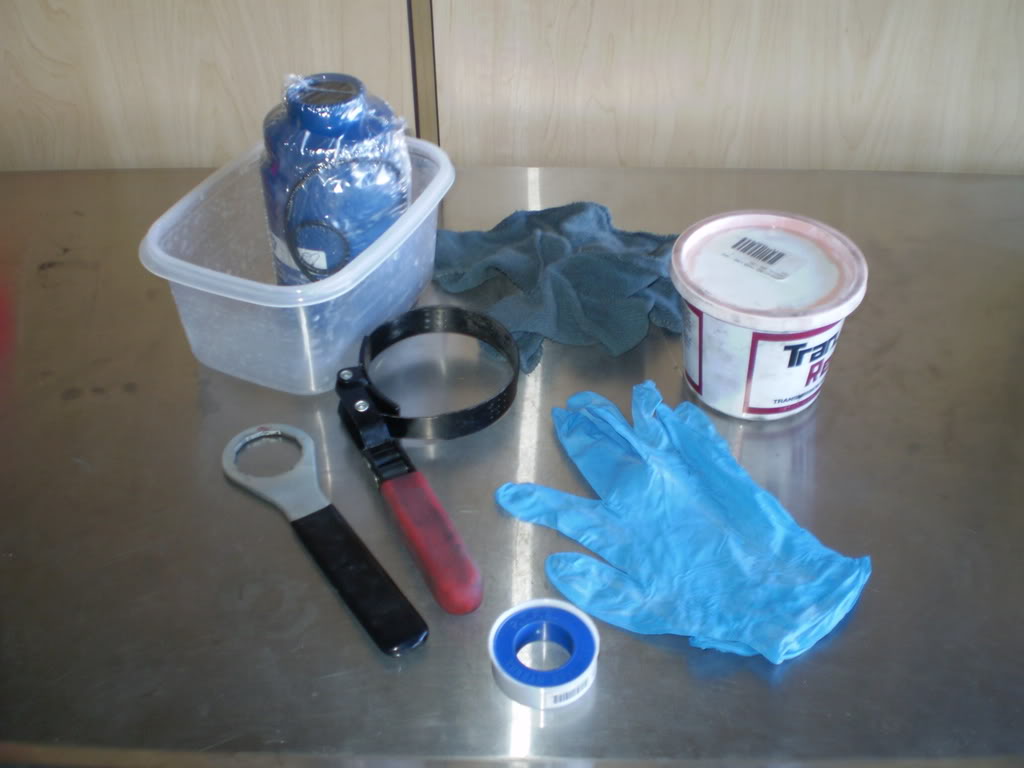
Here are the things you will need...
-Fuel filter
-Water in fuel sensor wrench
-Thread tape
-Big oil filter wrench
-Gloves
-Tuperware or cup
-Transgel or other lube for O-rings
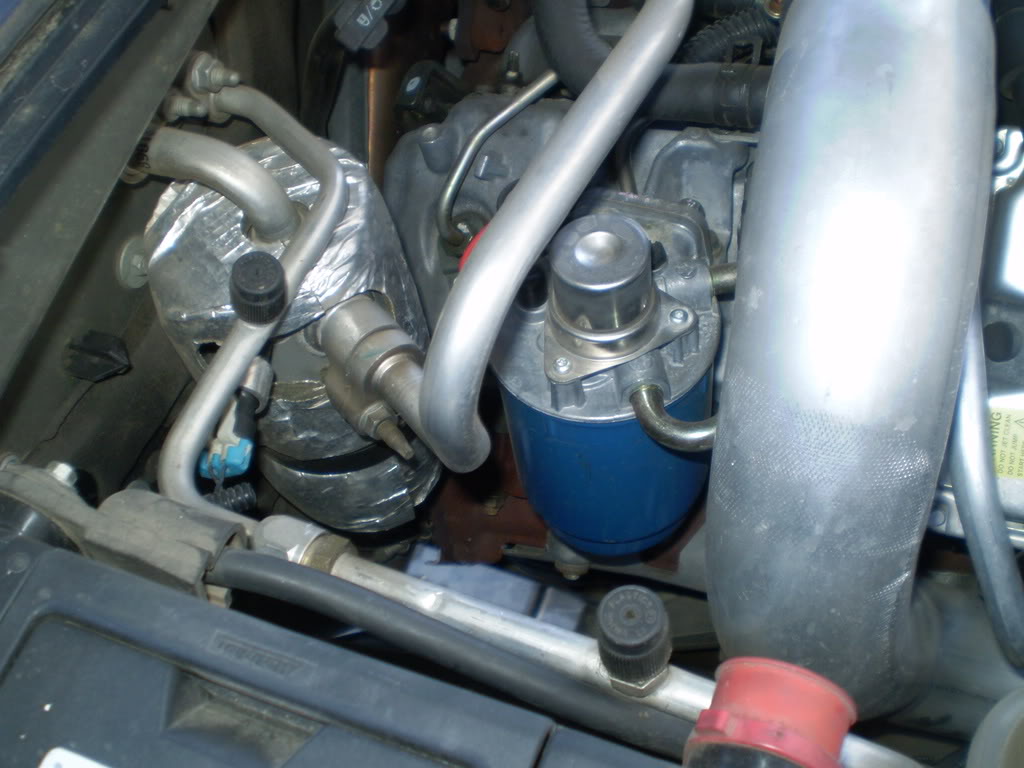
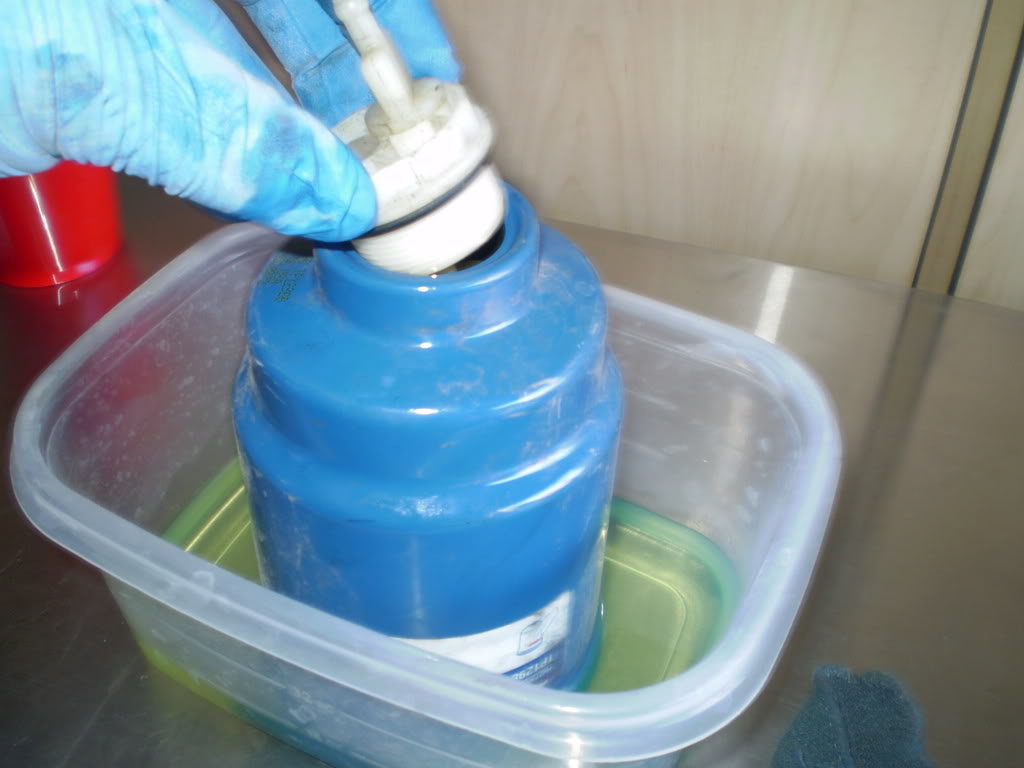
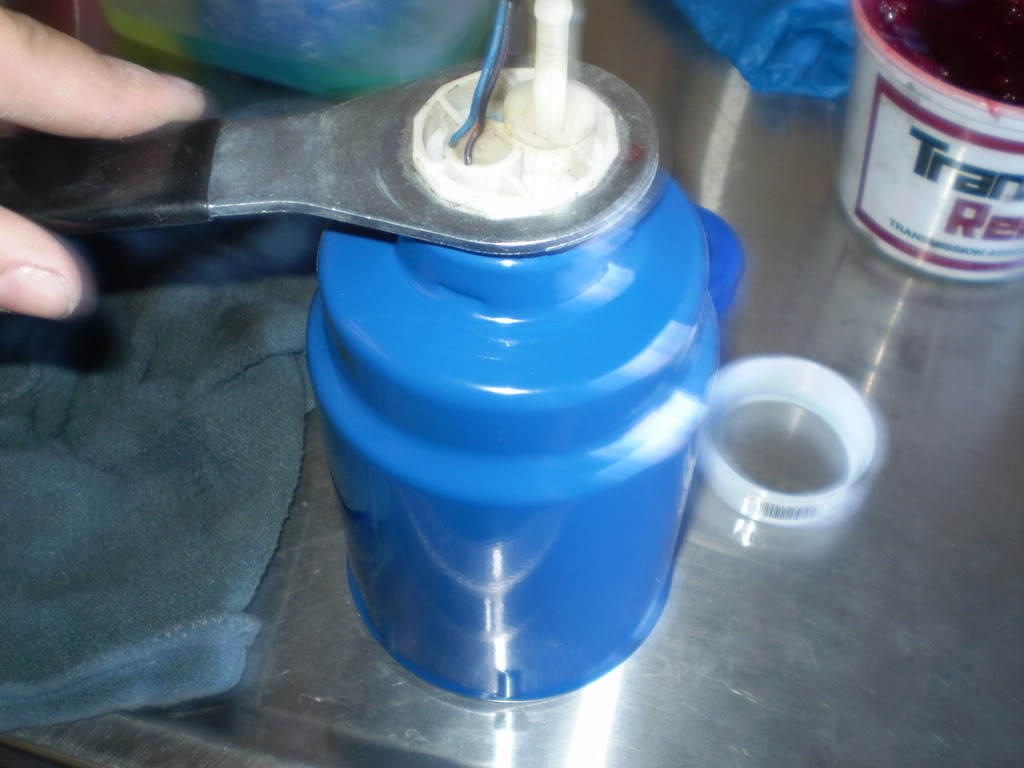
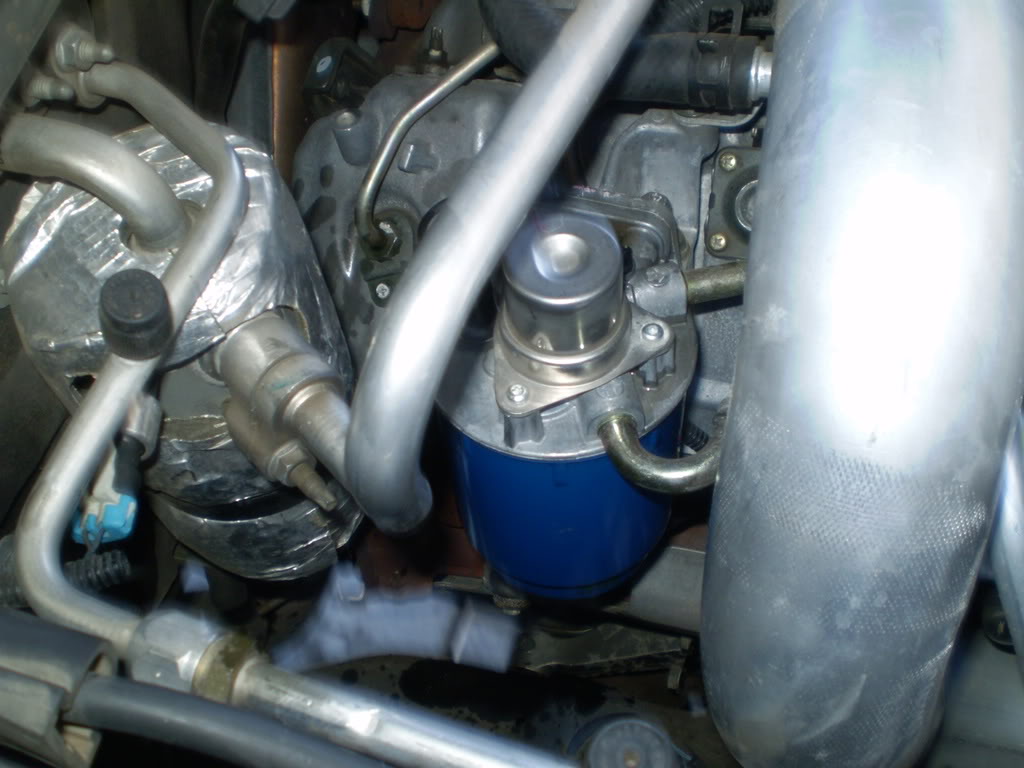
I go straight through the top to get to the fuel filter, unplug the WIF sensor connector, loosen the fuel filter with oil filter wrench, then unscrew by hand. I bring the fuel filter up through the AC lines and battery area. Then put the old fuel filter un tupperware.
Next use the WIF sensor wrench and remove the WIF sensor.
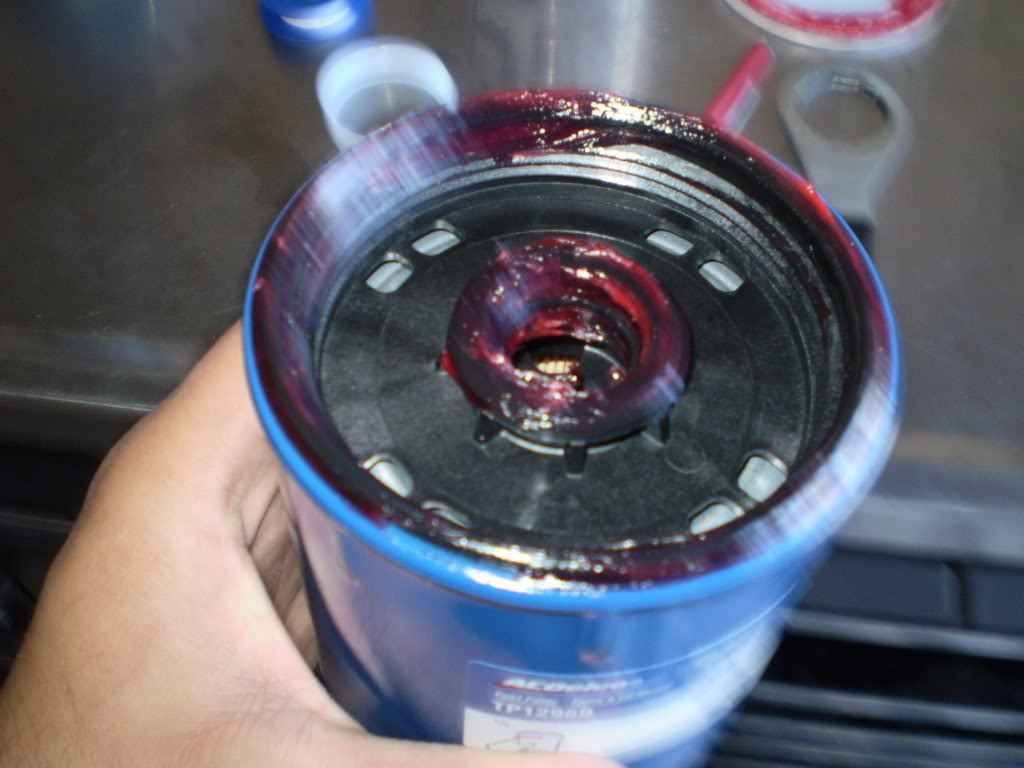
Remove old O-ring and give the WIF sensor a shot of brake clean to clean it up, put on new o-ring and a couple layers of thread tape, make sure you wrap the thread tape in the same direction as the threads so it doesnt bunch up while tightening, next lube the o-ring with transgel.
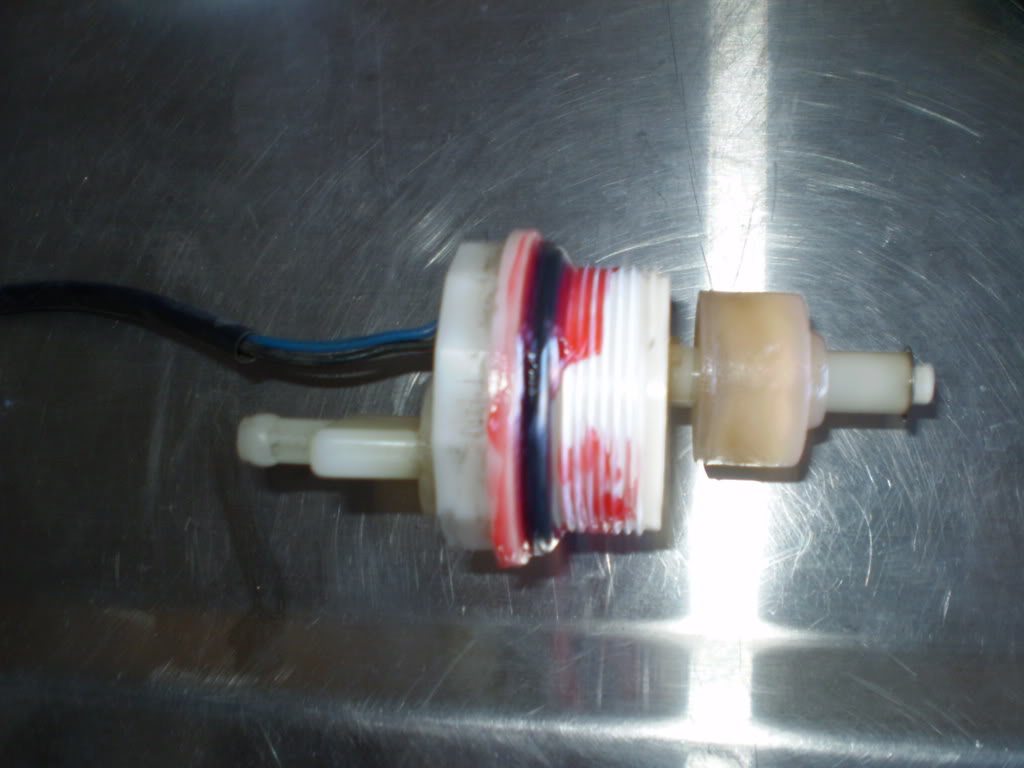
I tighten the WIF sensor snug by hand and then give it a half turn with the wrench.
Then onto the big o-ring, get it set in nice and snug in the groove, then rub some transgel on it, get it in the crack around the o-ring, this will help it stay in during install, next lube the center o-ring/bushing, this will help it slide on nice.
 <!-- google_ad_section_end -->
__________________
<!-- google_ad_section_start(weight=ignore) -->
<HR style="COLOR: #d1d1e1" SIZE=1 itxtvisited="1"><!-- google_ad_section_start -->I had some time today and my truck is about due for a fuel filter so I decided to take pics and do a write up. Here it goes.
Here are the things you will need...
-Fuel filter
-Water in fuel sensor wrench
-Thread tape
-Big oil filter wrench
-Gloves
-Tuperware or cup
-Transgel or other lube for O-rings
I go straight through the top to get to the fuel filter, unplug the WIF sensor connector, loosen the fuel filter with oil filter wrench, then unscrew by hand. I bring the fuel filter up through the AC lines and battery area. Then put the old fuel filter un tupperware.
Next use the WIF sensor wrench and remove the WIF sensor.
Remove old O-ring and give the WIF sensor a shot of brake clean to clean it up, put on new o-ring and a couple layers of thread tape, make sure you wrap the thread tape in the same direction as the threads so it doesnt bunch up while tightening, next lube the o-ring with transgel.
I tighten the WIF sensor snug by hand and then give it a half turn with the wrench.
Then onto the big o-ring, get it set in nice and snug in the groove, then rub some transgel on it, get it in the crack around the o-ring, this will help it stay in during install, next lube the center o-ring/bushing, this will help it slide on nice.
<!-- google_ad_section_end -->__________________
<!-- google_ad_section_start(weight=ignore) -->
September 17th, 2009, 10:00 AM
#9
CF Senior Member
Join Date: Jun 2009
Location: northern california
Posts: 518
Likes: 0
Received 0 Likes
on
0 Posts
Then back through the hole and screw the new fuel filter on.
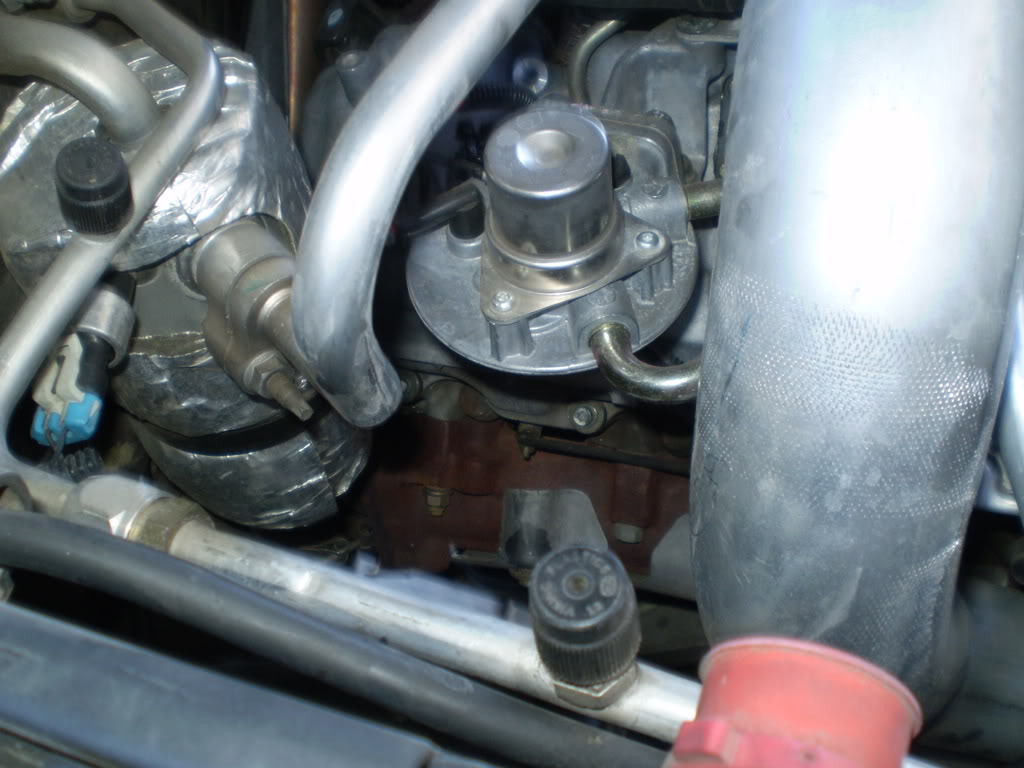
Then snug it up with the big oil filter wrench, not real tight just nice and snug
Then crack the bleeder screw loose and start pumping the primer.
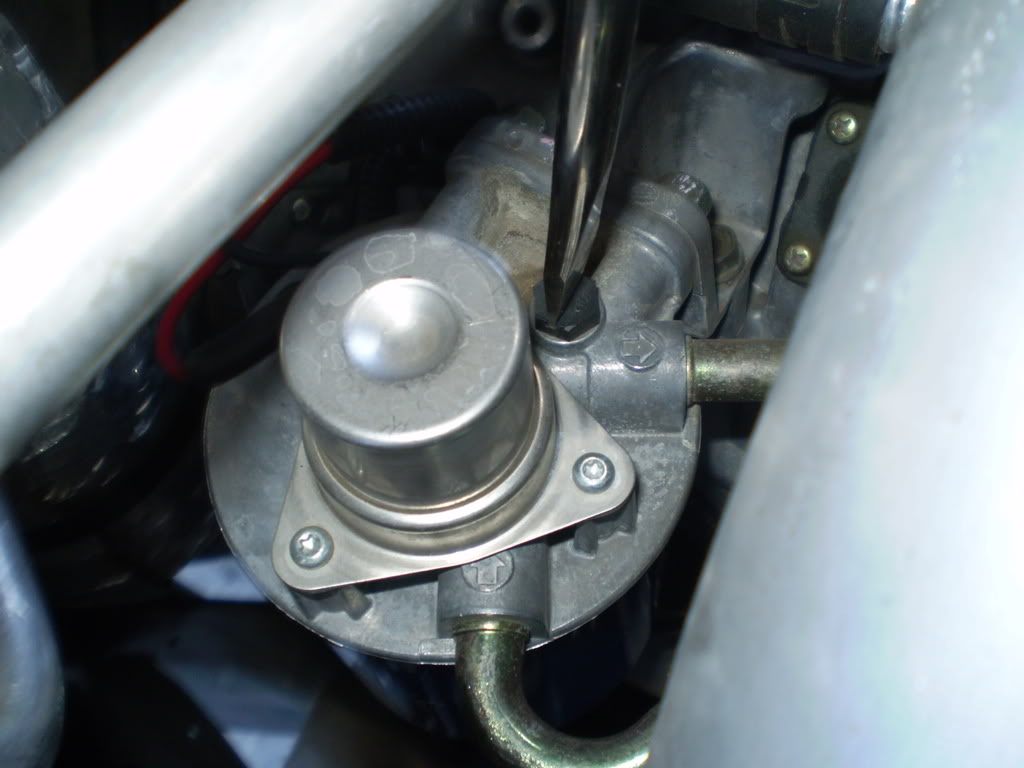
Pump until fuel starts coming out, then snug the screw back up, not real tight you are screwing into aluminum, that why I just use a flat head screwdriver.
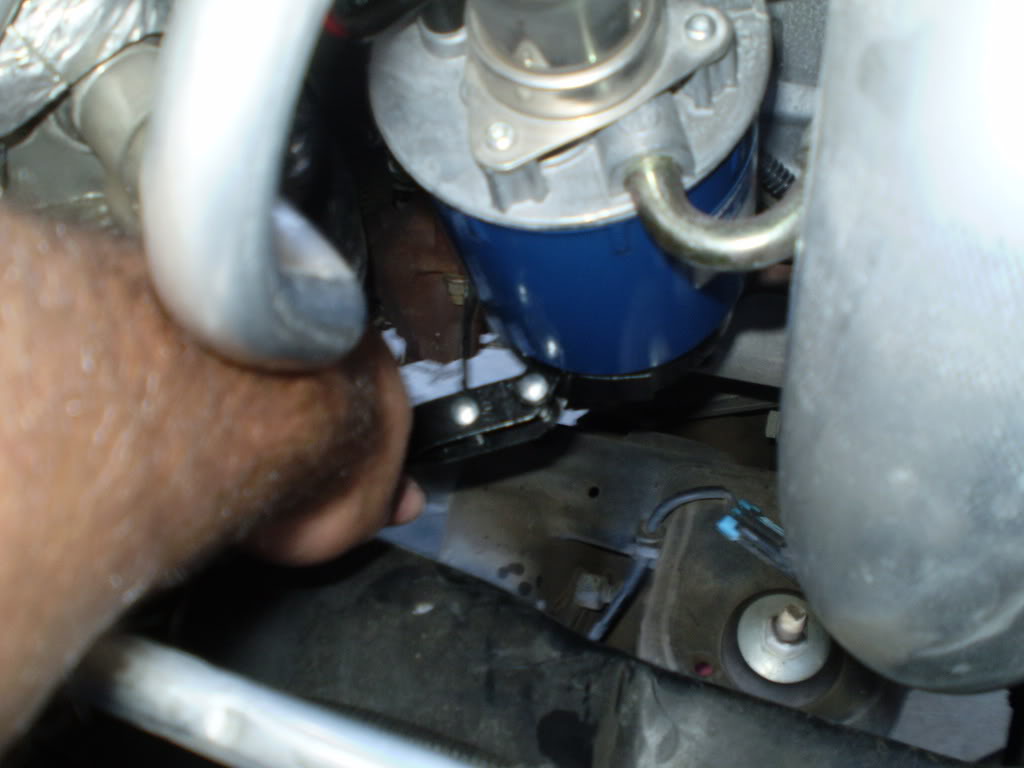
Clean around filter with either brake clean or a rag, pump primer a few more times and check for leaks around WIF sensor and top of filter were it meets the housing. If no leaks, start truck up and check for leaks while running. If no leaks, then you are done and just saved yourself lots of easy money. Do this every 10-15K miles, it only takes about 10 mins and is very easy. Hope this helps some people out and encourages them to try it themselves.
Then snug it up with the big oil filter wrench, not real tight just nice and snug
Then crack the bleeder screw loose and start pumping the primer.
Pump until fuel starts coming out, then snug the screw back up, not real tight you are screwing into aluminum, that why I just use a flat head screwdriver.
Clean around filter with either brake clean or a rag, pump primer a few more times and check for leaks around WIF sensor and top of filter were it meets the housing. If no leaks, start truck up and check for leaks while running. If no leaks, then you are done and just saved yourself lots of easy money. Do this every 10-15K miles, it only takes about 10 mins and is very easy. Hope this helps some people out and encourages them to try it themselves.

Thread
Thread Starter
Forum
Replies
Last Post
Chevrolet Forum News
News, Concepts, SEMA
0
May 8th, 2015 5:08 PM
DeHartShadow
Impala
7
October 22nd, 2013 10:52 AM
glamisfanatic
Silverado, Sierra & Fullsize Pick-ups
5
August 12th, 2010 11:48 AM
davisdanny32
Silverado, Sierra & Fullsize Pick-ups
1
September 23rd, 2009 10:09 PM