When you click on links to various merchants on this site and make a purchase, this can result in this site earning a commission. Affiliate programs and affiliations include, but are not limited to, the eBay Partner Network.
how to remove interior firewall black plastic panel?
Tahoe & SuburbanThe power, space, and brutal towing ability make the Tahoe and its longer sibling, the Suburban, arguably the best full size SUV's on the market today.
how to remove interior firewall black plastic panel?
Trying to chase down a rainwater leak into my 2004 Suburban 1500 that soaks my carpet and pad, only in the drivers footwell. (No sunroof) After removing the front seats and pulling the carpet back, I see a black plastic panel under the pedals, attached to the firewall. This panel also has a green foam slab under it, which is also soaked. I want to remove the panel so I can look for the rain's point of entry when someone's spraying various areas with a hose The panel is in the way.
What is this panel called, and how do I remove it? I have the 6 volume giant paper service manual but I haven't yet been able to find any instructions. The relay box left of the brake pedal is one thing holding it in. HVAC ductwork near the front center hump is another. Parking brake cable, accelerator pedal may also be holding it. I'm hesitant to keep unbolting a bunch of stuff ***** nilly in case it leads to me disassembling the entire dash without having to do so. That's the unbolted accelerator pedal lying on the plastic panel.
How about putting some dye in a sprayer used for applying fertilizer that hooks to your garden hose and spray the area. That might help you pinpoint the leak, Just a crazy idea!
I did take rednucleus� advice about not trying to remove that entire panel, but was able to peel it back a little bit so I could look at the suspicious area better. The water seems to be coming in from what looks like a seam-sealed sheet metal area right near the parking brake cable penetration from inside to outside. Seam sealer seems to have a crack on the outside. I�ll post pix after I get back from a week out of town. Thinking about just covering the sealer inside and out with new sealer or with silicone. Thanks for the suggestions.
Last edited by hillpc; March 18th, 2023 at 7:52 PM.
Fixed the rain water leak � cracked seam sealer was the problem
Fixed!
Chronology -
No obvious problems seen in the cowl area after taking off the wipers and wiper motor grill below the windshield. Rain water had an easy way out, no puddling anywhere.
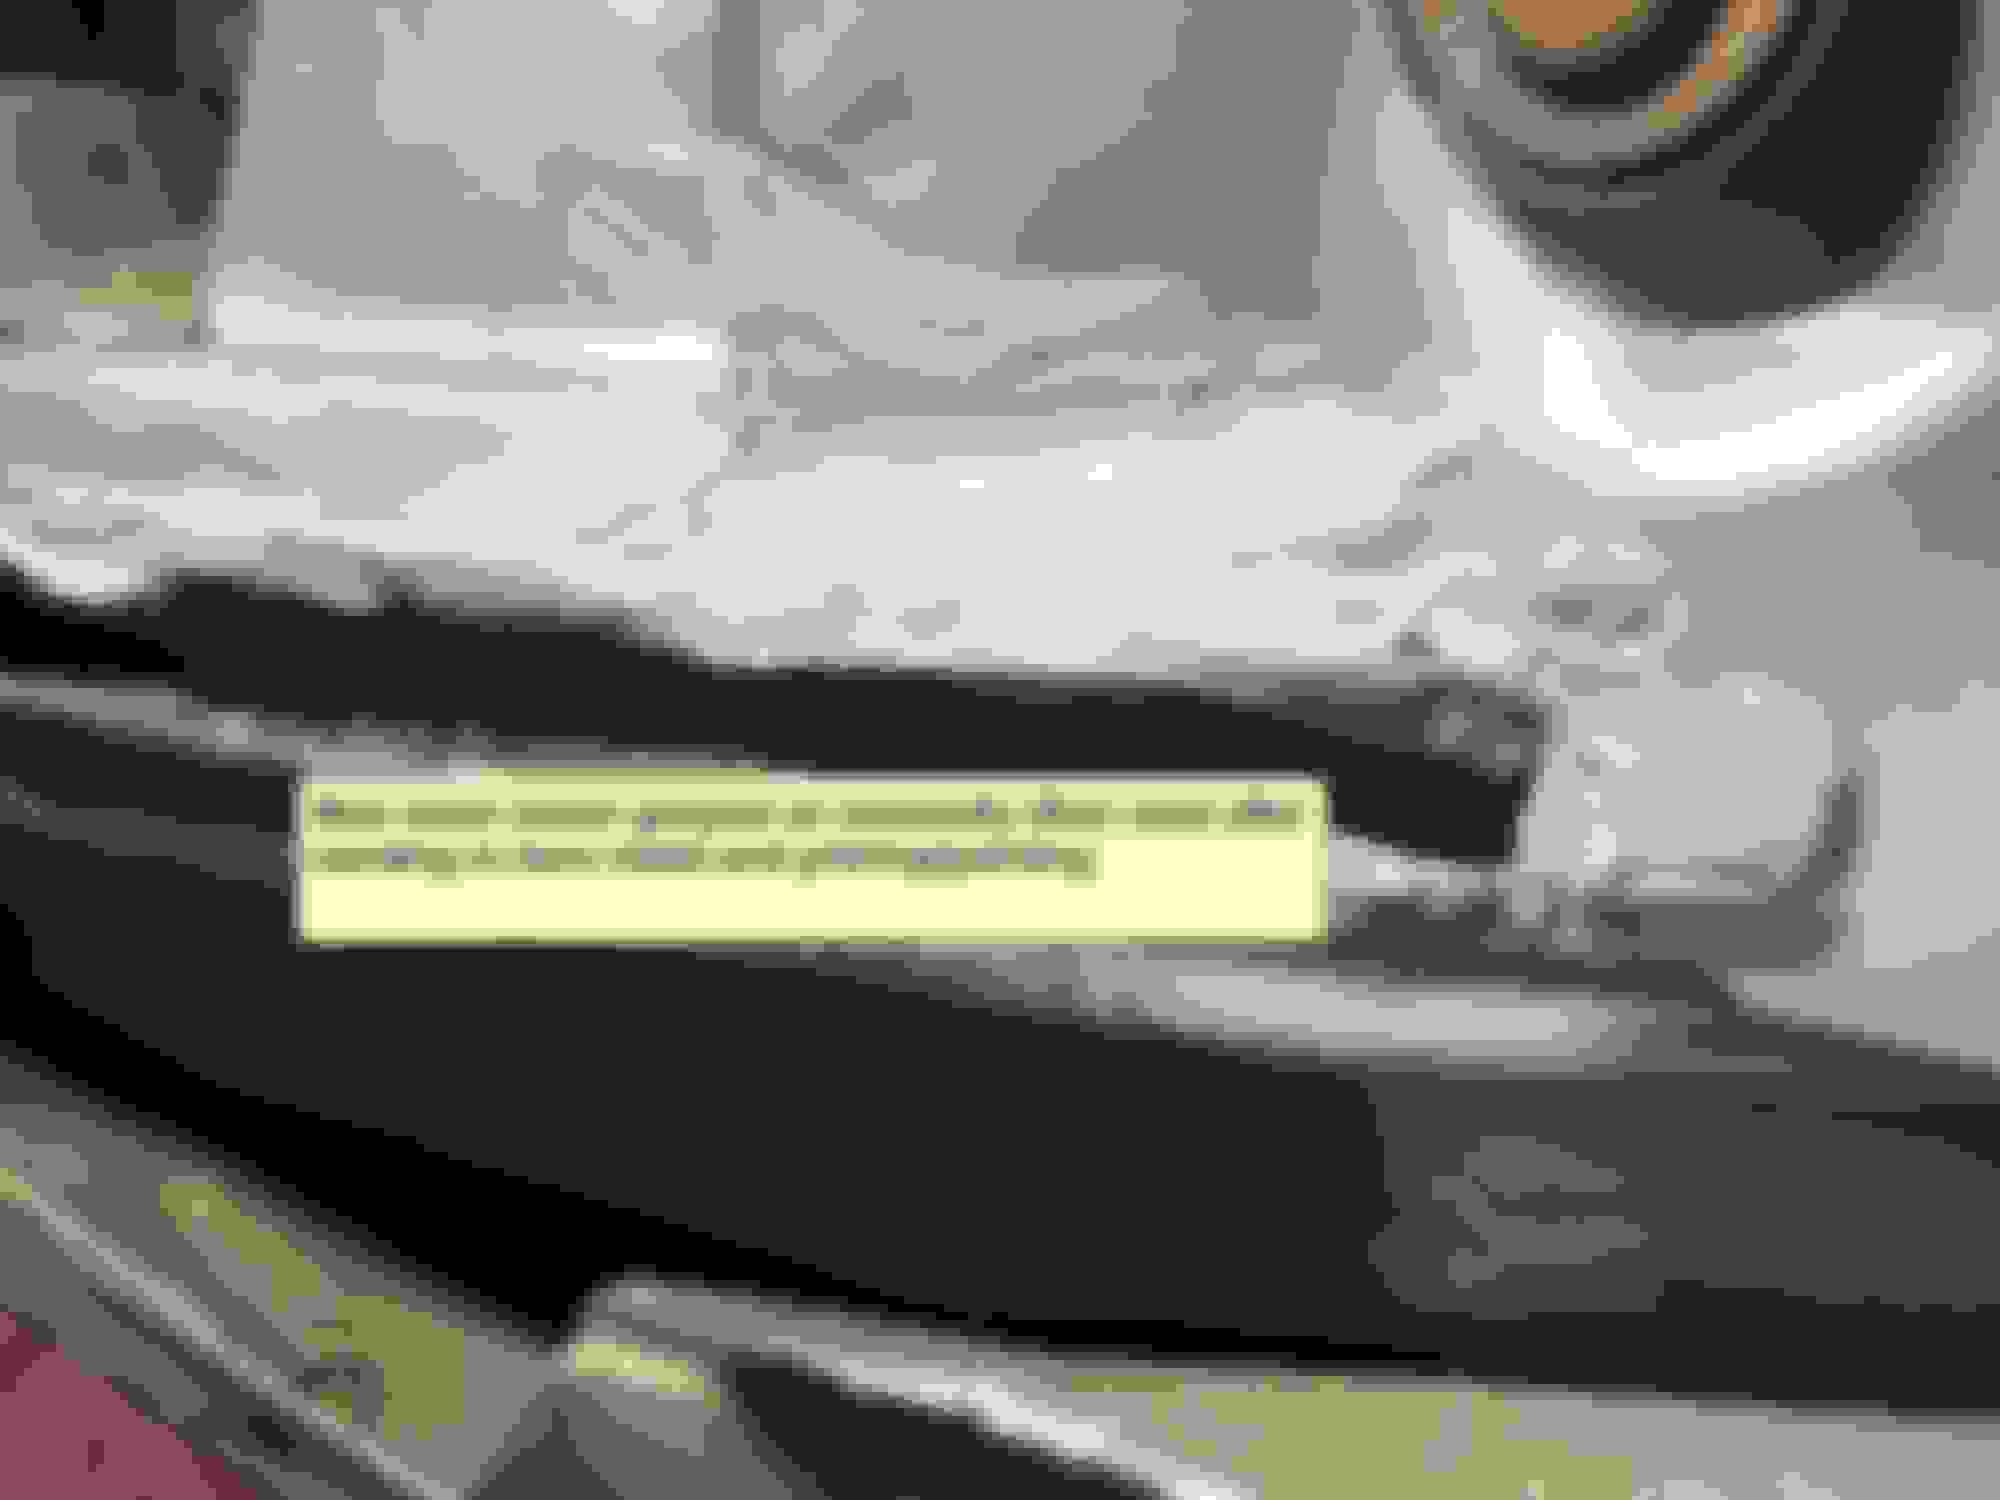
To be able to see the driver's floor sheet metal, I bent back the interior firewall plastic panel after removing the front seats and folding back the carpet. The carpet is very stiff; this made me remove the seats to be able to bend the carpet back enough. Just a few bolts/nuts per seat. At some point I also removed the parking brake and its cable because those were kind of in the way for further access inside. Put a rubber expandable plug into the parking brake pass-through hole to seal it. Held the black plastic panel and left side plastic back with a piece of wood about 9” long x 2” square (wedged against one of the metal ribs in the floor) to allow drying and visibility. Dirty seam sealer on floor interior.
interior work area, without removing plastic panel
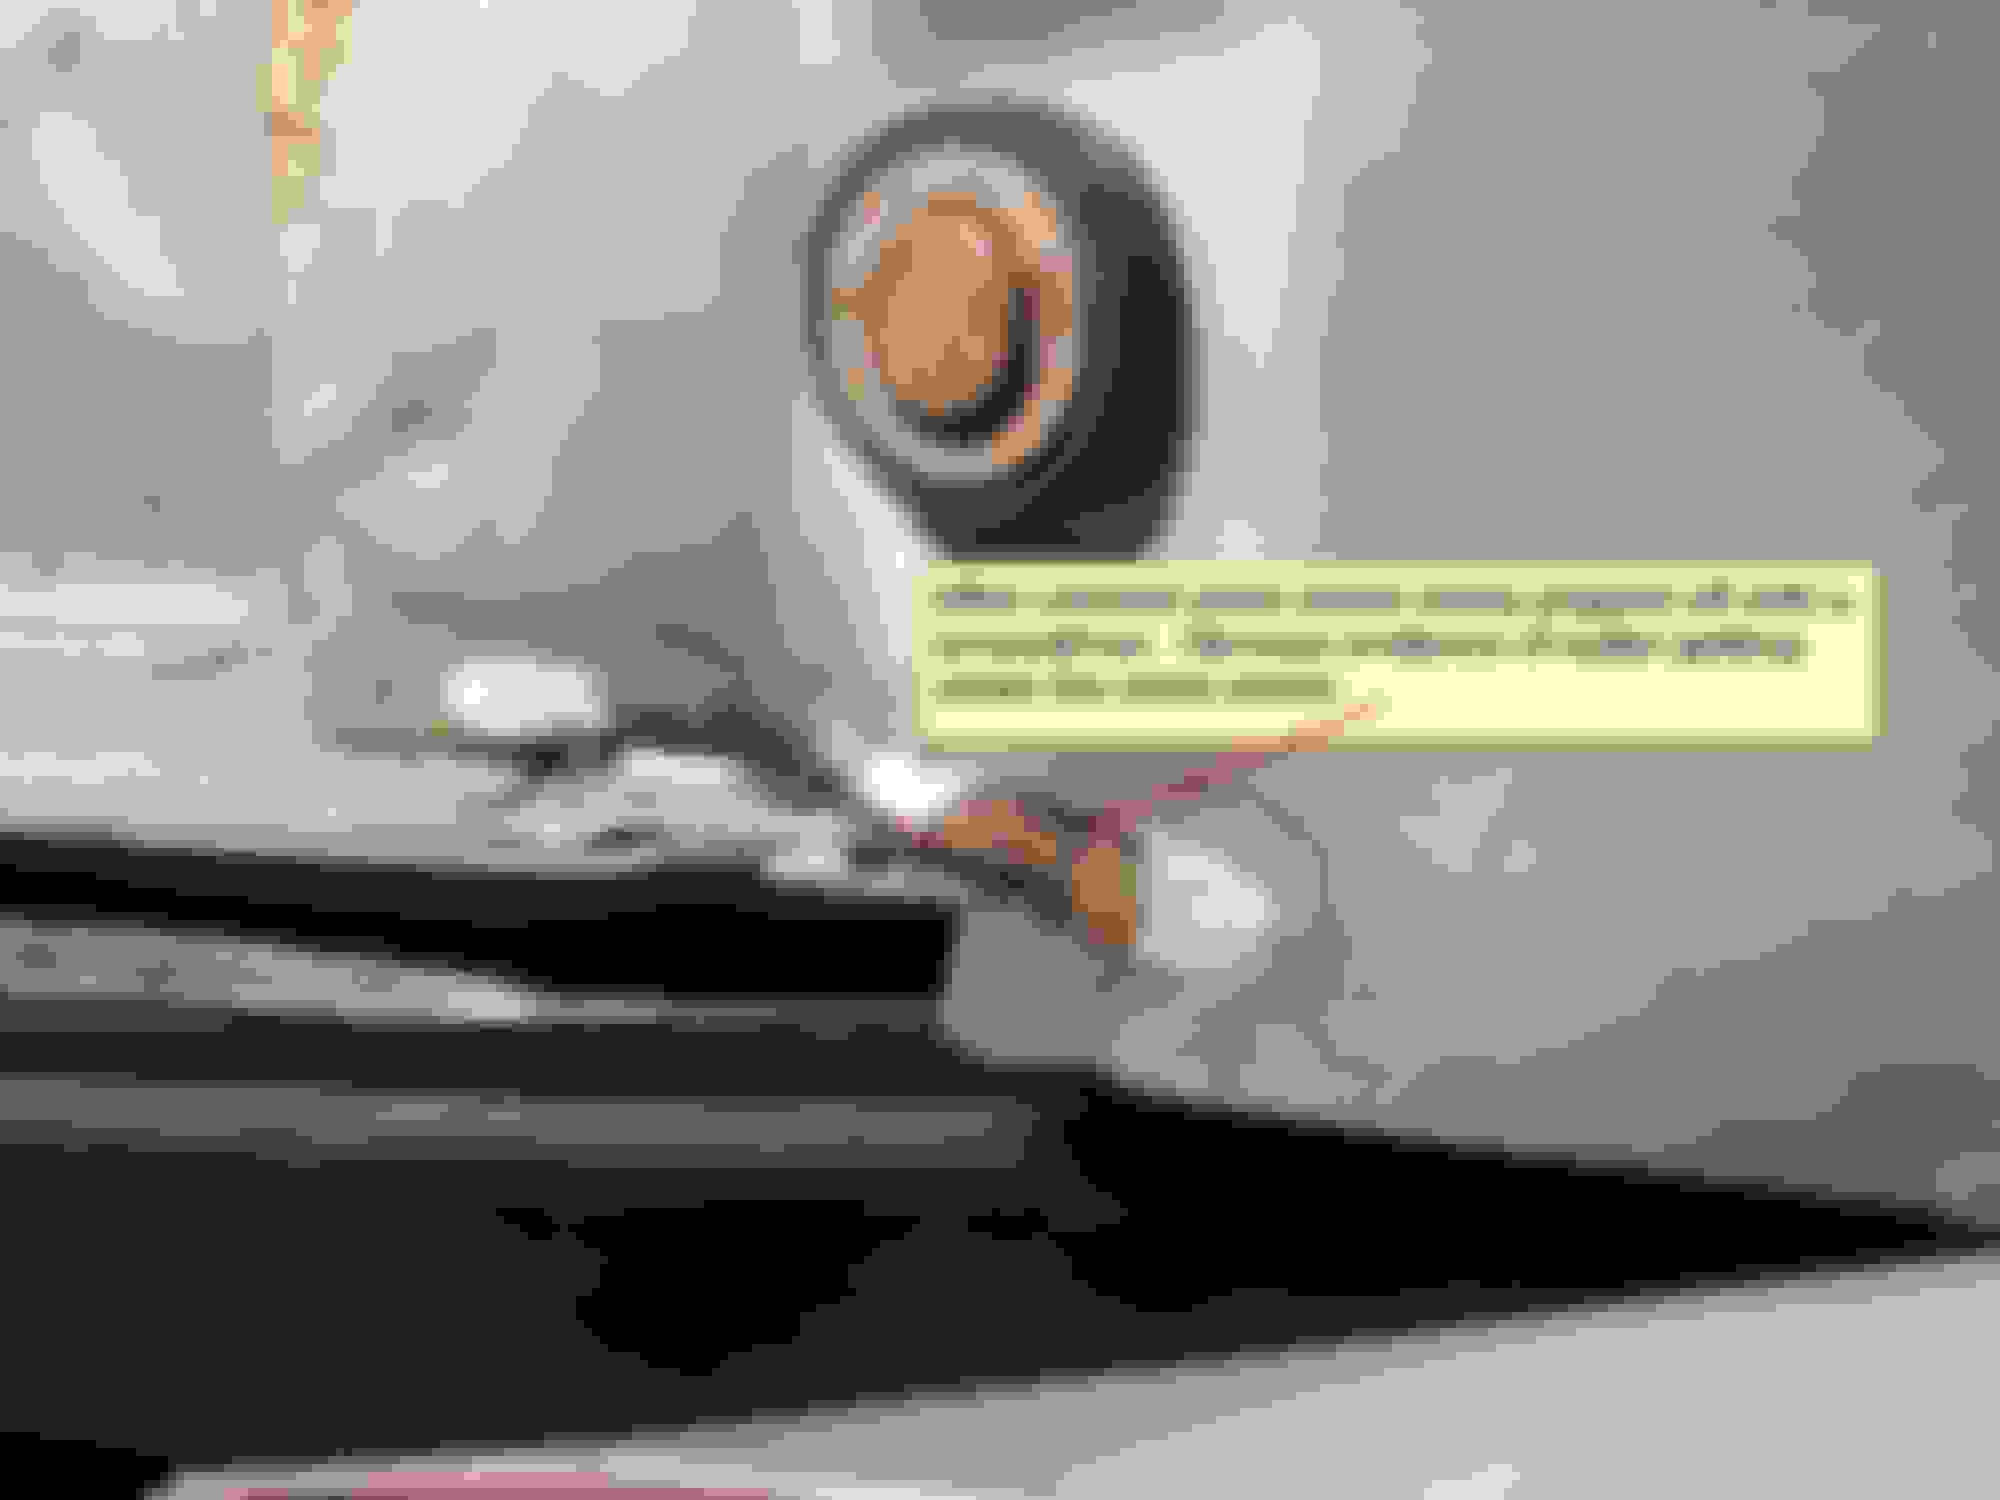
Wife sprayed the driver's windshield area with a hose. From inside, I was able to see water coming in from under the interior seam sealer bead in the far left corner.
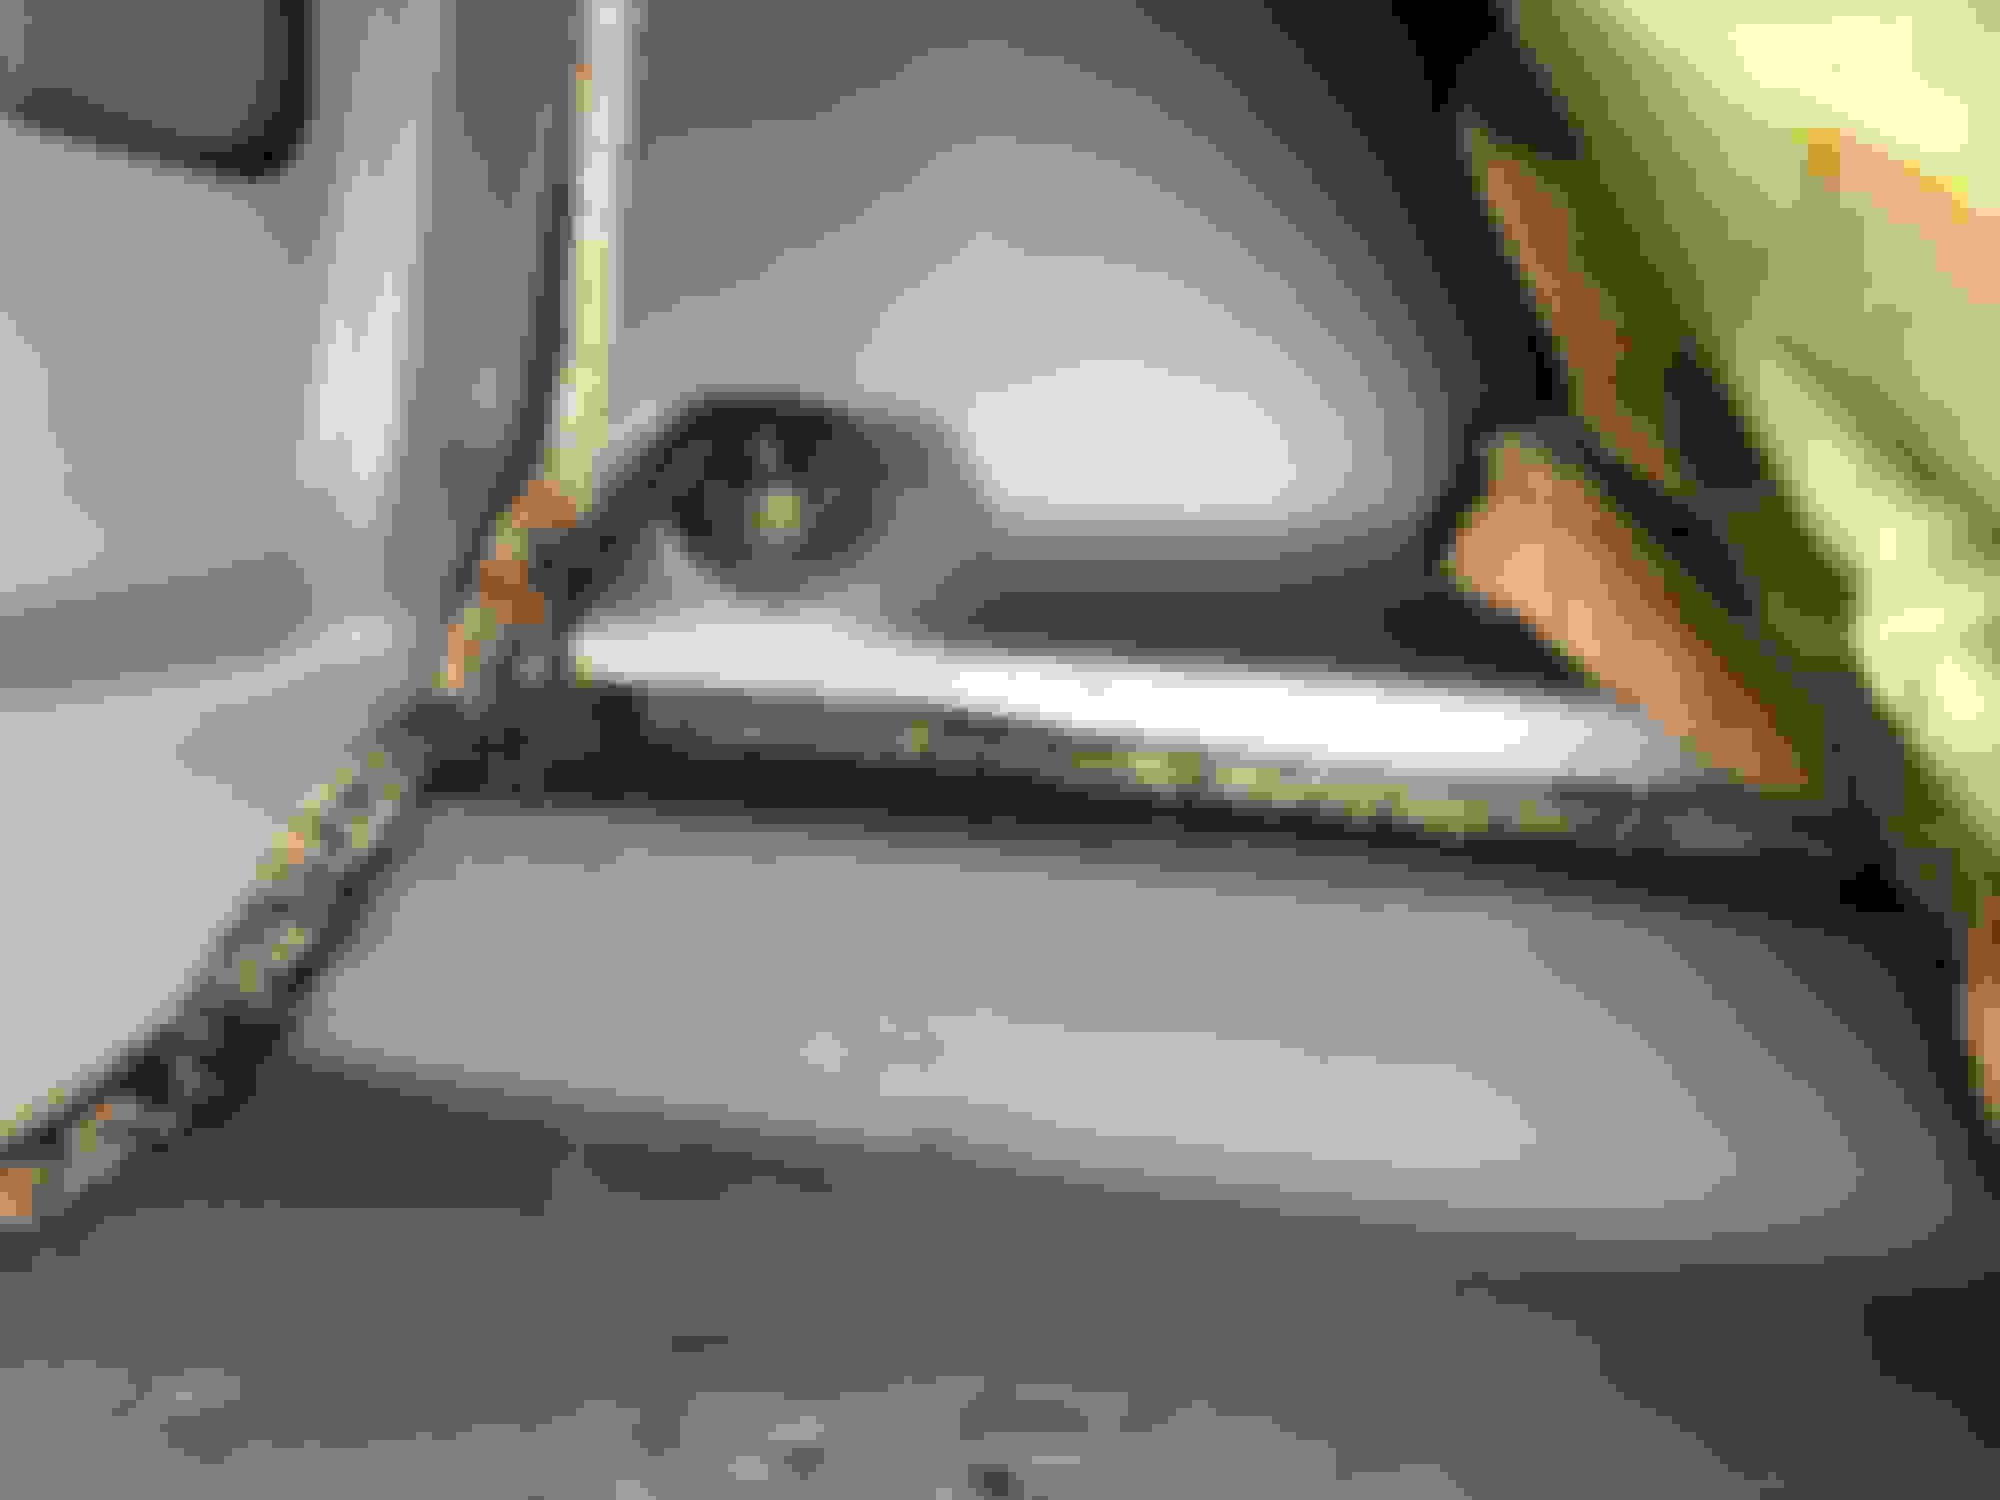
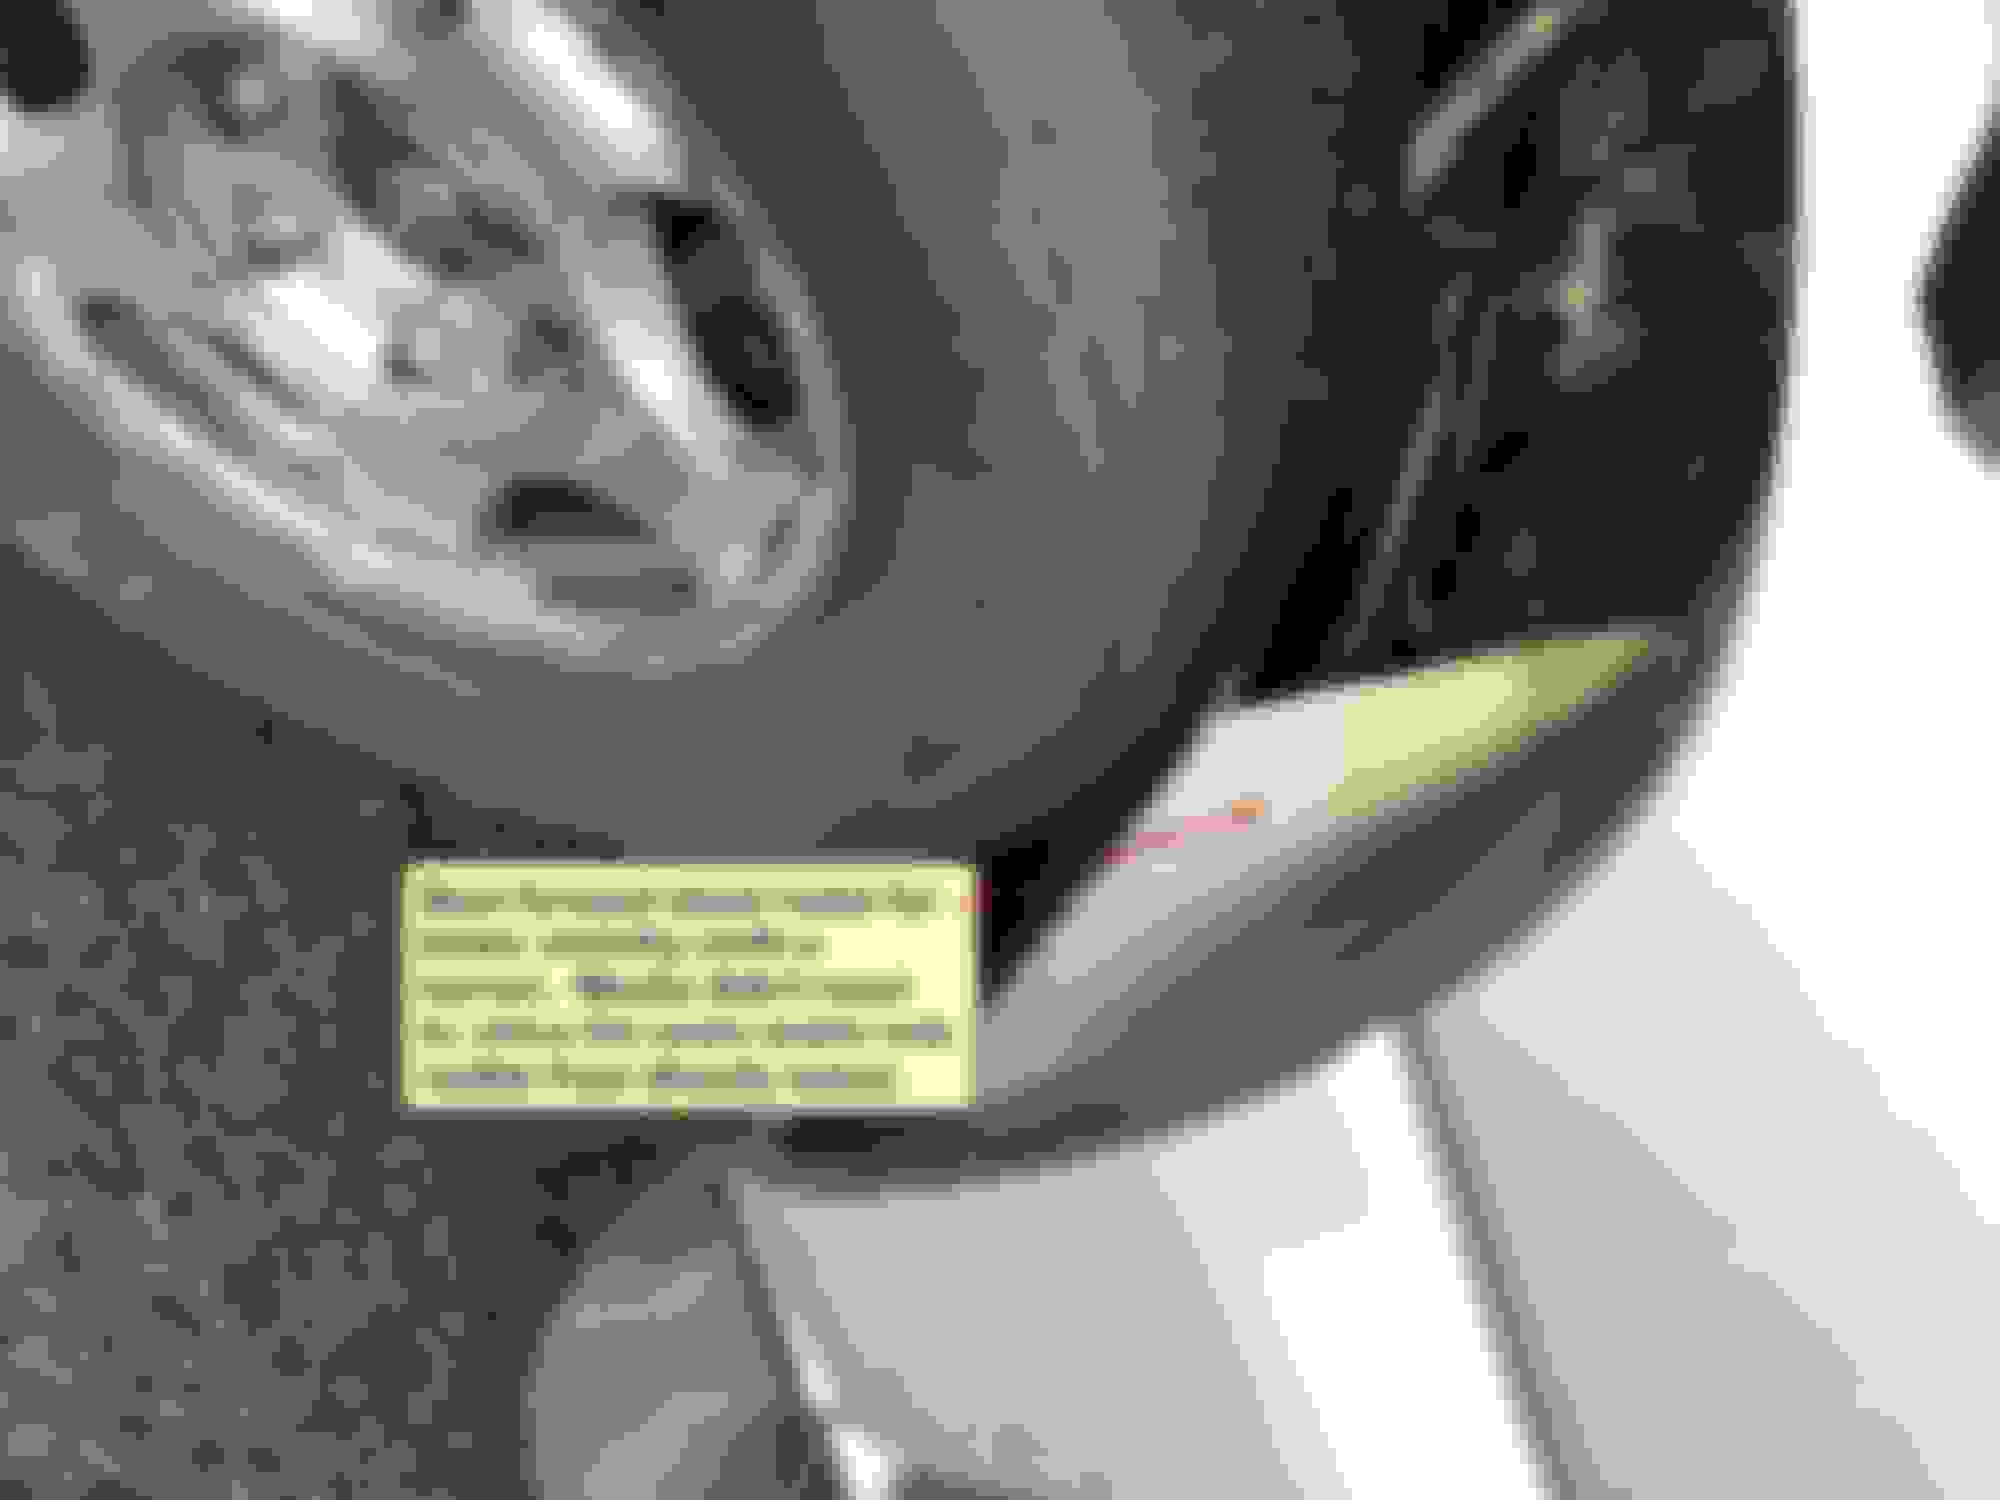
Removed the driver's wheel and black plastic wheelhouse (totally simple with the plastic expandable clips) so I could see the exterior of the leak area. Bent back some sheet metal a bit for better visibility. Cracks in exterior seam sealer!
from outside, before parking brake cable was removed for better access inside. Cracked exterior seam sealer plainly visible.
Stuck a screwdriver into a couple of the cracks outside and twisted – dried out seam sealer pieces dropped off onto the floor. Rusty metal underneath. Smoking gun!
Dried the inside thoroughly with towels and a small forced air electric heater running overnight, one window cracked slightly open.
Ground and/or sanded the exterior sheet metal in the failed seam sealer area clean, to bare metal, with a Dremel and other small scraping tools. Spray painted bare metal with grey primer/paint combination product. (The seam sealer tube said to apply to primed and painted surface.)
Gooped new 3M Dynatron seam sealer onto the outside area to replace the old. 2 coats.
Sprayed brake cleaner on the interior seam sealer, brushed it and wiped with a rag to clean off for new sealer overlay. (It didn't actually clean up the dirty interior seam sealer.) Applied new seam sealer, 2 coats. I maybe should have made the first coat thinner, because the first coat had cracked during forced air drying.
Tested with a hose directed at the windshield. No leaks!
Now just have to put it all back together. I'll probably put sealer of some sort at the rubber parking brake grommet in the floor, just in case.
I used seam sealer instead of silicone on the advice of a body shop friend. He doesn't like silicone because he's had bad experience with it coming off, and the fact that nothing will stick to it if needed later.
Hope this may help others.
Last edited by hillpc; April 7th, 2023 at 2:03 PM.

 March 15th, 2023, 4:05 PM