When you click on links to various merchants on this site and make a purchase, this can result in this site earning a commission. Affiliate programs and affiliations include, but are not limited to, the eBay Partner Network.
Tahoe & Suburban DIY and Useful ThreadsThis section is for DIY writeups, FAQs, and other useful threads. If you would like something posted in here, please contact a moderator.
so basically the big 3 is when you use a thick gauge wire to (beef up) your 3 main electrical points. the battery to the alternator power wire, the engine to chassis ground, and your negative battery wire to the ground point. did mine today and now my voltage guage is on the higher side of 14 rather than the lower. and my voltage on my audio capacitor also reads a higher voltage so this deffenately works. i will have to use 2 posts because i can only upload 5 pics per so bare with me. step on i start off with a roll of 50ft 0ga wire (i got a 50ft roll but you can do it 5 times with that much) buy 6 2guage wire ring terminals and slip it over the exposed end of the wire, then crush it with a hammer and tape them together with electrical tape. measure how much you need (pic2 is how your alternator wire should look.) pic 3 you remove the bracket that the wrench is shown on. pic4 connect the one end there.pic 5 connect the other end behind alternator on the post with the stock wire. look at next thead (sorry new to this)
DONT ASK ABOUT MY ENGINE COVER....IM having it painted lol. pic1. make a new wire about this long to go from your block to your shock tower bolt 1 of 3. pic 2. these are where the wire gets hooked up. area is pink because i didnt have any black paint to cover the raw metal from sanding the ground point. its only temperairy to prevent rust. pic3 make a new wire and connect it to the neg battery post. run it down and follow the factory wire to the ground point on the engine see pic 4. if you did what i did it will look like pic 5 when your all done. be sure to look at your voltage guage before and after for all you audio guys. you will be impressed
haha the engine cover is the disastrous result of "at home paint shop" effort... haha i tried stripping it afterwards im not even sure it can be salvaged. going to bring it to a shop and see if they can just shoot that and my fuse box cover a glossy silver to match the color of the truck. got pics of yours i would like to see that sounds awsome.
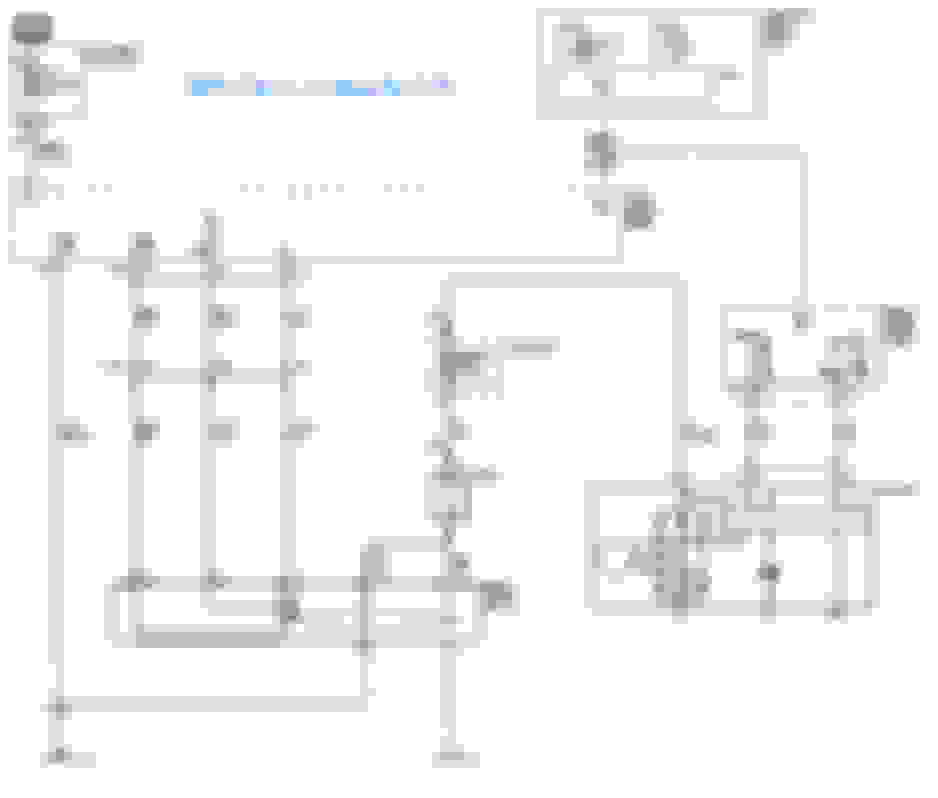
Hi. I need to cross ref the color wires for my son's 2003 tahoe with a Bose system to a aftermarket radio.The color codes changes from the amp to colors not in the diagram...no yellow etc. Can anyone help??I am learning new words from him!!
looks good and I did the same thing on my Acura TL but with 4 guage wire. 0 guage is a little overkill... Mostly because the stock wires were very small 10 guage maybe and they were all rusted - there is no performance benefit at all. I always think it is fun to modify and "become 1" with your ride, so I like what you are doing. honestly the way the Tahoe's electrical system is this will not change how your voltage meter reads either, or at least it should not. It reads up and down because there are times the alternator is not charging the battery in order to "save" gas.
I bet since you posted this the voltage meter has shown below 14 volts when you were driving.
Are you running your Alt to Battery wire to a little Distributor Box, that red box? If im correct. Because i have one on my GMC SONOMA/ S-10 but its hidden under the battery tray, so i have to take everything out to wire it. Alt to Box to Batt. Correct?:c onfused:
looks good and I did the same thing on my Acura TL but with 4 guage wire. 0 guage is a little overkill... Mostly because the stock wires were very small 10 guage maybe and they were all rusted - there is no performance benefit at all. I always think it is fun to modify and "become 1" with your ride, so I like what you are doing. honestly the way the Tahoe's electrical system is this will not change how your voltage meter reads either, or at least it should not. It reads up and down because there are times the alternator is not charging the battery in order to "save" gas.
I bet since you posted this the voltage meter has shown below 14 volts when you were driving.
Wow.The point of the big 3 is to maintain a higher voltage with clean power.With a good ho alt yes the voltage may stay above 14 but only with maybe a 2000 watt system.Its okay to drop into the mid 12s as car electrical is rated at 12 volts
Beefing up your grounds and positive +12volt lines can be a great idea but only if your vehicle is designed correctly. On my 2009 Avalanche LT, following this example could lead to an under hood fire or the instrument cluster yelling about a battery problem. Why? because running a +12 wire from your battery directly to the alternator bypasses the mega fuse (175 amp) which can lead to a condition my master electrician father used to call "minimum torque.... maximum smoke". Never a good idea to bypass a safety device. From the output side of the mega fuse to the alternator? sure but a direct connect, not so much. So how about the ground side? The primary ground wires run through a current sensor that is monitored by the BCM. Bypassing this current sensor module would "probably" be ok UNTIL the original ground wires failed. If they did, your vehicle would probably run fine but the BCM would report a battery charge or other problem that would cause you to troubleshoot the wrong parts. Get a wiring diagram and visually trace your wires for path and condition before you add anything.


 JK
JK