Chevrolet Silverado 2007-2013: How to Install Brake Controller
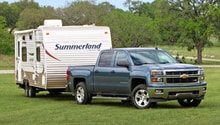
If you plan to tow heavy loads, a brake controller is what you need to keep you and your cargo safe and sound.
This article applies to the Chevrolet Silverado 1500 (2007-2013).
Unfortunately, GM chose not to make trailer brake controllers standard with the HD towing option. For those of you who have a trailer with electronic brakes, this means you'll need to install one yourself. Luckily, aftermarket trailer brake controllers are relatively inexpensive and definitely worth it for peace of mind when towing heavy loads. GM recommends going with an aftermarket controller versus the one that was available from the factory due to the ease of install, and this is good since the factory part will run you around $500.

Materials Needed
- Wire strippers
- Wire crimper
- Wire butt connectors
- Soldering iron and solder (optional)
- Electrical tape
- Drill
- Drill bits
- Phillips head screw drivers
Step 1 – Inside the cab wiring
- Once you have chosen a trailer brake controller that you like, you'll need to obtain the wiring schematic for it. This will allow you to make the proper connections to the harness located under the dash.
- Looking under the driver side dash on the left side, you'll see a wiring harness taped up out of the way. This is the trailer brake harness that you'll need to pull down.
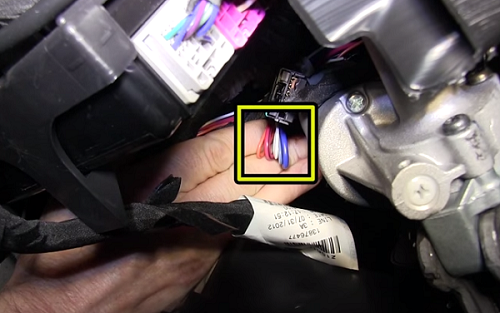
The wiring color code for the factory harness is:
- Red with Black Stipe - 12 Volt Power
- Solid Blue - Trailer Brake Voltage
- Solid White - Ground
- Blue with White Stripe - Brake Signal
Once you have the trailer brake wiring to your trailer brake controller wiring mapped out, you can start making the connections. Make sure you have enough wire to be able to reach to wherever you plan to mount the controller at. Remember, the factory harness colors most likely won't be the same as the wire colors on your controller so you'll need to obtain the schematic for them. To make the connections you can use butt connectors and then crimp the wires in place or you can solder them together if you wish. Once you have finished making the connections, it's recommended wrapping them in black electrical tape to both help keep the connections tight and secure and also to help tidy them up.
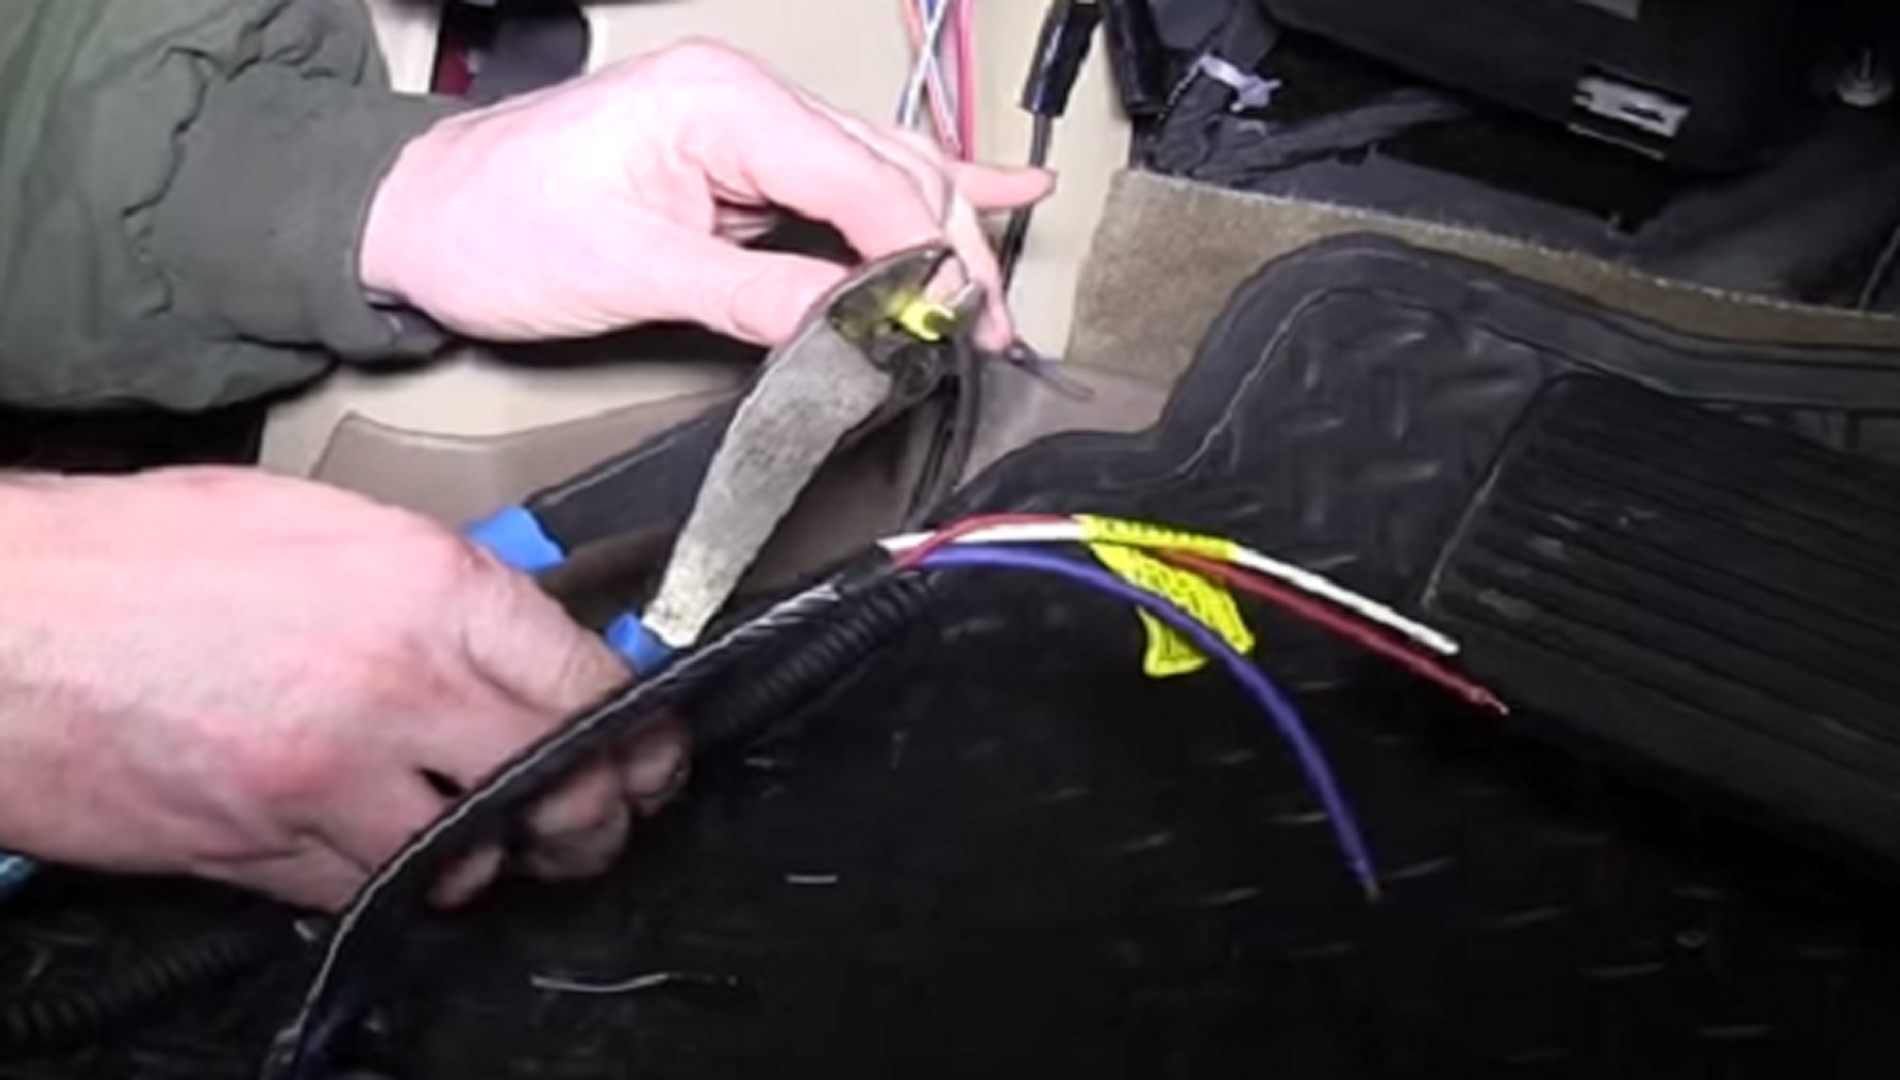
Figure 2. Crimping wires in butt connectors. 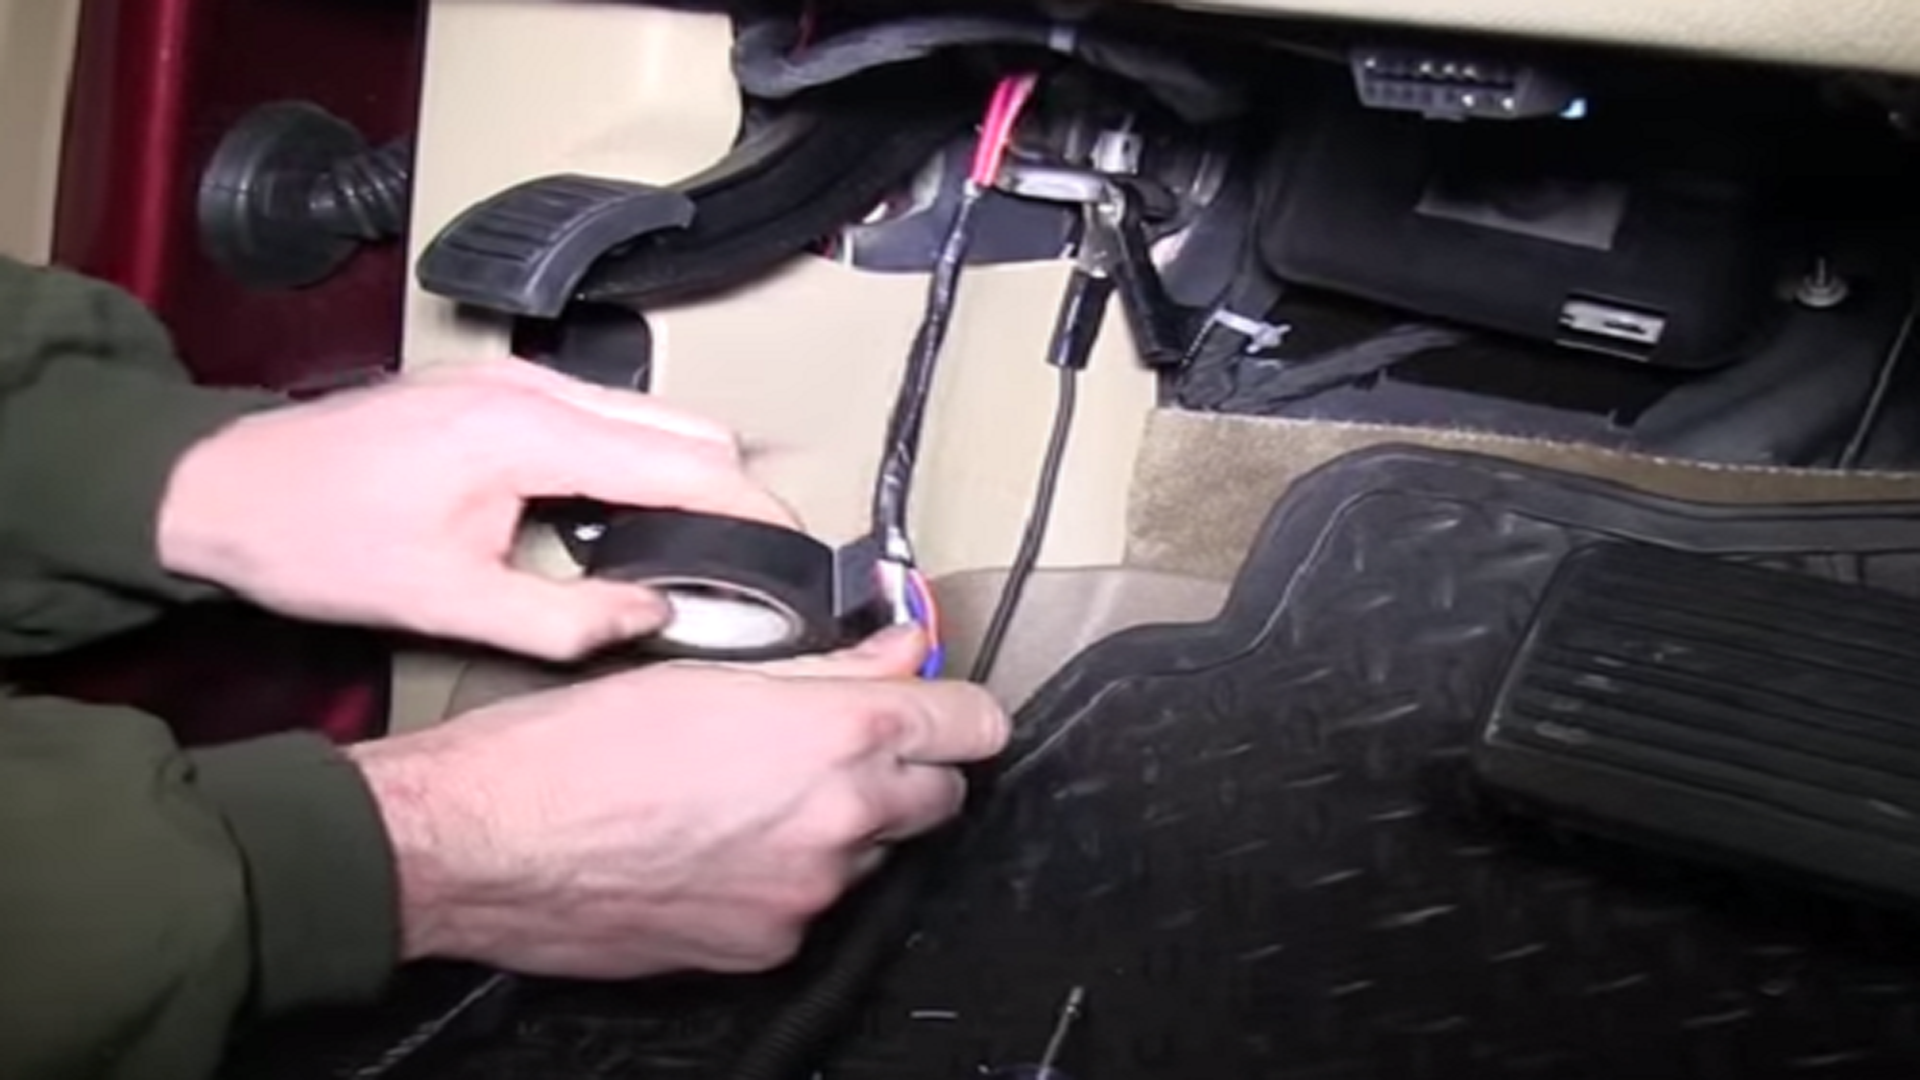
Figure 3. Wrapping wires in electrical tape.
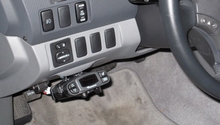
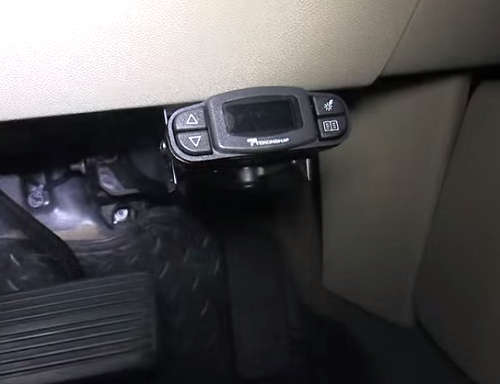
Step 2 – Install trailer brake controller bracket
Where you install the bracket is completely up to you, there have been brackets installed anywhere from halfway up the dash by the radio to down under on the kick panels. Just be sure wherever you decide to install them you have enough room in your wires to allow you to do so.

Once you have the bracket mounted, you can plug the wiring harness into the back of the controller.
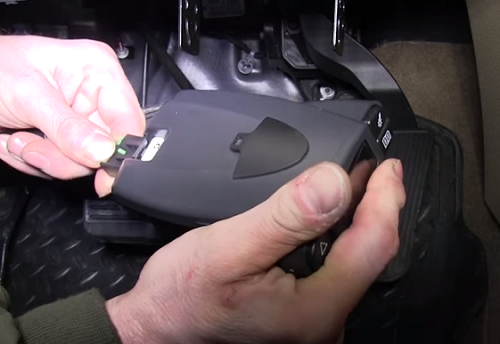
Finally, you can mount the brake controller into the bracket you just installed. All that's left after this is to tuck the excess wiring back up under the dash to keep it from getting in the way of your feet while driving.
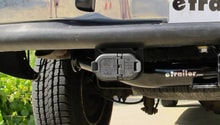
Step 3 – Under the hood wiring
- Locate the red wire taped between the fender well and the power junction box on the passenger side. Once you find it you'll need to pull it out and you'll notice it already has a ring terminal installed.
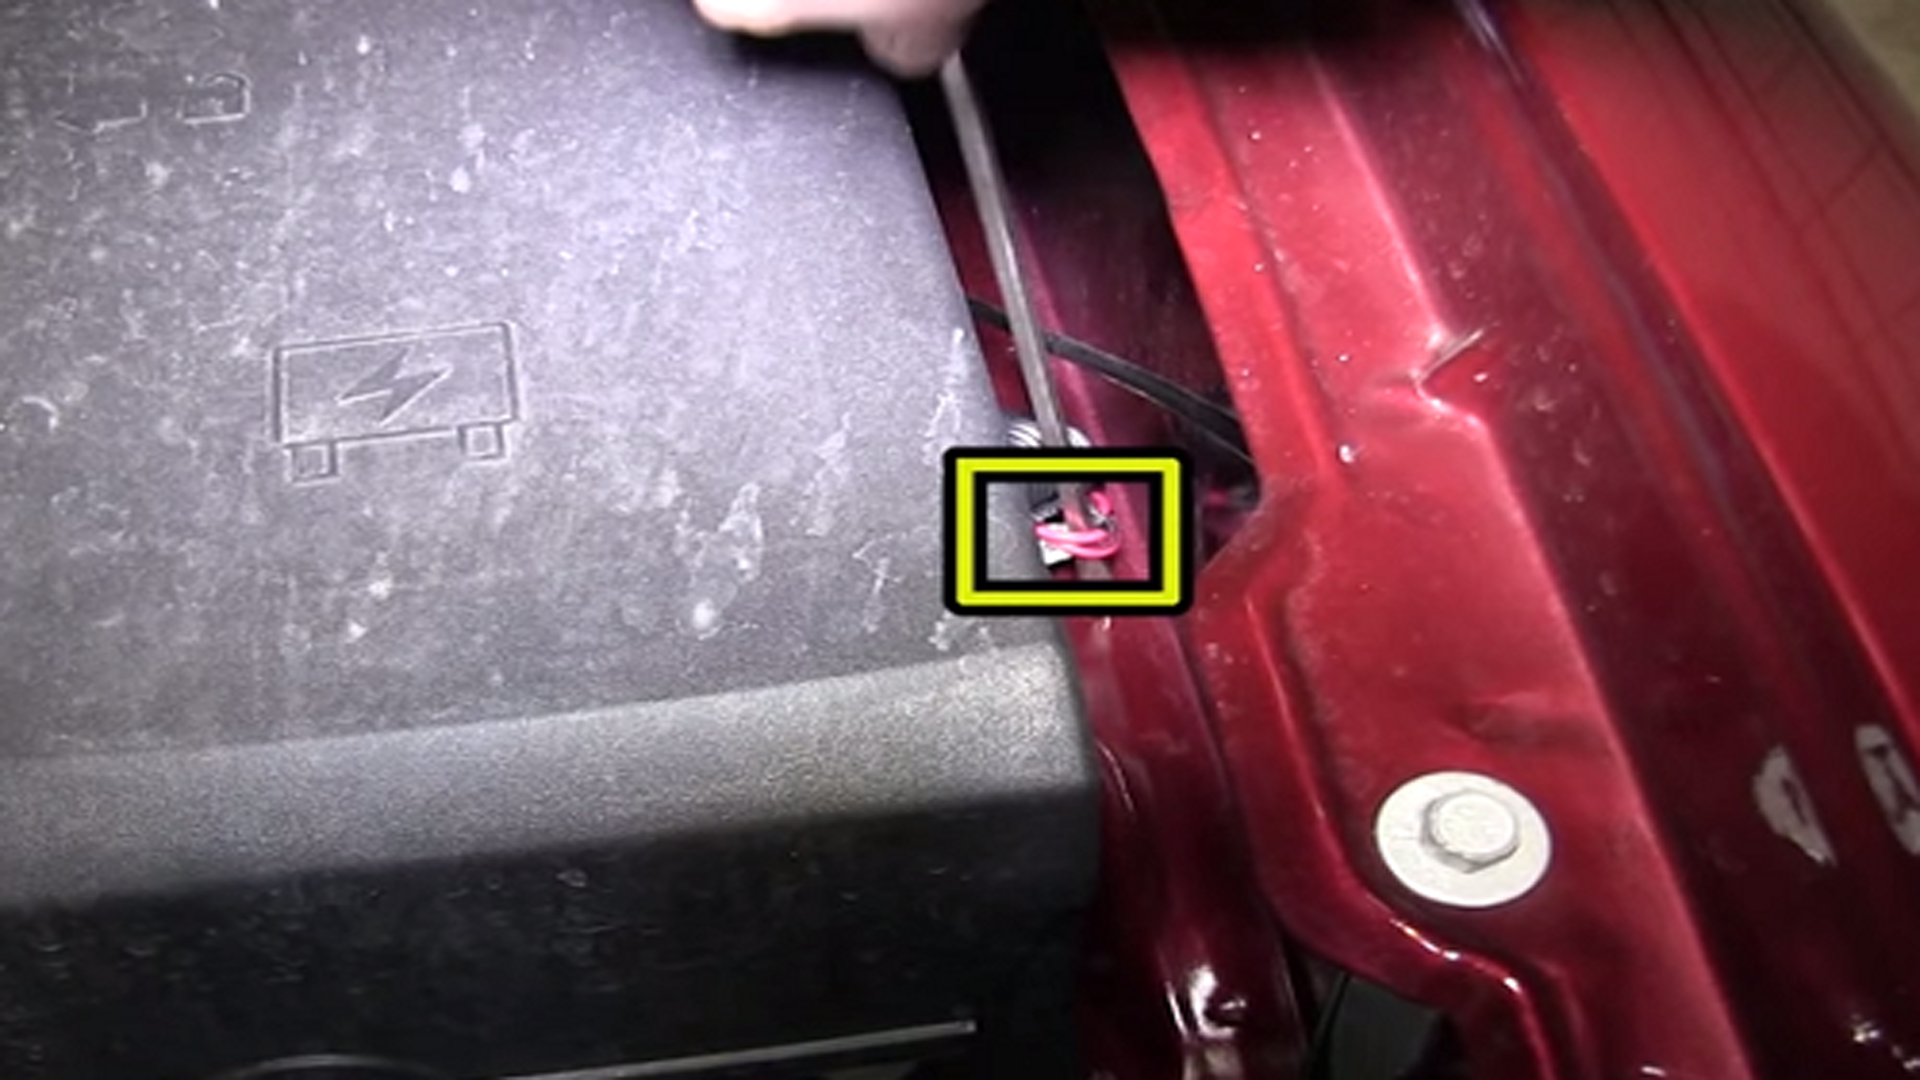
Figure 7. Power wire location. 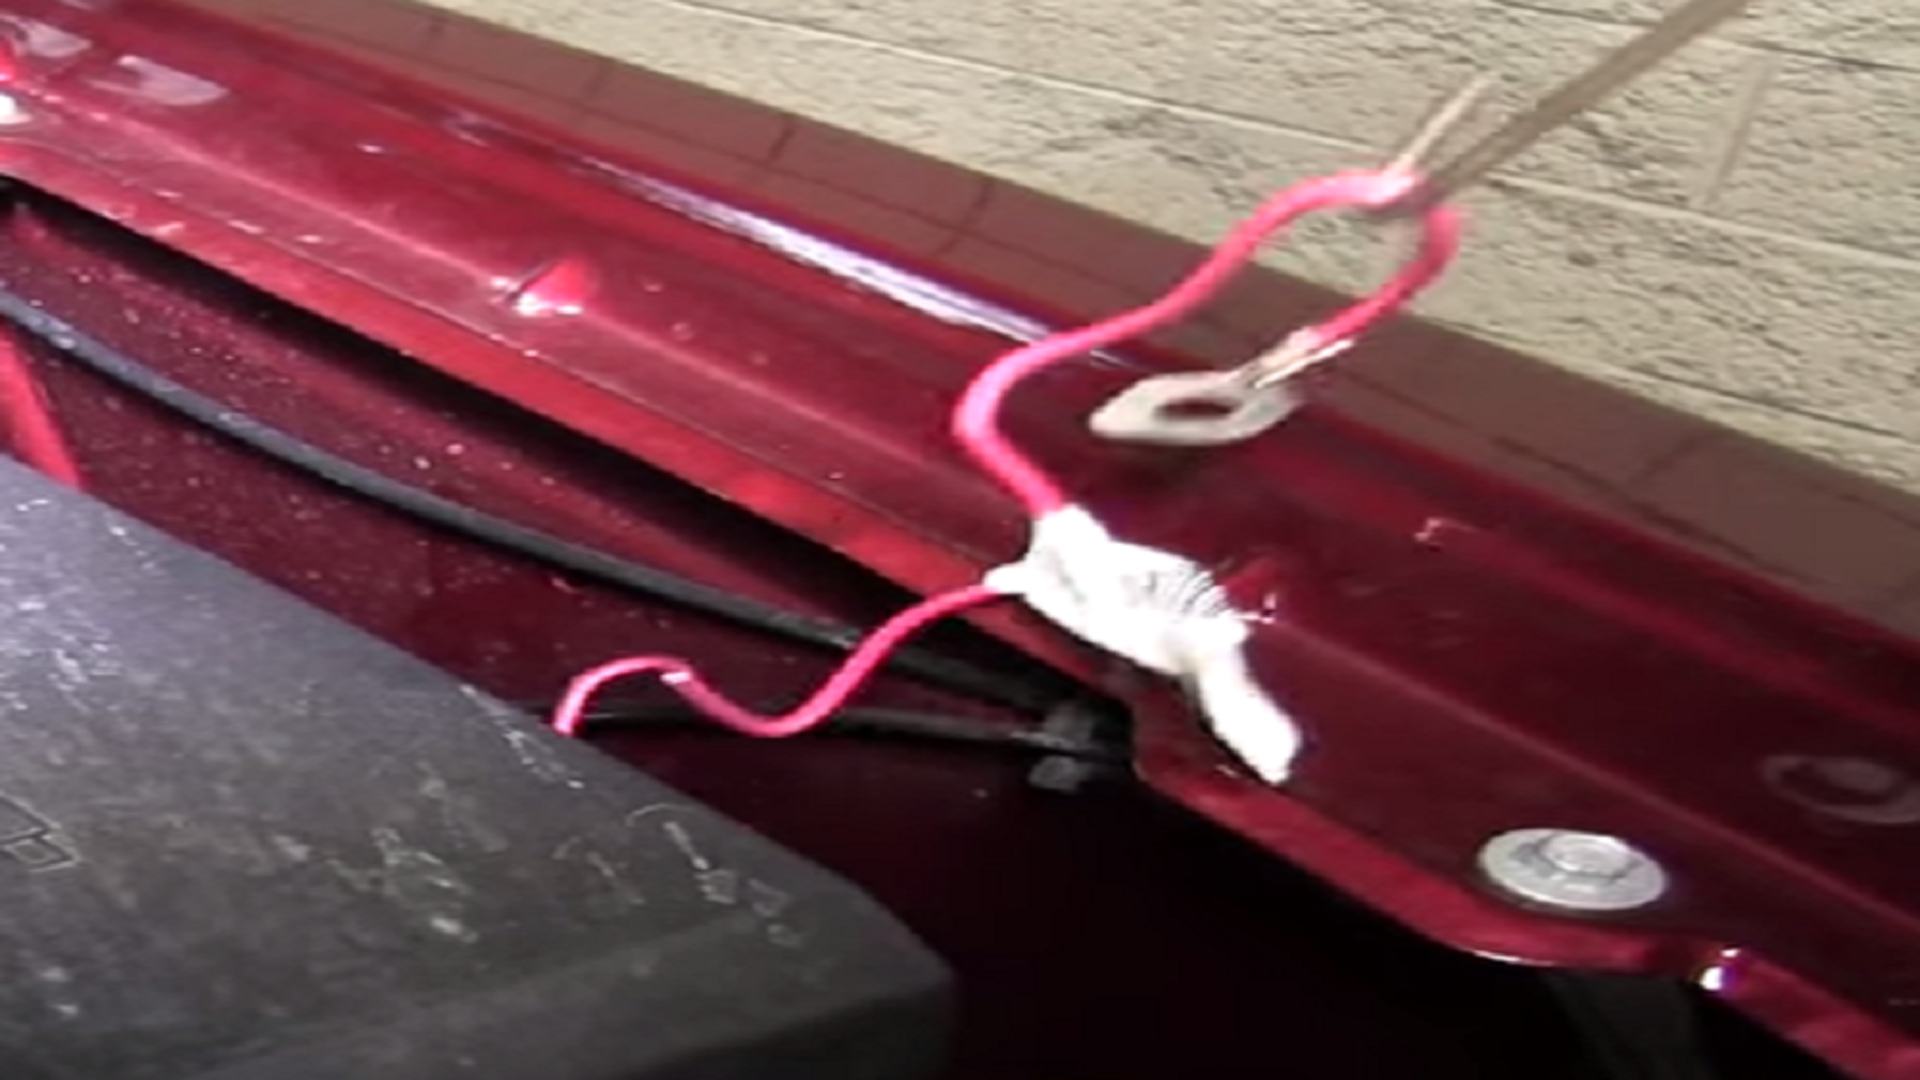
Figure 8. Red wire pulled out. - Remove the cover from the power junction box.
- Slide the ring terminal over one of the power studs; depending which stud you choose, you may need to remove the 8mm nut first. If both studs do not have a nut, you'll need to get a 8mm nut with a thread pitch of 1.25.
- Tighten the nut on the ring terminal.
- Re-install the cover on the power junction box.

Featured Video: How to Install a Brake Controller
Step 4 – Testing
All that's left to do now is to test and make sure the brake controller is functioning properly. All controllers operate a bit differently here, but the premise is to test all operations and ensure that everything is working as intended.
Related Discussions
- Factory Brake Controller DIY - Chevorletforum.com
- How to Setup Electric Controller - Chevroletforum.com
- Adding Integrated Trailer Brake - Chevroletforum.com
- Installing Brake Controller on '14 Silverado - Chevroletforum.com
- Trailer Brake Controller Install - Chevroletforum.com