Chevrolet Silverado 2007-2013: How to Replace Dipstick Tube
If you need to replace your dipstick because it got manhandled and broke or it's just worn out, this article will guide you through the steps.
This article applies to the Chevrolet Silverado GMT900 (2007-2013).
The dipstick for your truck slides into the dipstick tube and then into the oil pan. There is no other way to easily check the oil level in your truck except with the dipstick tube. The tube goes into the block, down where road salt and crud gets on it. Sometimes, the tube gets weak from corrosion and needs to be replaced. Hopefully, you are able to catch it before it snaps off close to the block, so you can grab what is left and pull it out. If not, you can still remove the tube, but it just takes more effort.


Materials Needed
- Penetrating oil (like WD-40)
- 15mm socket
- 3/8" ratchet, extensions, and swivel joint
- Locking pliers
- Dipstick tube for your specific vehicle
- Long wood screw (if needed)
- Welder (if needed)
Step 1 – Remove the dipstick
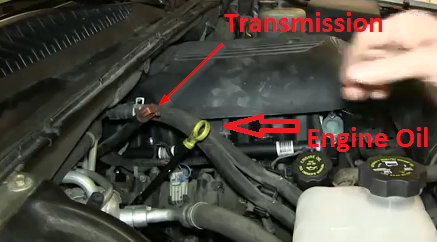
Locate the engine oil dipstick and remove it. It will be the one with the yellow handle (Figure 2). Set it aside for later.
Pro Tip
You may end up having to lift your truck up. If you do, use the appropriate jack and jack stands. Be sure the emergency brake is on and/or block the rear wheels.
(Related Article: How to Jack Up Your Truck - ChevroletForum.com)
Step 2 – Spray penetrating fluid on tube
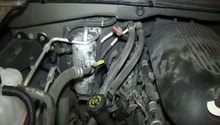
Locate where the dipstick goes into the engine block, and spray liberally with fluid. Figure 2 shows where the dipstick enters the block on a typical Silverado engine block. It is upside down on a bare block, but it still shows what to look for.

Pro Tip
It is not easy to get to the bottom of the dipstick tube. Just follow the tube down from the top to where it enters the engine block.
Step 3 – Remove dipstick tube bolt
The dipstick tube is bolted to the engine with one bolt. Use a 15mm socket to remove it.

Step 4 – Remove dipstick tube or broken tube
Removing One Piece Dipstick Tube
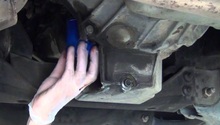
If your tube is in one piece, grasp it with both hands as low down as you can and start to wiggle as well as turn to break it free. It pays to take your time here, and do everything you can to get it loose so the tube will come out in one piece. Sometimes, it helps to grab where the bracket is attached to the tube to get some leverage.
If the tube is already corroded in two, or if it breaks when you are trying to get it out, you need to continue with Step 4. If it came out in one piece, move on to Step 5.
Pro Tip
It is much easier to replace the tube if it is in one piece, so it will pay off to take your time to get it free that way.
Removing Broken Dipstick Tube
There are a few ways to get a broken tube out of the block, none of them being too fun. If there is enough of the tube sticking out, try some locking pliers like Vise Grips. Clamp them on the tube as far down as possible, and then try to twist as well as pull to get it out. If it won't budge, you may try to apply some heat to the area where the tube goes into the block. Be very careful with the heat though, since you do not want to burn any wiring.
It is also possible to use an Easy Out to grab the inside of the tube and break it loose. Along those same lines, using a huge wood screw threaded into the tube to catch the inside can also work. It is all about getting the tube to move, so it will come out when pulled on.
The following is for an extreme cases. It will work, but it will be difficult. Don't be too alarmed by the pictures. Take a large wood screw that is long enough to grasp easily in order to thread into the broken tube. Weld the screw to the tube, then twist the screw until the tube is loose and comes out. Afterwards, clean up around the hole so the new tube can go in smoothly.
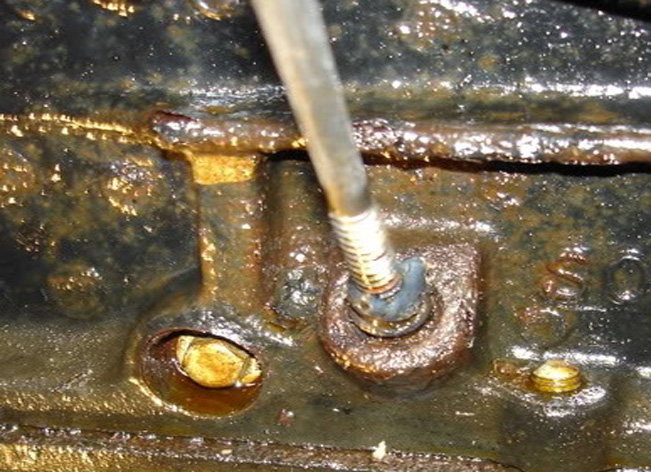
Figure 5. Screw welded to dipstick tube. 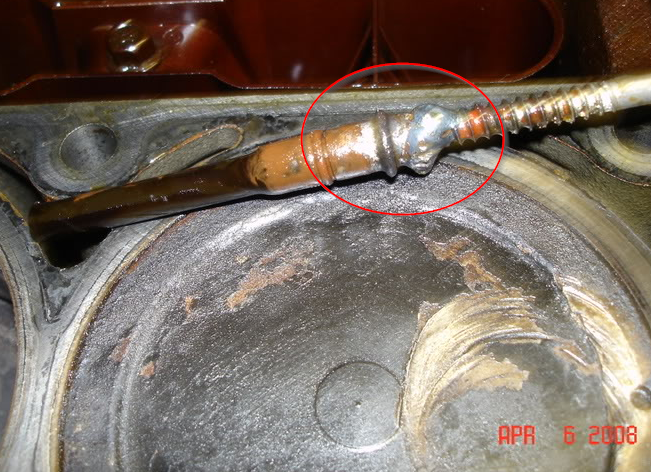
Figure 6. Dipstick tube welded to screw (that dropped valve must have made some noise).
Pro Tip
Keep dirt from going into the dipstick tube hole.
Step 5 – Install dipstick tube
Lube the O-ring seal on the new tube as well as the portion of it that goes in the block. The new tube should slip in fairly easy. Push it in until it is seated, and the dipstick tube bolt will go back in. Tighten the bolt with a 15mm socket. Install the dipstick and that is it. Congratulations!
Featured Video: How to Replace Oil Dipstick Tube
Related Discussions
- Dipstick Tube Seal - ChevroletForum.com
- Massive Oil Leak, But Where? - ChevroletForum.com
- Strange Oil Level Phenomenon - ChevroletForum.com