2004 Removing Manual Transmission


Thread Starter
CF Beginner
Joined: Aug 2011
Posts: 25
Likes: 0
Any suggestions or things to be aware of. I did a search but nothing came up. Car has 91,000 and gears are worn/noisey and trans needs to be rebuilt.
Thanks
Thanks
Last edited by spedaleden; Sep 18, 2011 at 7:26 PM. Reason: Needed to add more infor


CF Veteran
Joined: Mar 2011
Posts: 1,709
Likes: 5
I would've thought you had some sort of a reference or repair manual to go by.
To Remove:
1. Disconnect the negative and positive battery cables.
2. Remove the retaining bolt and the battery.
3. Remove the washer solvent bottle.
4. Install the engine support fixture.
5. Lift the engine enough to take weight off of the transaxle mounts.
6. Remove the air cleaner and duct assembly from the throttle body.
7. Drain the coolant.
8. Remove the upper radiator hose.
9. Remove the wire harness from the transaxle bracket.
10. Remove the upper transaxle mount bolts.
11. Remove the negative battery cable from the transaxle.
12. Remove the starter.
13. Disconnect the pressure line from the clutch slave cylinder.
14. Disconnect the backup light switch electrical connector.
15. Remove the rear transaxle mount bolts.
16. Disconnect the vehicle speed sensor (VSS).
17. Remove the upper transaxle mounting bolts.
18. Disconnect the shift cables at the transmission.
19. Remove the cable bracket bolt and the bracket.
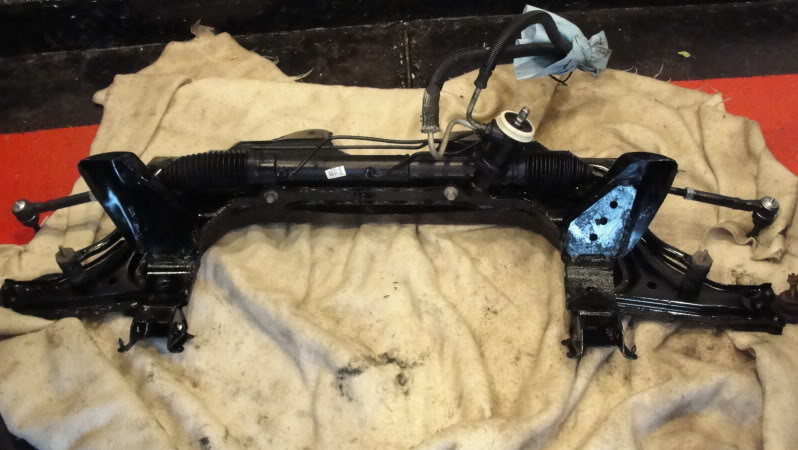
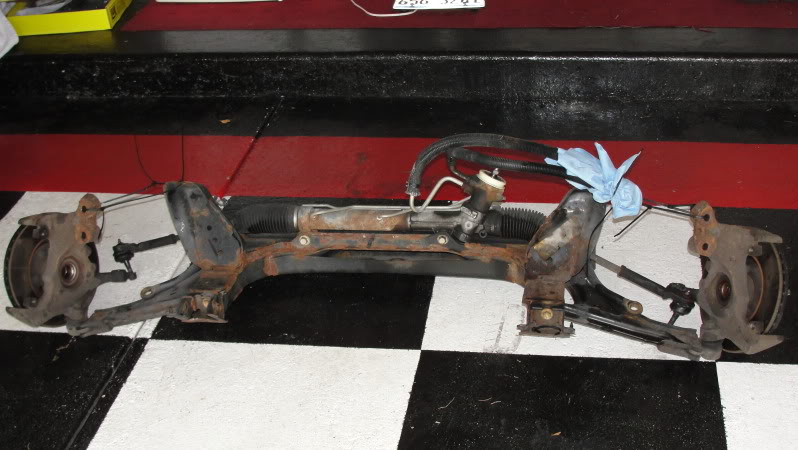
20. Remove the rack and pinion mounting bolts.
21. Lift the vehicle.
22. Remove the wheel assemblies.
23. Remove the front fender liners.
24. Remove the front suspension crossmember.
25. Leave the steering rack in the vehicle.
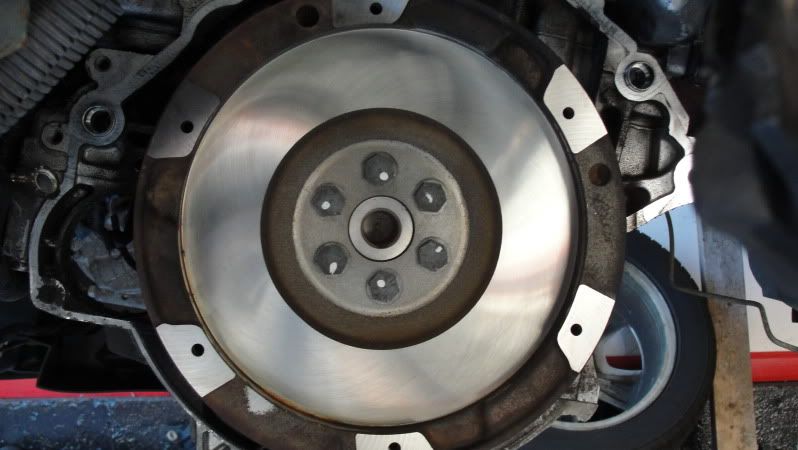
26. Remove the flywheel support arm bracket from the flywheel cover to engine lower mount.
27. Remove the flywheel housing cover bolts.
28. Remove the flywheel housing cover.
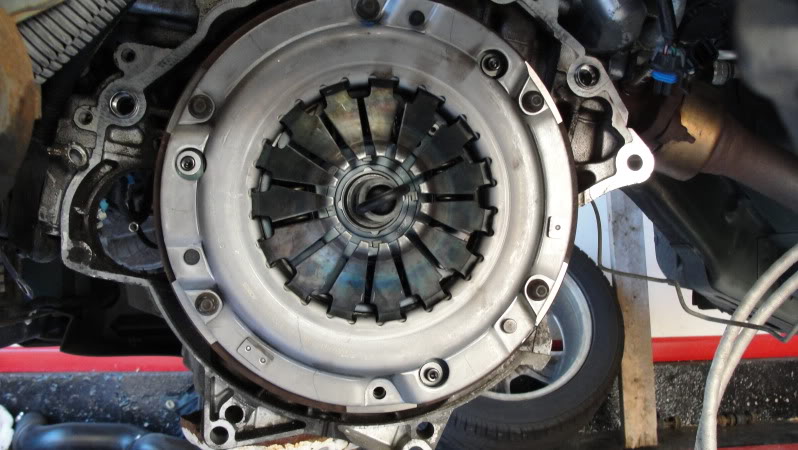
29. Remove the drive axles from the transmission.
30. Remove the engine strut from the bracket.
31. Remove the front lower transaxle mount through-bolt.
32. Attach the transaxle case to a suitable jack.
33. Support the engine with a suitable support stand.
34. Remove the transaxle-to-engine mount bolts.
35. Slide the transaxle away from the engine.
36. Carefully lower the jack.
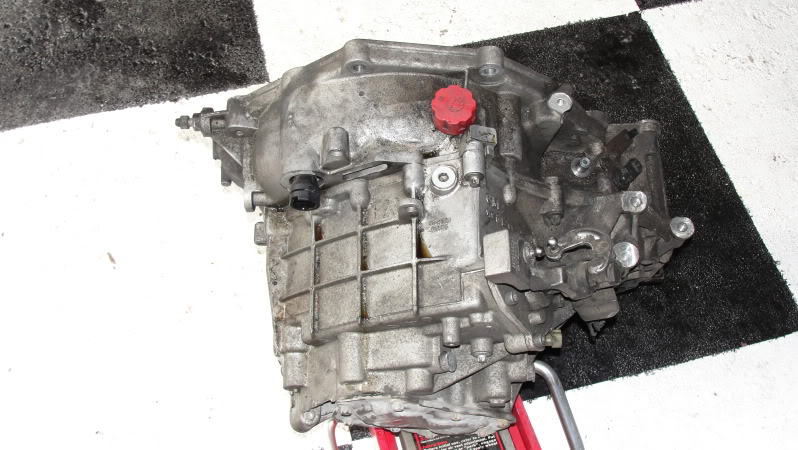
37. Remove the transaxle.
To Install:
1. Install the transaxle and lower mounting bolts. Tighten to 75 N�m (55 lb-ft).
2. Remove the transaxle jack.
3. Install the front transaxle mount-through bolt. Tighten to 60 N�m (44 lb-ft).
4. Install the flywheel cover.
5. Install the washer solvent container.
6. Remove the jackstand supporting the engine.
7. Install the front fender liners.
8. Install the drive axles.
9. Install the front suspension crossmember.
10. Install the engine strut-to-strut bracket.
11. Install the rack and pinion mounting bolts. Tighten to 120 N�m (89 lb-ft).
12. Install the wheel assemblies.
13. Install the starter.
14. Lower the vehicle.
15. Install the upper transaxle mounting bolts. Tighten to 96 N�m (71 lb-ft).
16. Connect the clutch pressure line.
17. Connect the vehicle speed sensor.
18. Connect the backup light switch.
19. Remove the engine support fixture.
20. Install the negative battery cable to the engine block.
21. Install the upper radiator hose.
22. Install the air cleaner assembly.
23. Fill with coolant.
24. Fill the transaxle with Dexron III Transaxle Fluid.
25. Bleed the clutch hydraulic system.
26. Install the battery.
To Remove:
1. Disconnect the negative and positive battery cables.
2. Remove the retaining bolt and the battery.
3. Remove the washer solvent bottle.
4. Install the engine support fixture.
5. Lift the engine enough to take weight off of the transaxle mounts.
6. Remove the air cleaner and duct assembly from the throttle body.
7. Drain the coolant.
8. Remove the upper radiator hose.
9. Remove the wire harness from the transaxle bracket.
10. Remove the upper transaxle mount bolts.
11. Remove the negative battery cable from the transaxle.
12. Remove the starter.
13. Disconnect the pressure line from the clutch slave cylinder.
14. Disconnect the backup light switch electrical connector.
15. Remove the rear transaxle mount bolts.
16. Disconnect the vehicle speed sensor (VSS).
17. Remove the upper transaxle mounting bolts.
18. Disconnect the shift cables at the transmission.
19. Remove the cable bracket bolt and the bracket.
20. Remove the rack and pinion mounting bolts.
21. Lift the vehicle.
22. Remove the wheel assemblies.
23. Remove the front fender liners.
24. Remove the front suspension crossmember.
25. Leave the steering rack in the vehicle.
26. Remove the flywheel support arm bracket from the flywheel cover to engine lower mount.
27. Remove the flywheel housing cover bolts.
28. Remove the flywheel housing cover.
29. Remove the drive axles from the transmission.
30. Remove the engine strut from the bracket.
31. Remove the front lower transaxle mount through-bolt.
32. Attach the transaxle case to a suitable jack.
33. Support the engine with a suitable support stand.
34. Remove the transaxle-to-engine mount bolts.
35. Slide the transaxle away from the engine.
36. Carefully lower the jack.
37. Remove the transaxle.
To Install:
1. Install the transaxle and lower mounting bolts. Tighten to 75 N�m (55 lb-ft).
2. Remove the transaxle jack.
3. Install the front transaxle mount-through bolt. Tighten to 60 N�m (44 lb-ft).
4. Install the flywheel cover.
5. Install the washer solvent container.
6. Remove the jackstand supporting the engine.
7. Install the front fender liners.
8. Install the drive axles.
9. Install the front suspension crossmember.
10. Install the engine strut-to-strut bracket.
11. Install the rack and pinion mounting bolts. Tighten to 120 N�m (89 lb-ft).
12. Install the wheel assemblies.
13. Install the starter.
14. Lower the vehicle.
15. Install the upper transaxle mounting bolts. Tighten to 96 N�m (71 lb-ft).
16. Connect the clutch pressure line.
17. Connect the vehicle speed sensor.
18. Connect the backup light switch.
19. Remove the engine support fixture.
20. Install the negative battery cable to the engine block.
21. Install the upper radiator hose.
22. Install the air cleaner assembly.
23. Fill with coolant.
24. Fill the transaxle with Dexron III Transaxle Fluid.
25. Bleed the clutch hydraulic system.
26. Install the battery.
Thread Starter
CF Beginner
Joined: Aug 2011
Posts: 25
Likes: 0
EinST,
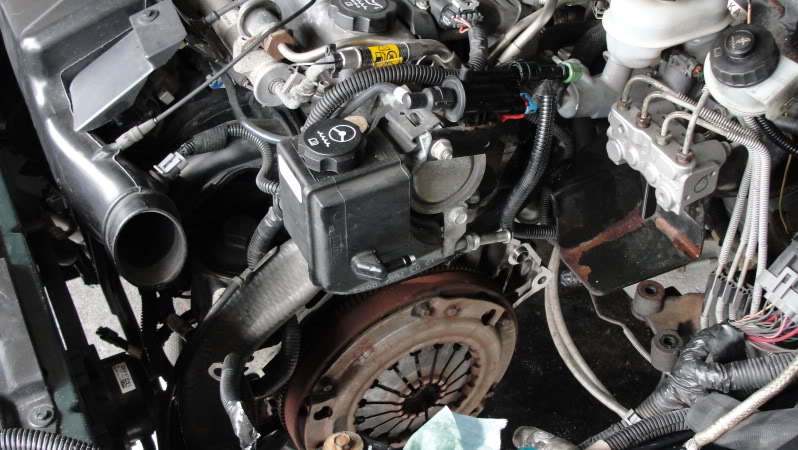
Thanks for the info and torque specs. I got the trans out. One bolt on inside of motor was hanging me up. Could only see through passengers side wheel well. I did not have to drain coolant. May also change rack since car has 91,000, it shouldn't last to much longer and don't want to do this a second time.
Thanks for the info and torque specs. I got the trans out. One bolt on inside of motor was hanging me up. Could only see through passengers side wheel well. I did not have to drain coolant. May also change rack since car has 91,000, it shouldn't last to much longer and don't want to do this a second time.
 That's my favorite motor you got there. Change the oil regularly and the L61 Ecotec will last forever. Hope you have fun with your project.
Trending Topics
Thread Starter
CF Beginner
Joined: Aug 2011
Posts: 25
Likes: 0
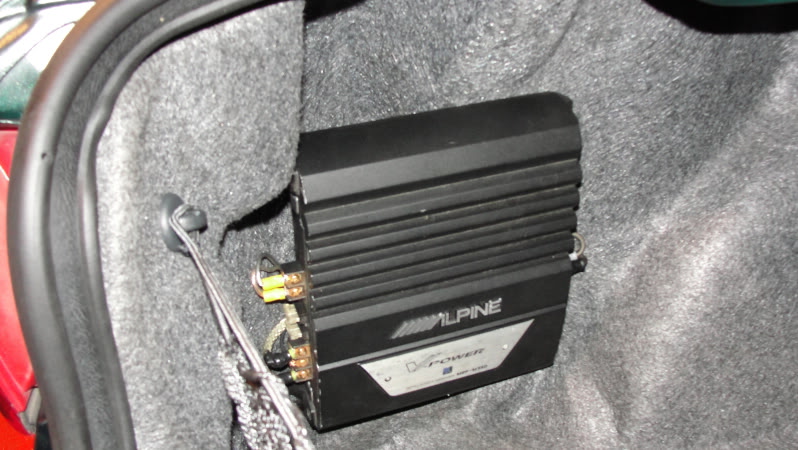
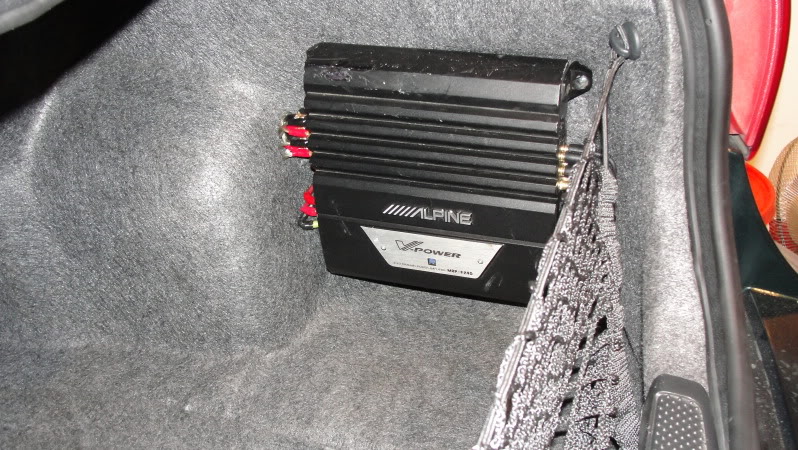
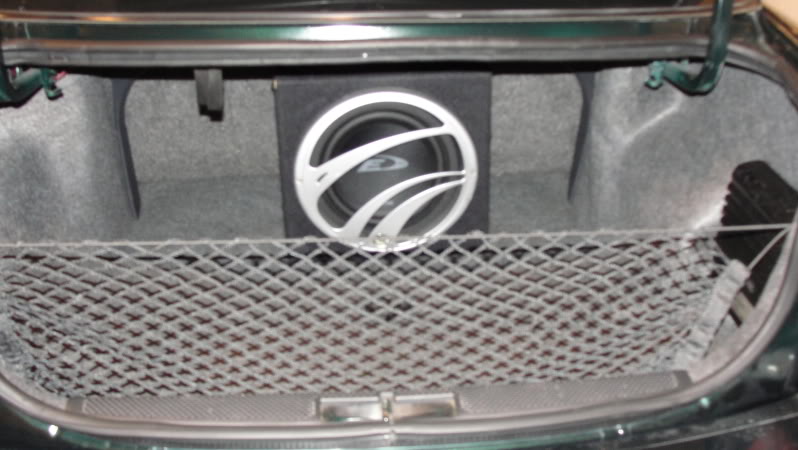
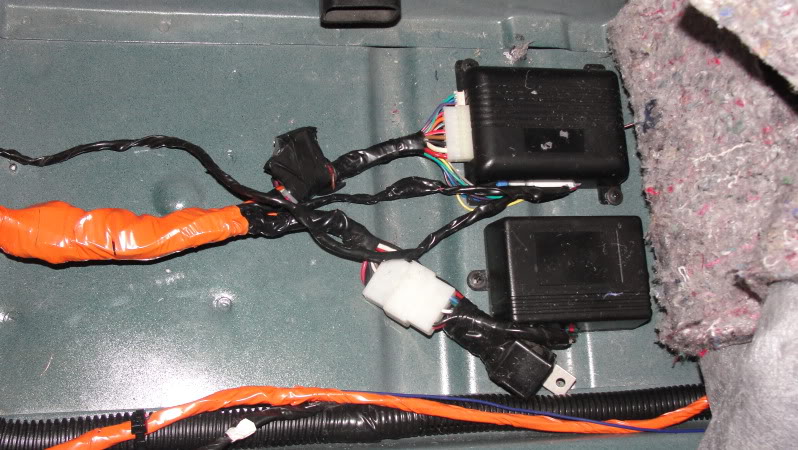
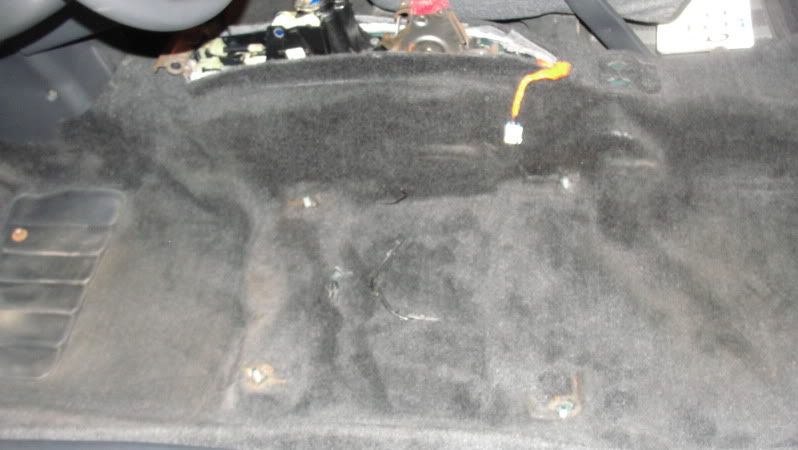
While waiting for trans to be repaired. Mounted Amps to side panel, amp were mounted to floor, better trunk space. Mounted Sub to back seat, if you get a flat hit seat release and sub moves forward with seat to get to spare.