


CruizinKev's 1979 Monte Carlo Full Resto LS1 T56 Project


Thread Starter
CF Junior Member
Joined: May 2012
Posts: 48
Likes: 0
From: overseas
 CruizinKev's 1979 Monte Carlo Full Resto LS1 T56 Project
Hey guys,
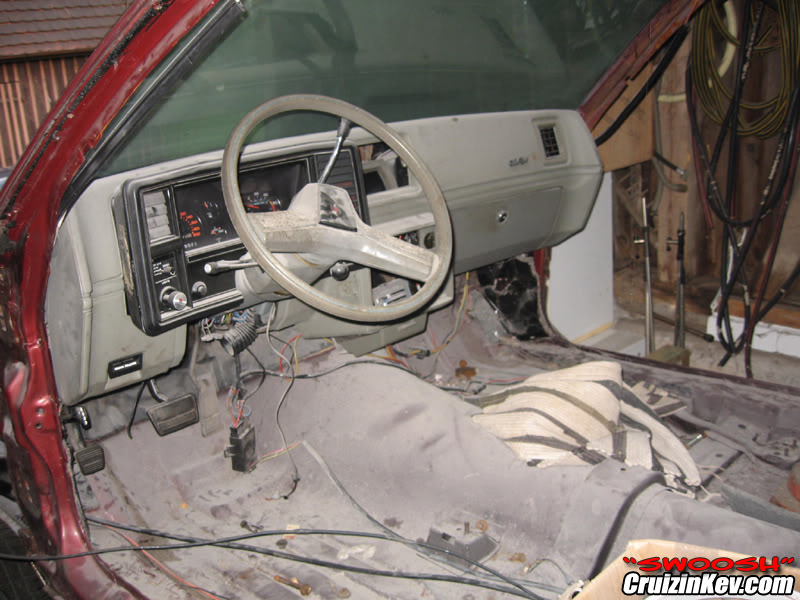
I'm new here and I want to share my project - a 1979 Monte Carlo 305 that I bought in december 2002.
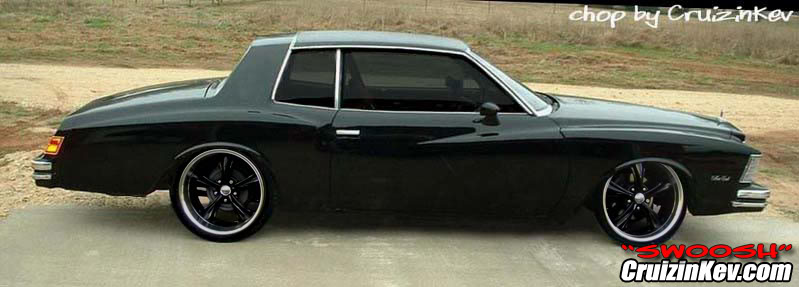
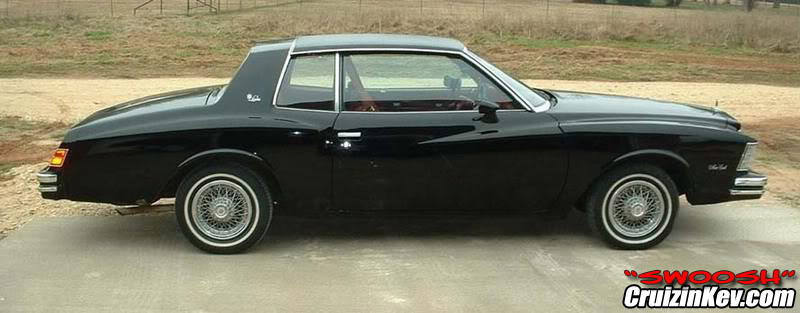
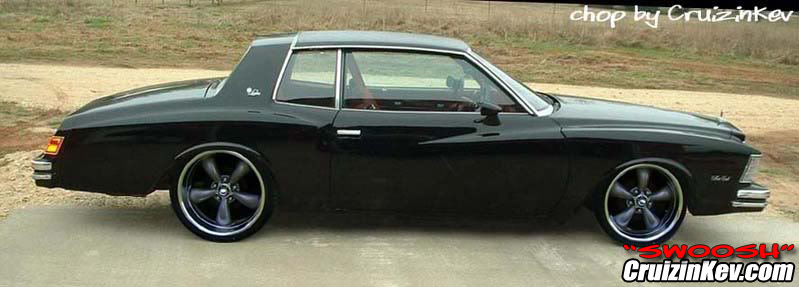
I'll rebuild the whole car (body, frame, interior etc) and swap in a LS1 engine & T56 manual 6-speed transmission. It'll be a "Pro-Tourer"/"Street-Rod" and this is what it should look like in the end:
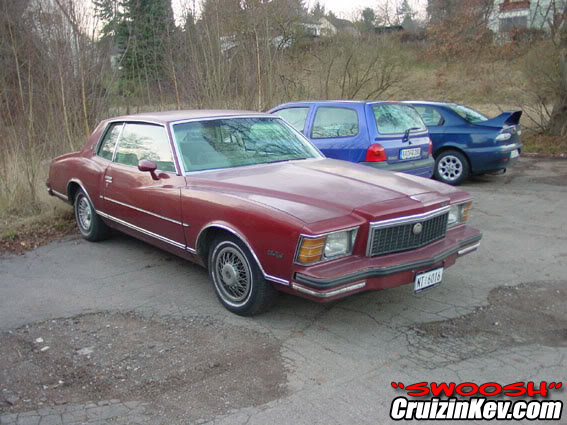
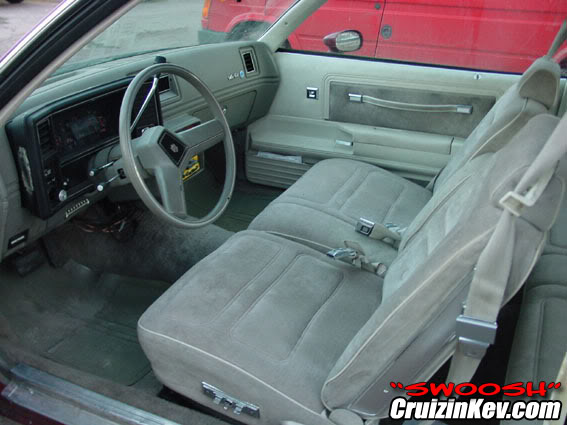
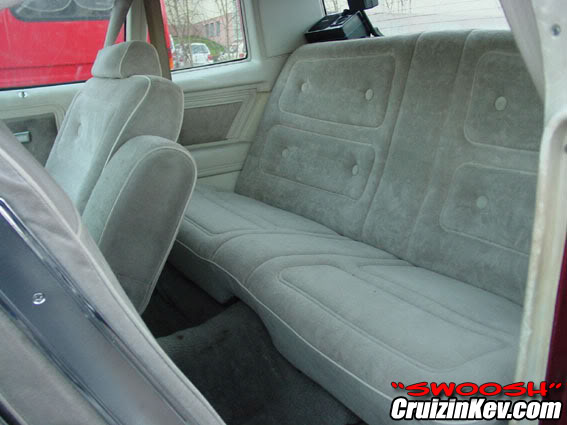
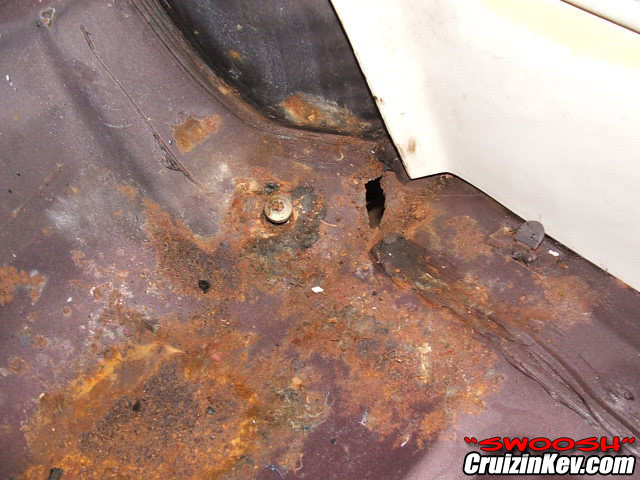
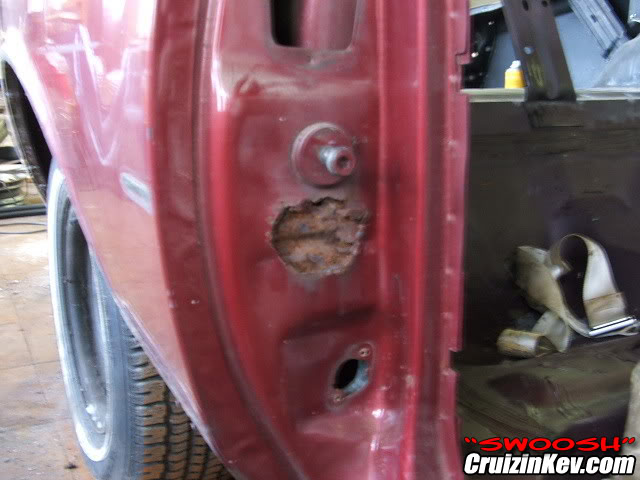
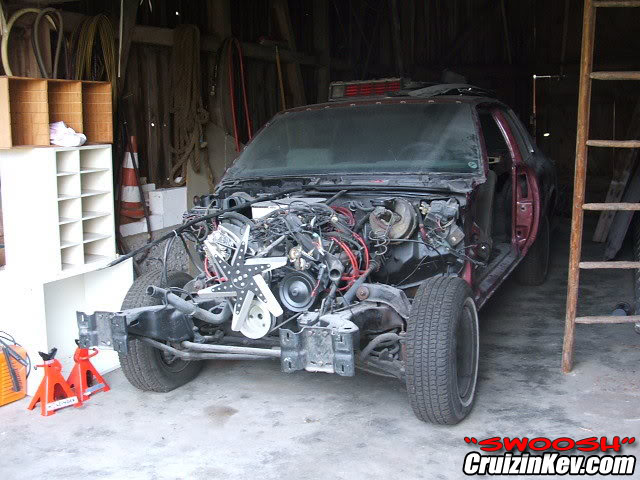
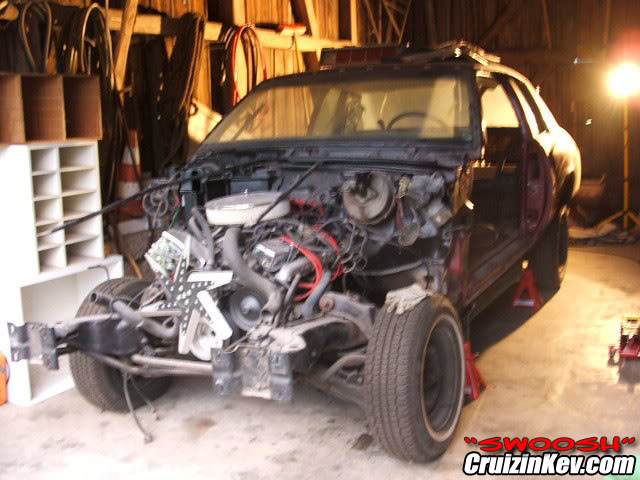
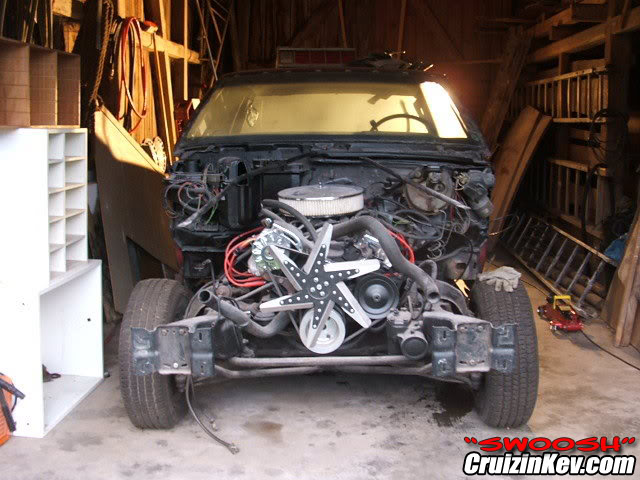
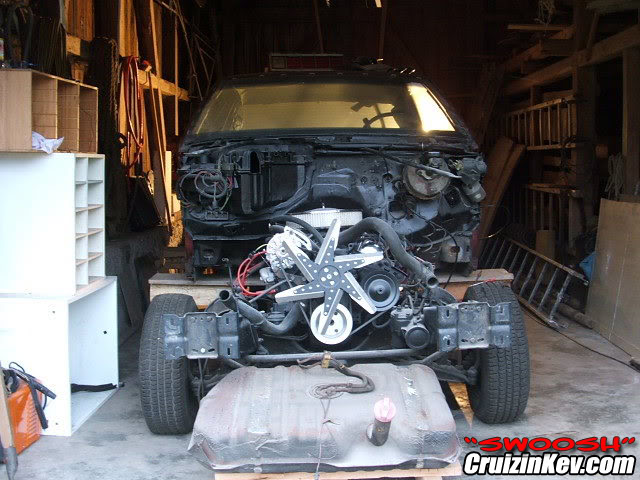
first pics when I brought her home:
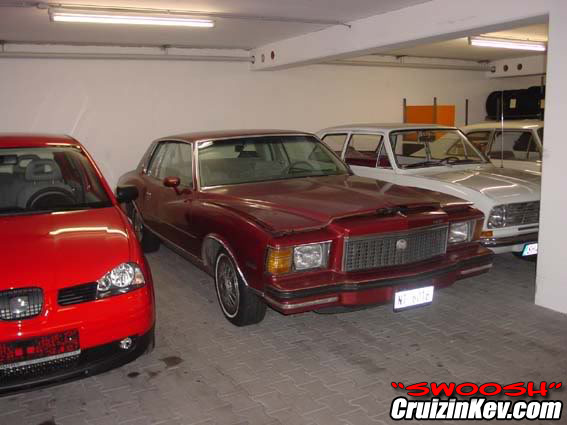
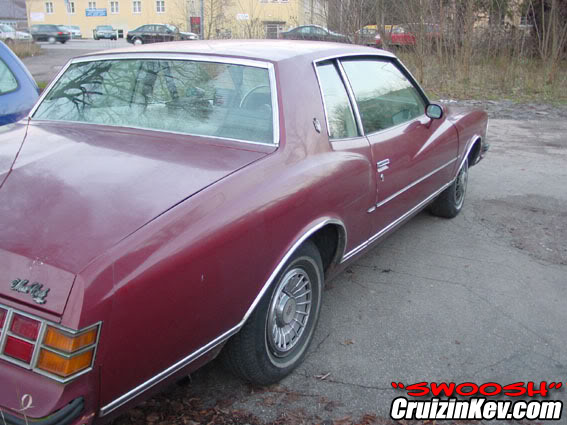
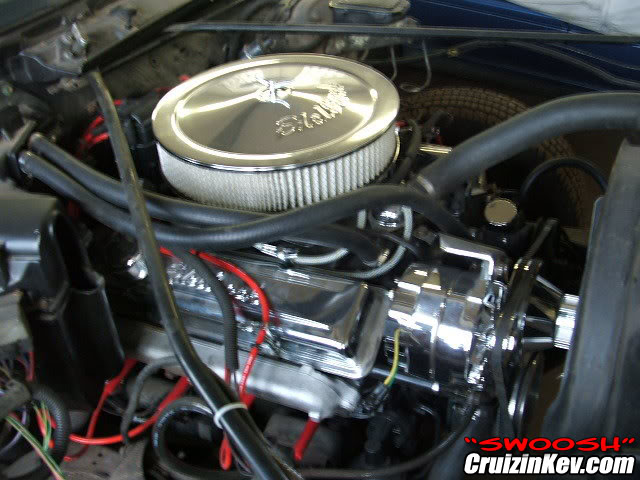
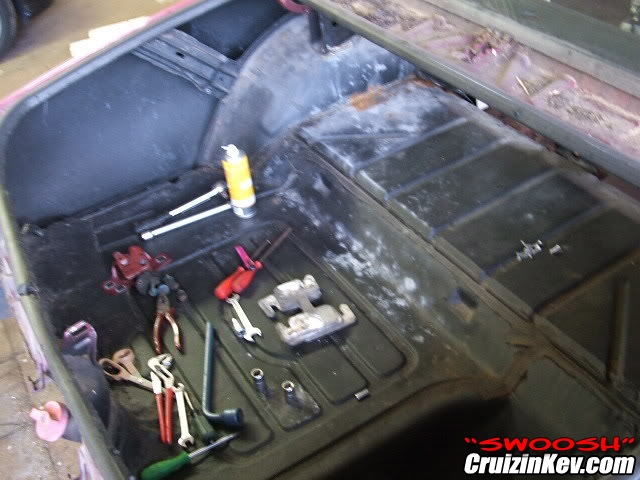
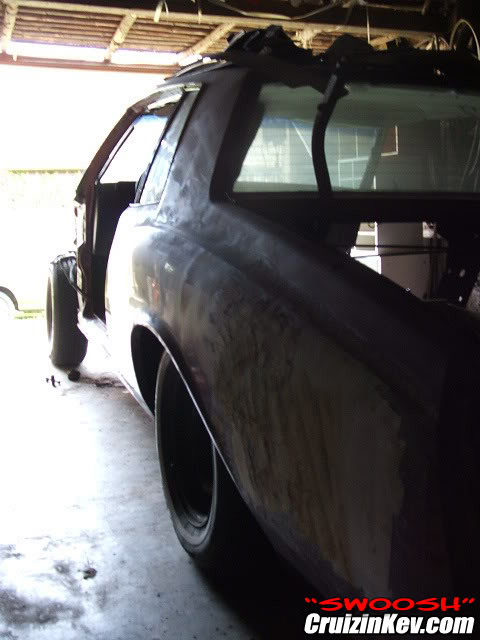
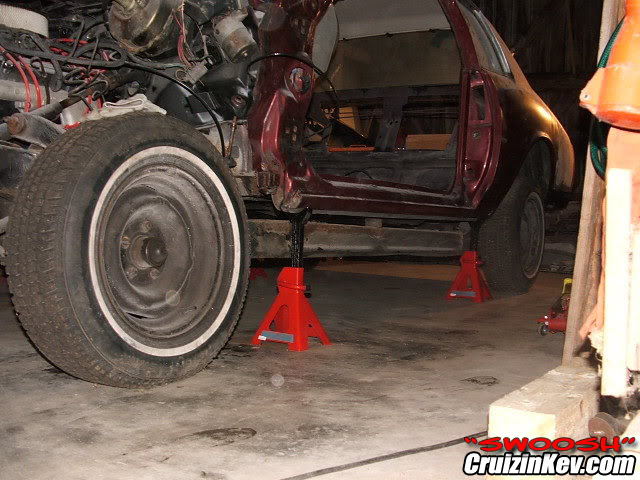
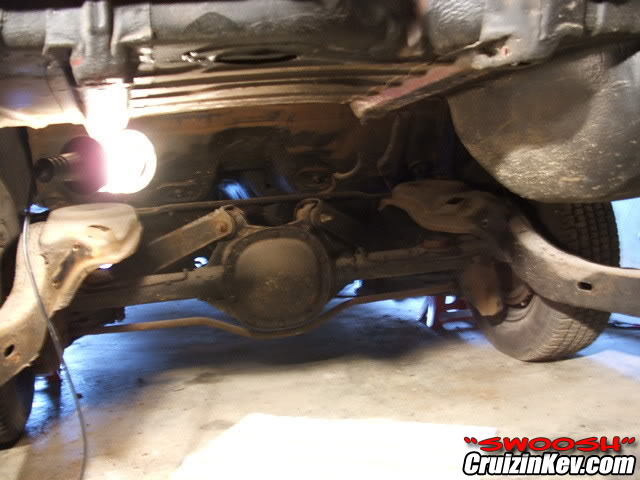
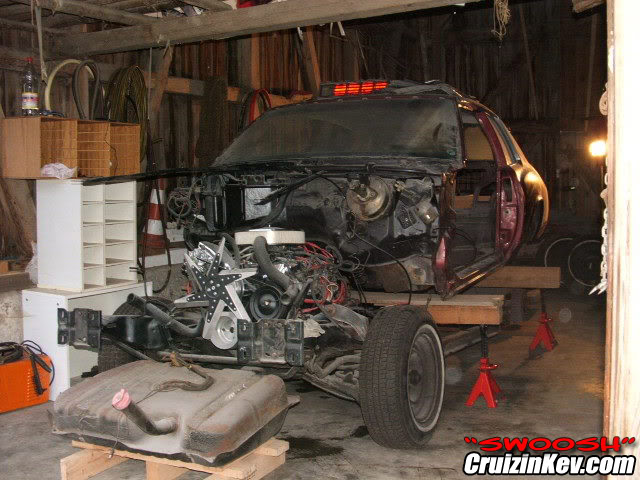
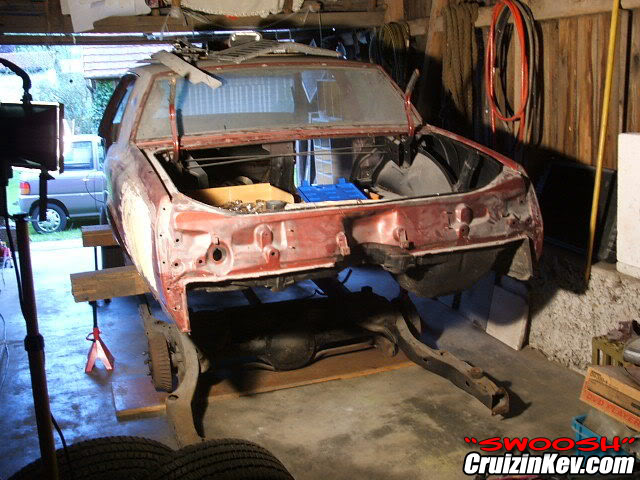
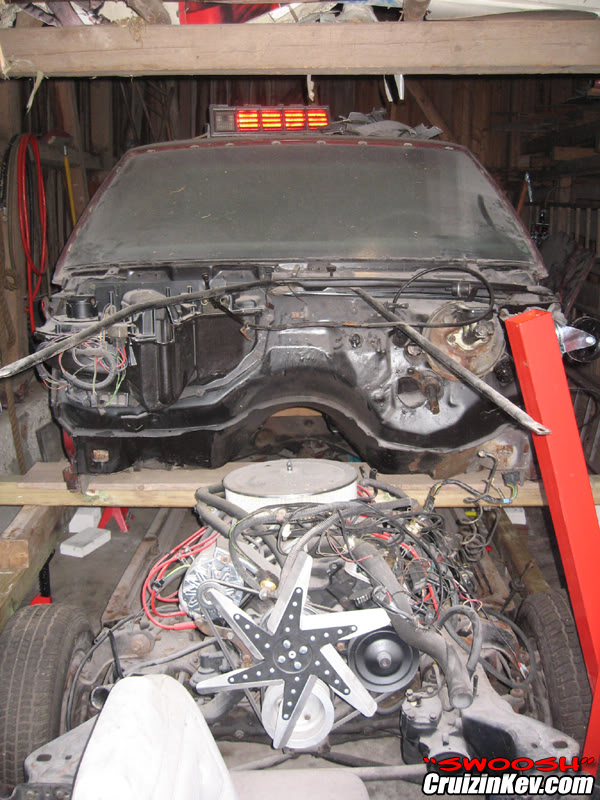
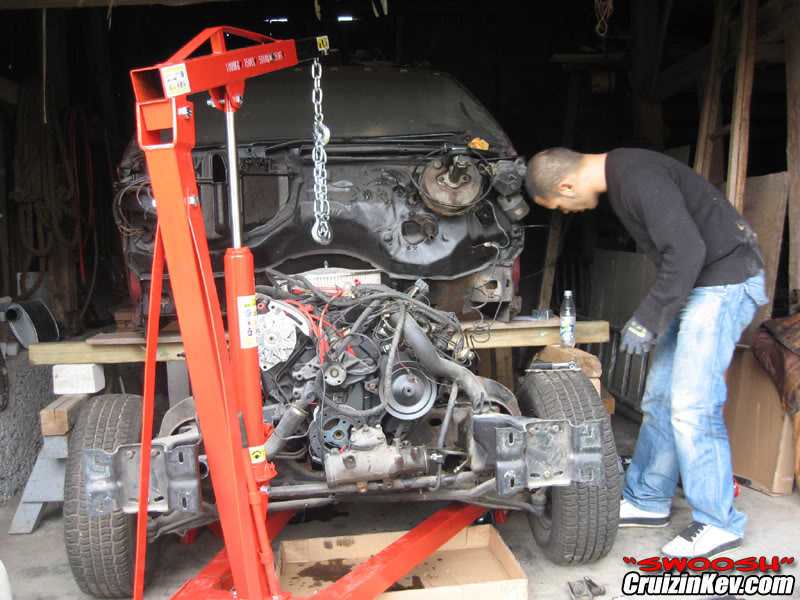
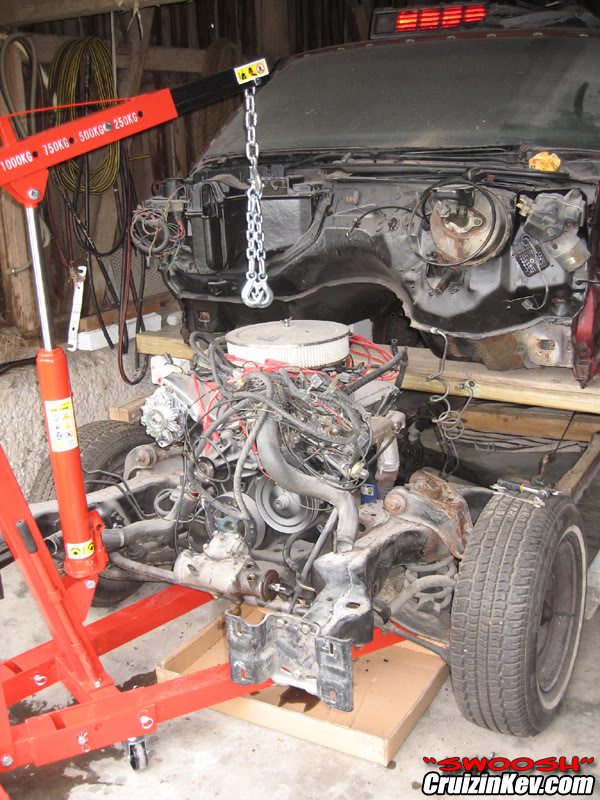
first steps..
I'm new here and I want to share my project - a 1979 Monte Carlo 305 that I bought in december 2002.
I'll rebuild the whole car (body, frame, interior etc) and swap in a LS1 engine & T56 manual 6-speed transmission. It'll be a "Pro-Tourer"/"Street-Rod" and this is what it should look like in the end:
first pics when I brought her home:
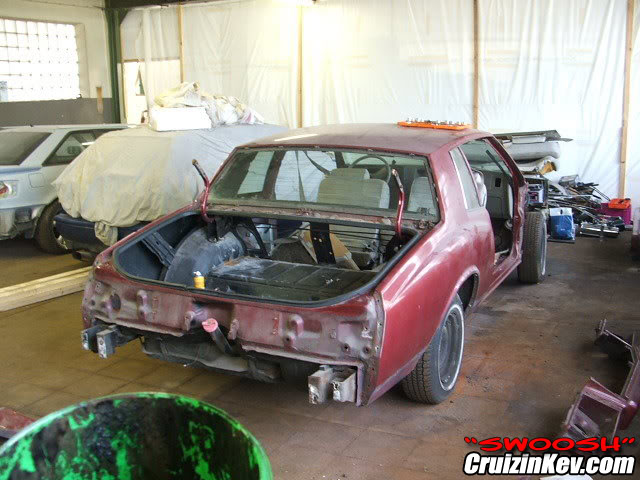
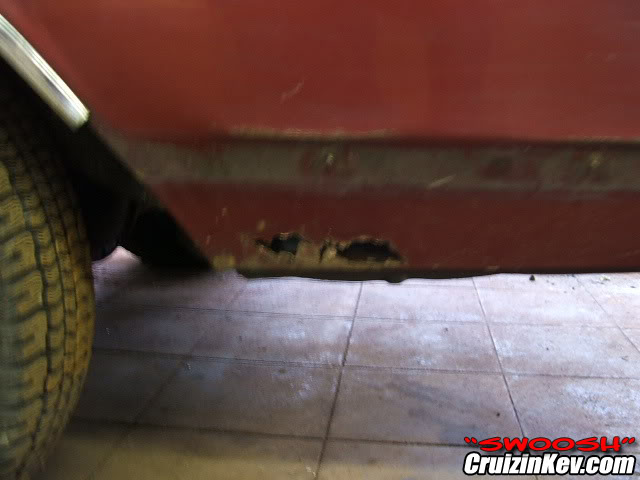
first steps..
Thread Starter
CF Junior Member
Joined: May 2012
Posts: 48
Likes: 0
From: overseas
yummy!!
and this is what it should look like in the end:
looked around for ideas what to do with the interior. especially with the dash/gauge-cluster and found this:
http://www.hzemall.com/our_gallery/i...al/install.htm
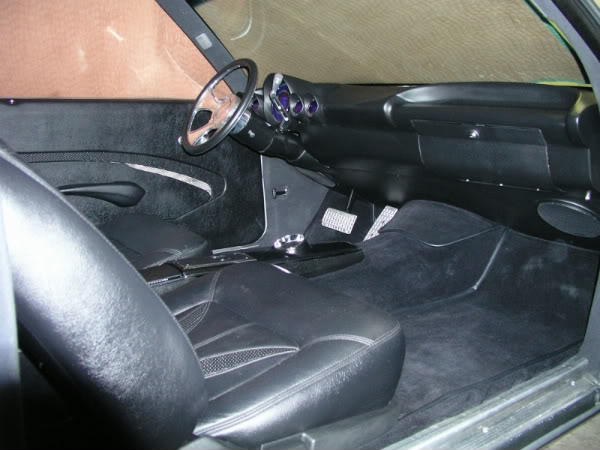
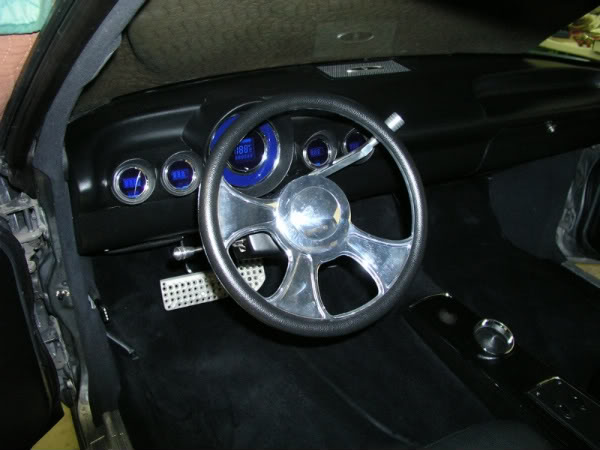
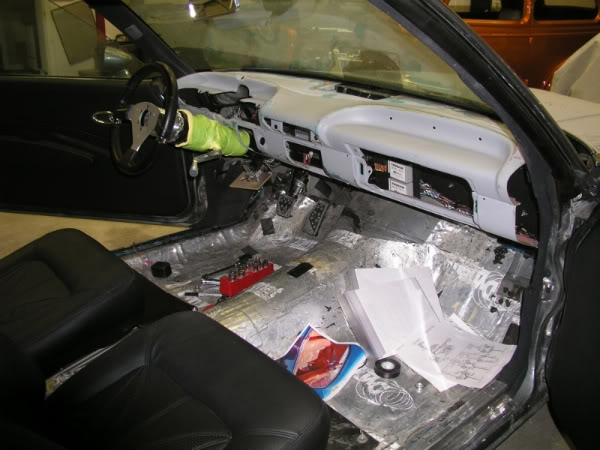
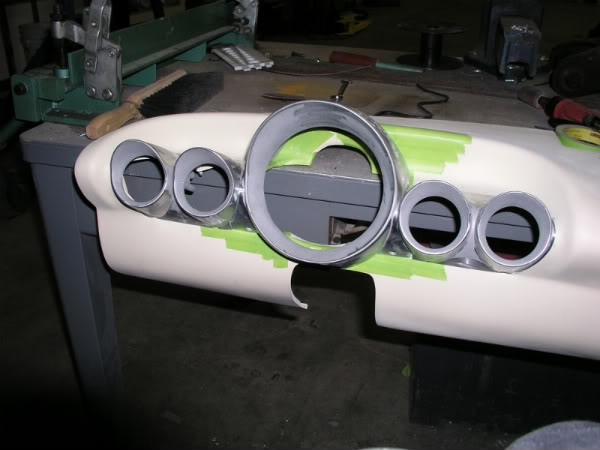
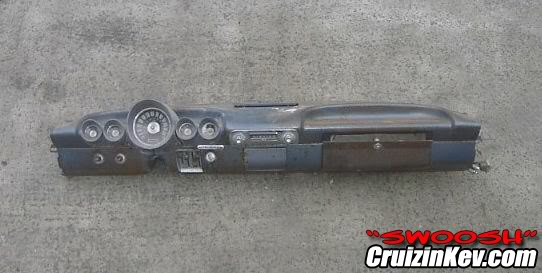
it's a 1960 Impala dashboard.. and here's what I bought:
already started collecting parts for the manual transmission swap:
and this is what it should look like in the end:
looked around for ideas what to do with the interior. especially with the dash/gauge-cluster and found this:
http://www.hzemall.com/our_gallery/i...al/install.htm
it's a 1960 Impala dashboard.. and here's what I bought:
already started collecting parts for the manual transmission swap:
Thread Starter
CF Junior Member
Joined: May 2012
Posts: 48
Likes: 0
From: overseas
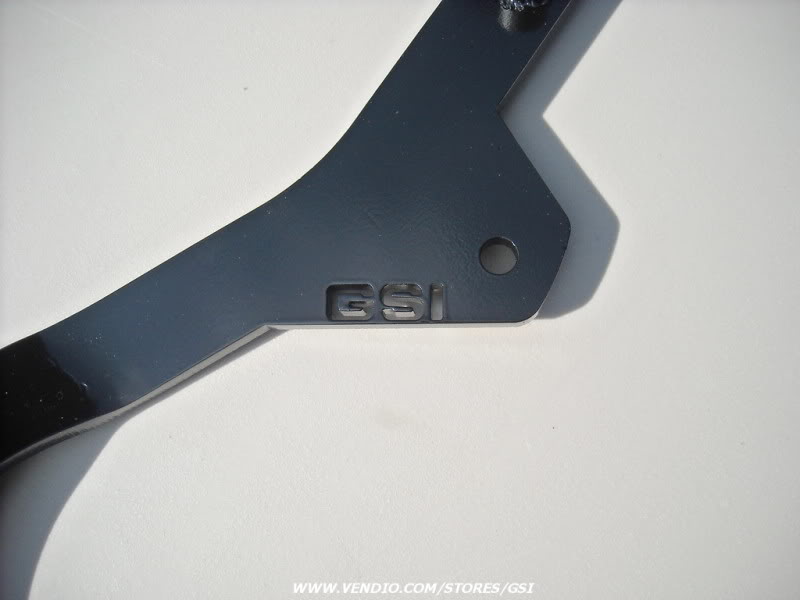
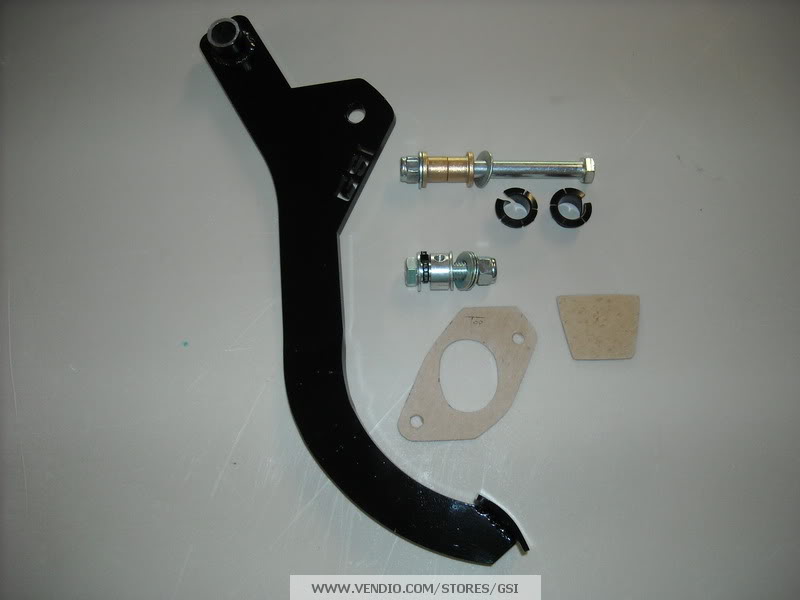
ordered GSI clutch pedal.
found some pretty cool door handles:
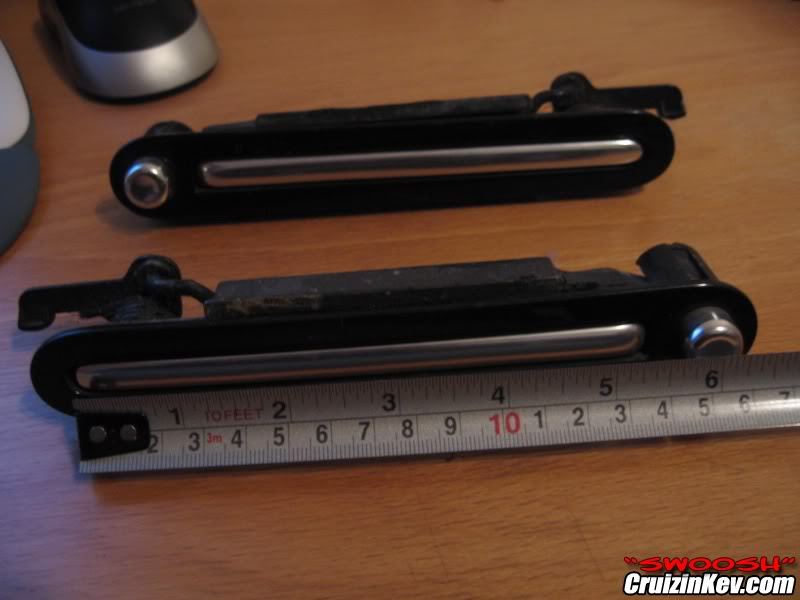
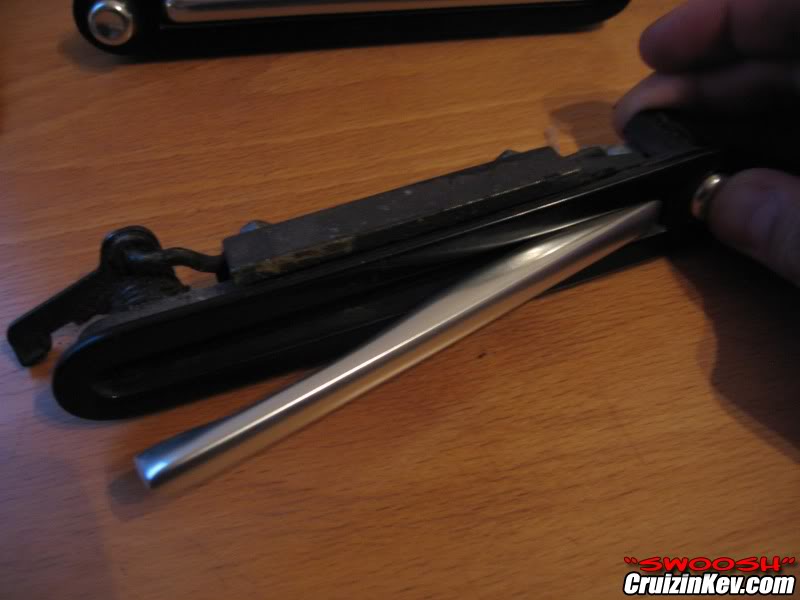
by pressing the button the handle will come out. came off a small european car, a Fiat Barchetta:

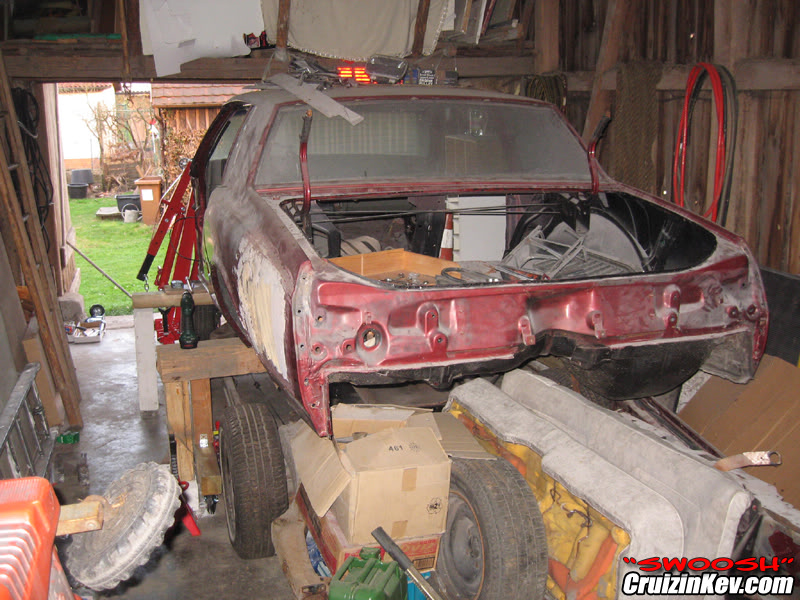
and just found the matching sheet metal from scrapyard:

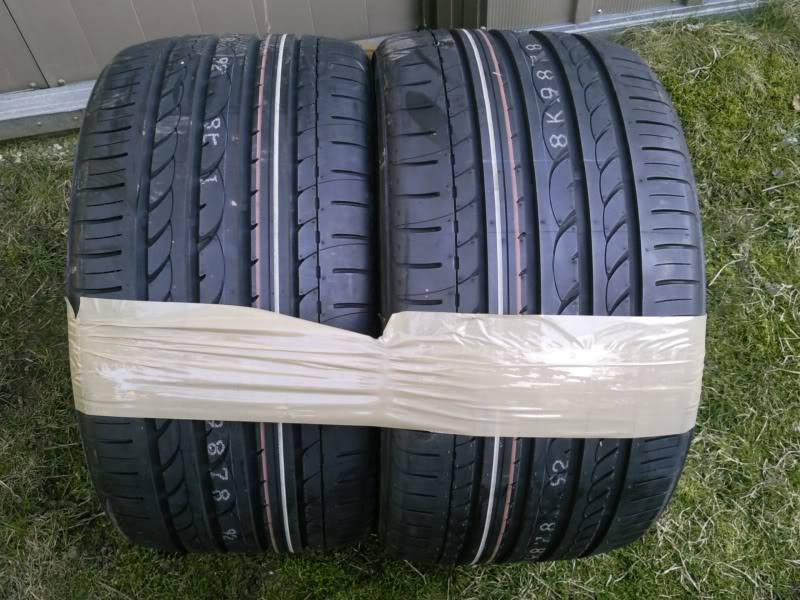
295/35-18 yokohamas for the rear:
04-09-2010
04-10-2010
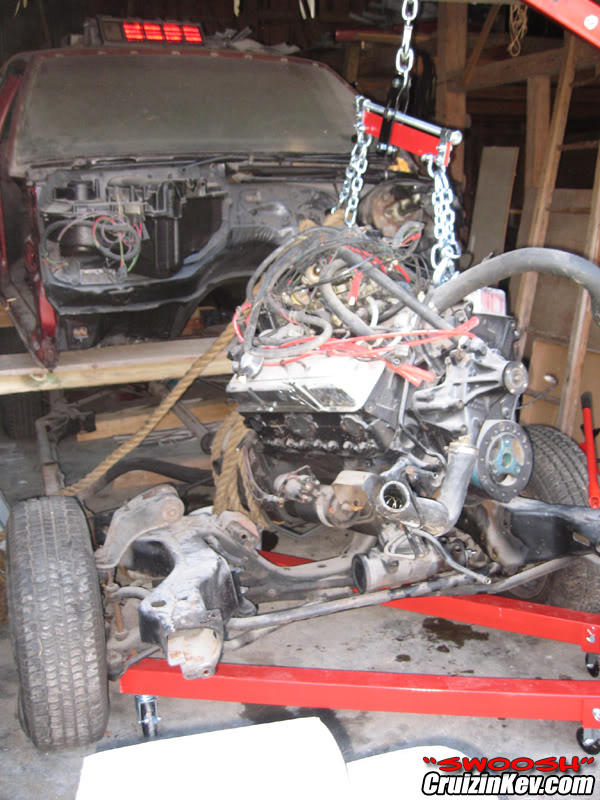
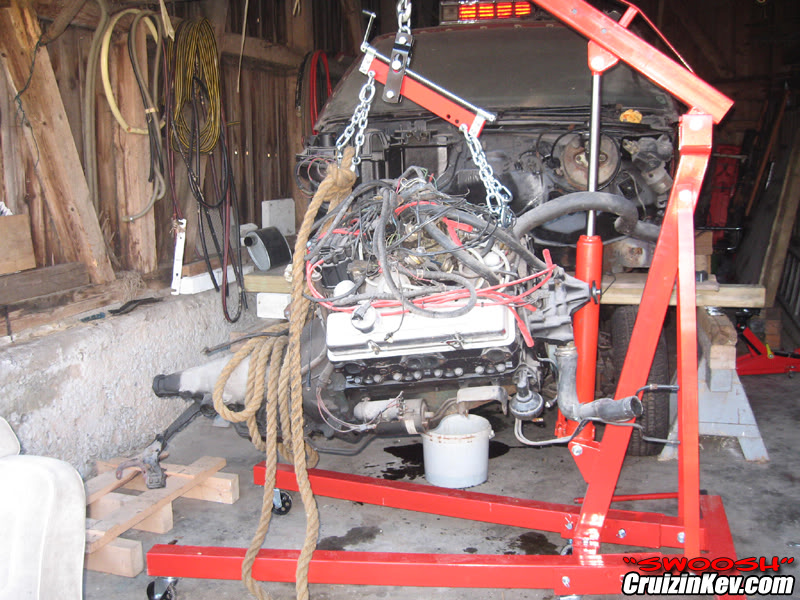
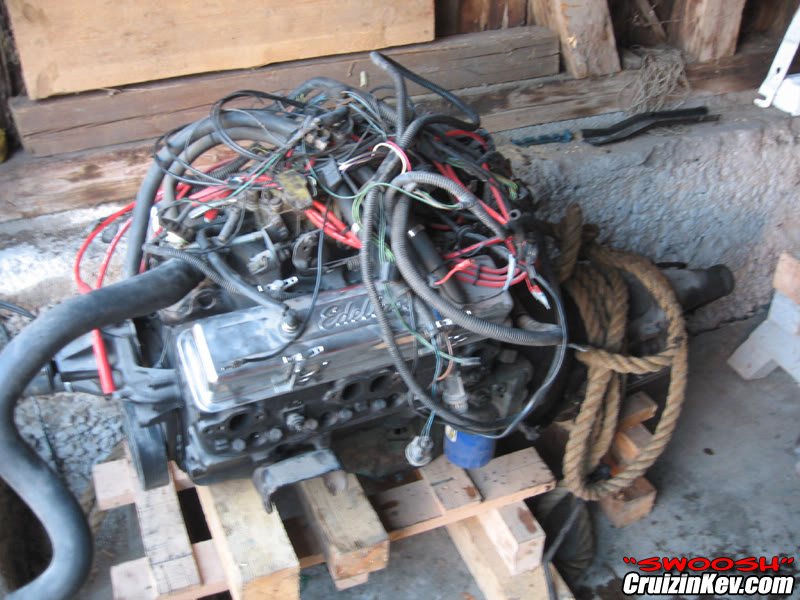
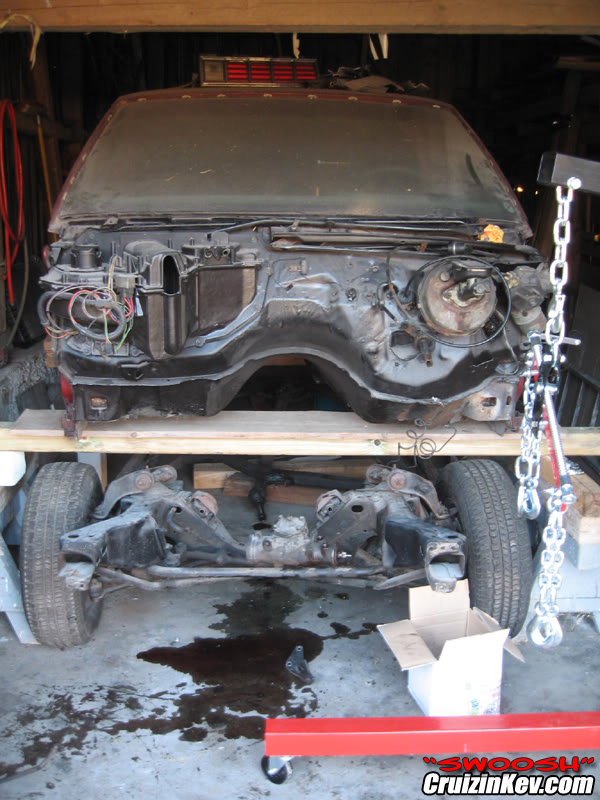
me @ work
Thread Starter
CF Junior Member
Joined: May 2012
Posts: 48
Likes: 0
From: overseas
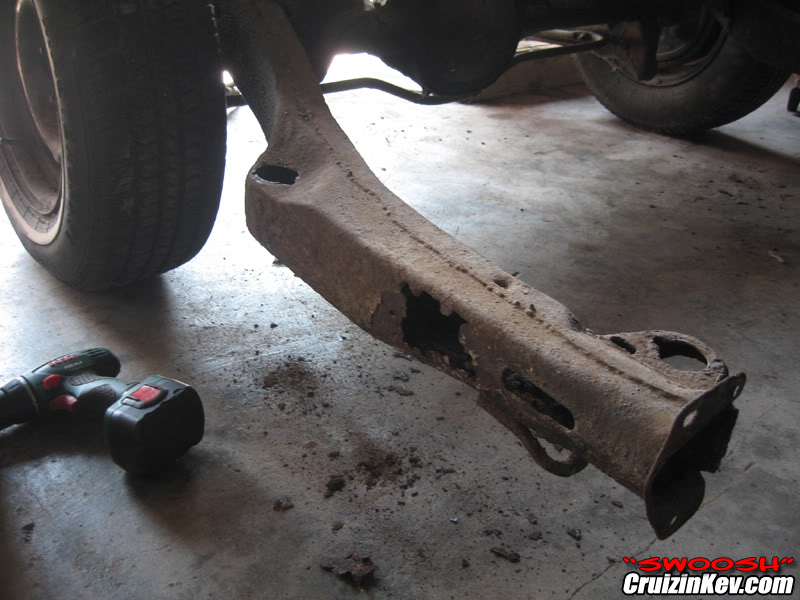
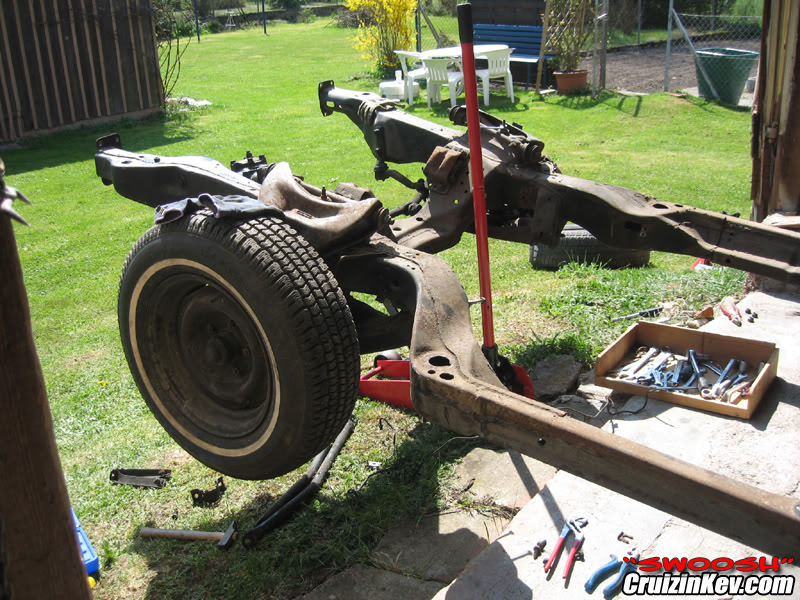
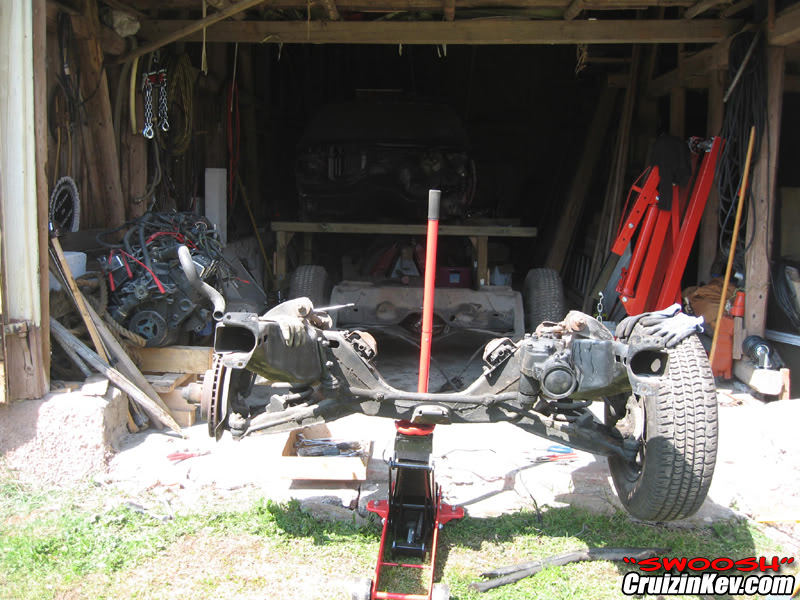
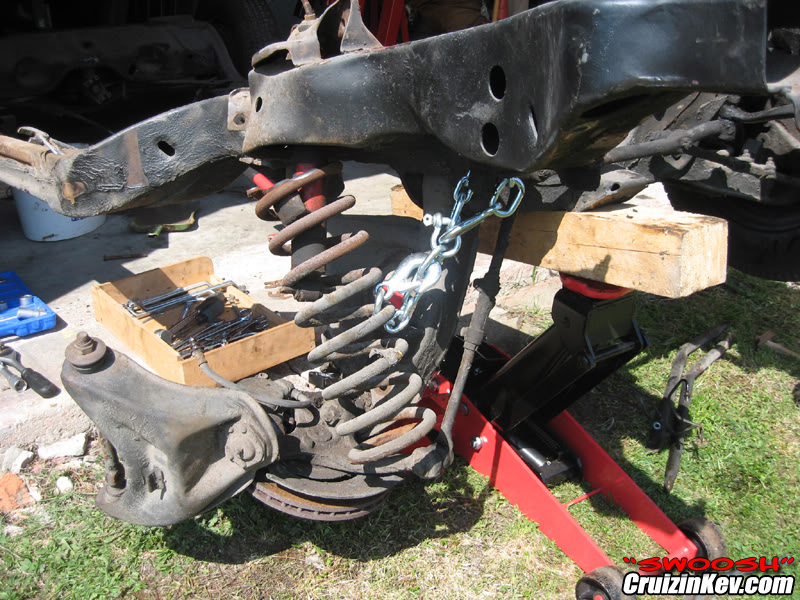
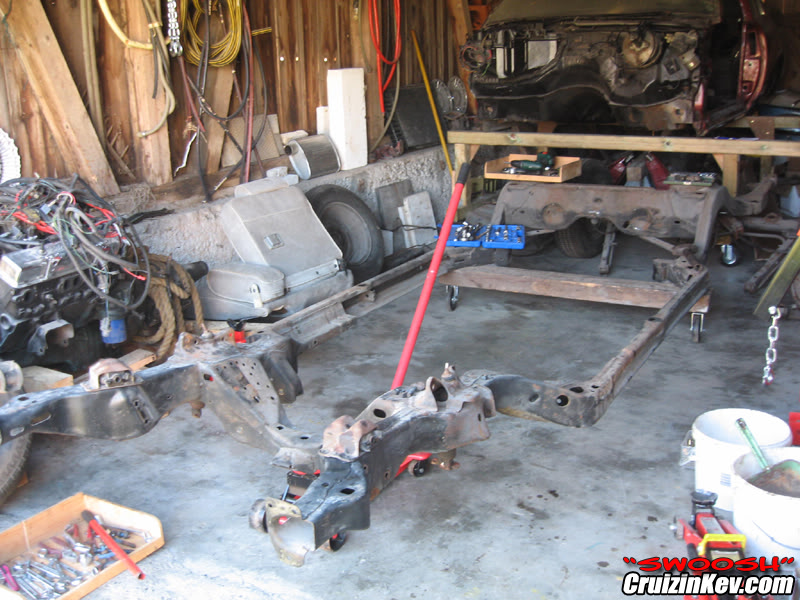
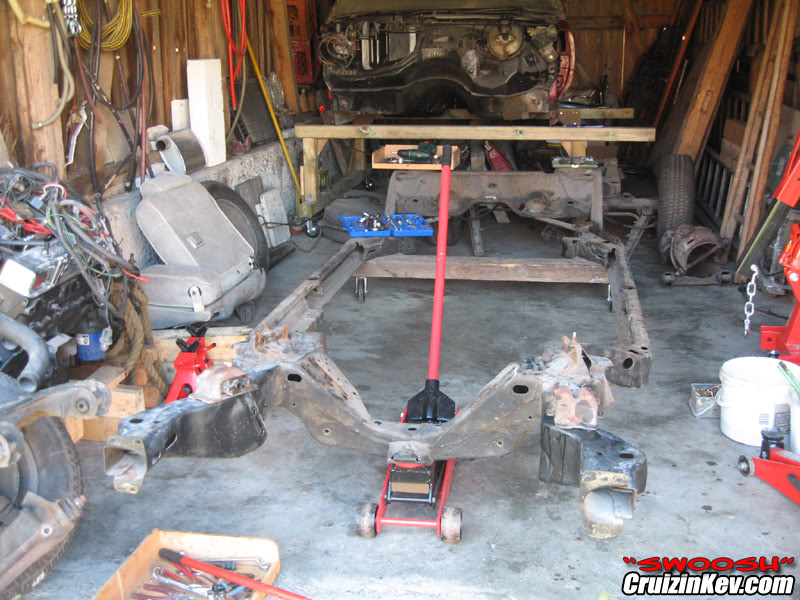
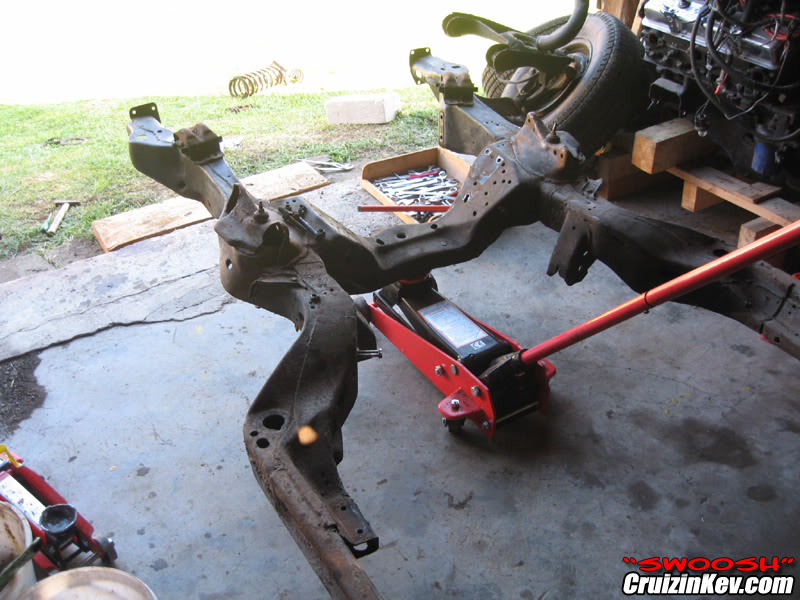
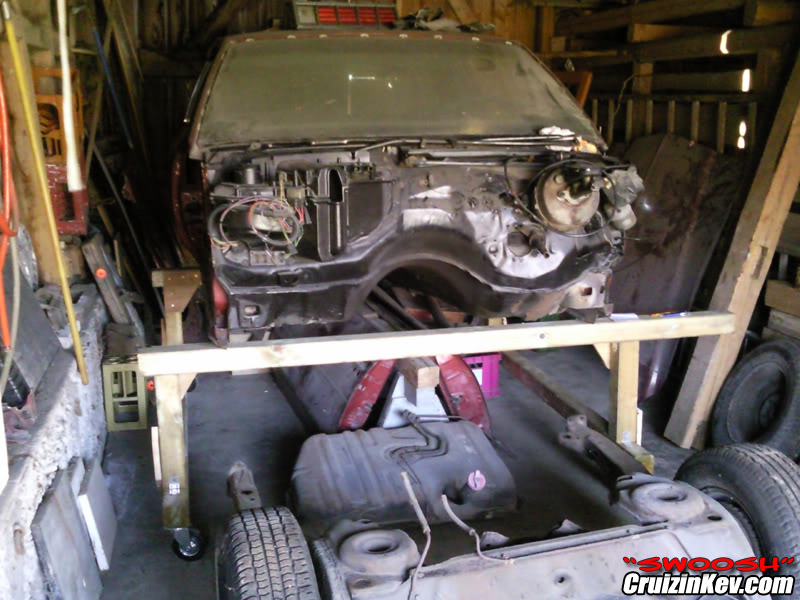
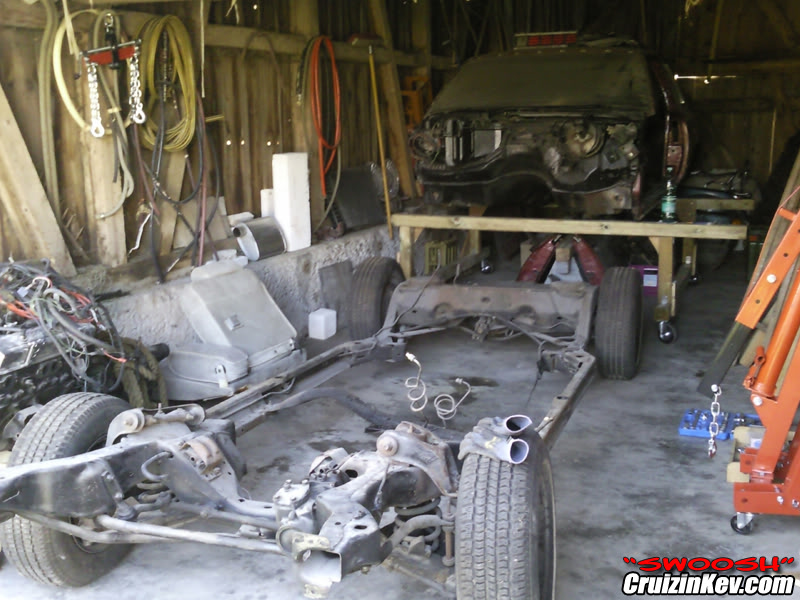
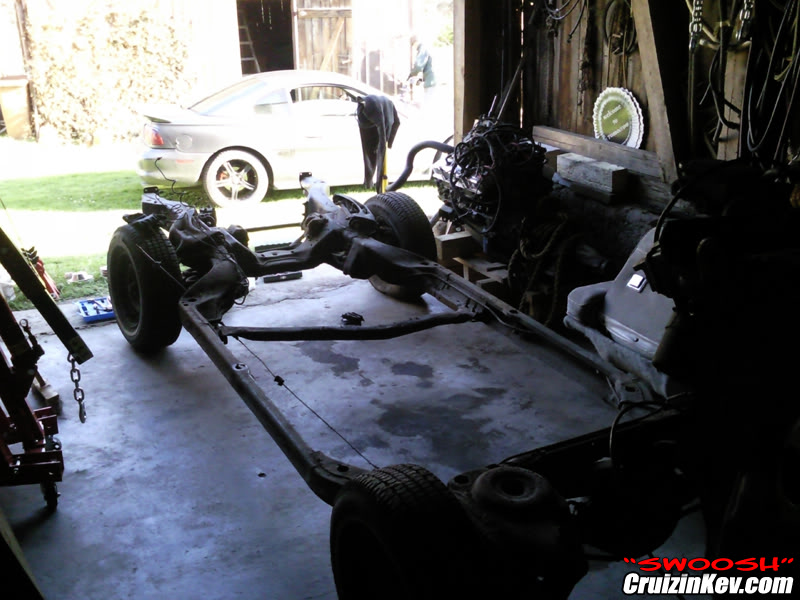
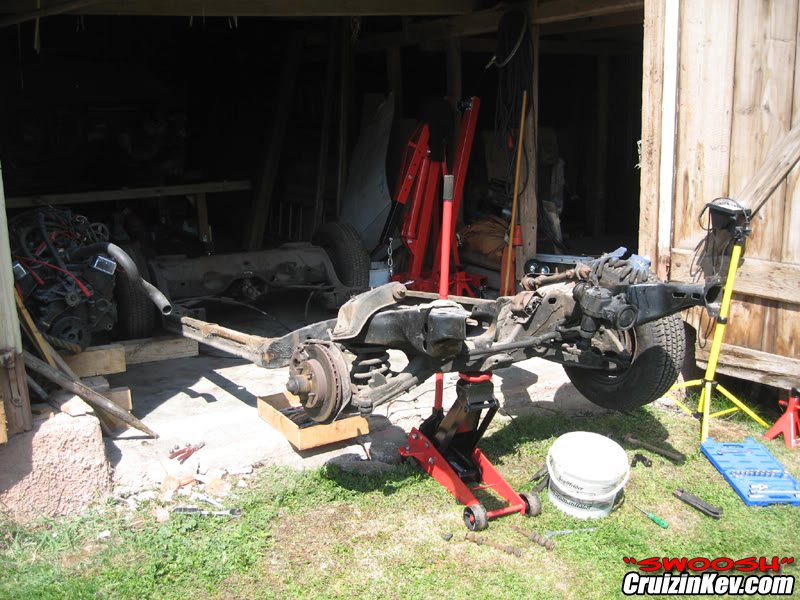
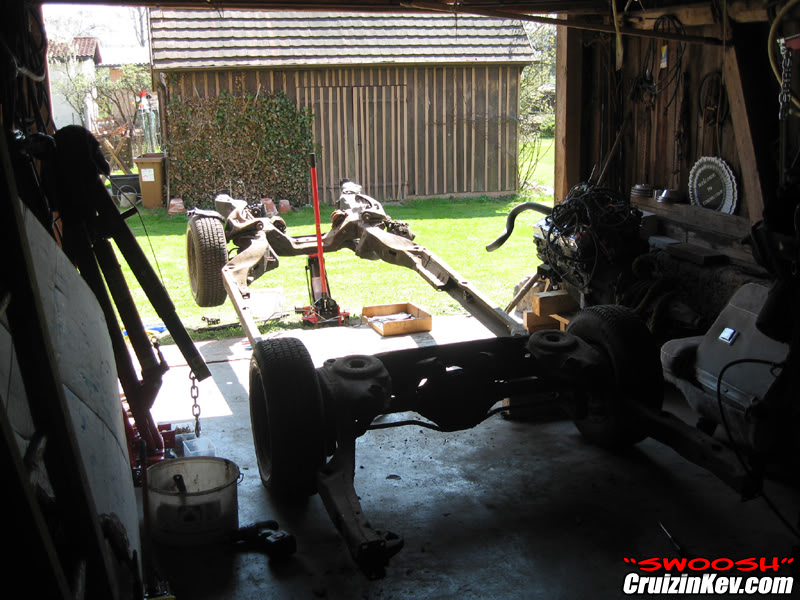
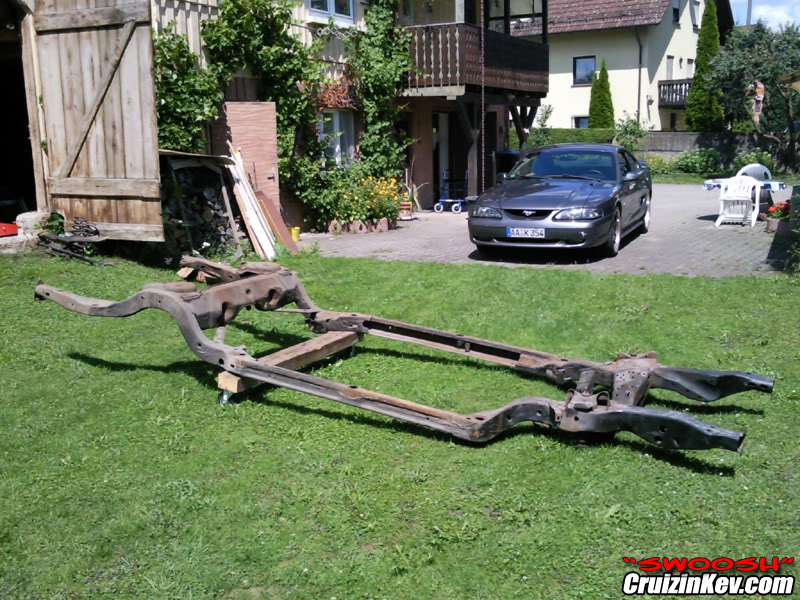
frame ready for the blaster

I started to scratch all that underbody protection stuff off they put on here in Germany. It helped against rust in winter with all that salt and stuff on streets here in Germany.
Thread Starter
CF Junior Member
Joined: May 2012
Posts: 48
Likes: 0
From: overseas
I love it 
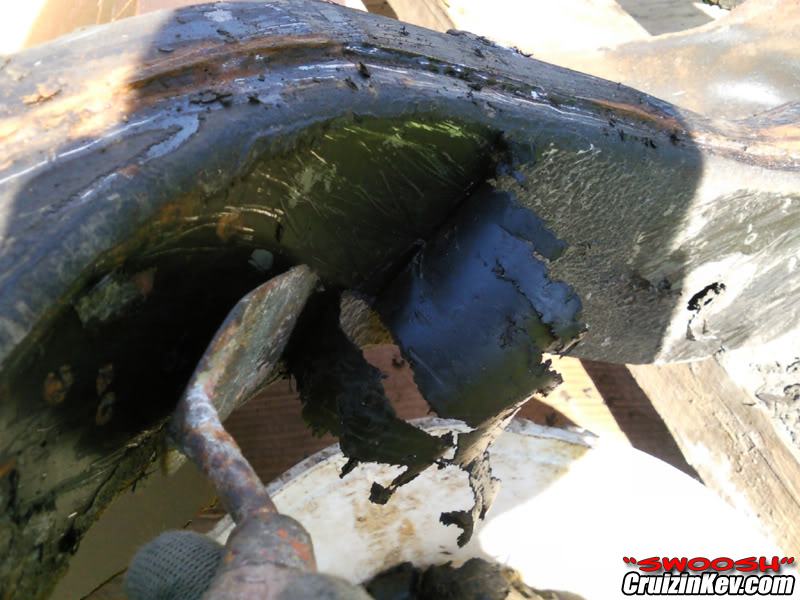
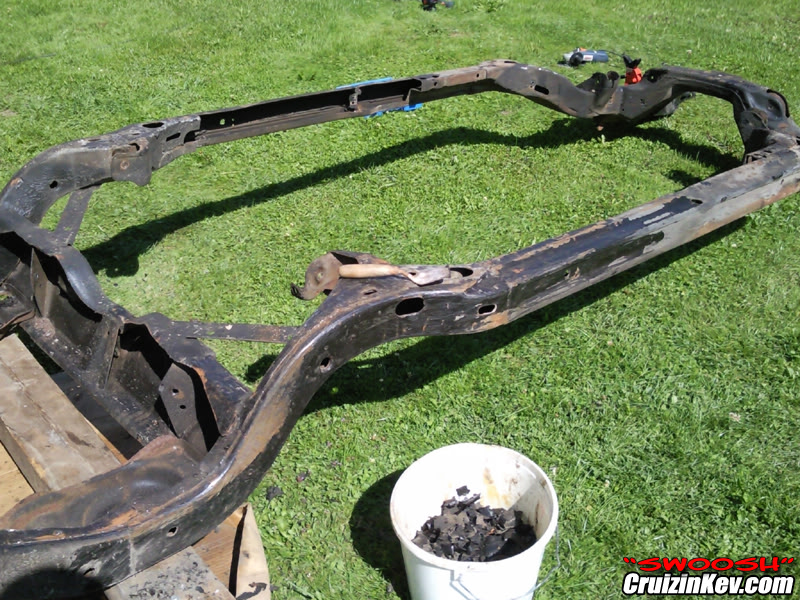
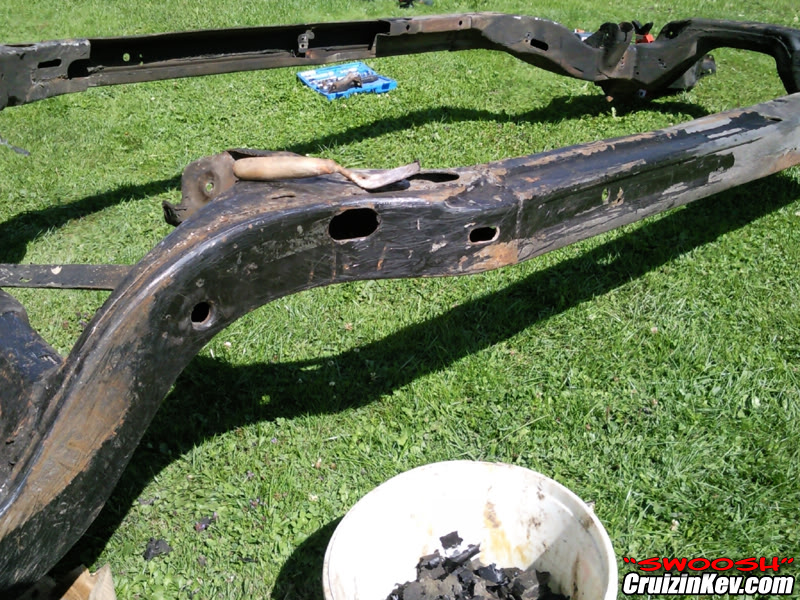
took me the whole day to do that sh*t omg and still not finished with that sh*tty underbody protection cr*p. friggin hard chewy stuff! anyways hopefully I can bring the frame soon to the sandblaster where I'll blast that thing. then box & weld and finish it with POR15.
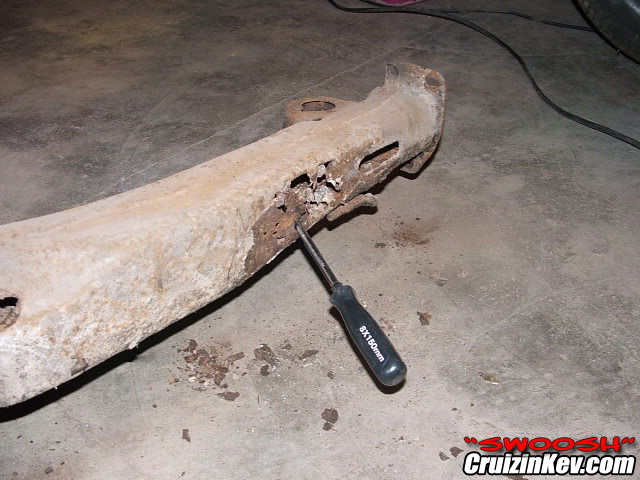
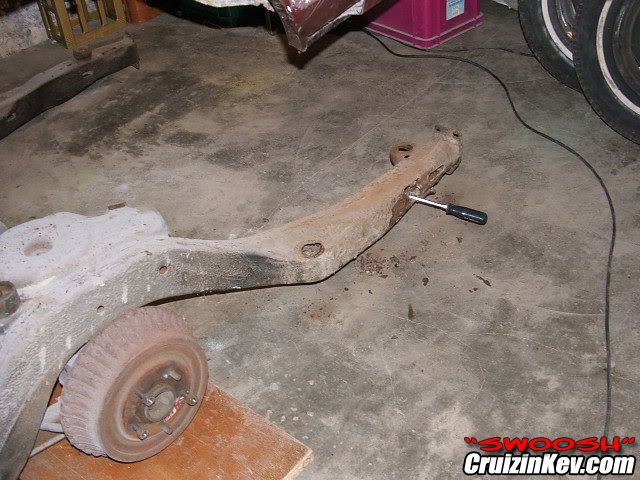
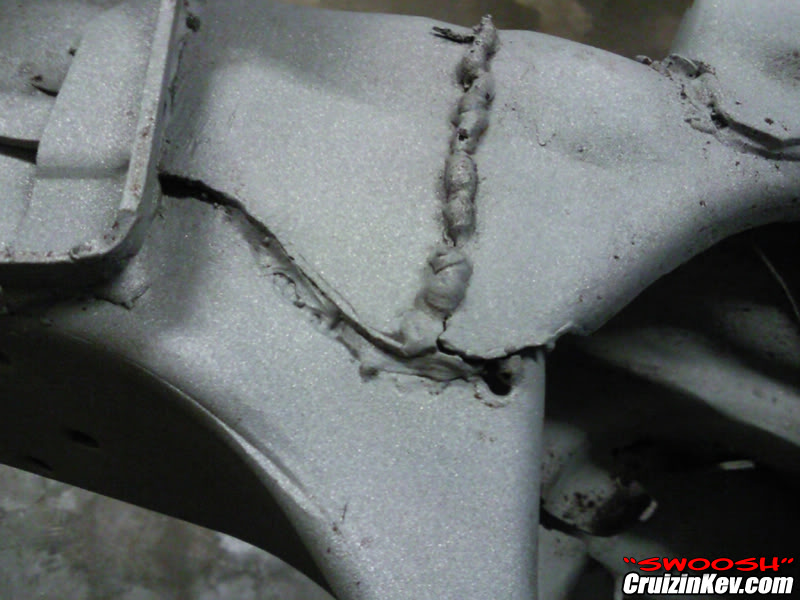
found some ugly stuff:
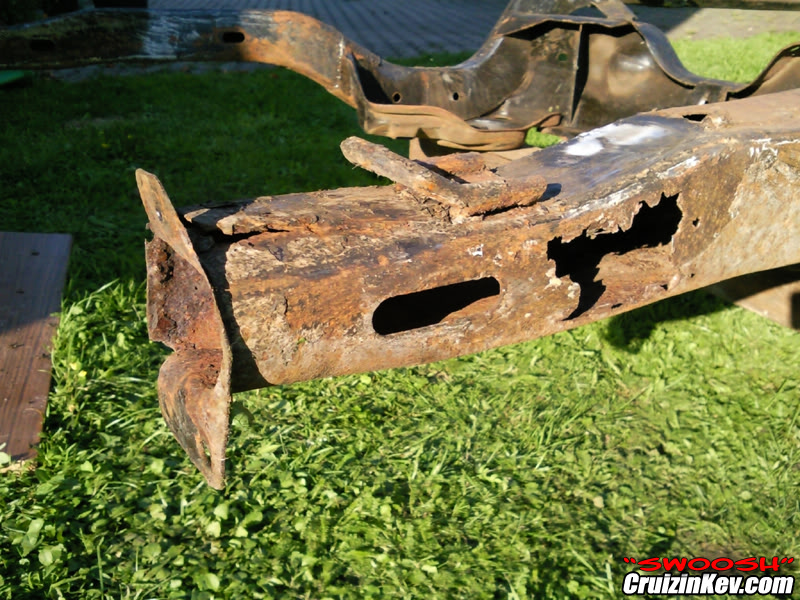
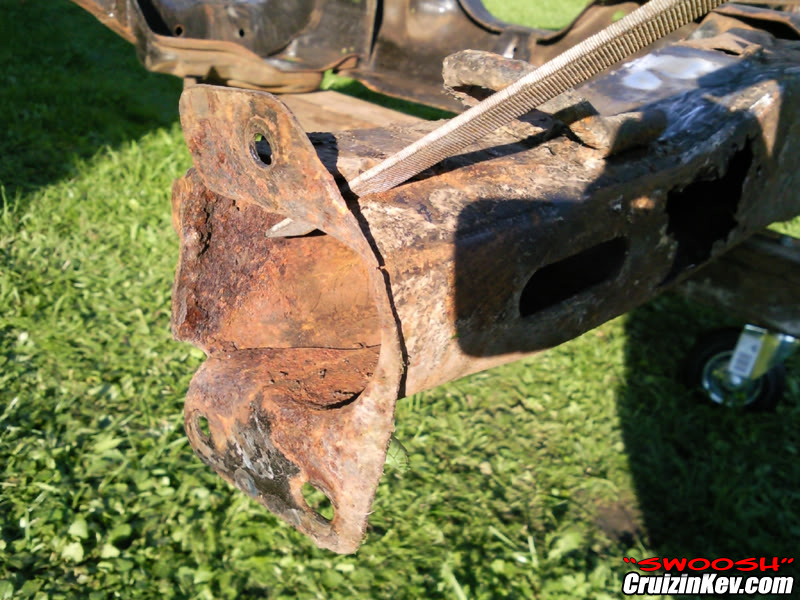
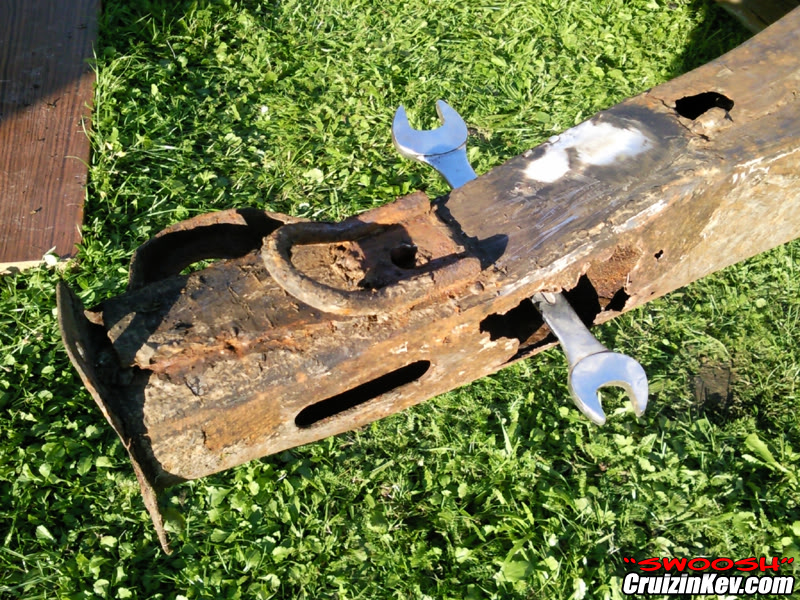
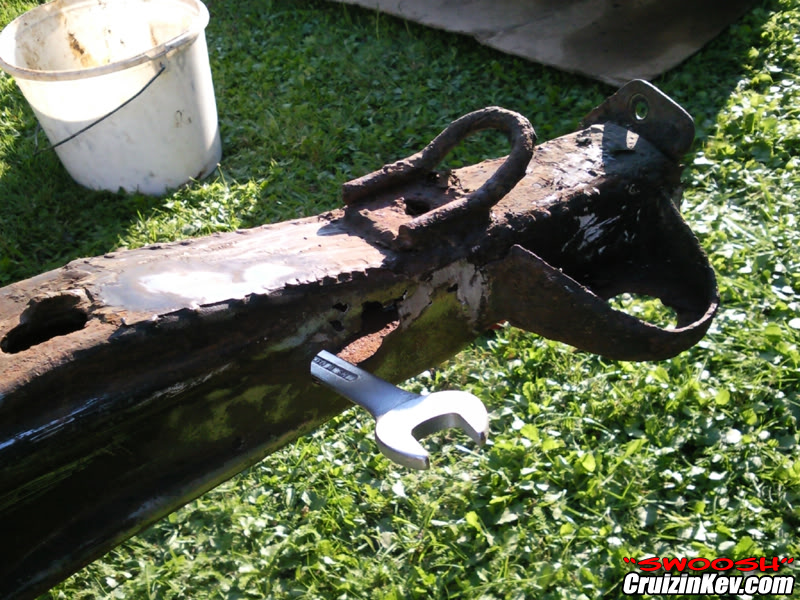
One of the pre owners did some "repairs" and covered with bondo and undercoating. So I have to replace that section.
Here a good site for replacements:
"conrad lozier's frame rails"
fortunately the rest of the frame is good and only needs to be boxed and some rewelding of the factory welds.
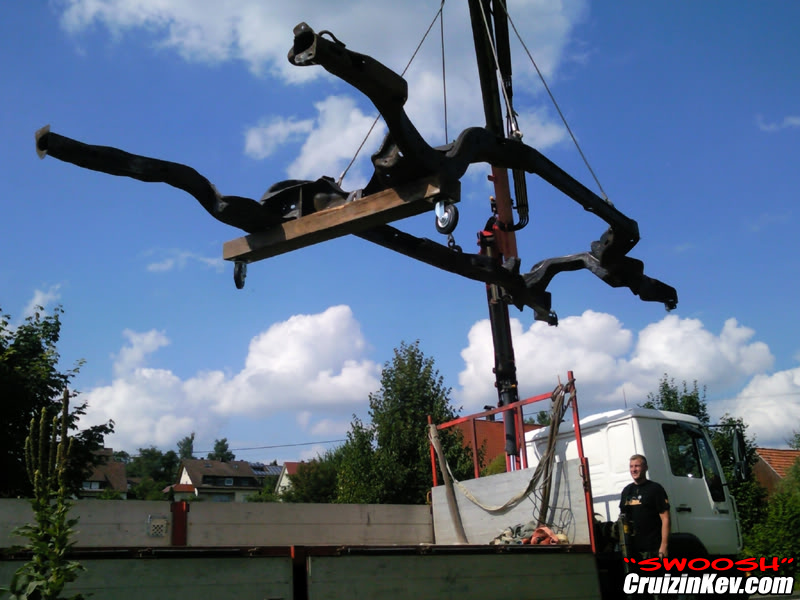
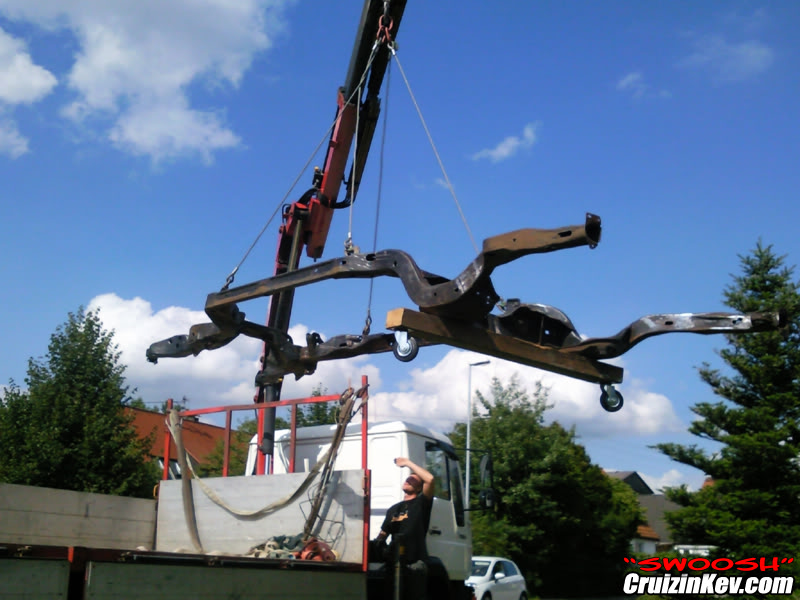
up she goes to blast the frame:
took me the whole day to do that sh*t omg and still not finished with that sh*tty underbody protection cr*p. friggin hard chewy stuff! anyways hopefully I can bring the frame soon to the sandblaster where I'll blast that thing. then box & weld and finish it with POR15.
found some ugly stuff:
One of the pre owners did some "repairs" and covered with bondo and undercoating. So I have to replace that section.
Here a good site for replacements:
"conrad lozier's frame rails"
fortunately the rest of the frame is good and only needs to be boxed and some rewelding of the factory welds.
up she goes to blast the frame:
Trending Topics
Thread Starter
CF Junior Member
Joined: May 2012
Posts: 48
Likes: 0
From: overseas
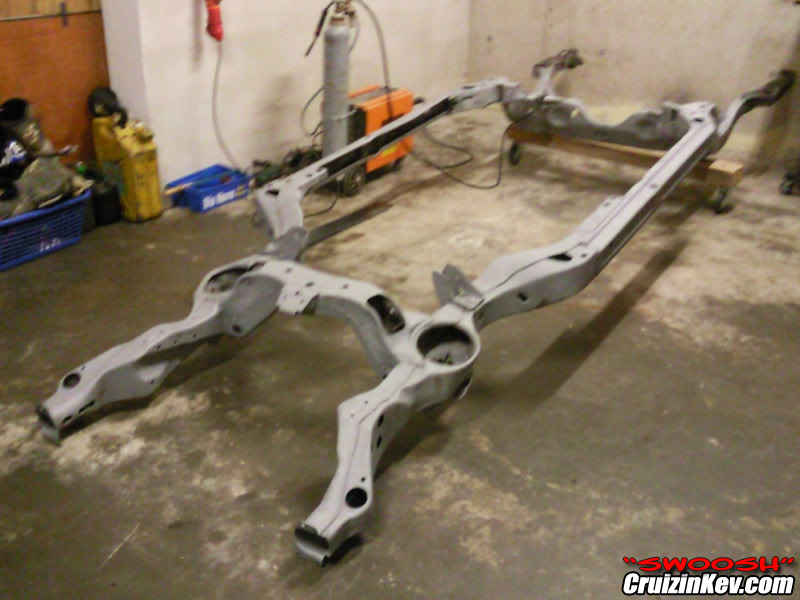
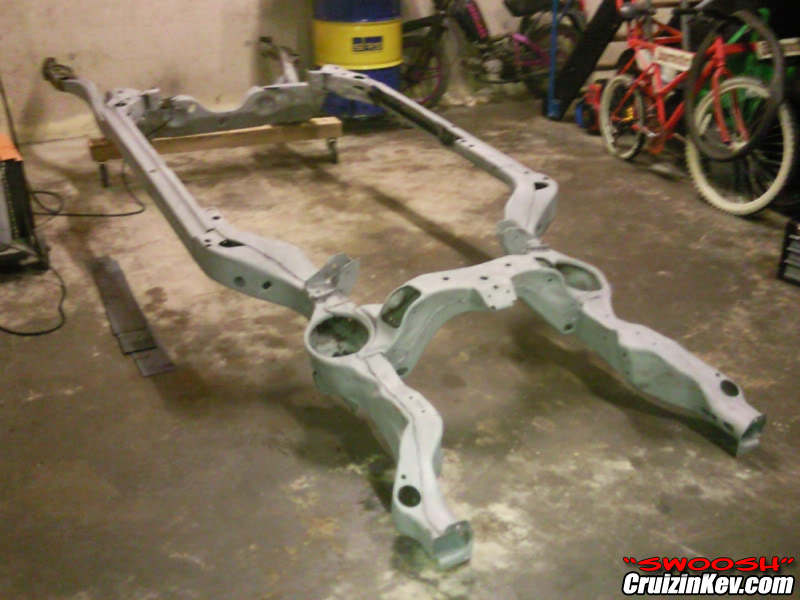
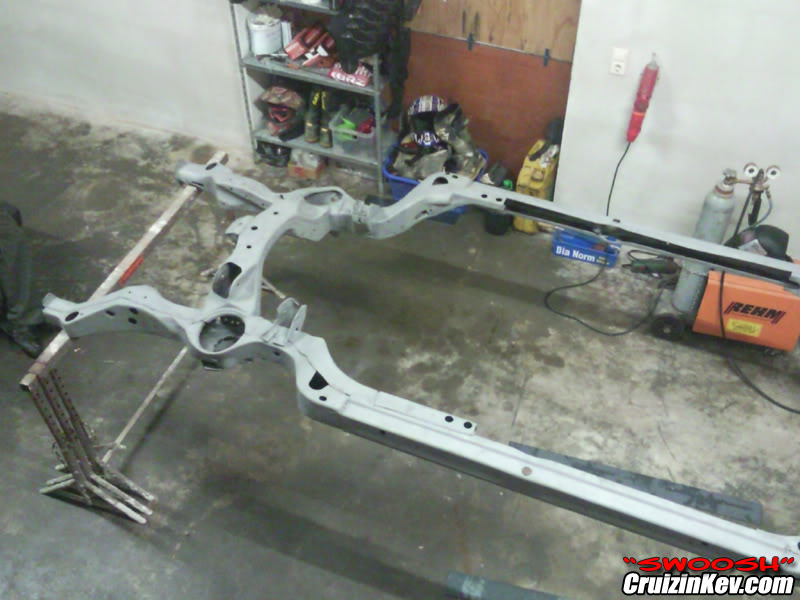
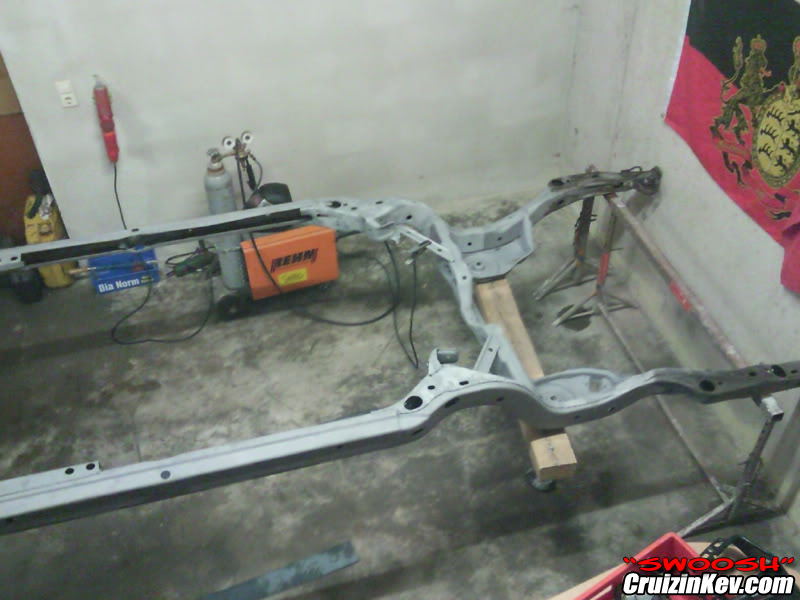
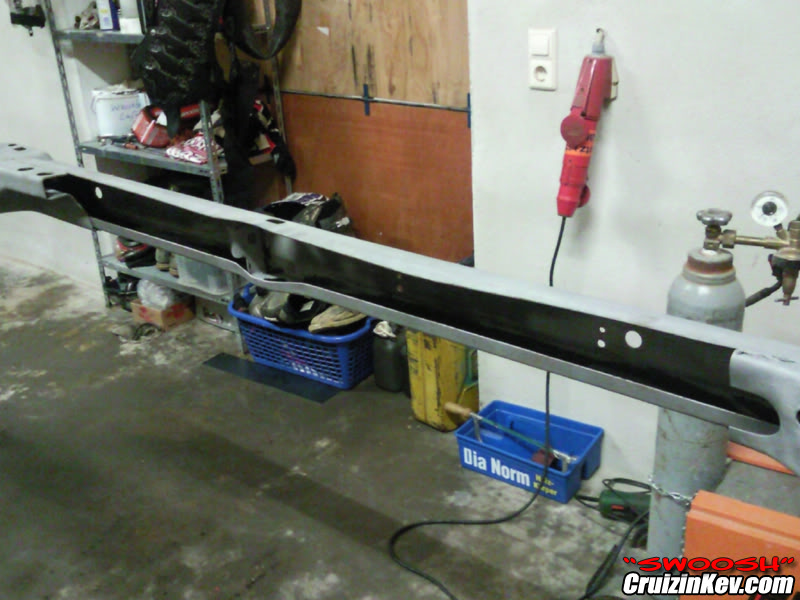
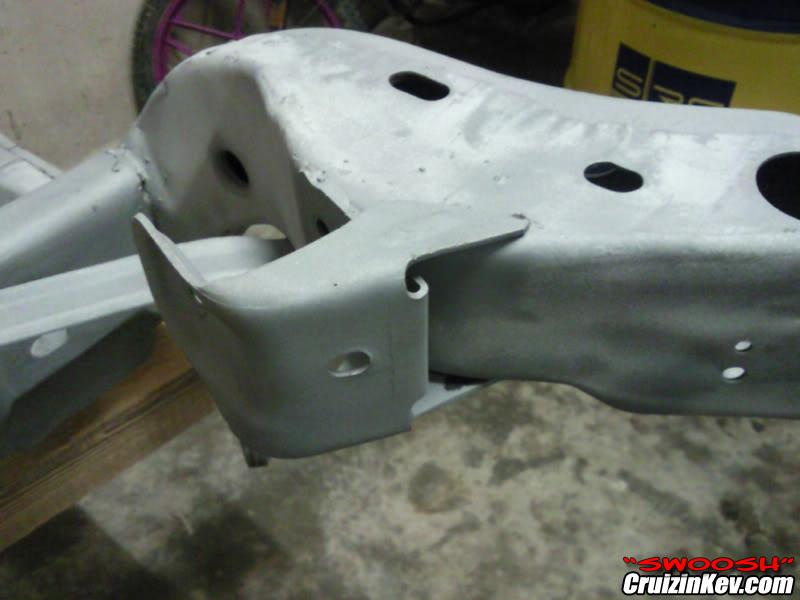
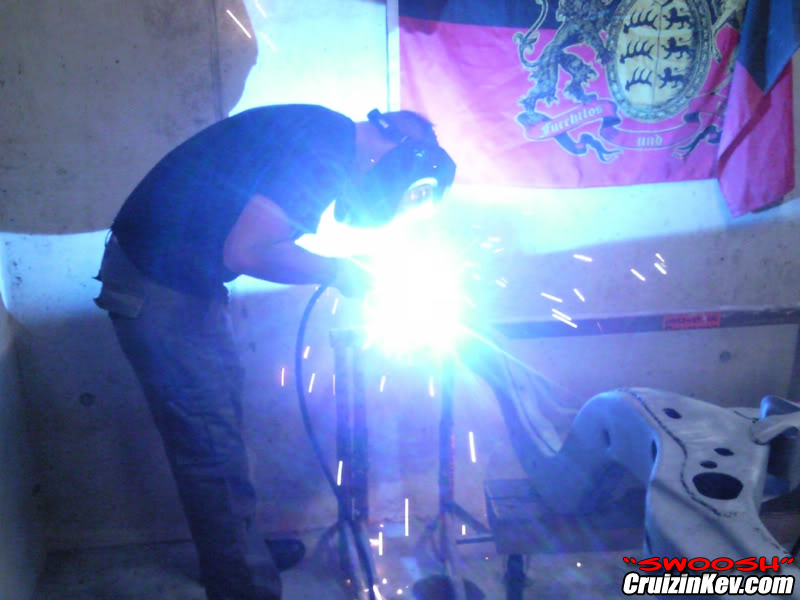
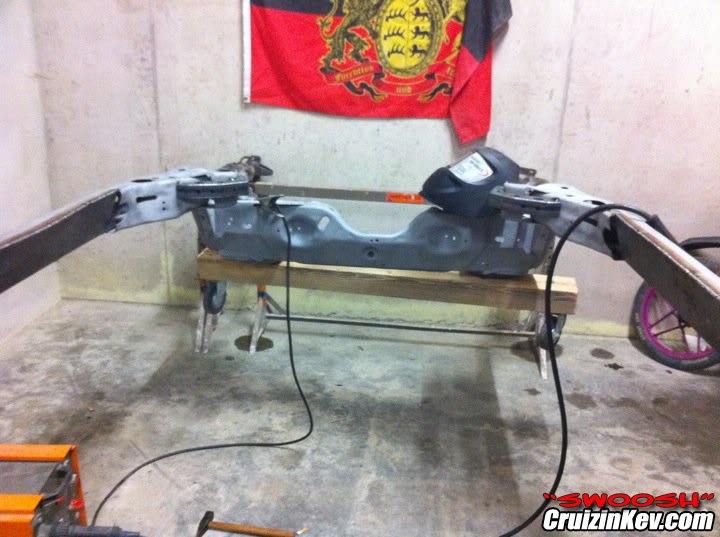
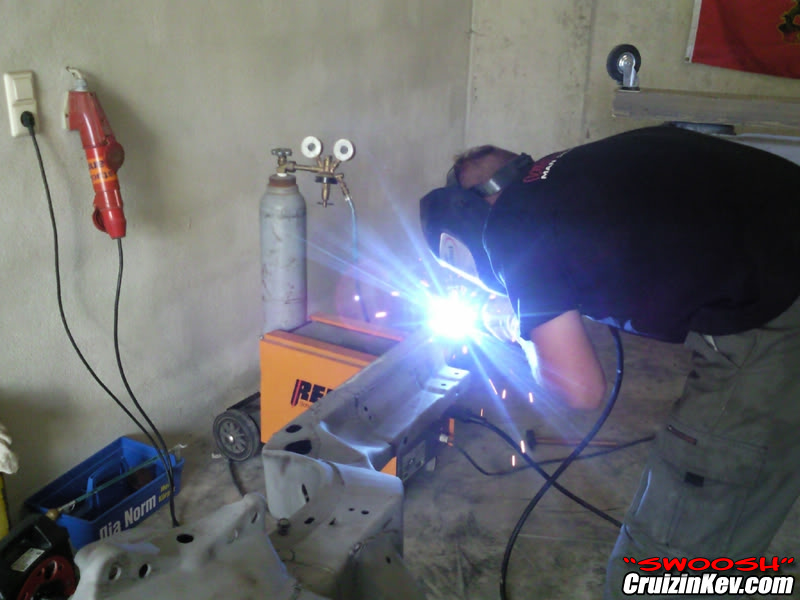
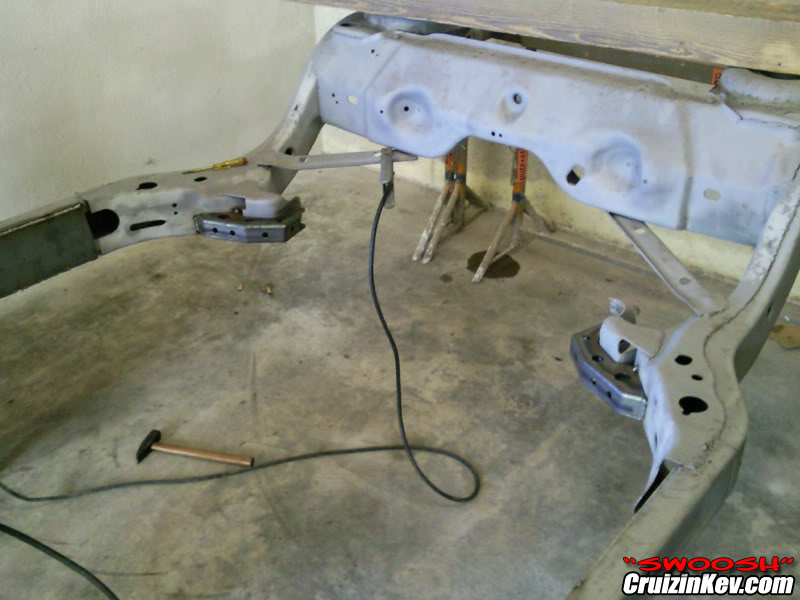
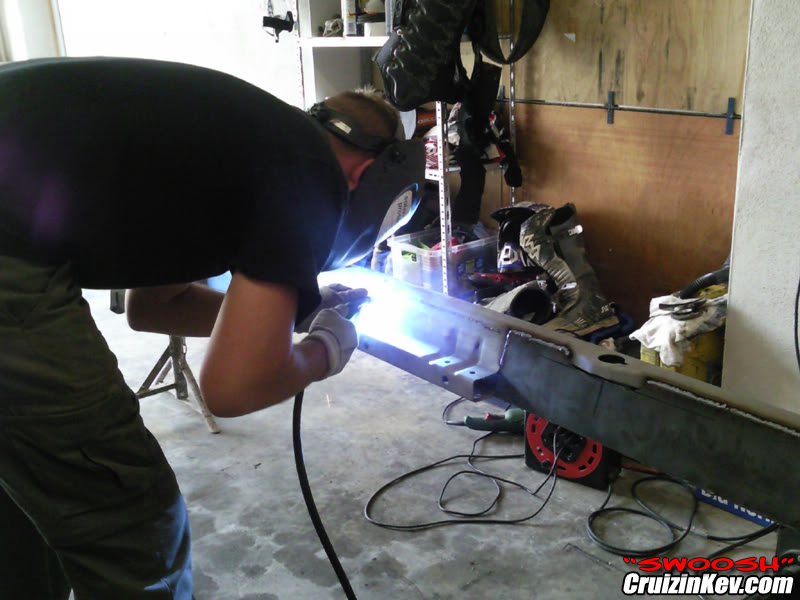
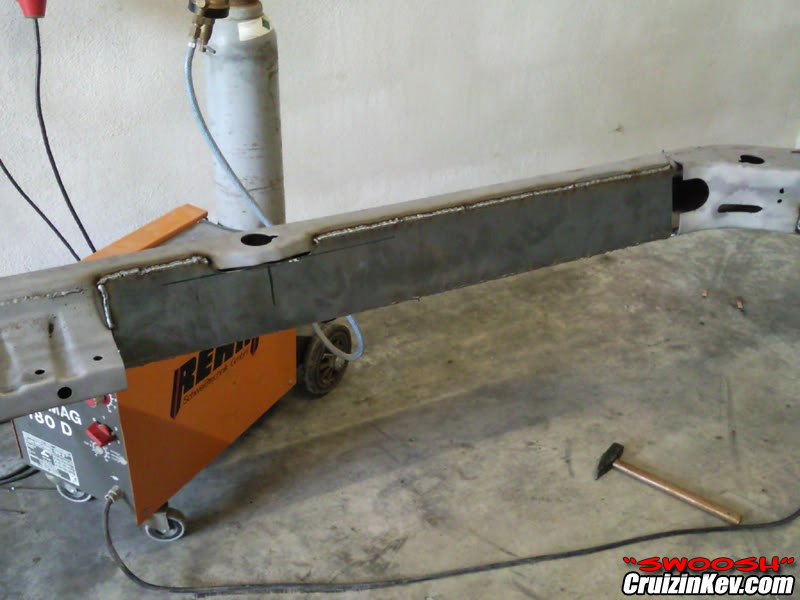
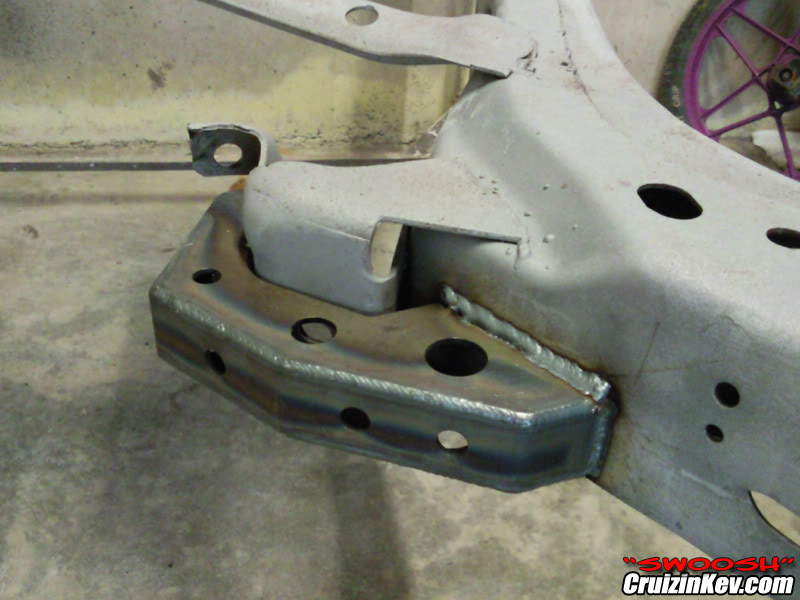
he rewelded almost all factory welds on underside of frame, welded control arm brackets in and boxed the sides
man he's fast - I just wanted to be there when he starts because I need some more welding exercises
him at work!
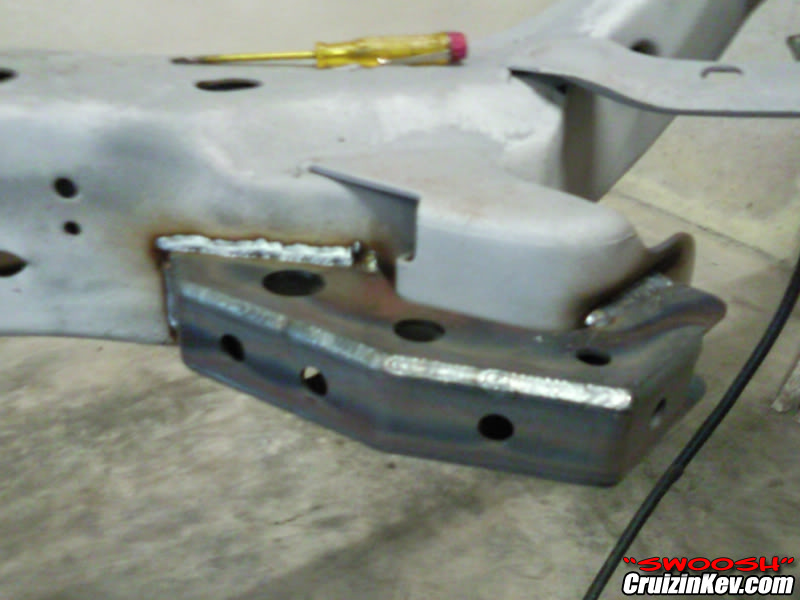
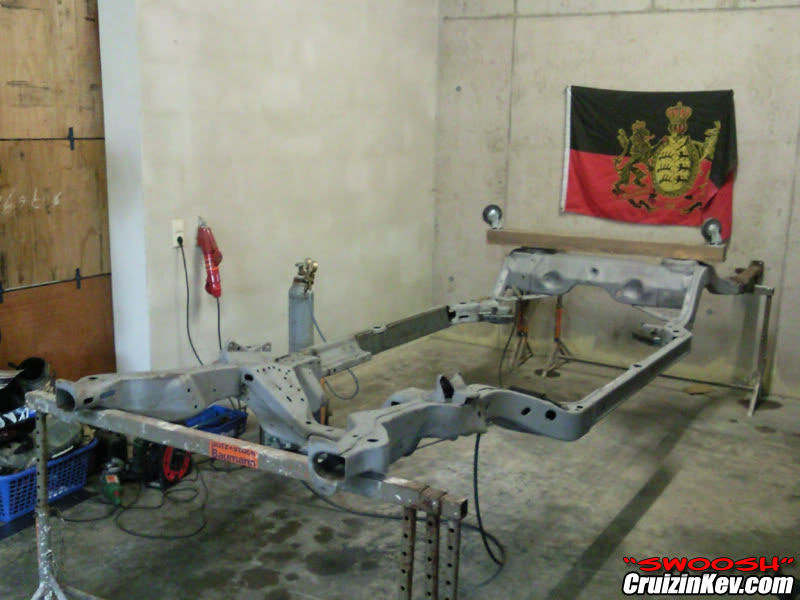
almost there!
man he's fast - I just wanted to be there when he starts because I need some more welding exercises
him at work!
almost there!
Thread Starter
CF Junior Member
Joined: May 2012
Posts: 48
Likes: 0
From: overseas
I bought a camaro LS1 T56 trans:
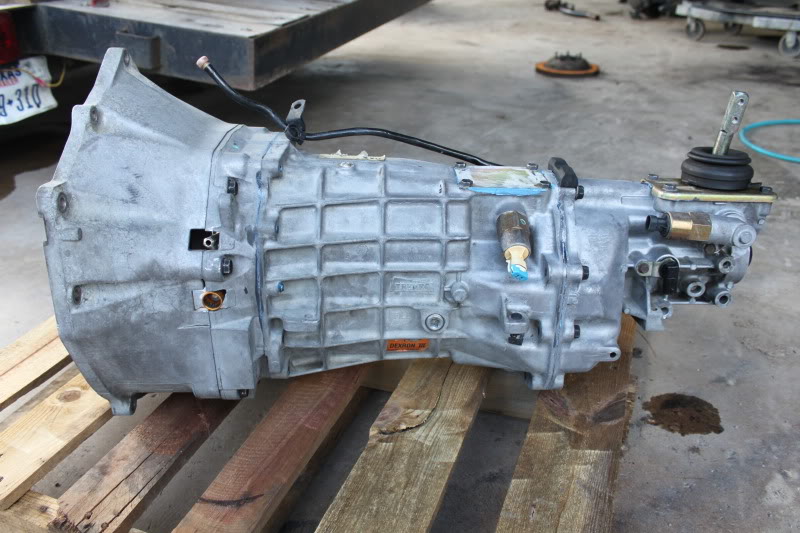
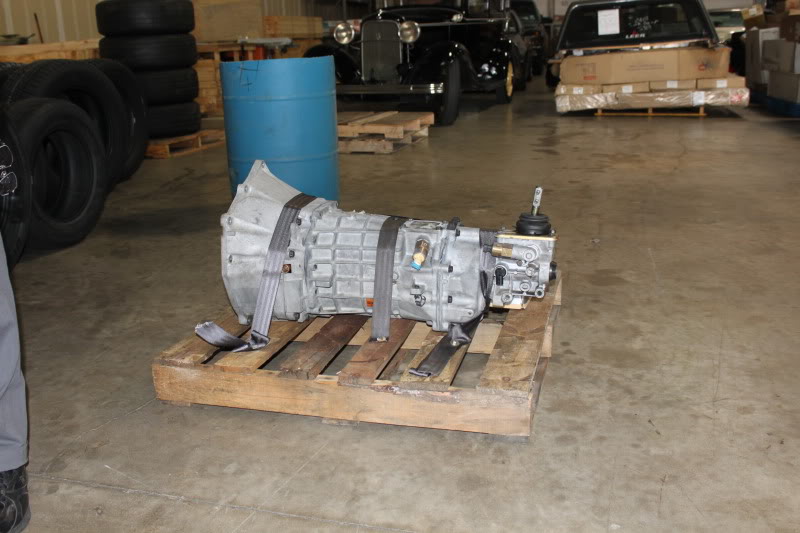
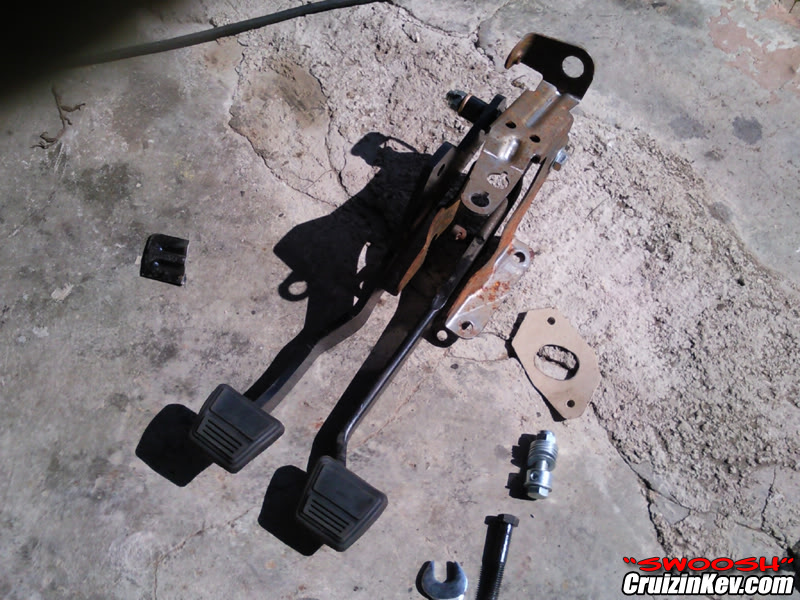
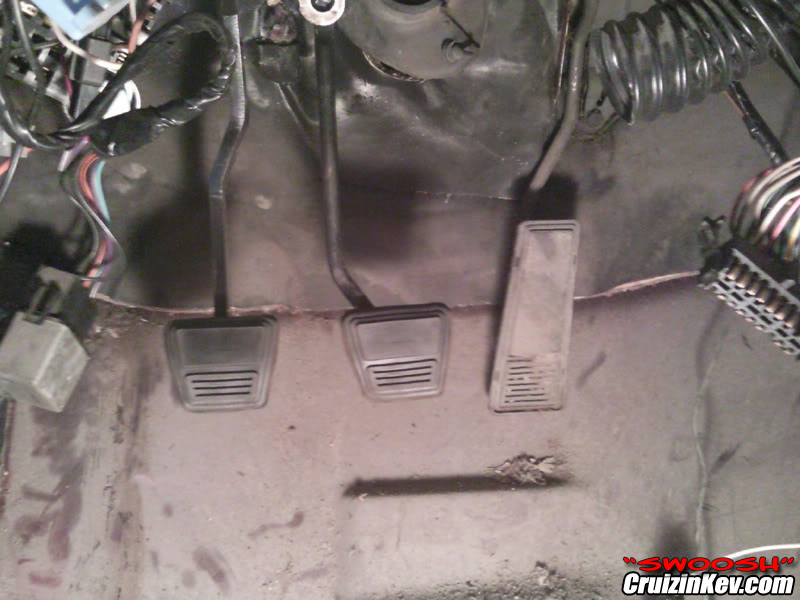
fitting in the aftermarket t56 clutch pedal to the stock automatic pedals and cut the large stock brake pedal
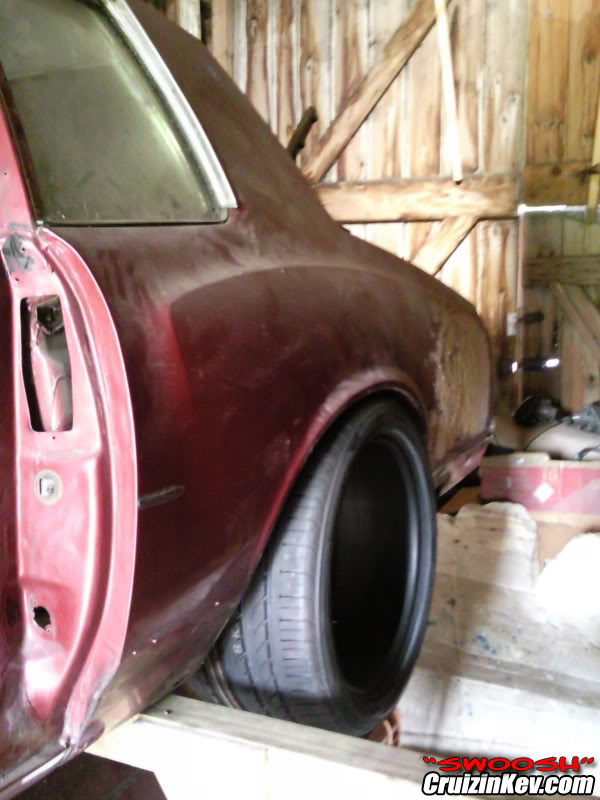
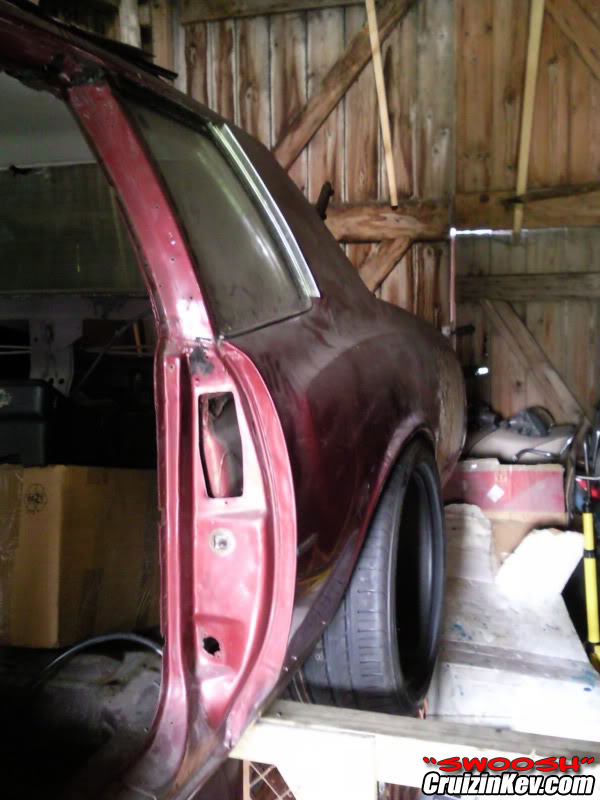
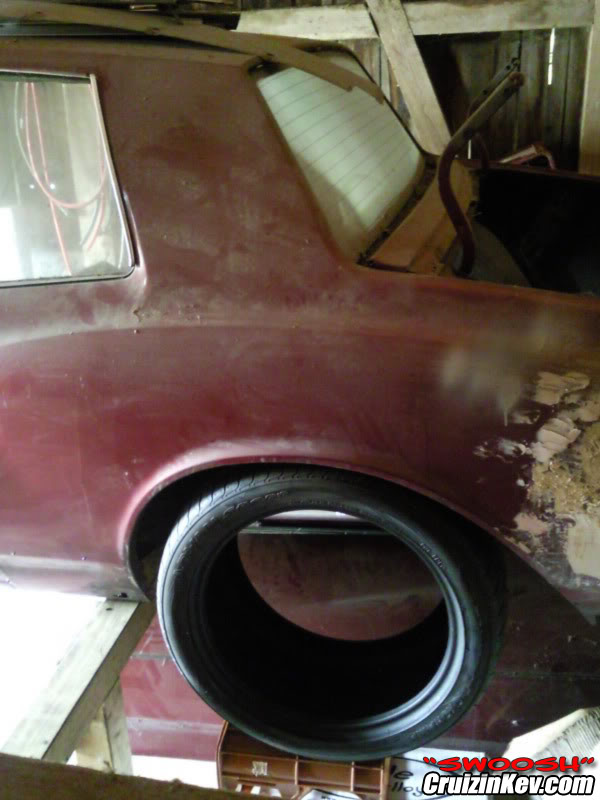
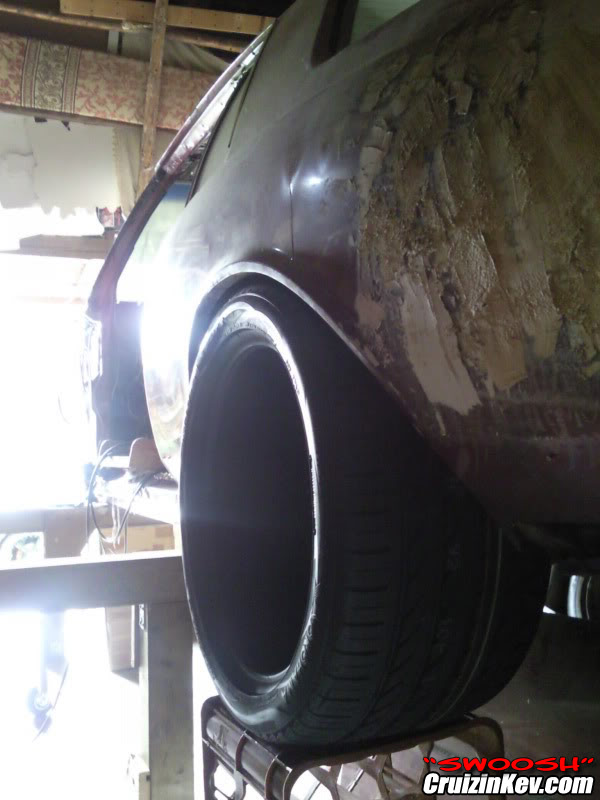
wanted to see how the tire would look like. too bad I still don't have rims..
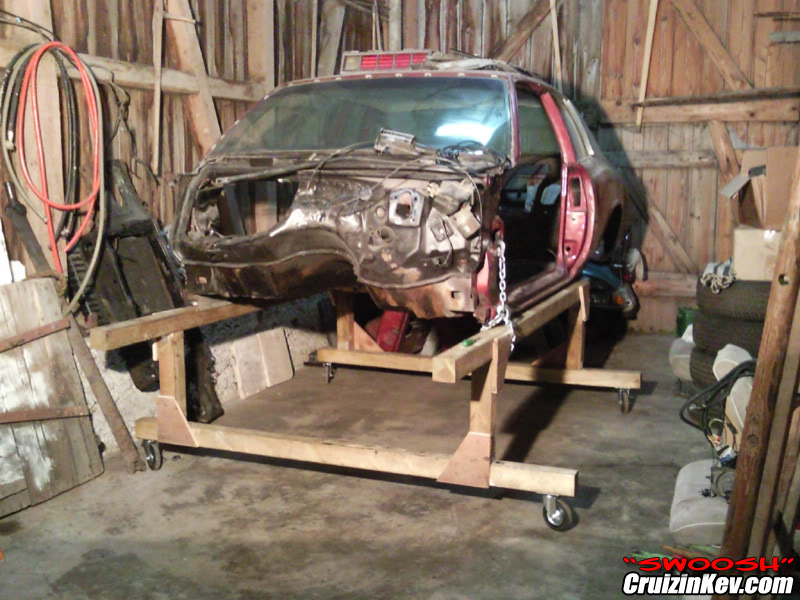
I rebuilt the body dolly for better underbody work clearance
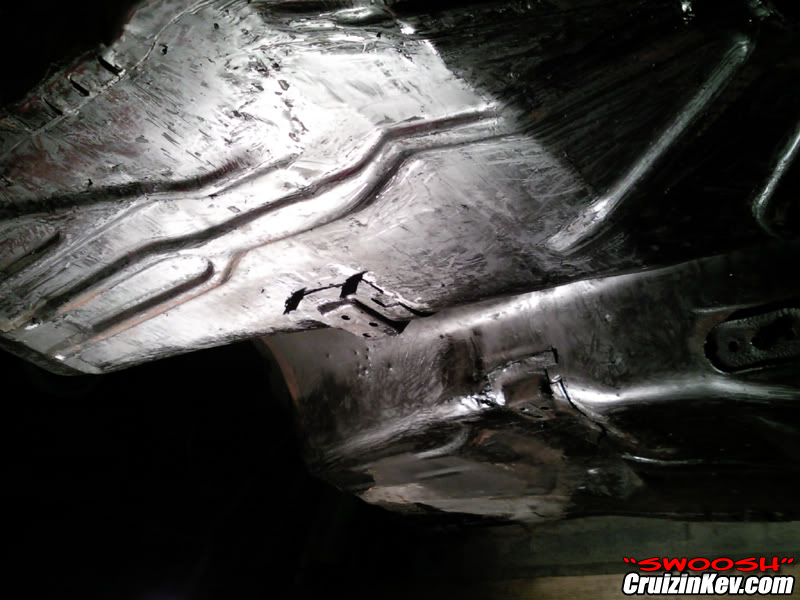
underbody
fitting in the aftermarket t56 clutch pedal to the stock automatic pedals and cut the large stock brake pedal
wanted to see how the tire would look like. too bad I still don't have rims..
I rebuilt the body dolly for better underbody work clearance
underbody