


 July 22nd, 2015, 2:02 PM
Last edit by: IB Advertising
See related guides and technical advice from our community experts:
Browse all: Steering and Suspension
- Chevrolet Silverado 1999-2006 GMT800 Lowering Kit Modifications and How to
Overview of popular modifications to customize your Silverado and step by step instructions for do-it-yourself repairs.
Browse all: Steering and Suspension

AMGfan 2011 Suburban LT1500 Build
February 2nd, 2011, 5:02 PM
#71
CF Junior Member
Thread Starter
Join Date: Oct 2010
Location: Tampa, Fl
Posts: 66
Likes: 0
Received 0 Likes
on
0 Posts
UPDATE: The Sub is headed back to the shop for the interior update. A mix of leather/suede door panels, suede headliner, and suede rear panels. It should take about 3 weeks for the all the upholstery and other additions (drink chiller, humidor, etc...)
I just got the new steering wheel:
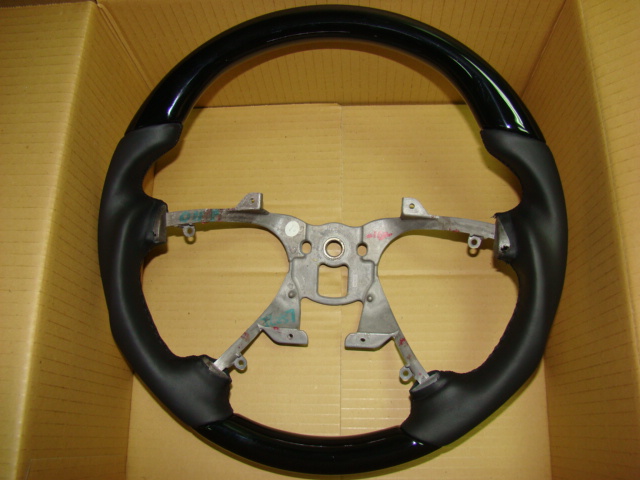
I just got the new steering wheel:
 February 6th, 2011, 9:35 AM
#72
CF Active Member

AMGfan,
Another modification that you might consider is adding adding an 07 or newer Escalade LED third brake light. I will attempt to attach a picture....
The picture is from another member on a different forum that did the modification himself. From what I understand the process is fairly straightforward. All you have to do is open the lift-glass, take out the 3 Torx screws and 2 10mm bolts, then the spoiler comes off. You put your new Cadillac spoiler on (repainted of course), with the LED bar installed. Then plug up the harness and re-install the screws/bolts.
You would need the following parts:
- Escalade 3rd brake light LED bar - 25779085.
- Escalade spoiler - 25779075
- Bolts for installation - 11561972
I am actually looking at doing the modification myself, but I am currently waiting for some warmer weather. This New York State snow is driving me crazy
Just another idea to consider....
Other then that the Suburban is looking great!! It will be one heck of a ride when all said and done
Last edited by ChevyFreak; February 6th, 2011 at 4:34 PM.

 February 6th, 2011, 11:33 PM
#74
Administrator
AMGfan,
Another modification that you might consider is adding adding an 07 or newer Escalade LED third brake light. I will attempt to attach a picture....
The picture is from another member on a different forum that did the modification himself. From what I understand the process is fairly straightforward. All you have to do is open the lift-glass, take out the 3 Torx screws and 2 10mm bolts, then the spoiler comes off. You put your new Cadillac spoiler on (repainted of course), with the LED bar installed. Then plug up the harness and re-install the screws/bolts.
You would need the following parts:
- Escalade 3rd brake light LED bar - 25779085.
- Escalade spoiler - 25779075
- Bolts for installation - 11561972
I am actually looking at doing the modification myself, but I am currently waiting for some warmer weather. This New York State snow is driving me crazy
Just another idea to consider....
Other then that the Suburban is looking great!! It will be one heck of a ride when all said and done
Another modification that you might consider is adding adding an 07 or newer Escalade LED third brake light. I will attempt to attach a picture....
The picture is from another member on a different forum that did the modification himself. From what I understand the process is fairly straightforward. All you have to do is open the lift-glass, take out the 3 Torx screws and 2 10mm bolts, then the spoiler comes off. You put your new Cadillac spoiler on (repainted of course), with the LED bar installed. Then plug up the harness and re-install the screws/bolts.
You would need the following parts:
- Escalade 3rd brake light LED bar - 25779085.
- Escalade spoiler - 25779075
- Bolts for installation - 11561972
I am actually looking at doing the modification myself, but I am currently waiting for some warmer weather. This New York State snow is driving me crazy
Just another idea to consider....
Other then that the Suburban is looking great!! It will be one heck of a ride when all said and done
March 15th, 2011, 2:32 PM
#75
CF Junior Member
Thread Starter
Join Date: Oct 2010
Location: Tampa, Fl
Posts: 66
Likes: 0
Received 0 Likes
on
0 Posts
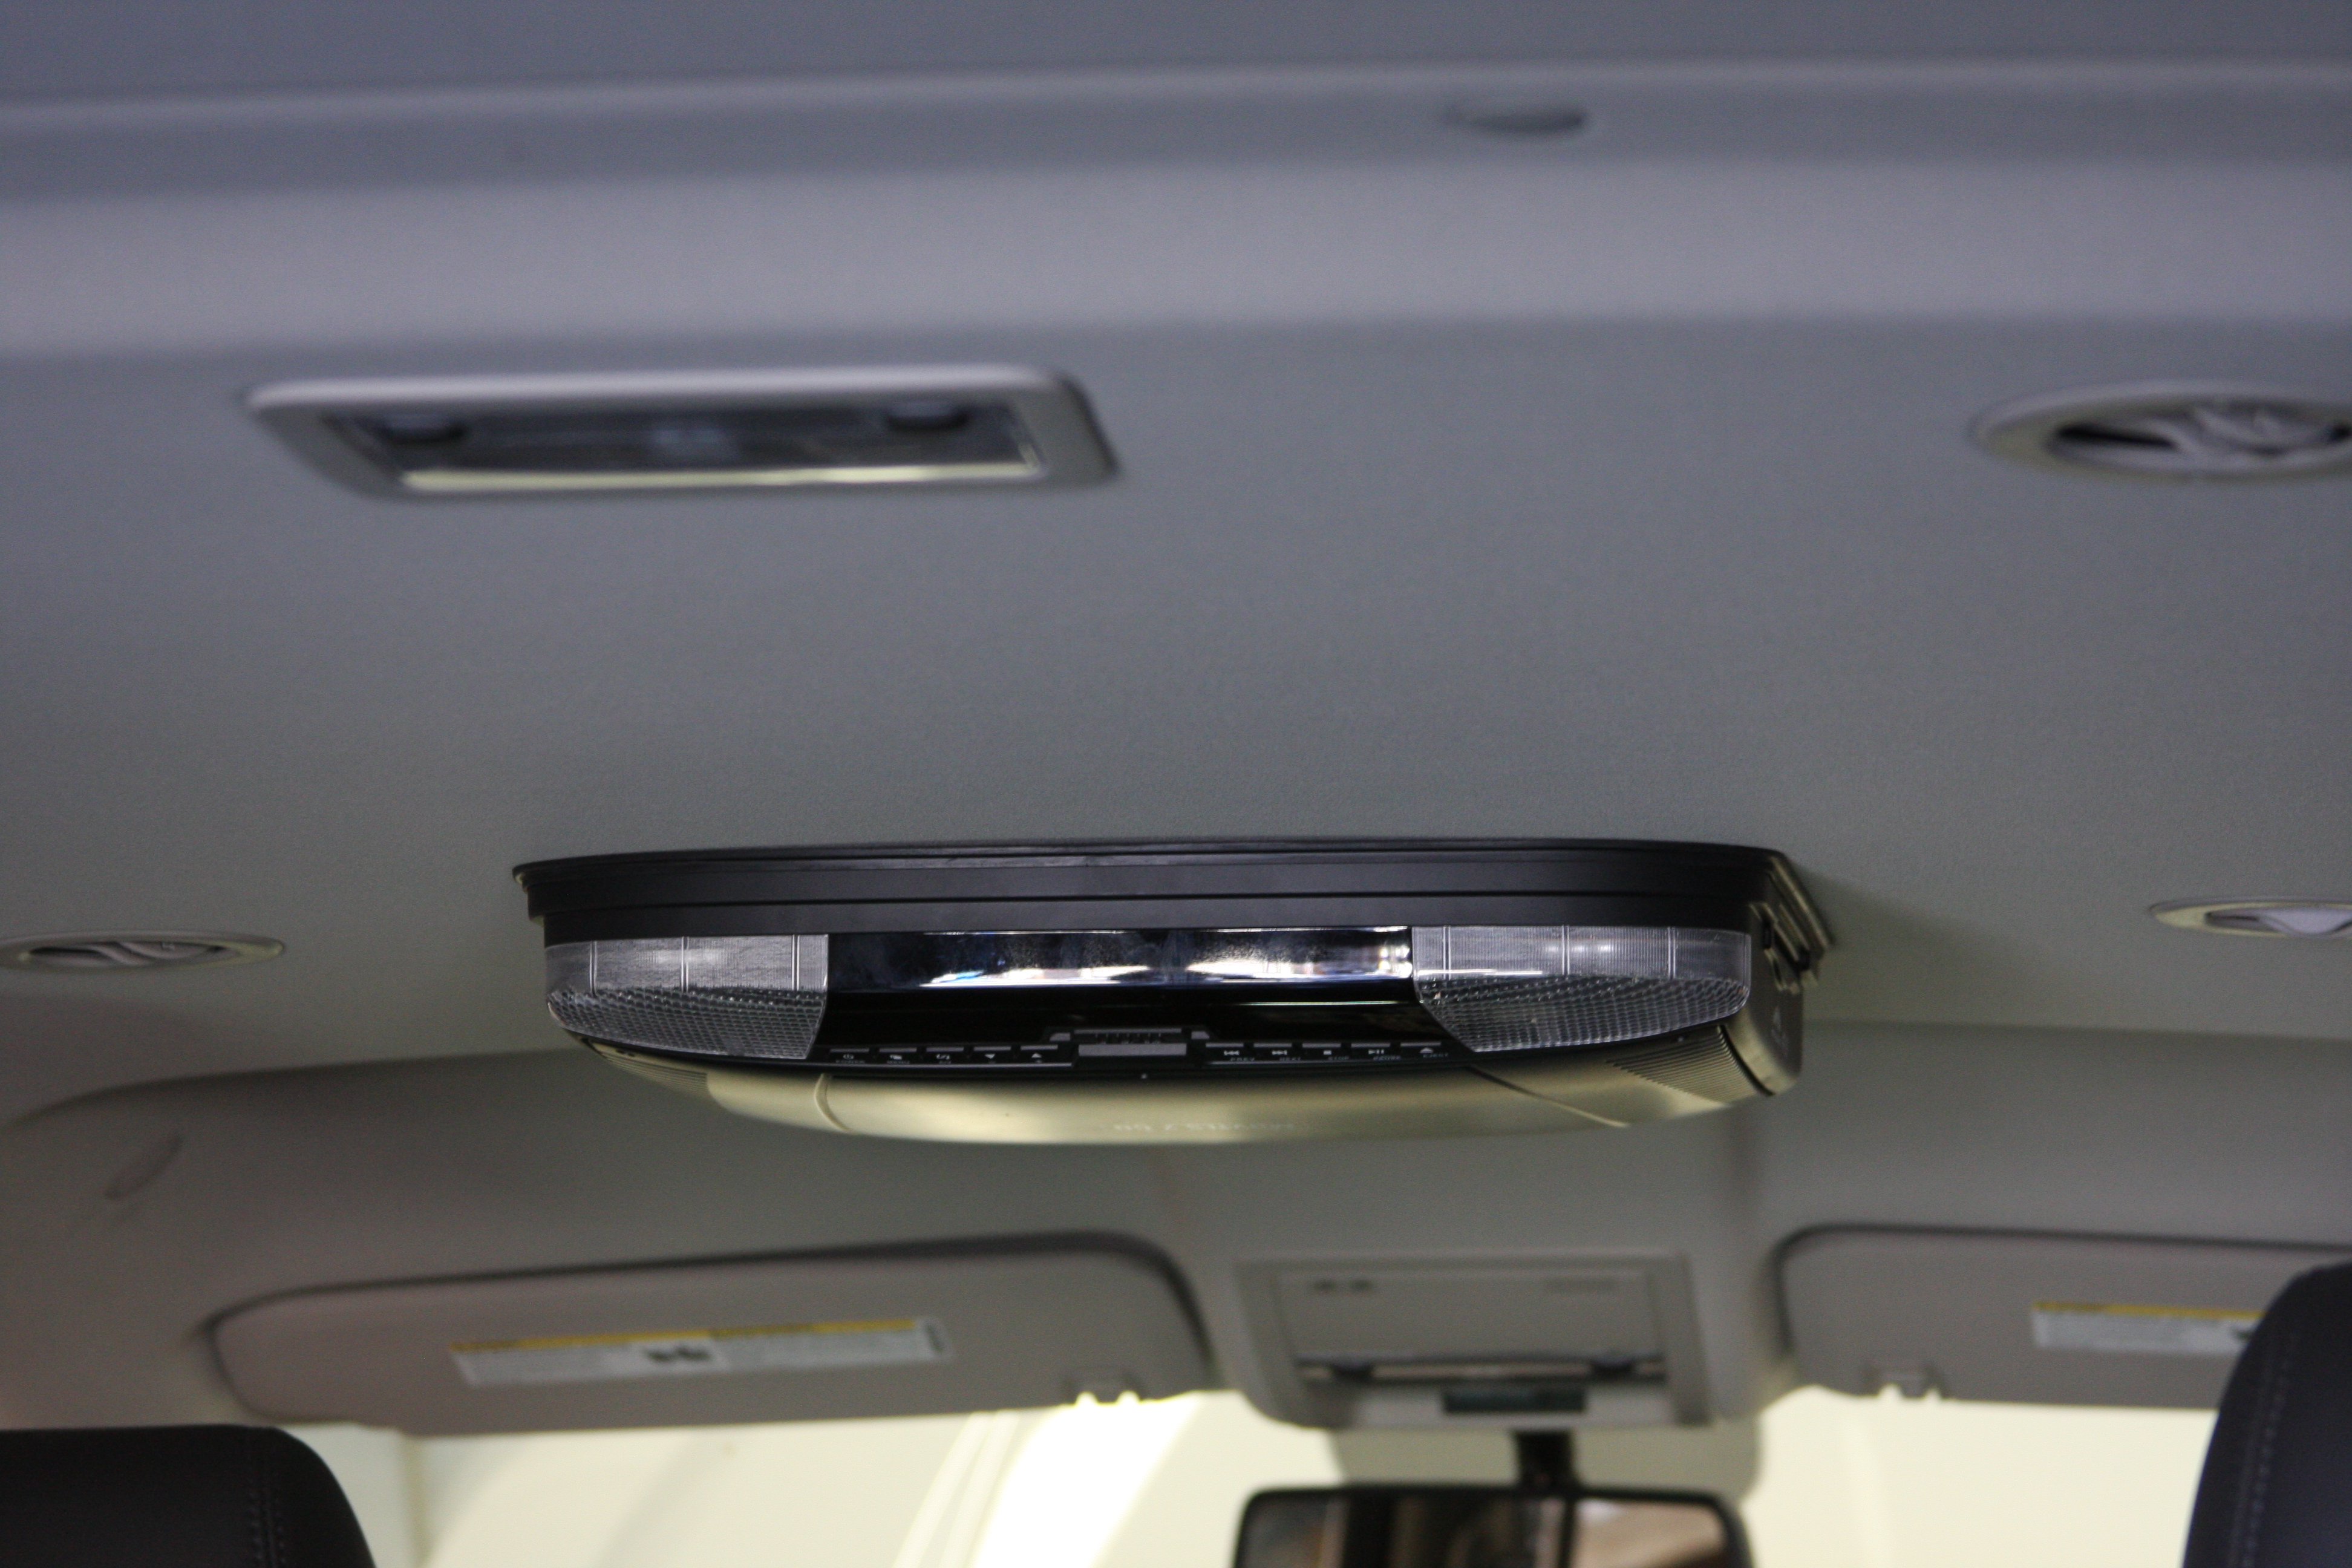
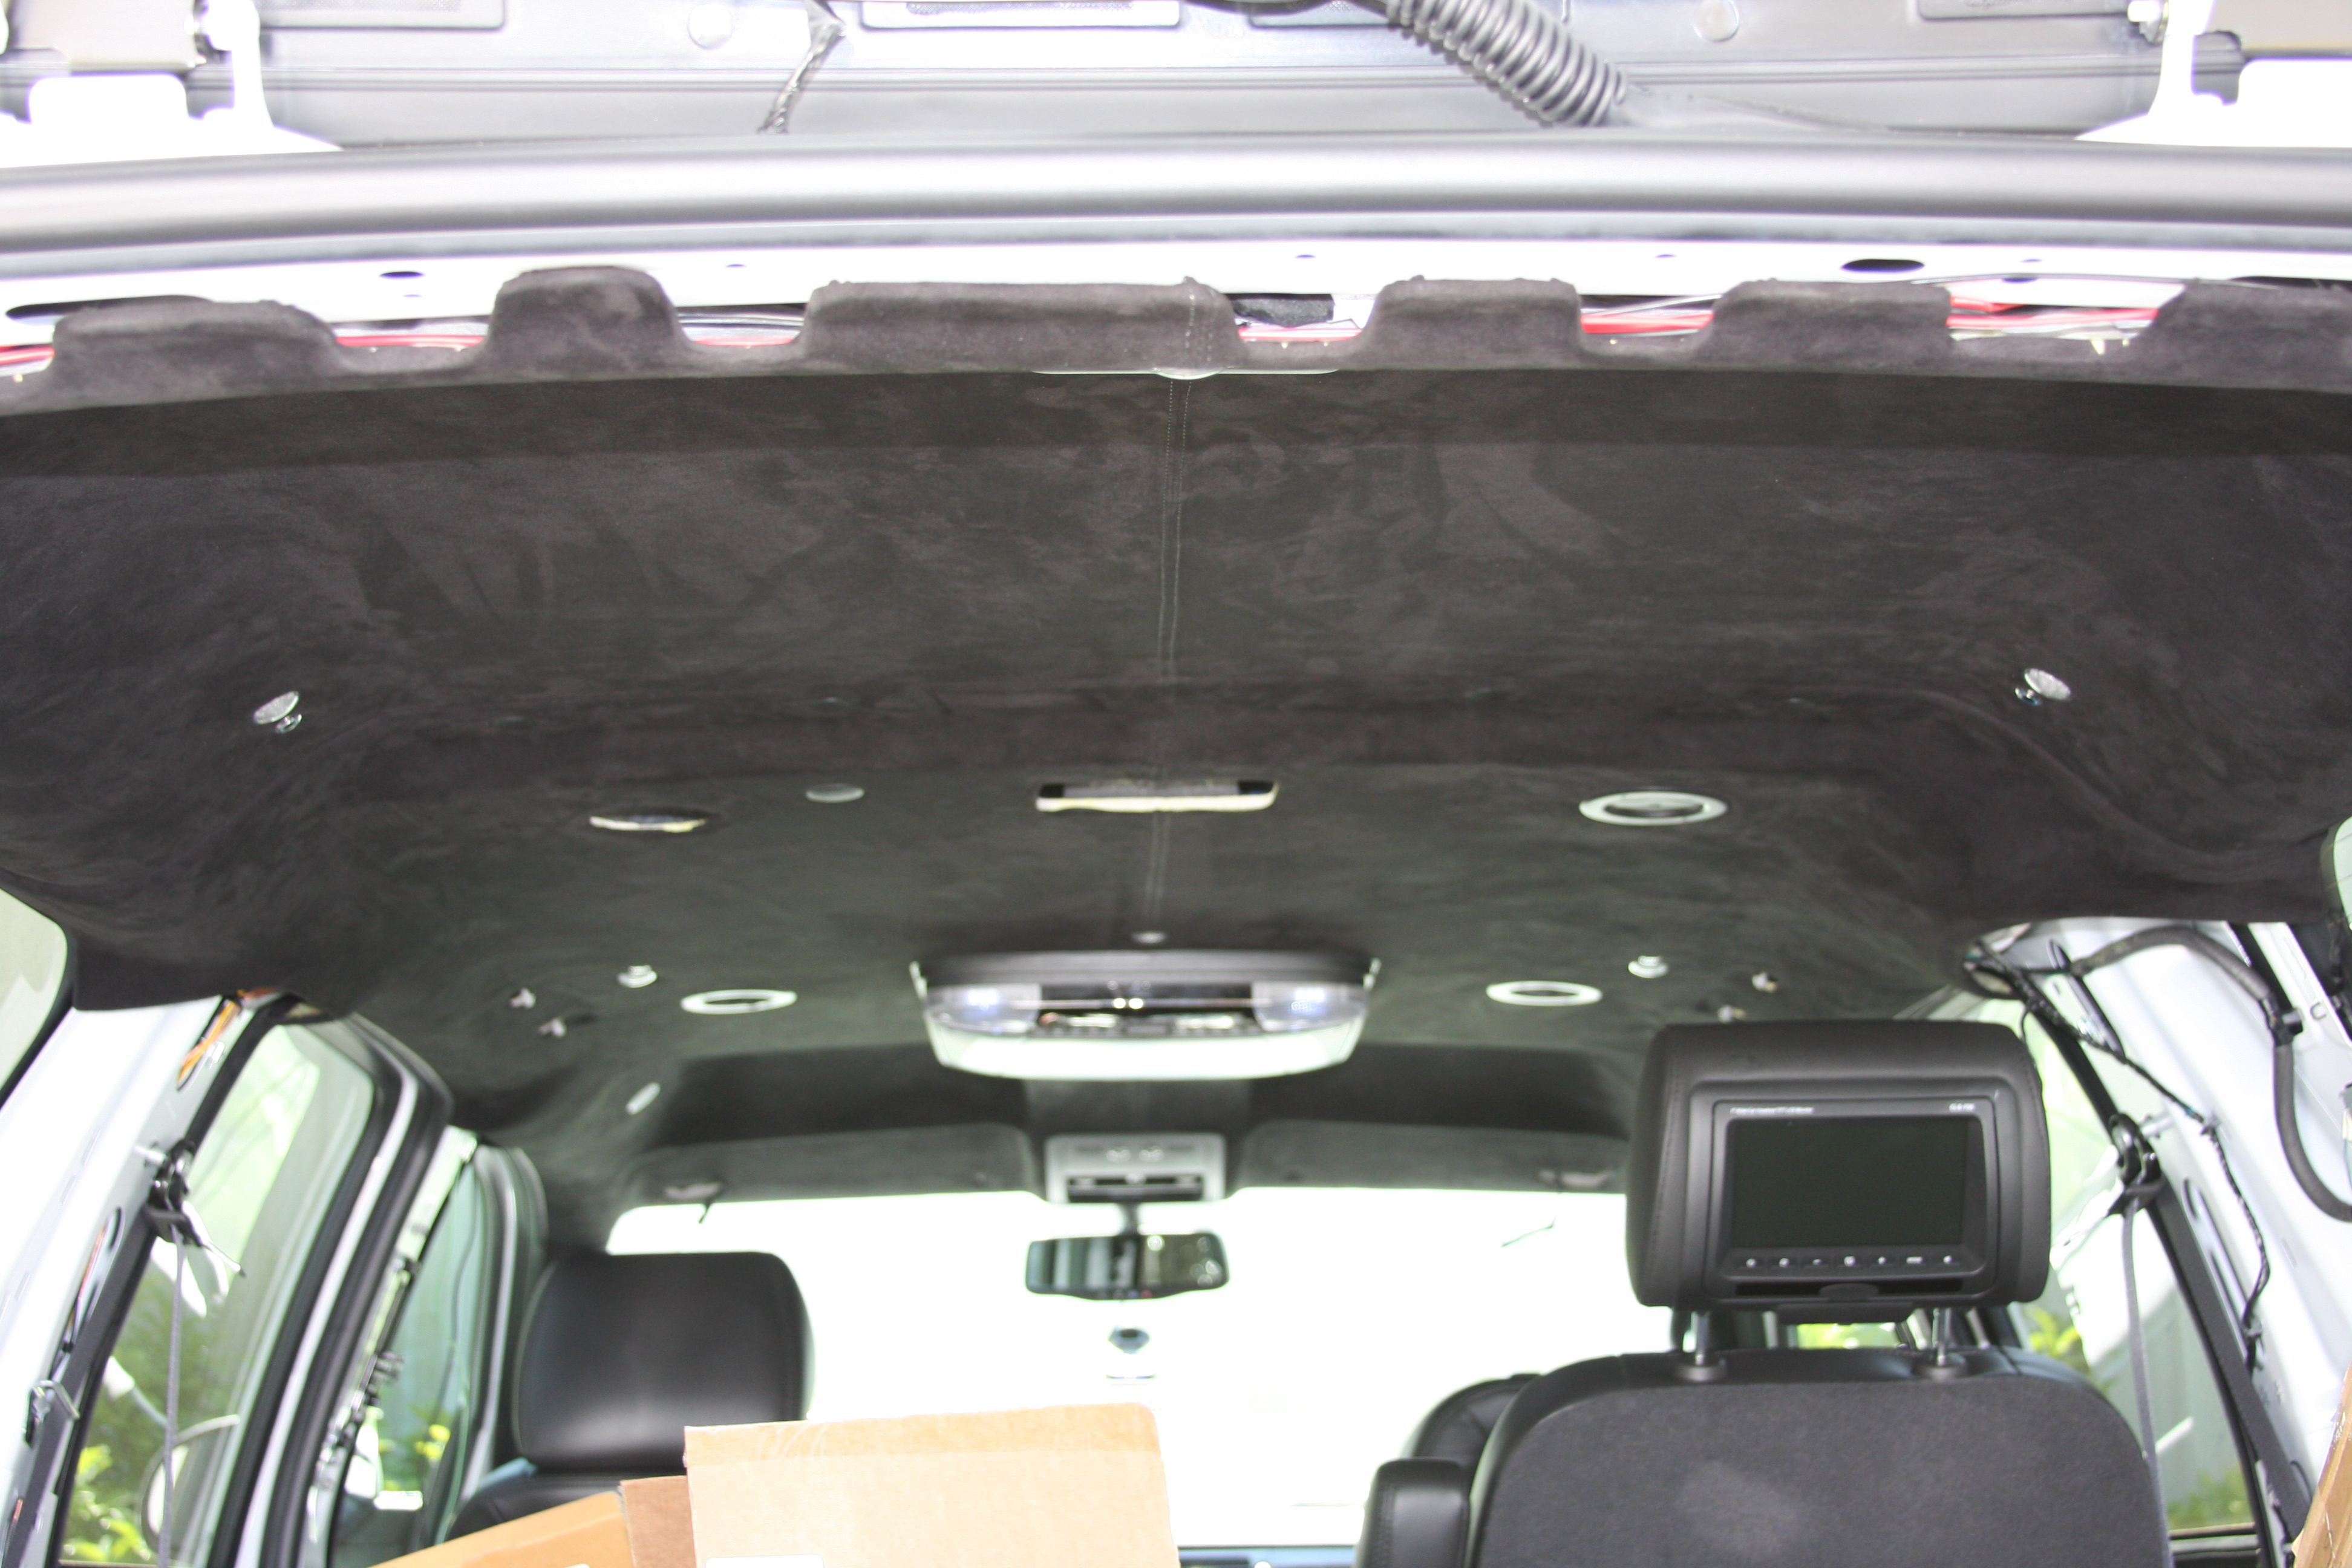
The Sub is in tear down mode...except that the new headliners is in with the new LED lights/switches incorporated into the headliner and front ceiling console. The rest of the interior pieces should be done this week and final buttoning up of all the other bits (so many I can't remember) next week...pics to follow.
We added LED lights above each passenger with corresponding illuminated switches. Also additional lighting (3 LED's) in the rear storage area...
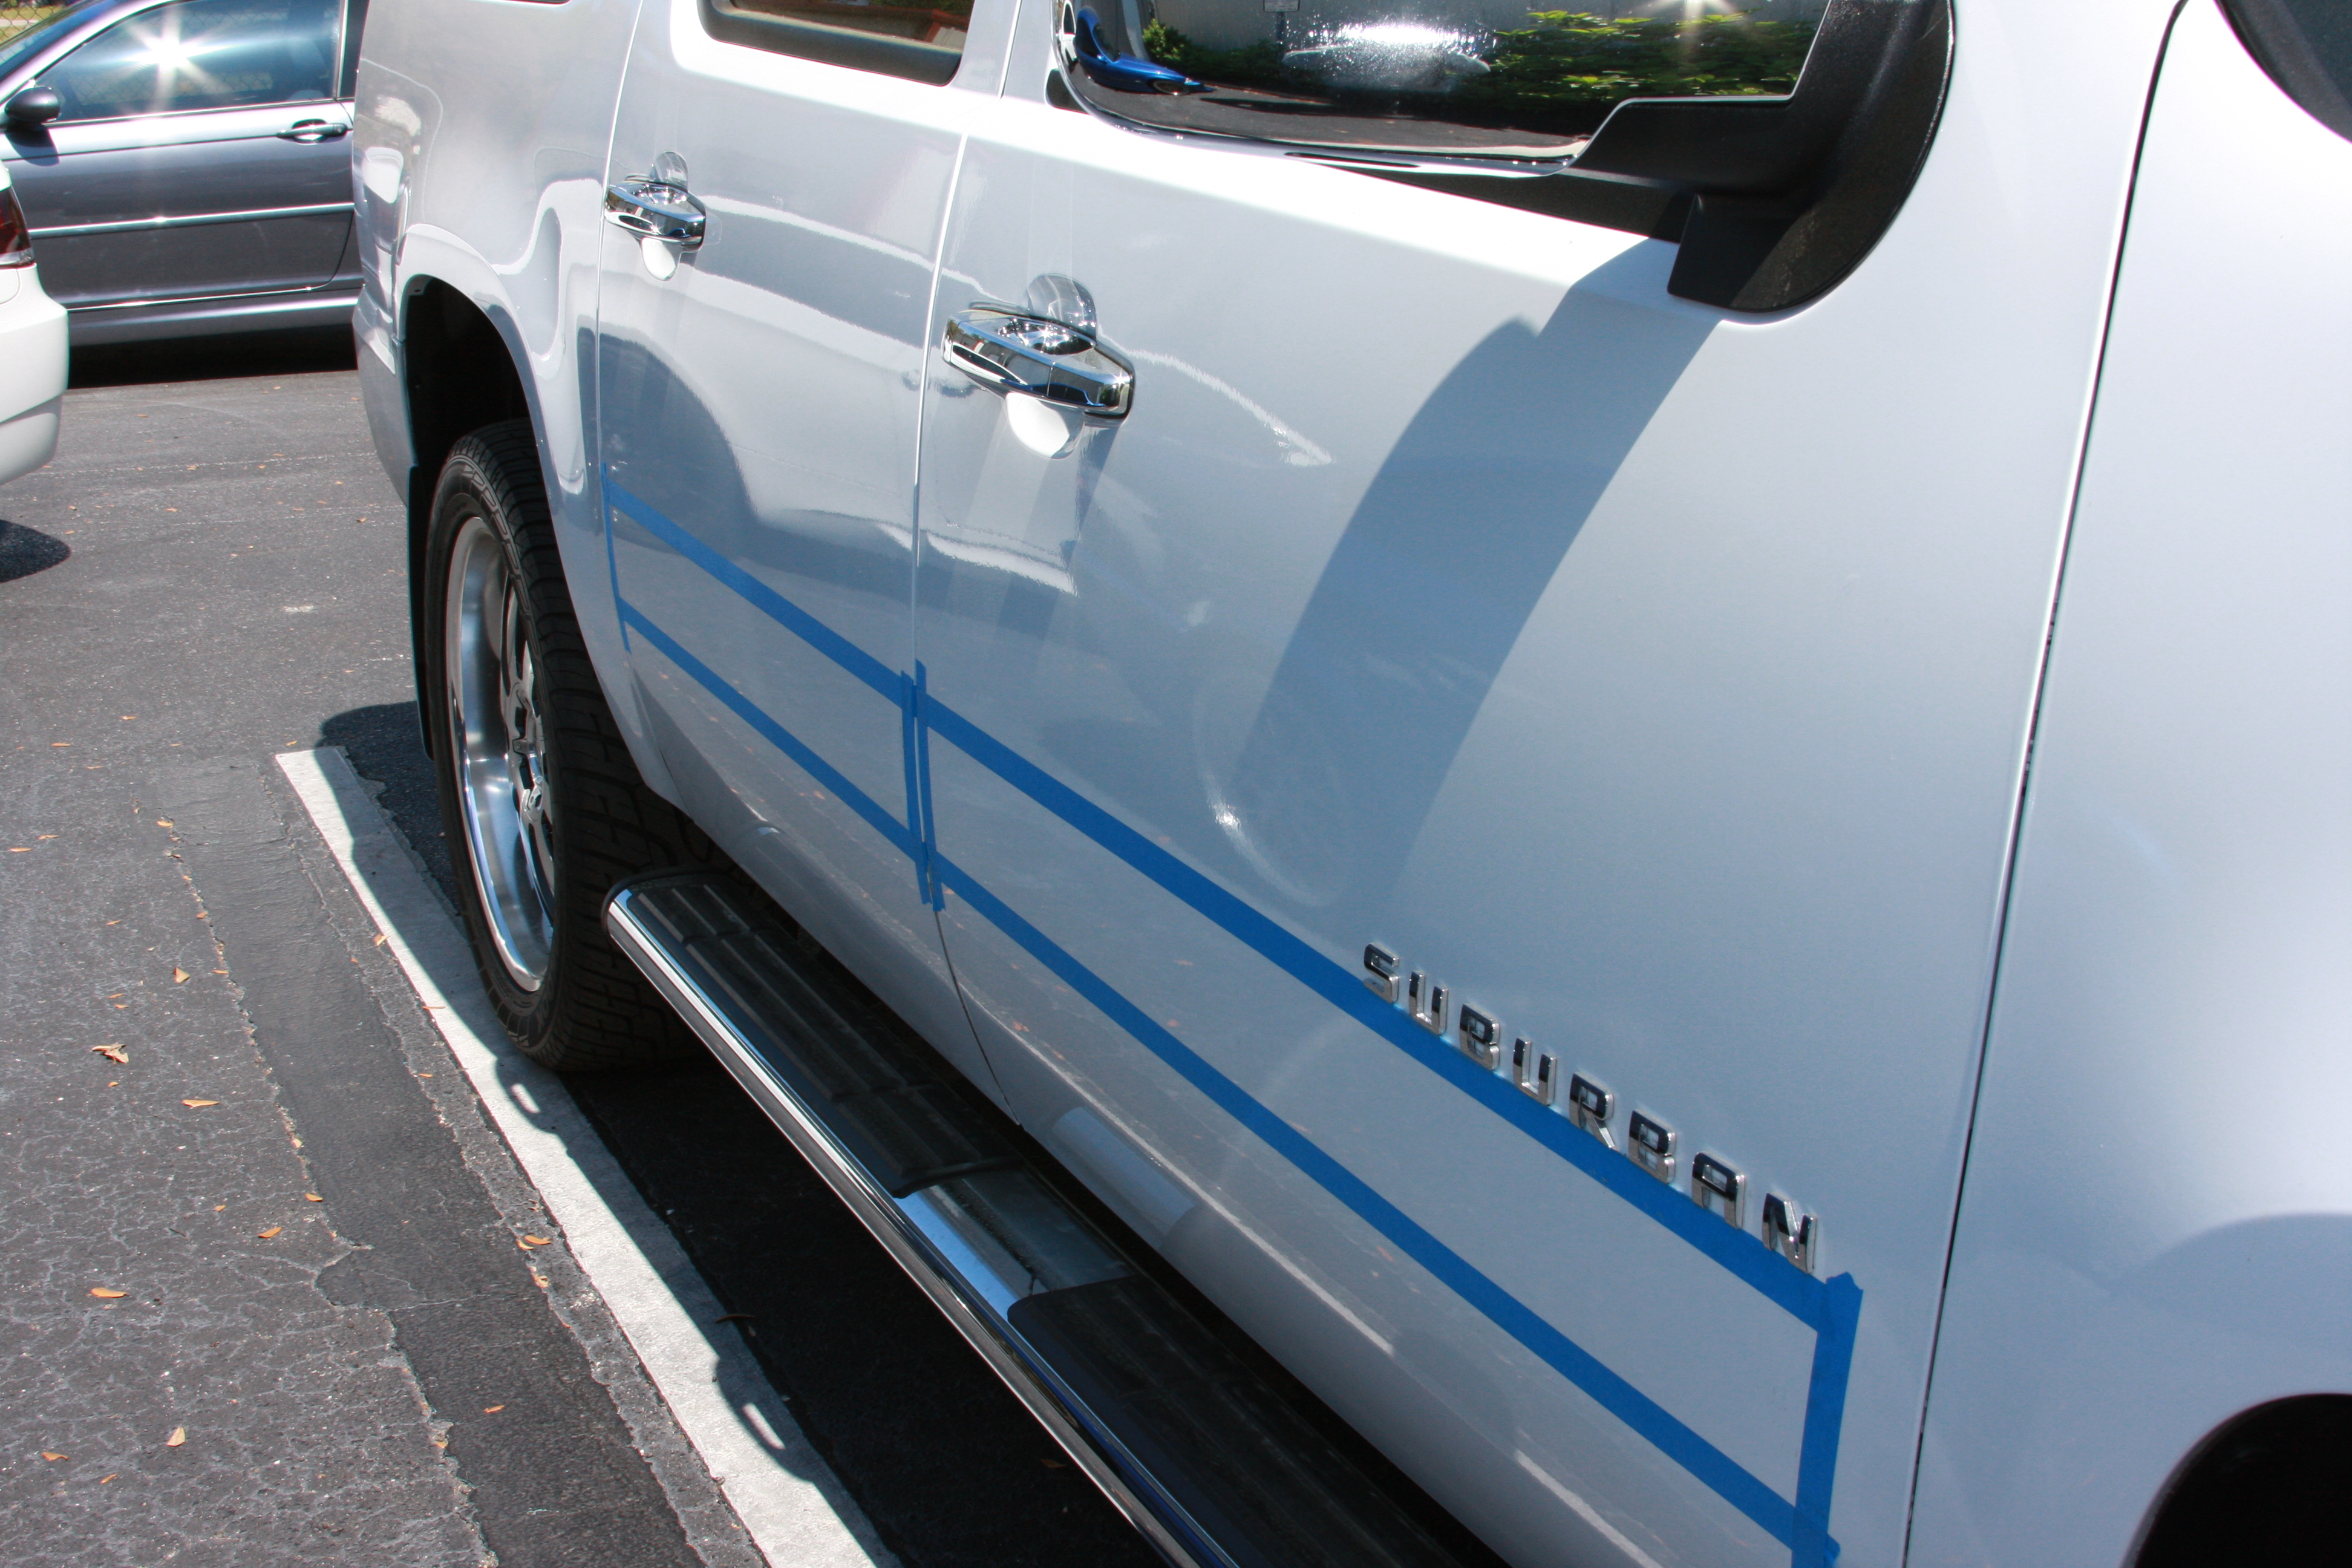
The exterior lighting was also massaged a bit by adding LED puddle lighting under the step bar when the alarm is disengaged and doors are open.
BEFORE:
AFTER:


PS...I have posted a picture of the side of the Sub (below) with the outline of the door guards. We were going to have them painted but per the painter the guards are made of a pliable plastic material that can't be matched to the body. Evidently, the mixture of the paint and the material of the guard yellows the overall color...hence the difference in the body color and the door guards. News to me...
I decided to have all badging removed, too (still to be done).
We added LED lights above each passenger with corresponding illuminated switches. Also additional lighting (3 LED's) in the rear storage area...
The exterior lighting was also massaged a bit by adding LED puddle lighting under the step bar when the alarm is disengaged and doors are open.
BEFORE:
AFTER:
PS...I have posted a picture of the side of the Sub (below) with the outline of the door guards. We were going to have them painted but per the painter the guards are made of a pliable plastic material that can't be matched to the body. Evidently, the mixture of the paint and the material of the guard yellows the overall color...hence the difference in the body color and the door guards. News to me...
I decided to have all badging removed, too (still to be done).
March 15th, 2011, 4:15 PM
#76
CF Junior Member
Join Date: Feb 2011
Location: OC, CA
Posts: 31
Likes: 0
Received 0 Likes
on
0 Posts
Man I love these types of threads.
I may go the route of mounting the subs in the side panels as you have done. My enclosure for the 2 JL W7's is taking up way too much room! And a pain in the #$% to remove when I need the cargo space. You also gave me great info on those Lyon mats.
My Burb has the Escalade rear light and rear side vent conversion. It really transforms the rear and I would 2nd it.
Sweet mods and looking fwd to more updates!
March 15th, 2011, 4:32 PM
#77
CF Junior Member
Thread Starter
Join Date: Oct 2010
Location: Tampa, Fl
Posts: 66
Likes: 0
Received 0 Likes
on
0 Posts
Man I love these types of threads.
I may go the route of mounting the subs in the side panels as you have done. My enclosure for the 2 JL W7's is taking up way too much room! And a pain in the #$% to remove when I need the cargo space. You also gave me great info on those Lyon mats.
My Burb has the Escalade rear light and rear side vent conversion. It really transforms the rear and I would 2nd it.
Sweet mods and looking fwd to more updates!
I may go the route of mounting the subs in the side panels as you have done. My enclosure for the 2 JL W7's is taking up way too much room! And a pain in the #$% to remove when I need the cargo space. You also gave me great info on those Lyon mats.
My Burb has the Escalade rear light and rear side vent conversion. It really transforms the rear and I would 2nd it.
Sweet mods and looking fwd to more updates!
ELIM...you got pics of the rear of your Sub? Thanks for the kind words. Part of getting the Suburban was for the space and putting a sub box in the back really defeated the purpose. I like the stealth look, too.
Jon
March 15th, 2011, 5:30 PM
#78
CF Junior Member
Join Date: Feb 2011
Location: OC, CA
Posts: 31
Likes: 0
Received 0 Likes
on
0 Posts
No real photoshoot yet of my Sub but here are some off the cuff phone camera shots. I don't have any real clear shots of the rear but the first photo is when it went in for smog. I'll post a 2nd photo so you can also see the Escalade door handles too. The previous owner did all the work and I'm very happy about this ride. I too want to add a BBK for better stopping power and possibly a supercharger.
I'll eventually take better shots.

 April 1st, 2011, 3:37 PM
#80
CF Junior Member
Thread Starter
Join Date: Oct 2010
Location: Tampa, Fl
Posts: 66
Likes: 0
Received 0 Likes
on
0 Posts
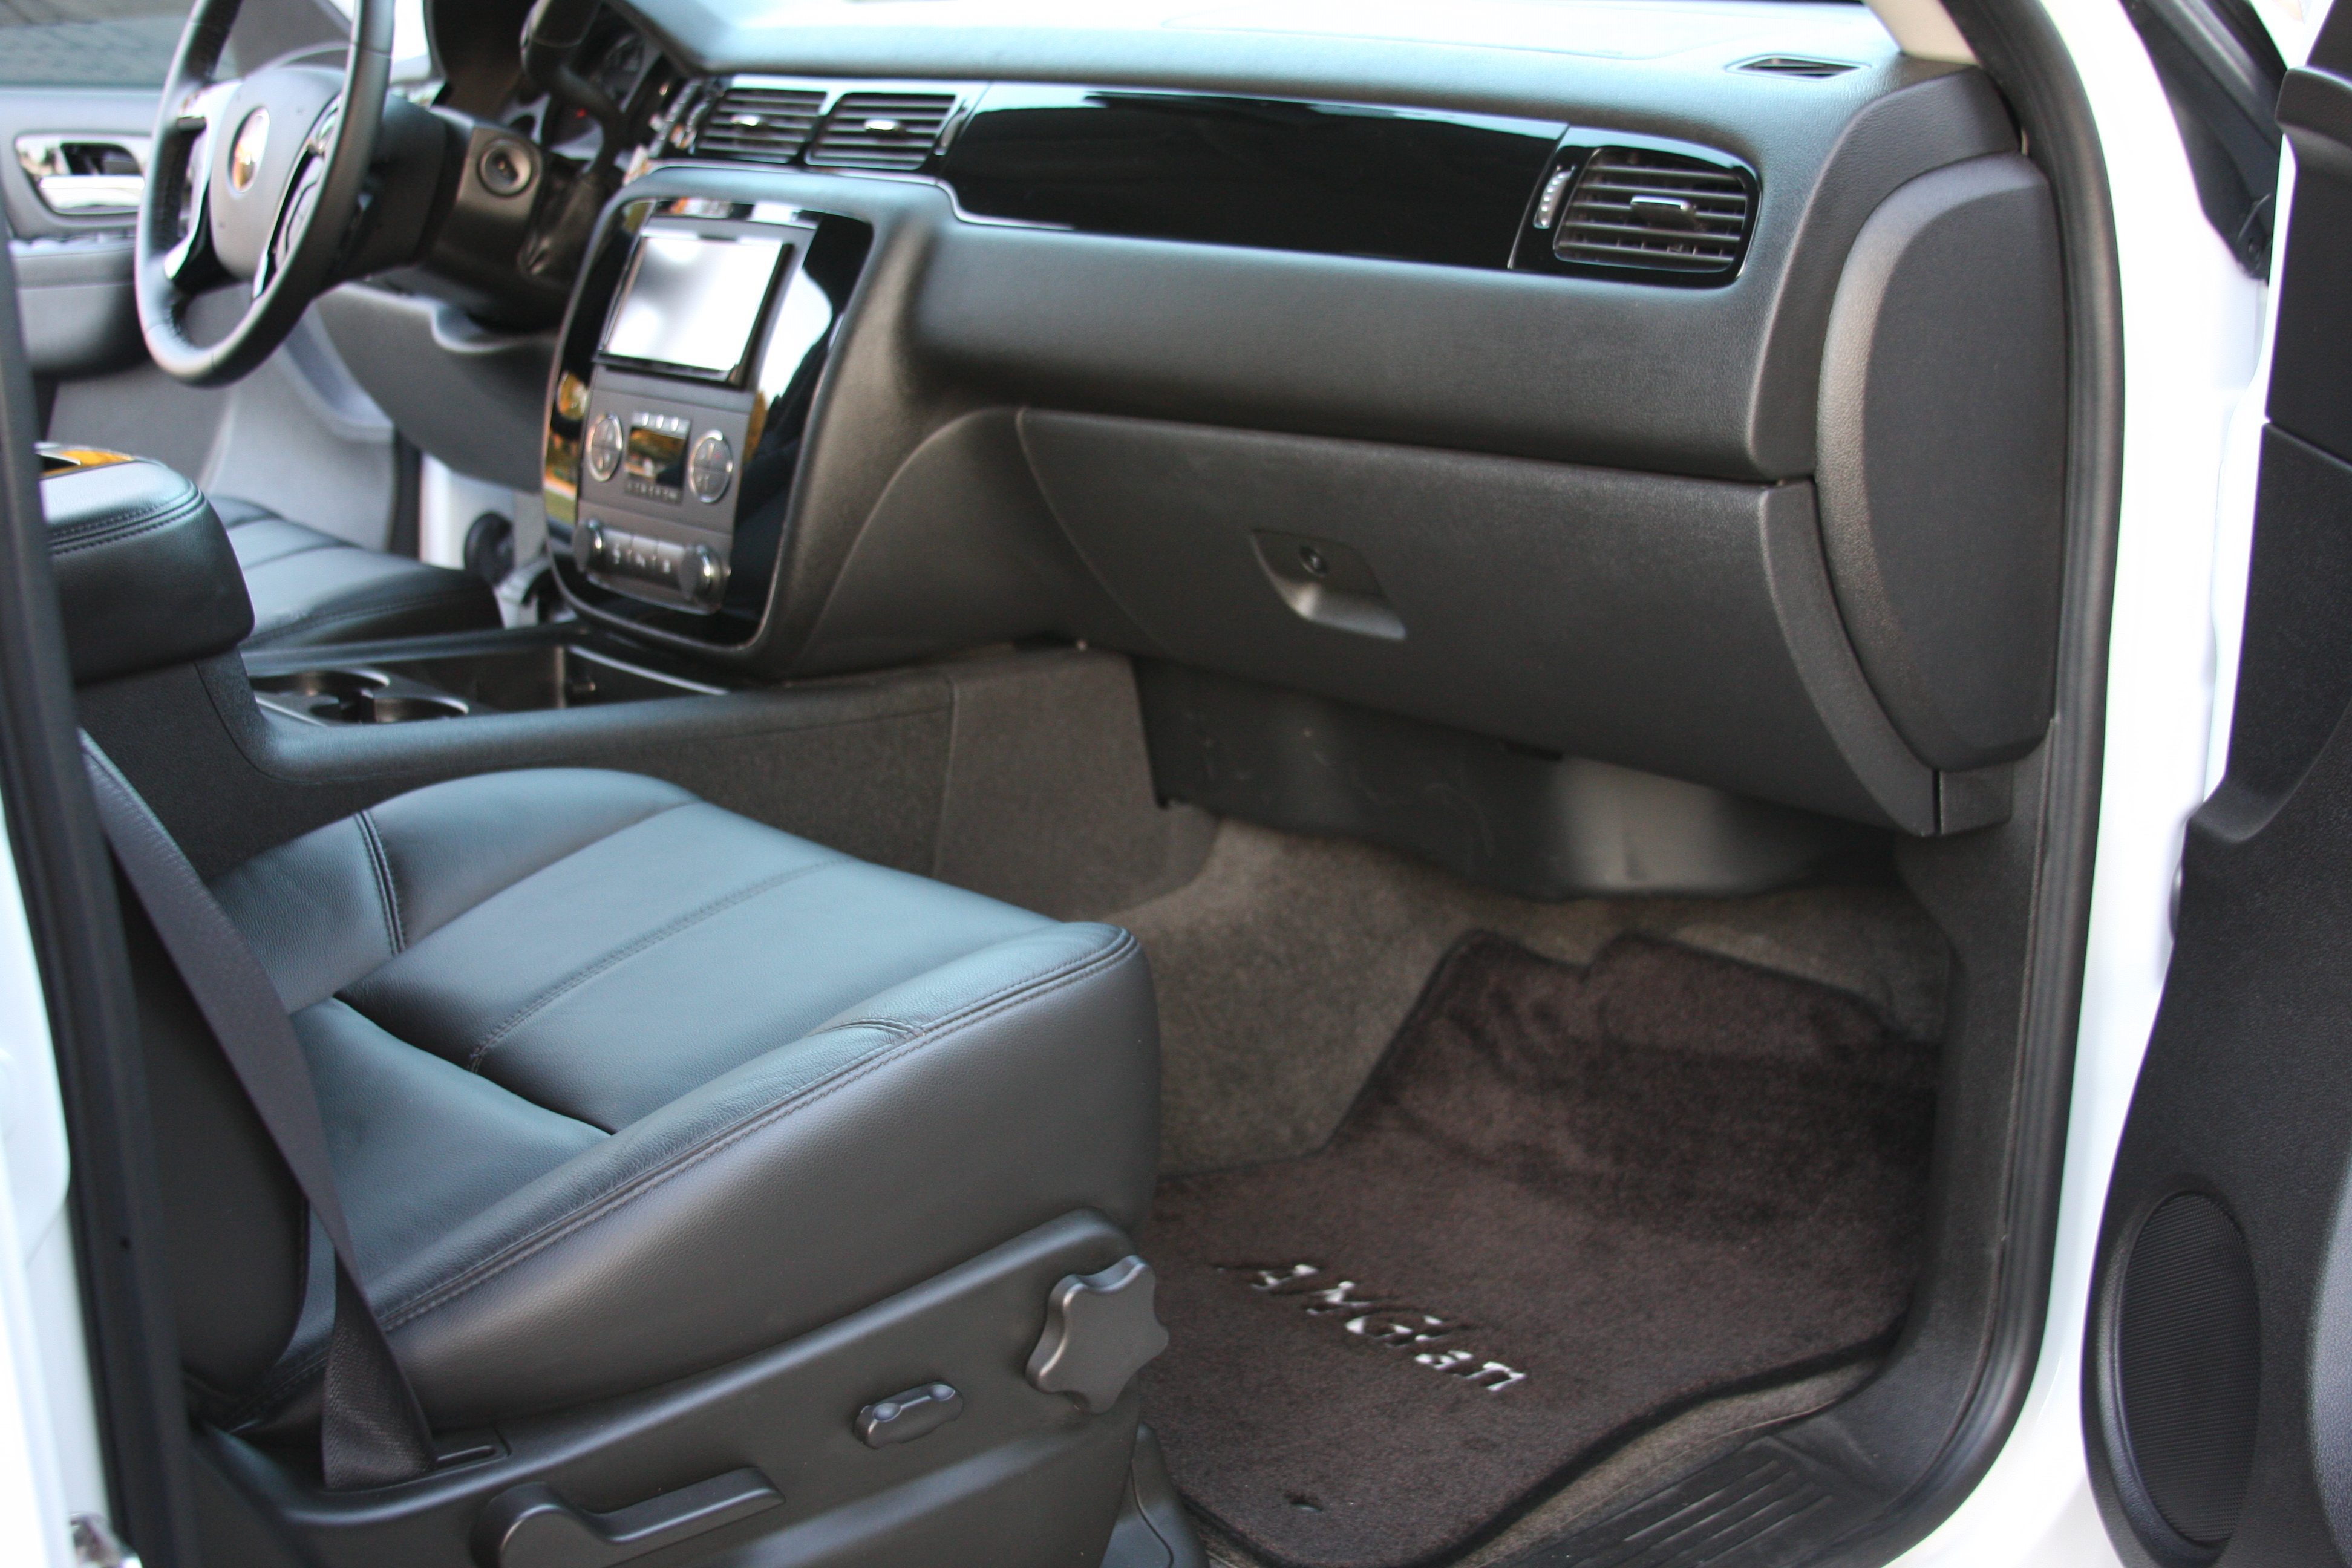
Some more interior pieces came in...the rest is supposed to come in Monday. But this upholsterer from my tuner shop is saying is an "artiste" so he kind of is lax on his scheduled delivery. I'm cool with it at this point...I haven't had the Suburban in my hands for 6wks so another 2wks won't kill me as long as the pieces look as good as these that came in...
The leather he is using is really soft which makes hard plastic = cheap feeling a thing of the past. The suede is a great improvement over the hard plastic, too.
BEFORE PIC OF CENTER CONSOLE
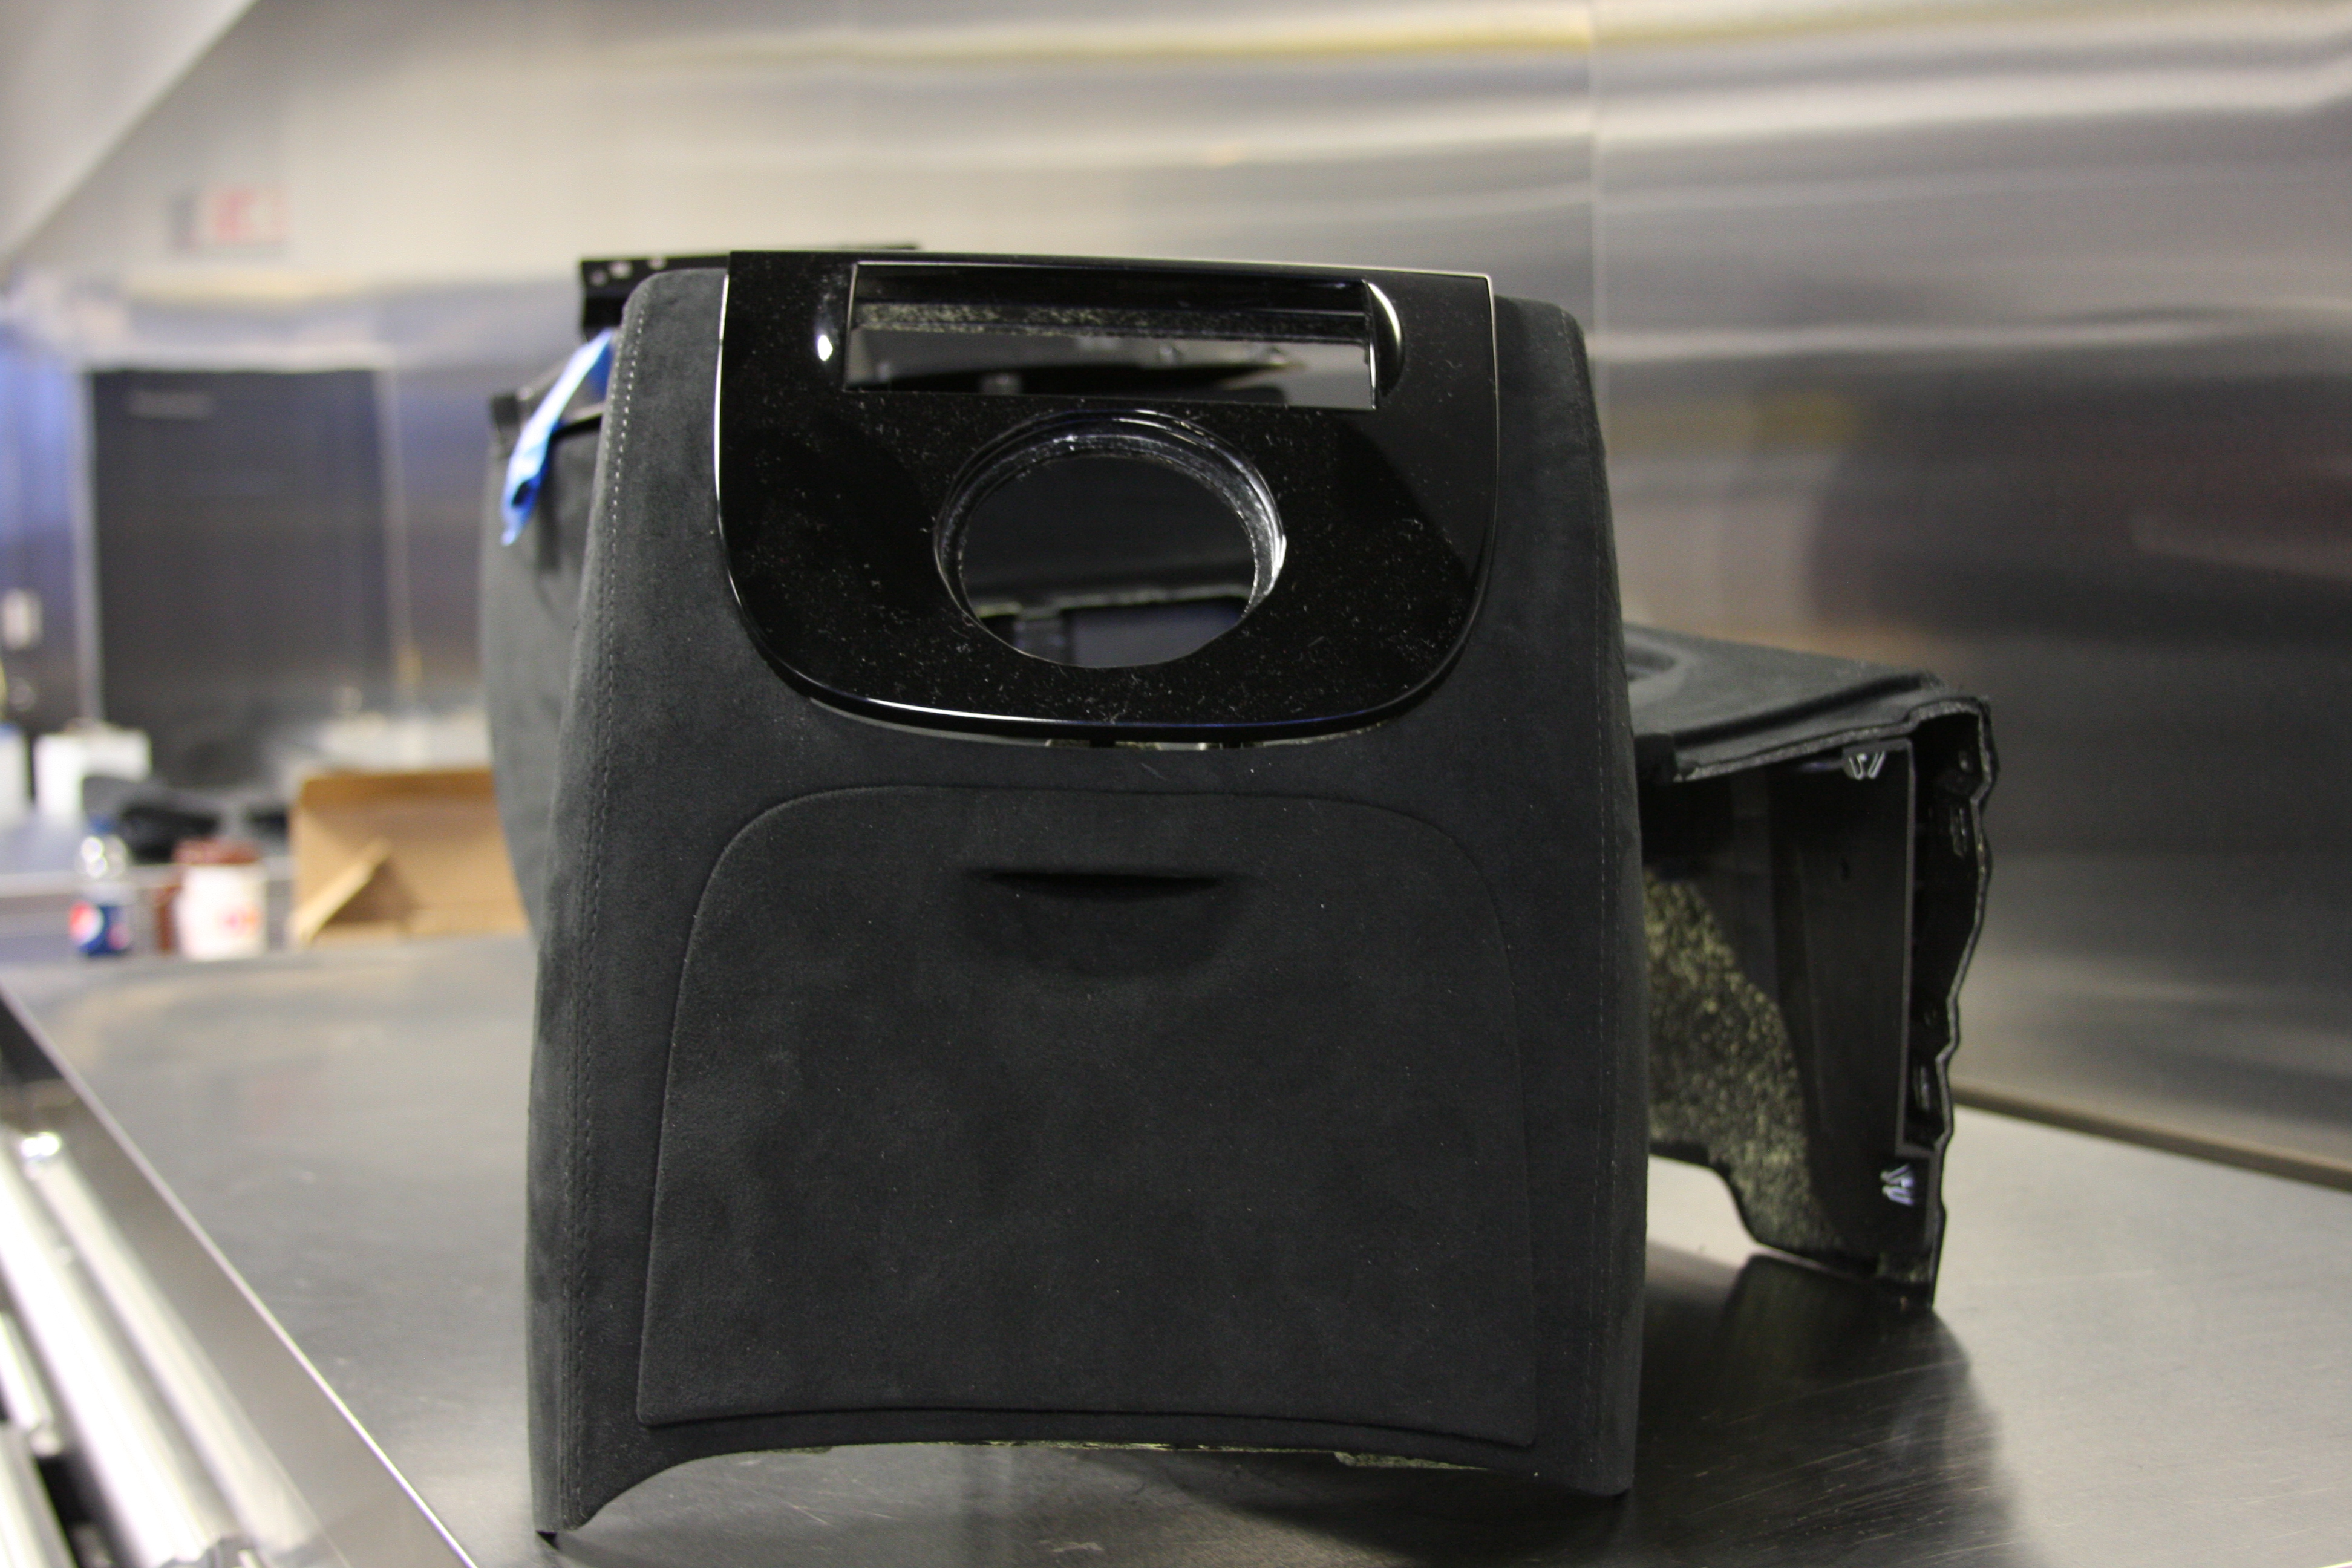
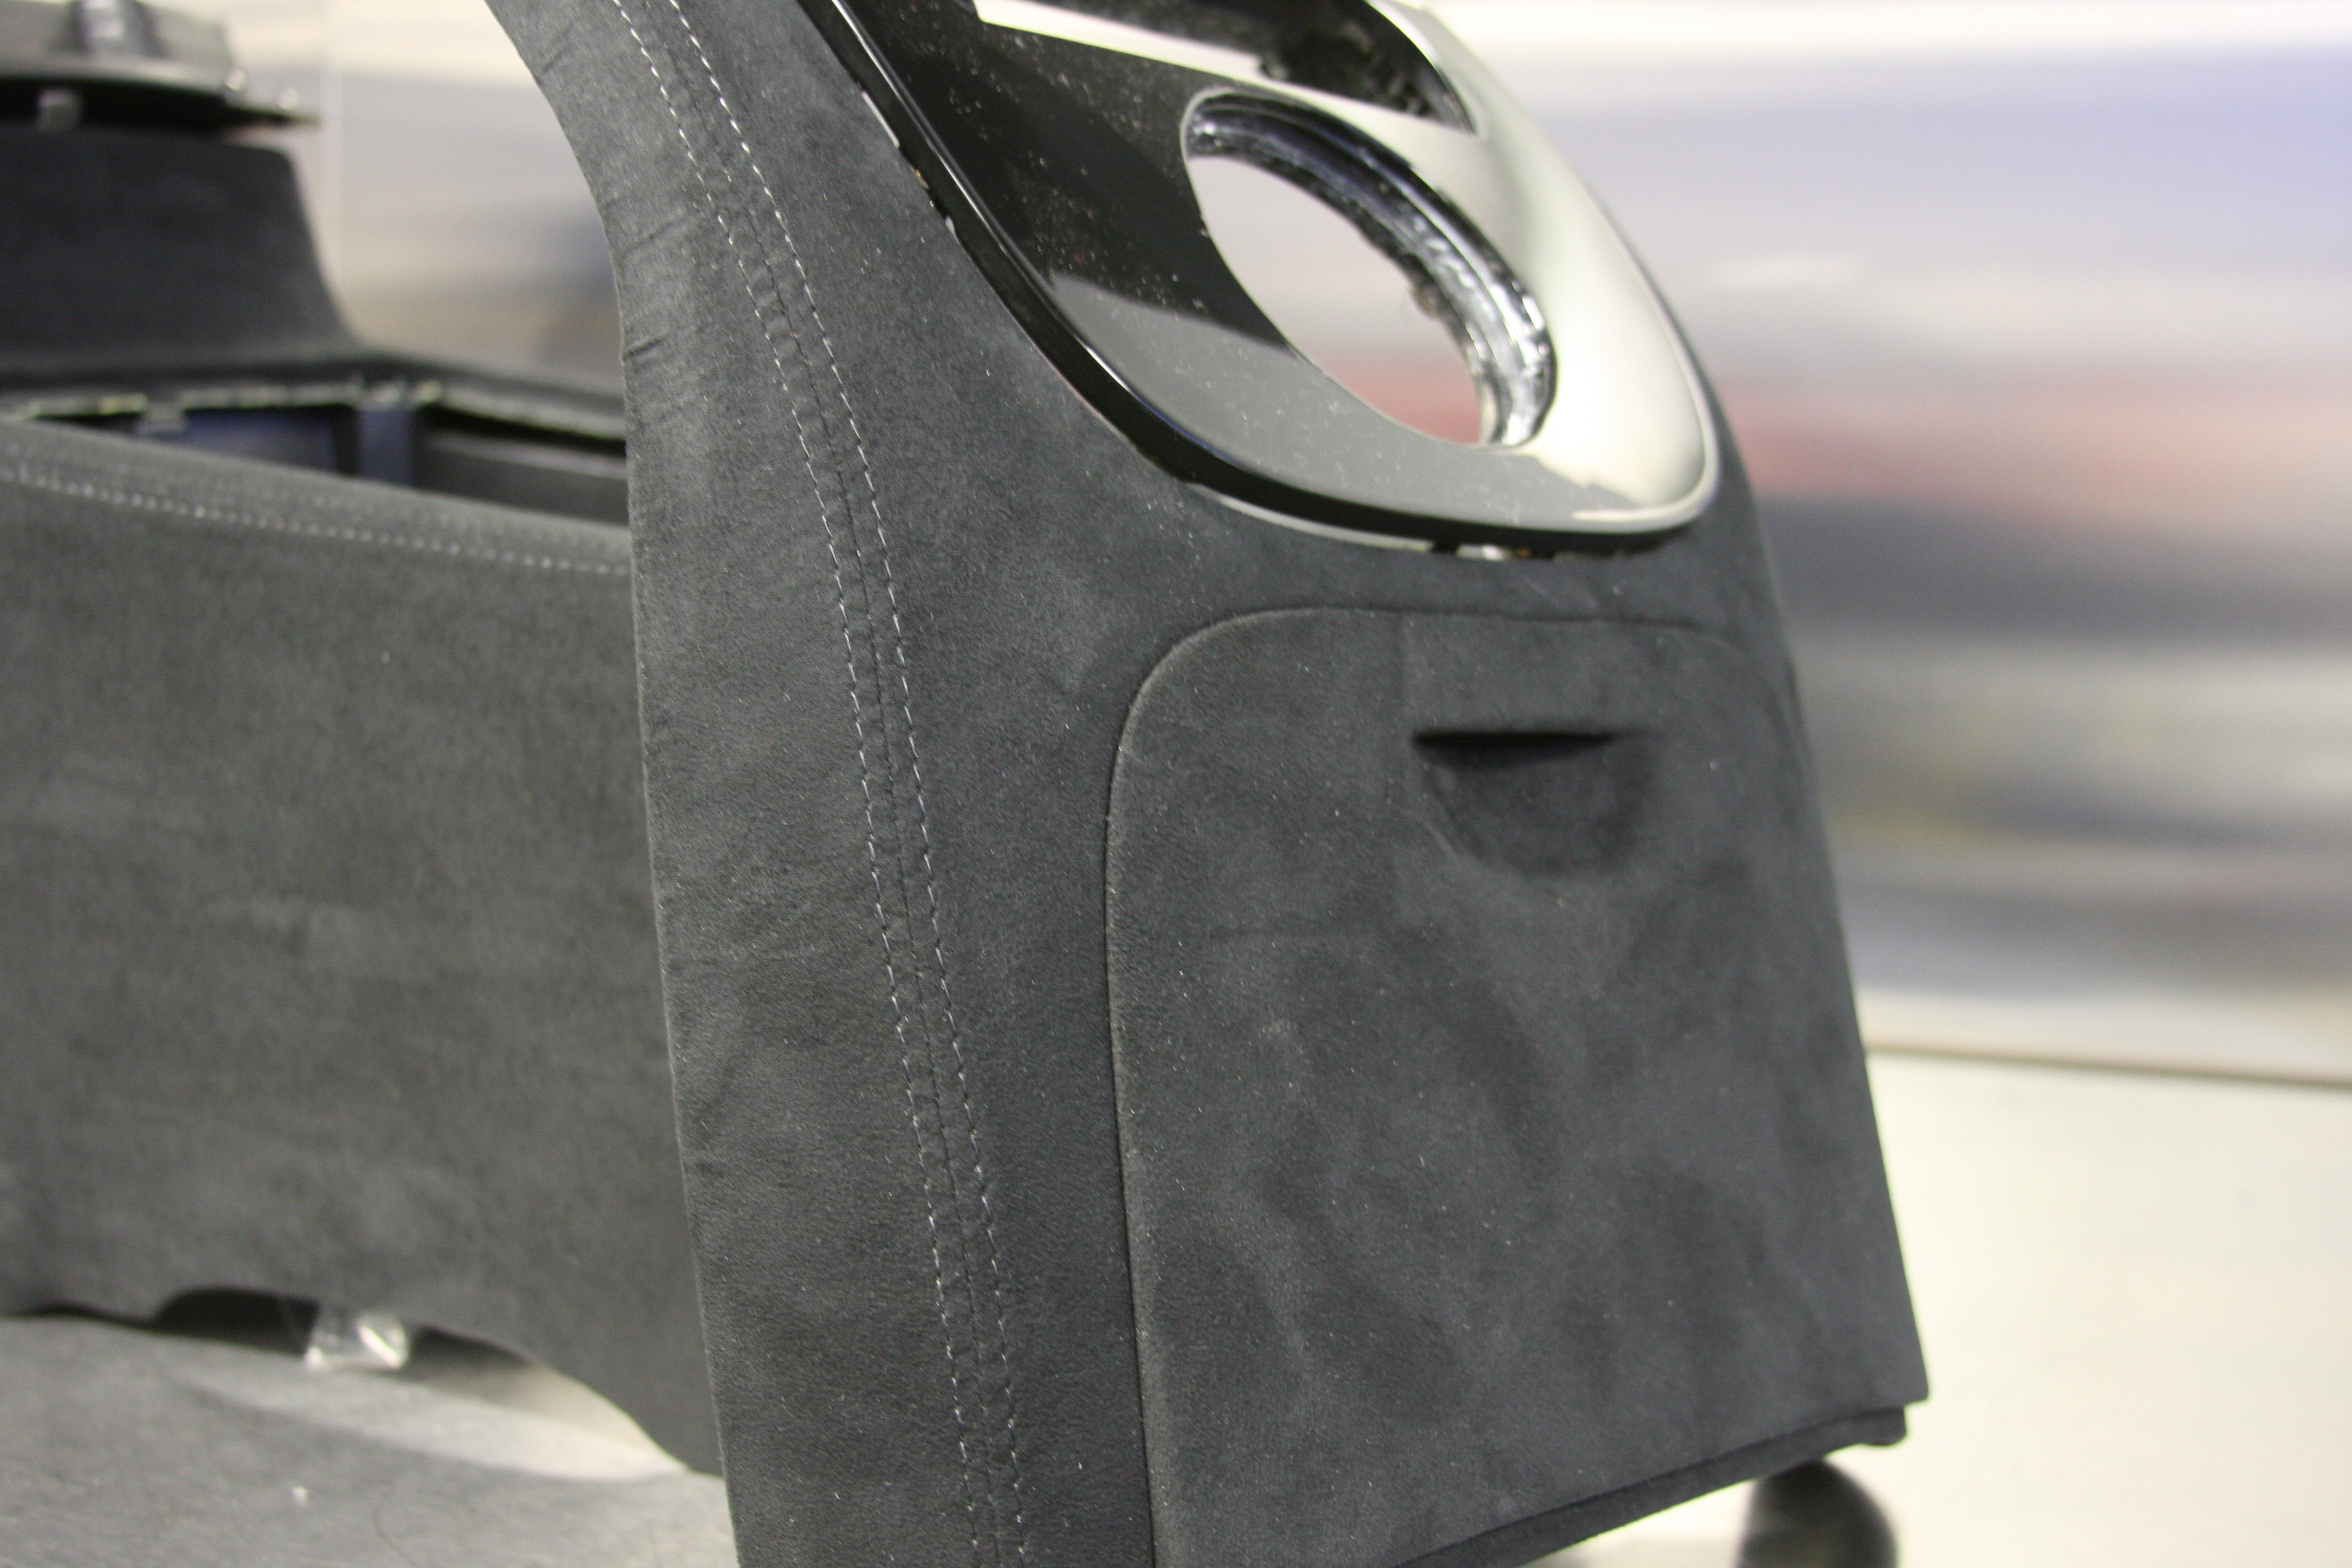
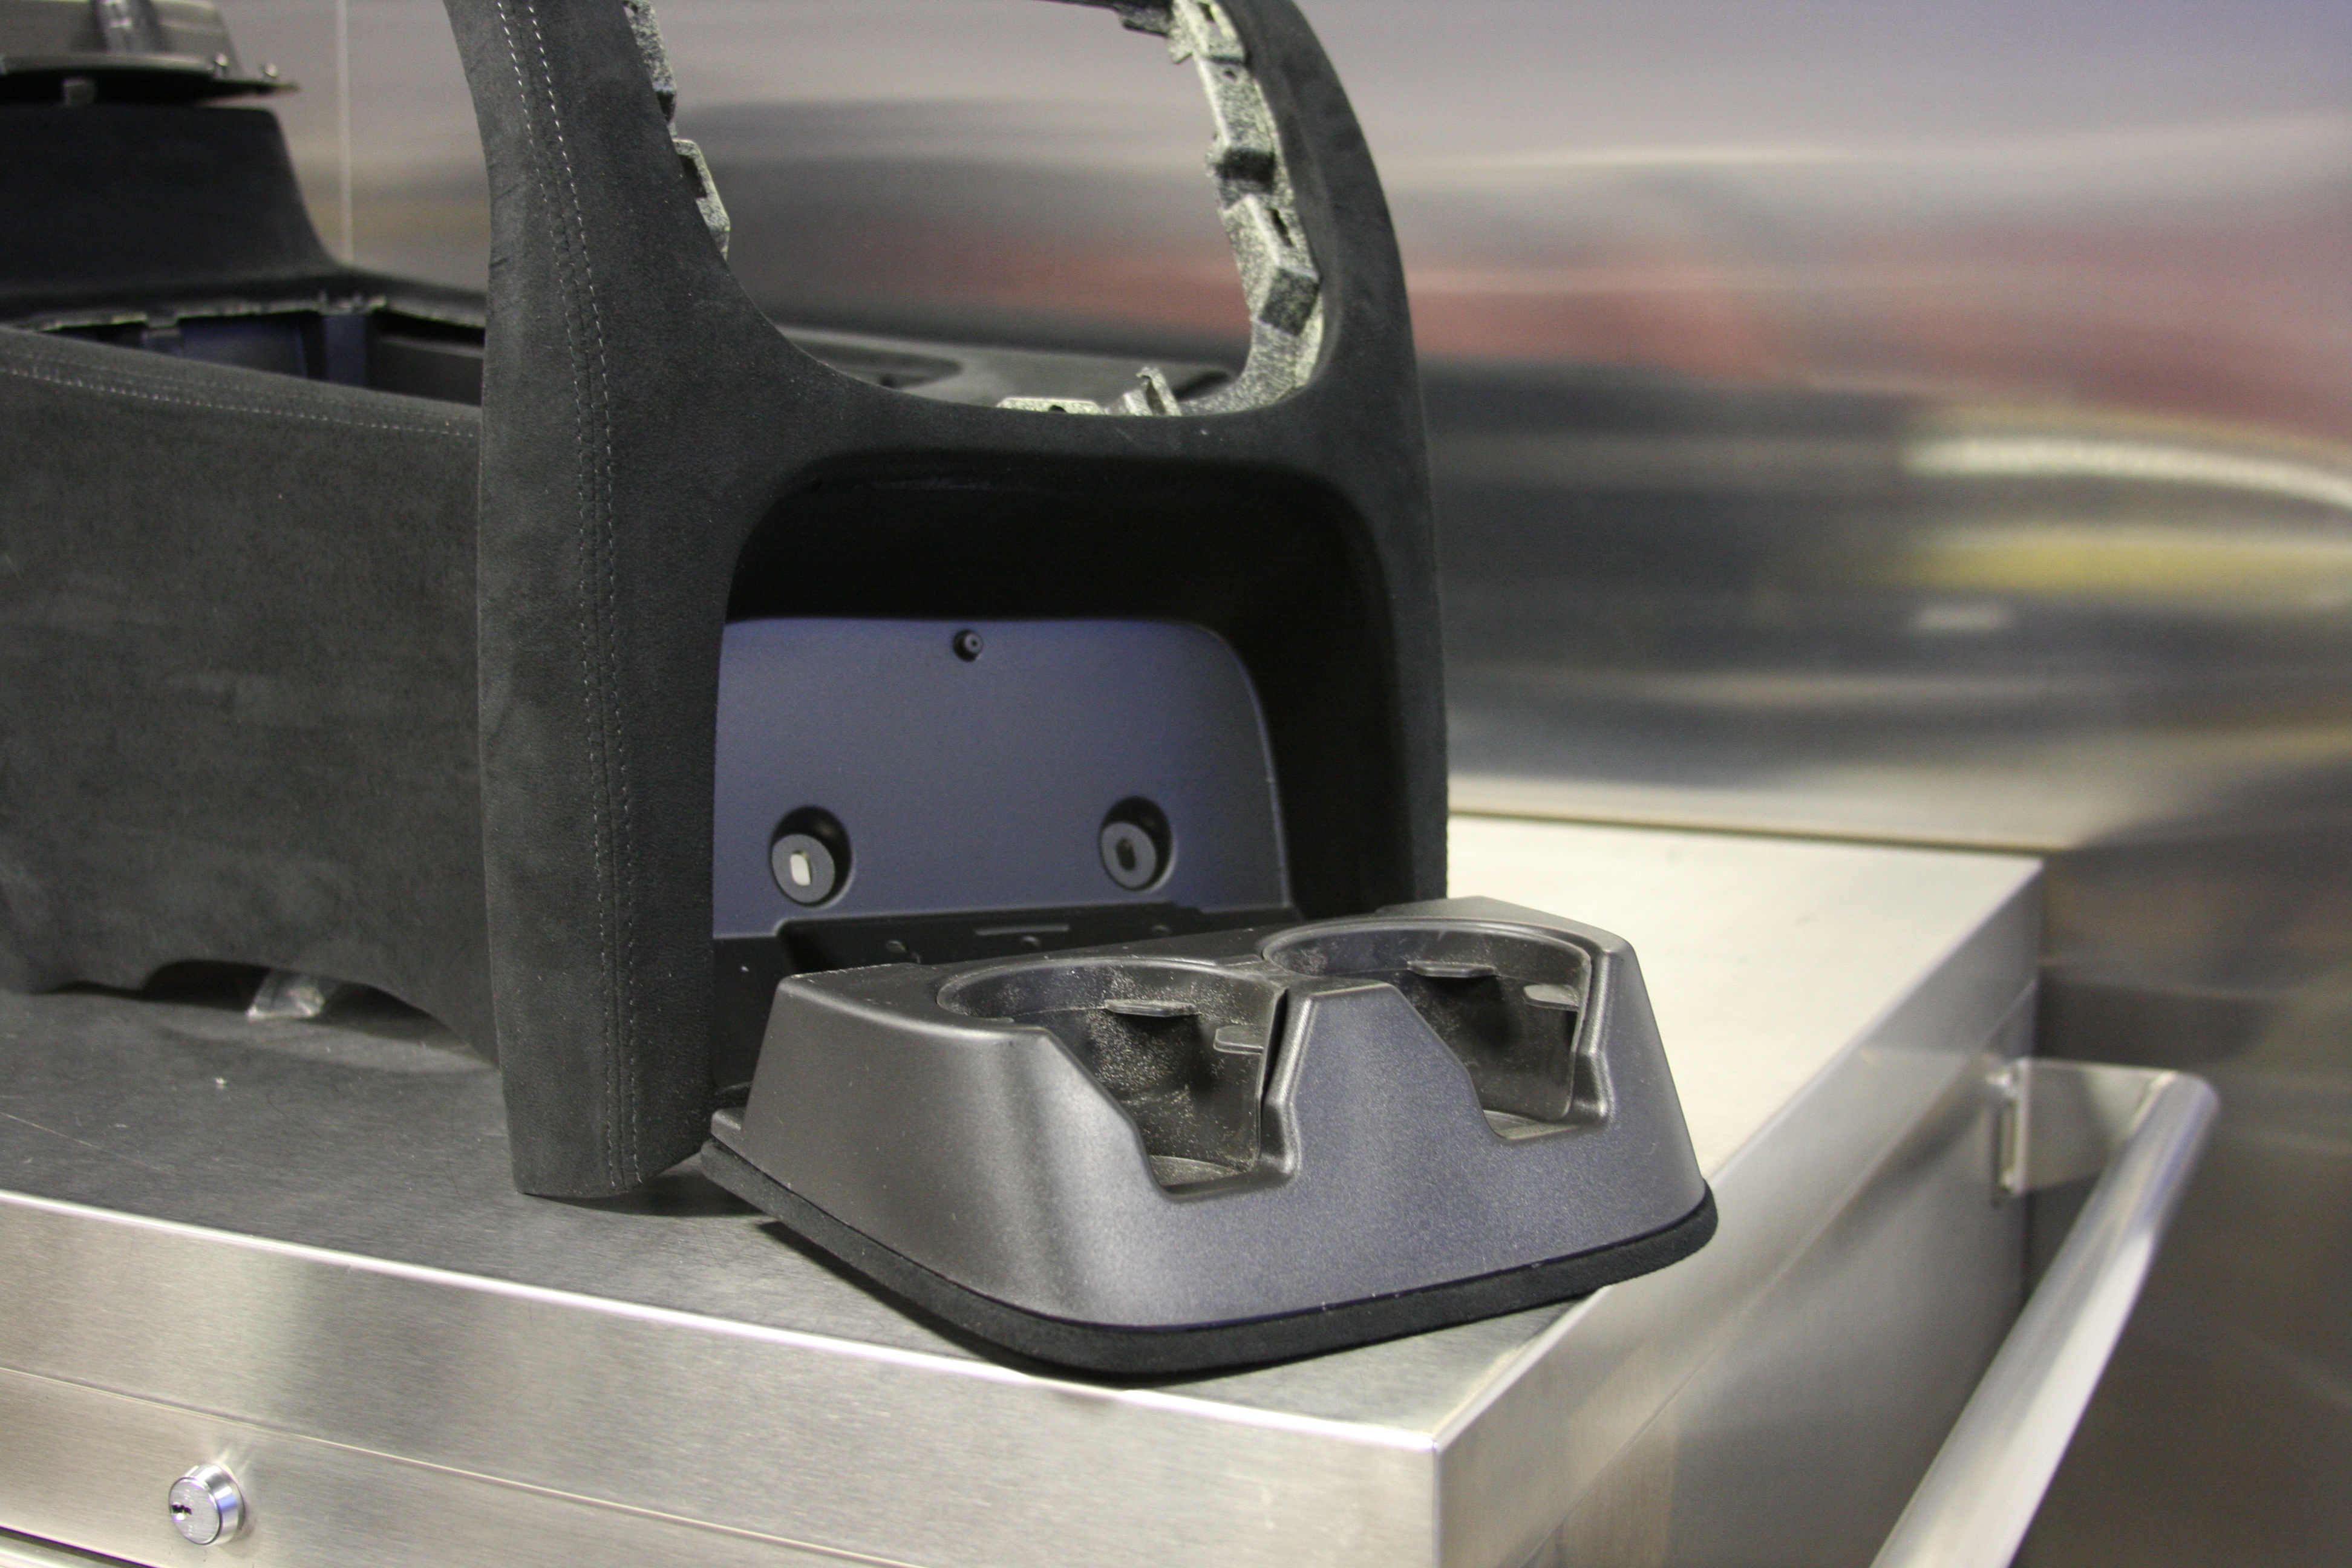
AFTER PIC OF LOWER PORTION OF CENTER CONSOLE IN SUEDE (TOP WILL BE IN NEW LEATHER)
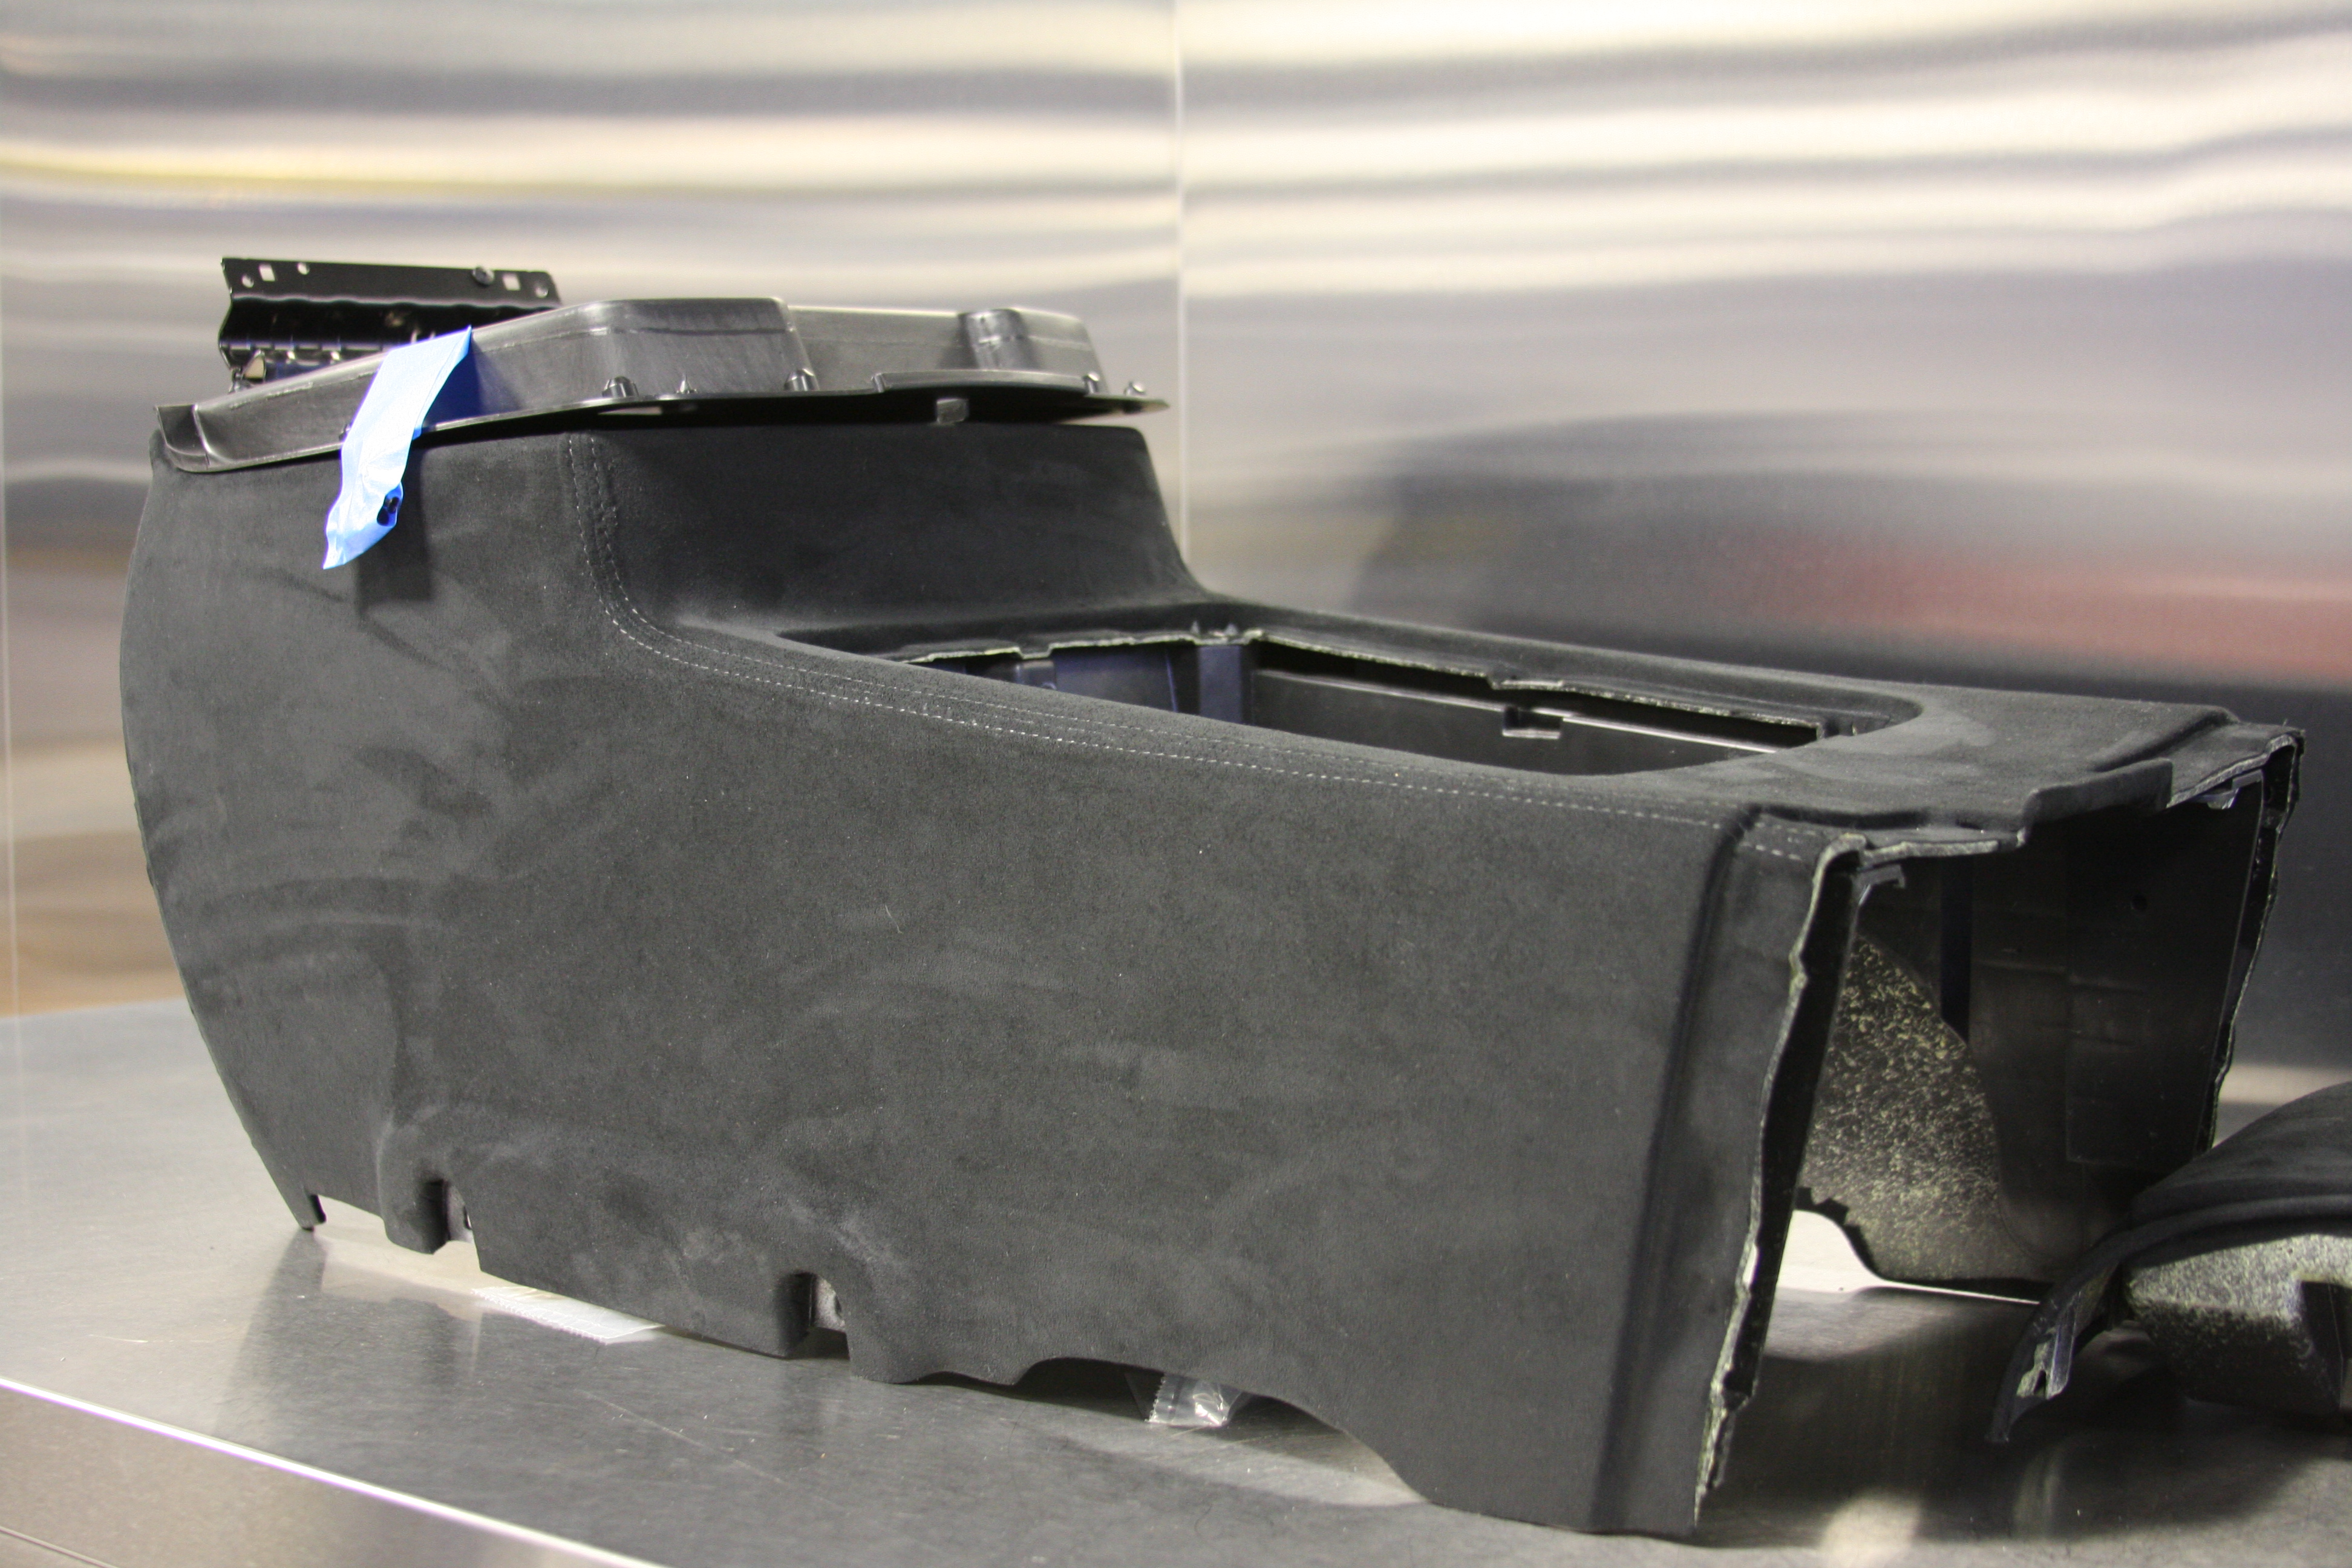
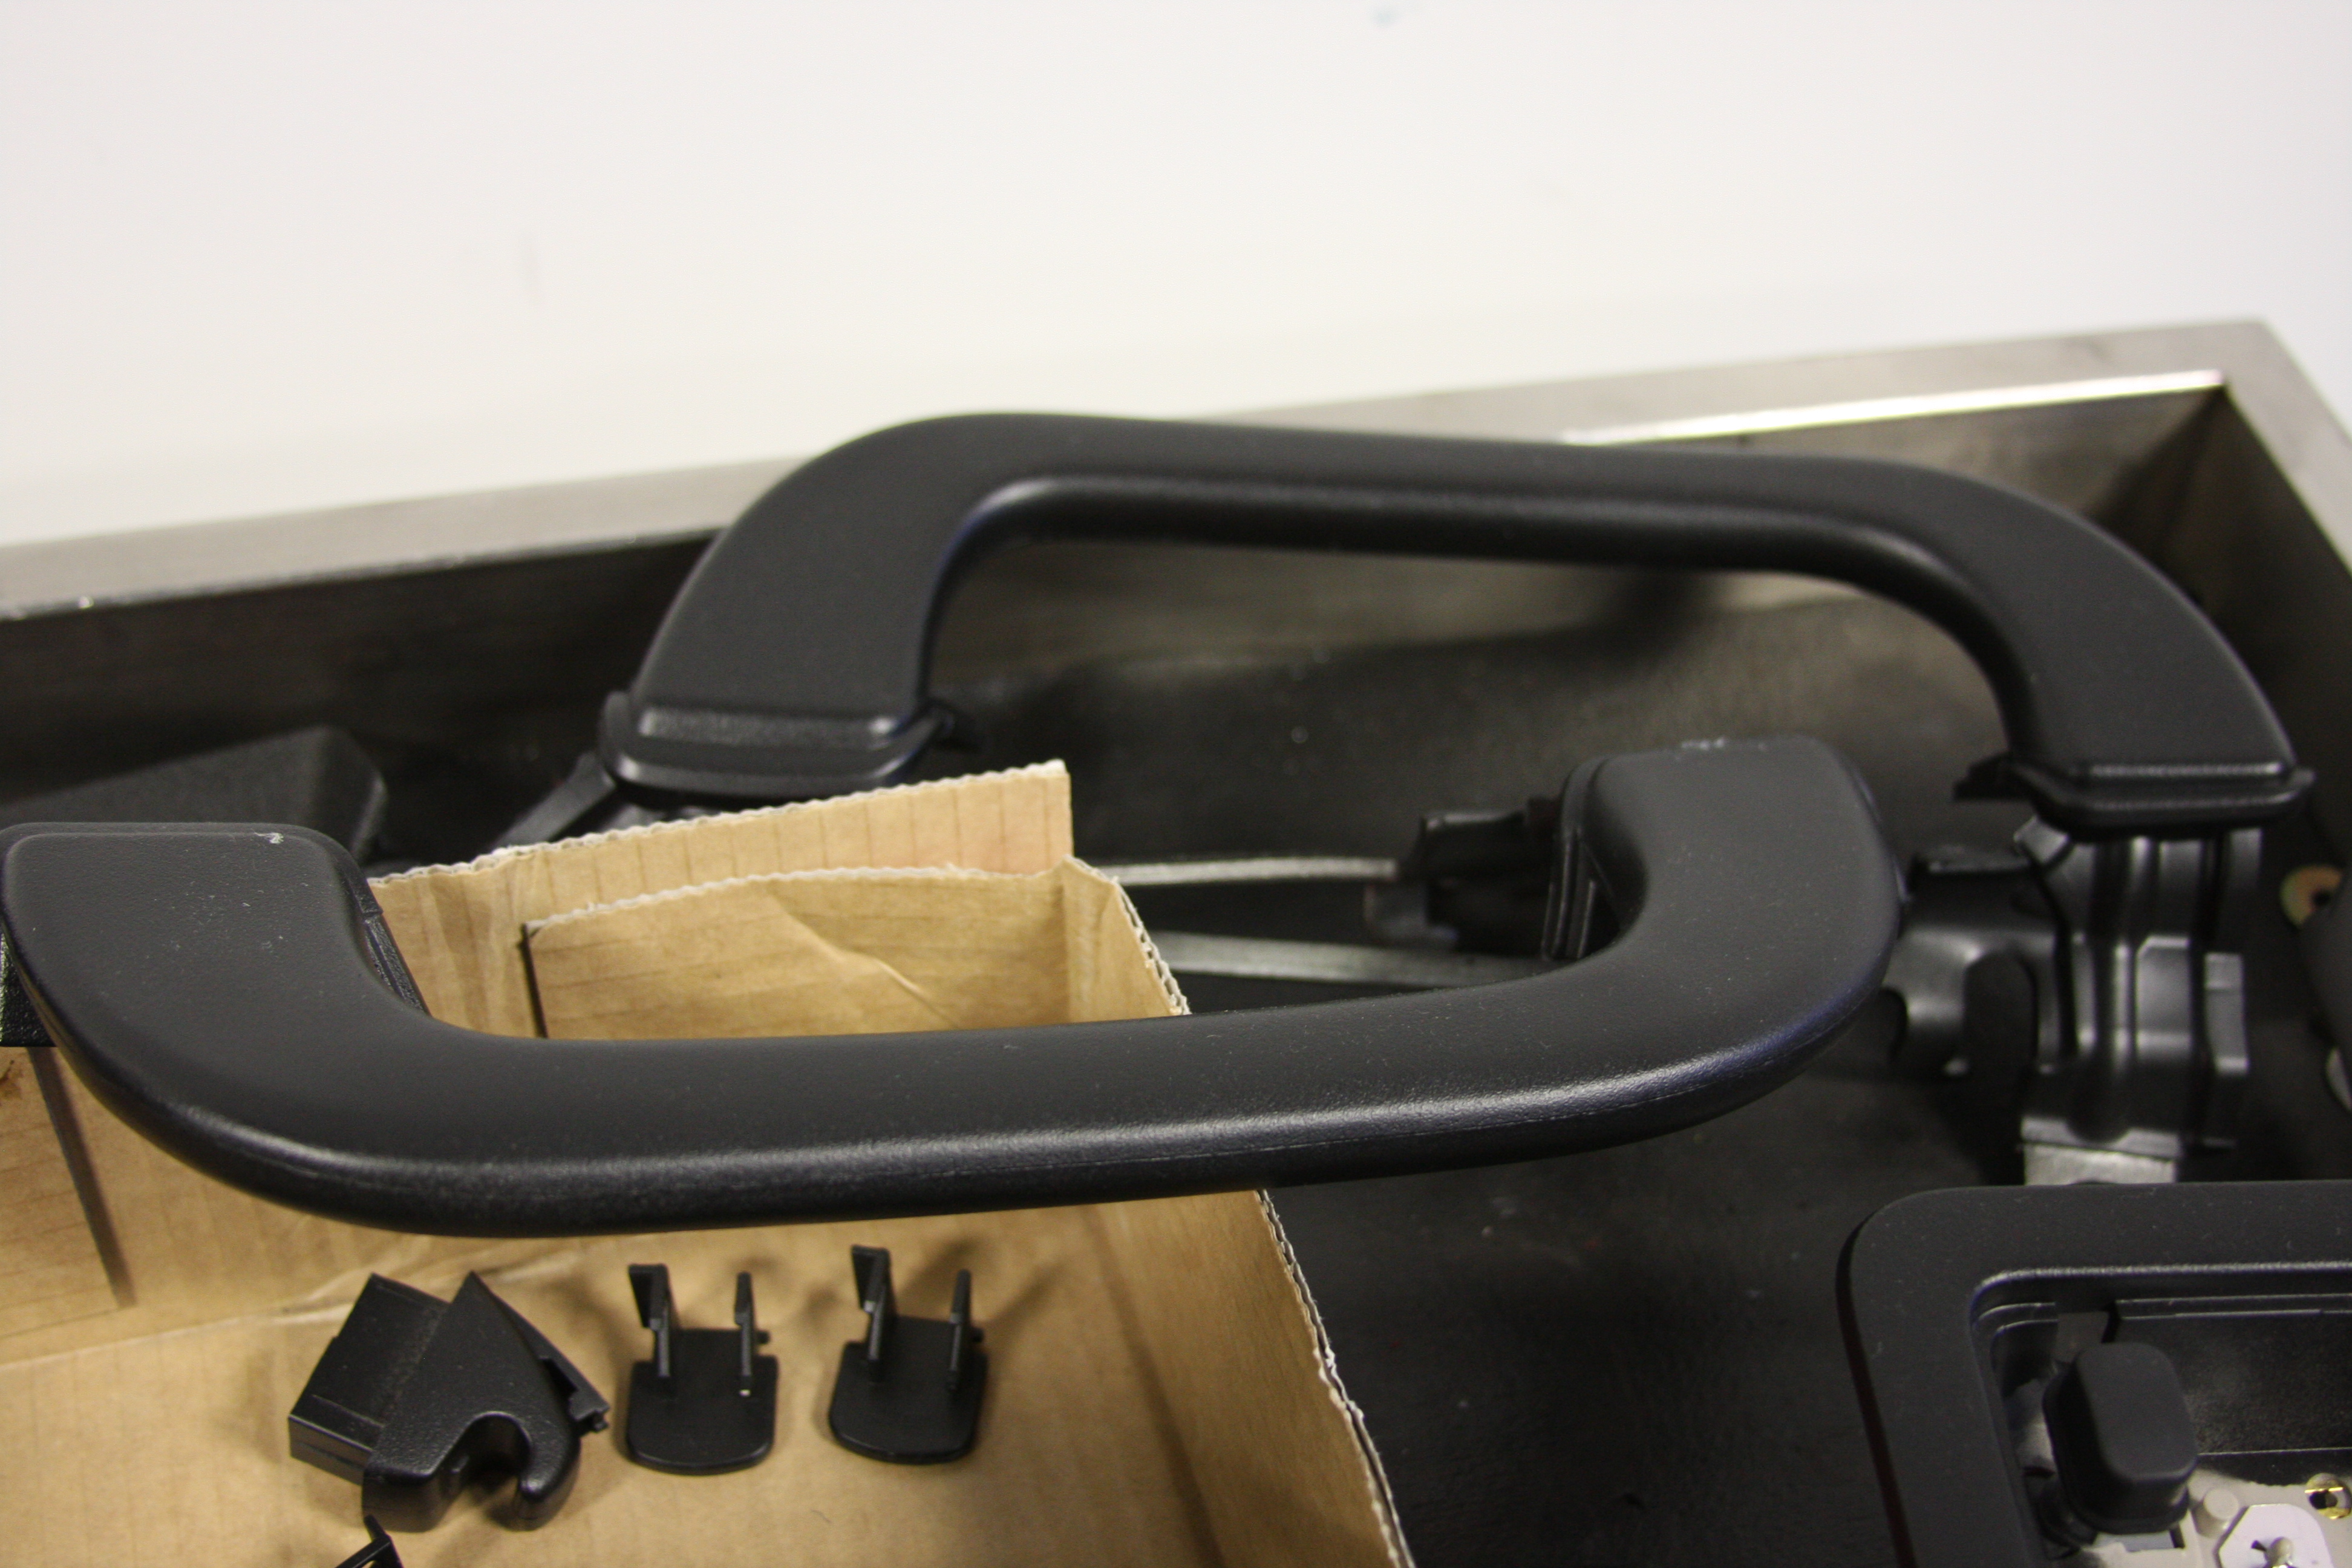
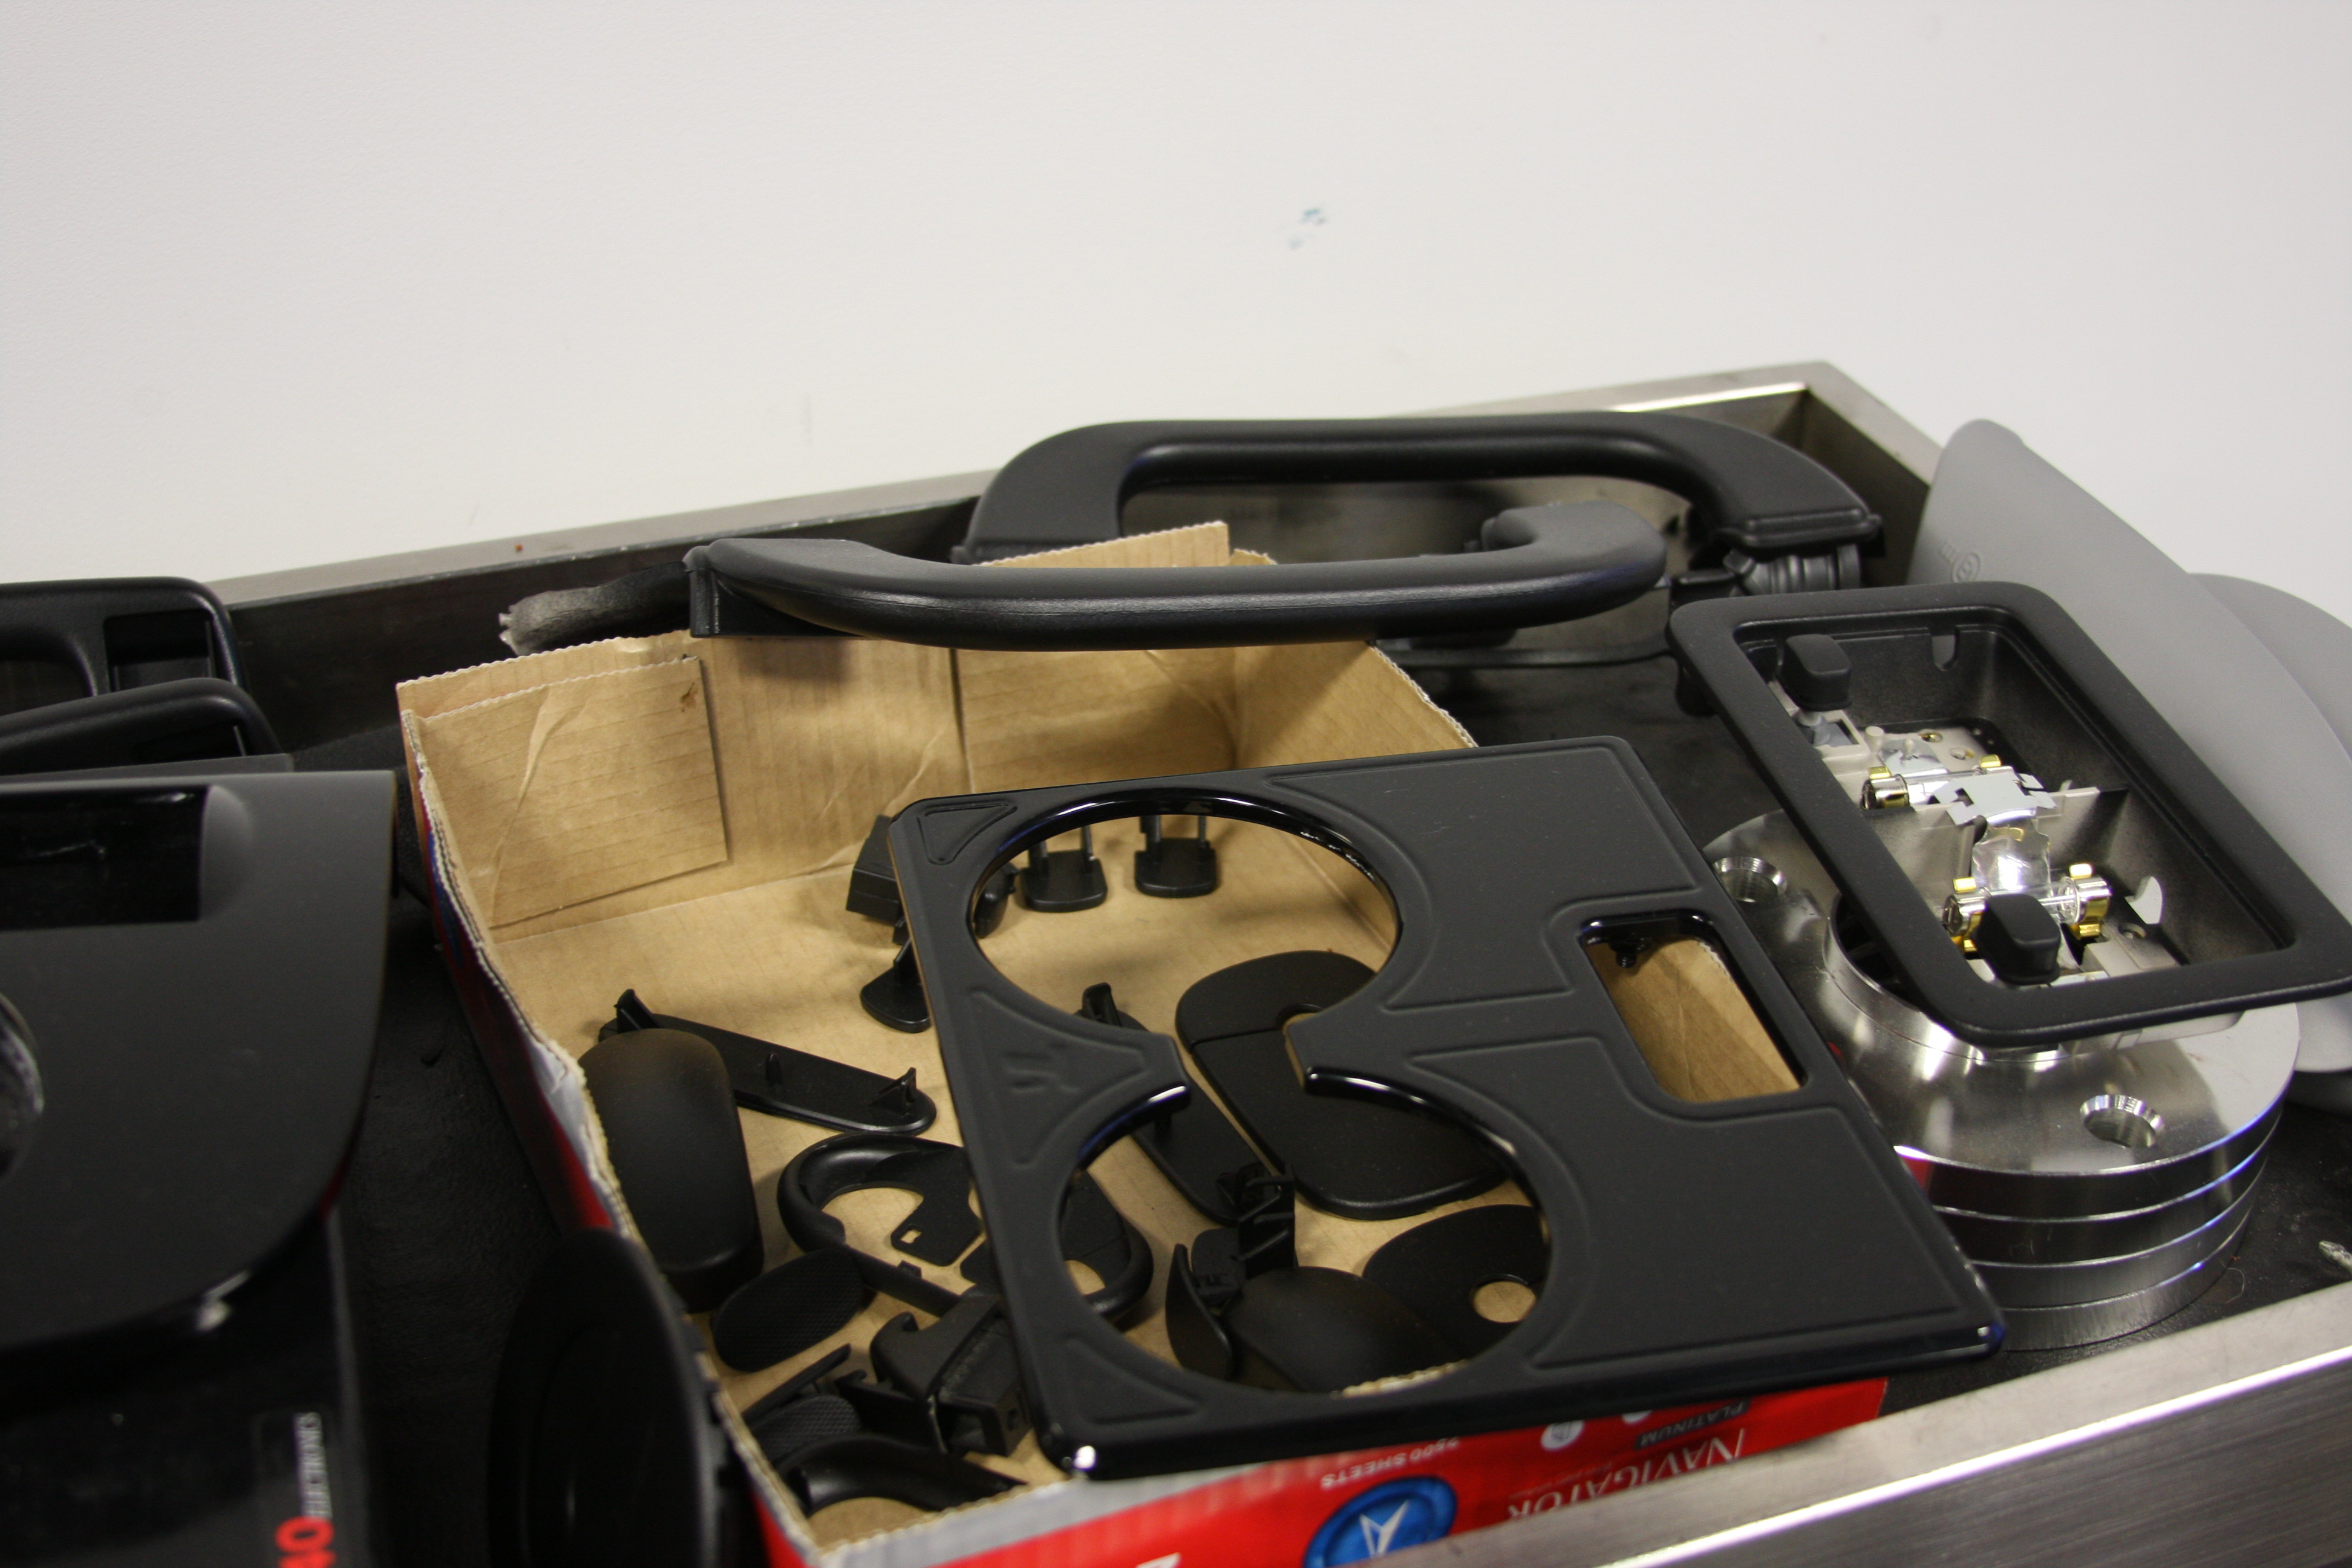
BEFORE PIC OF REAR PART OF CENTER CONSOLE
]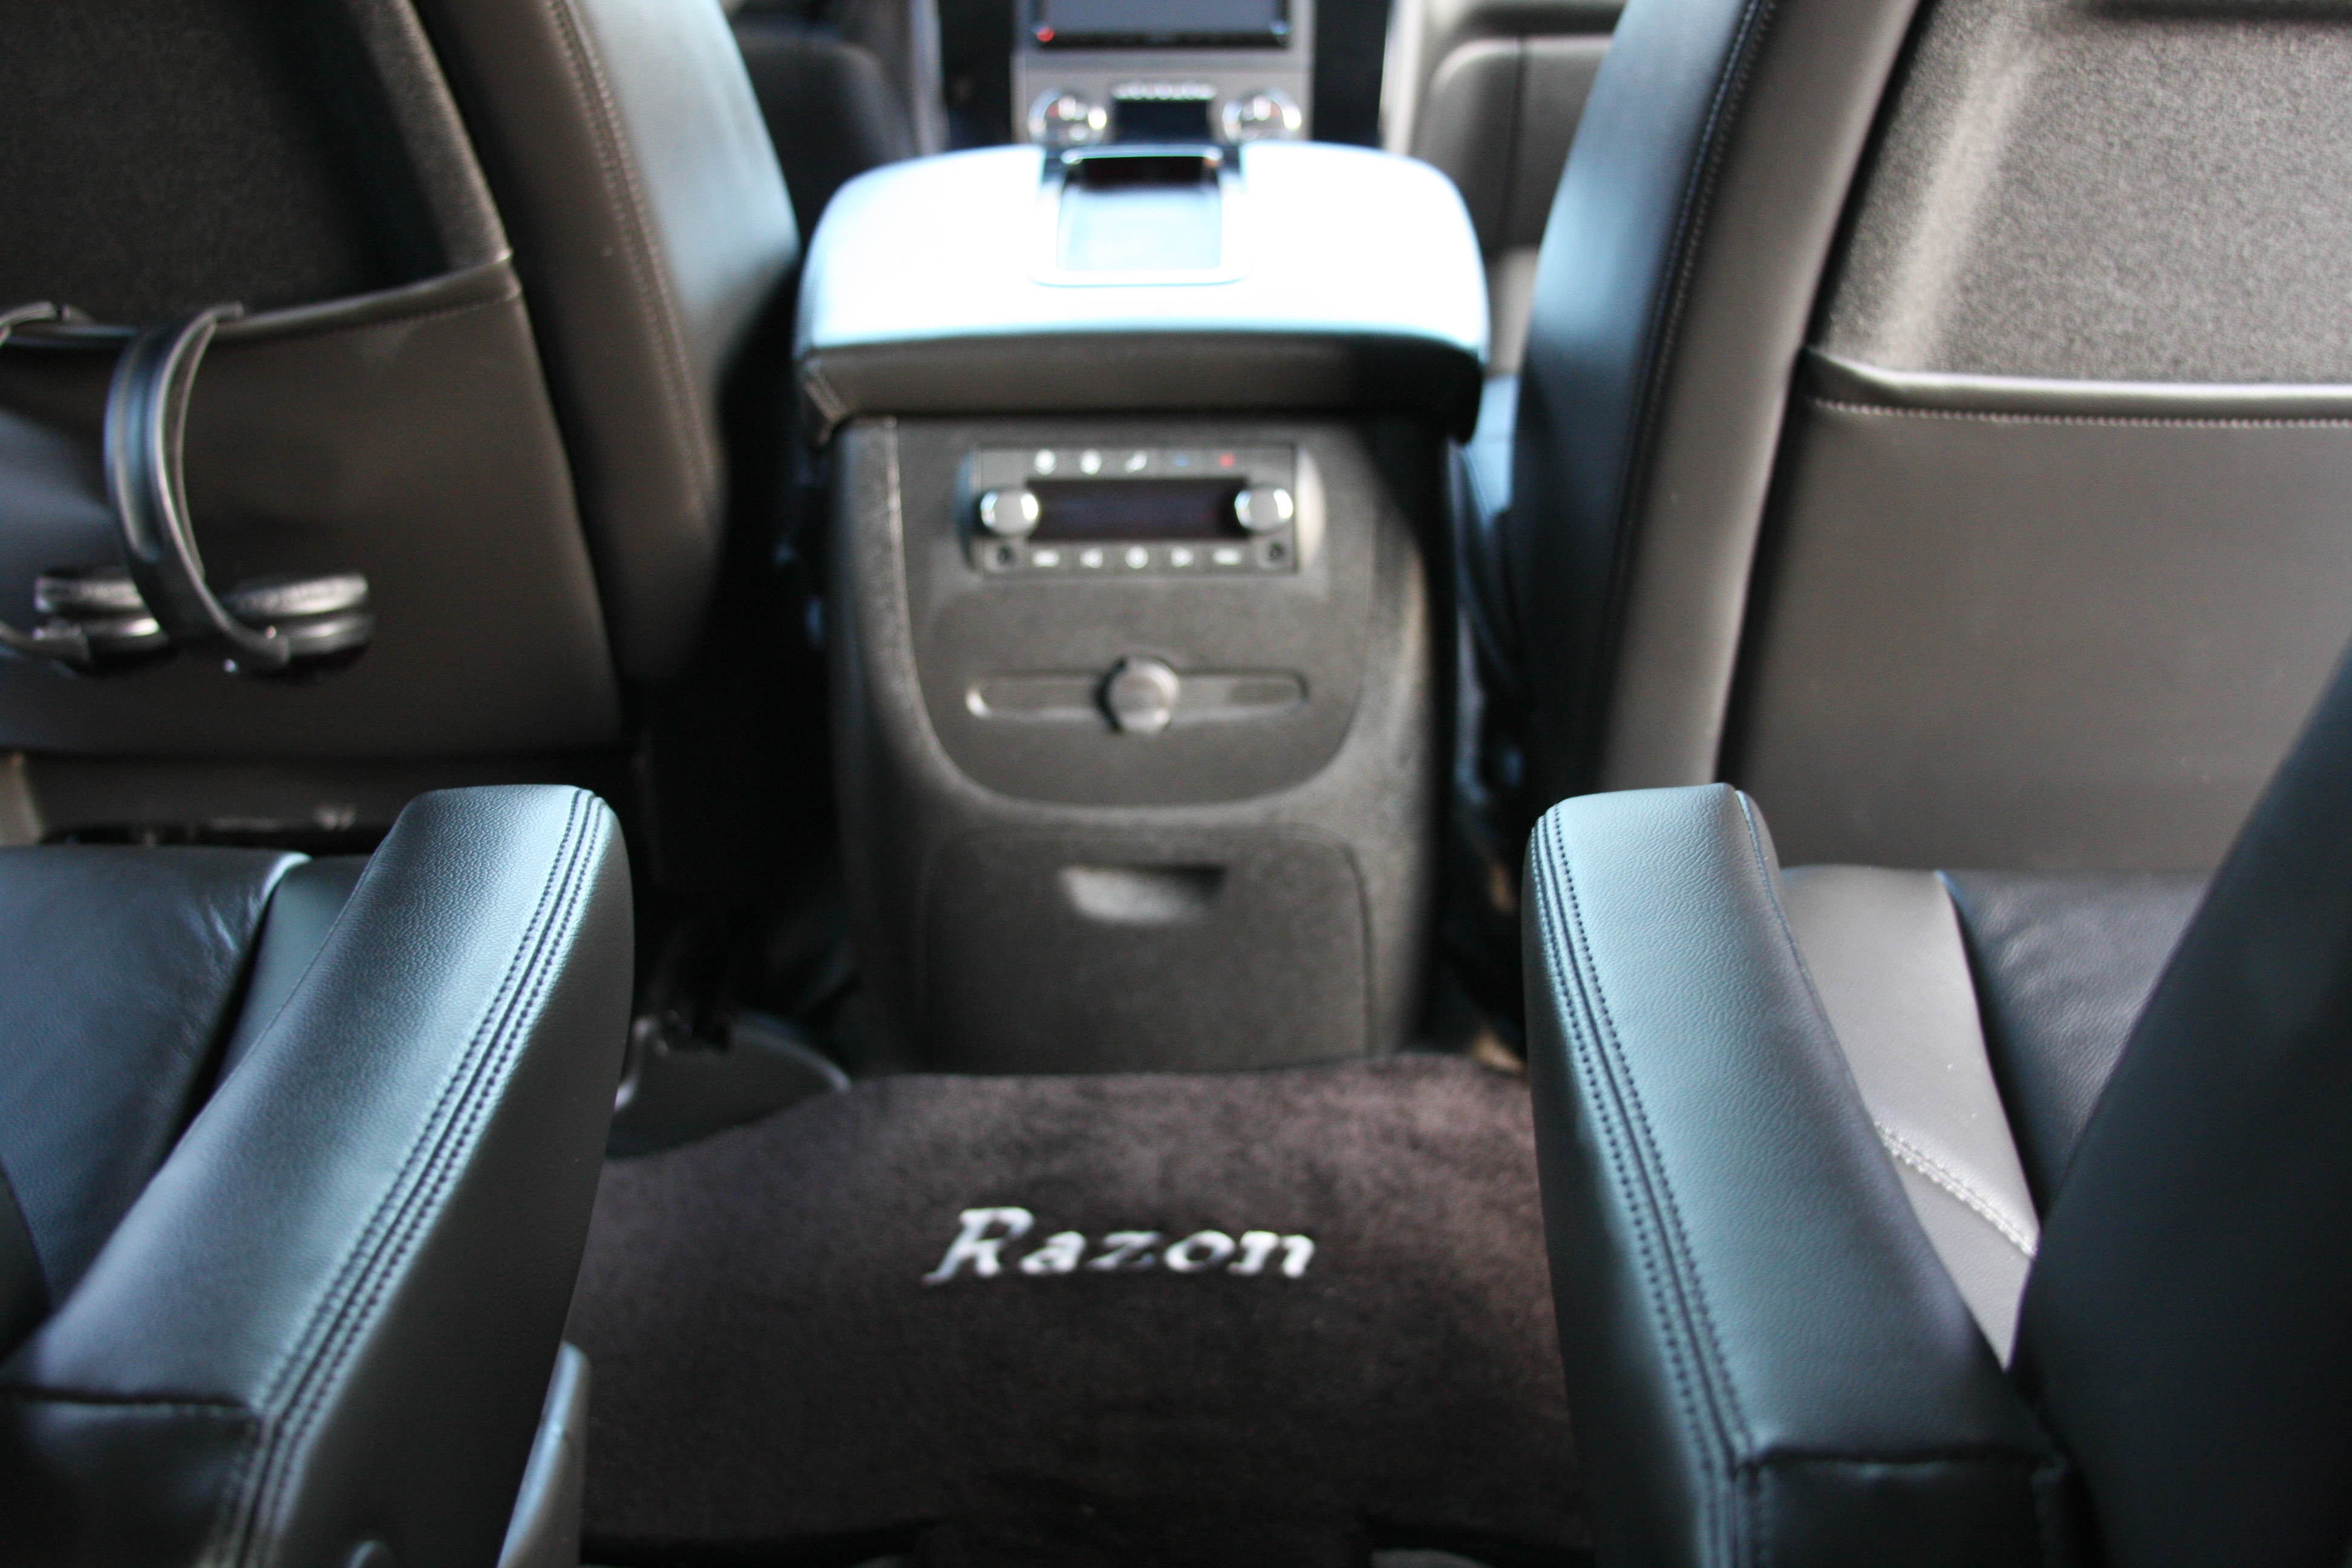
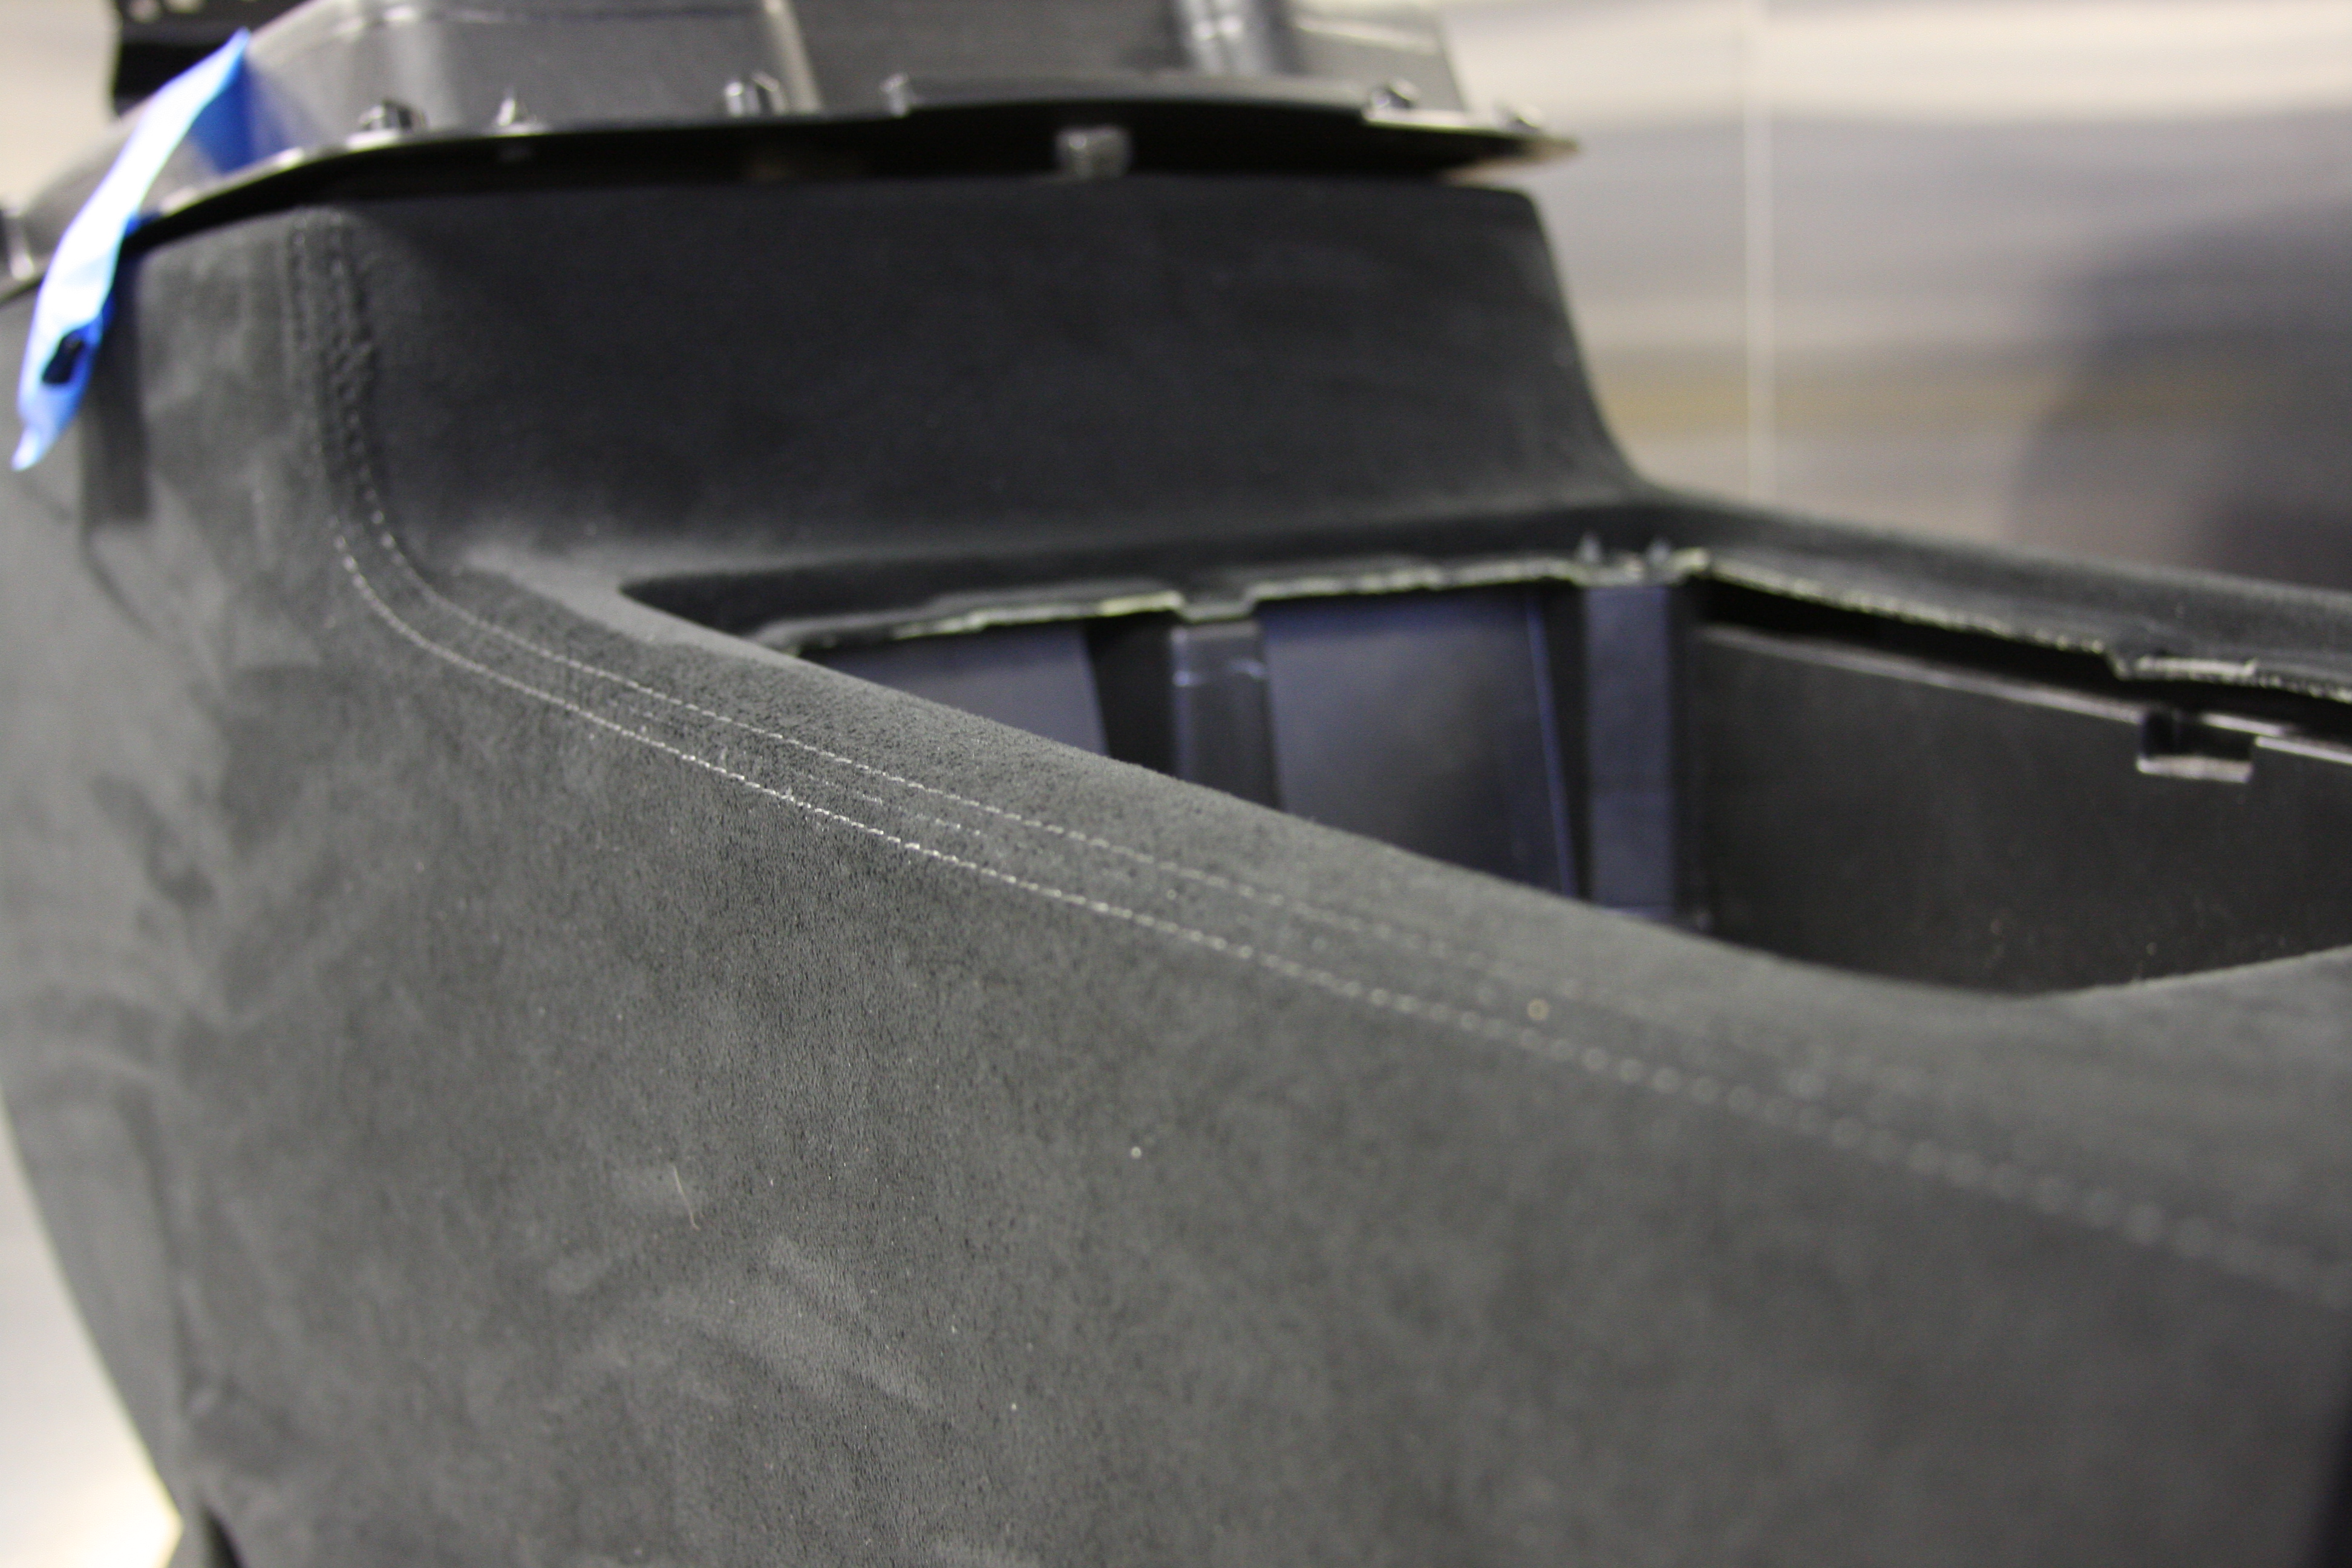
AFTER PIC OF REAR PART OF CENTER CONSOLE (THE TOP PART WITH THE AIR CONDITIONER CONTROLS WAS MODIFIED TO INCLUDE CENTER CHANNEL SPEAKER FOR REAR PASSENGERS)
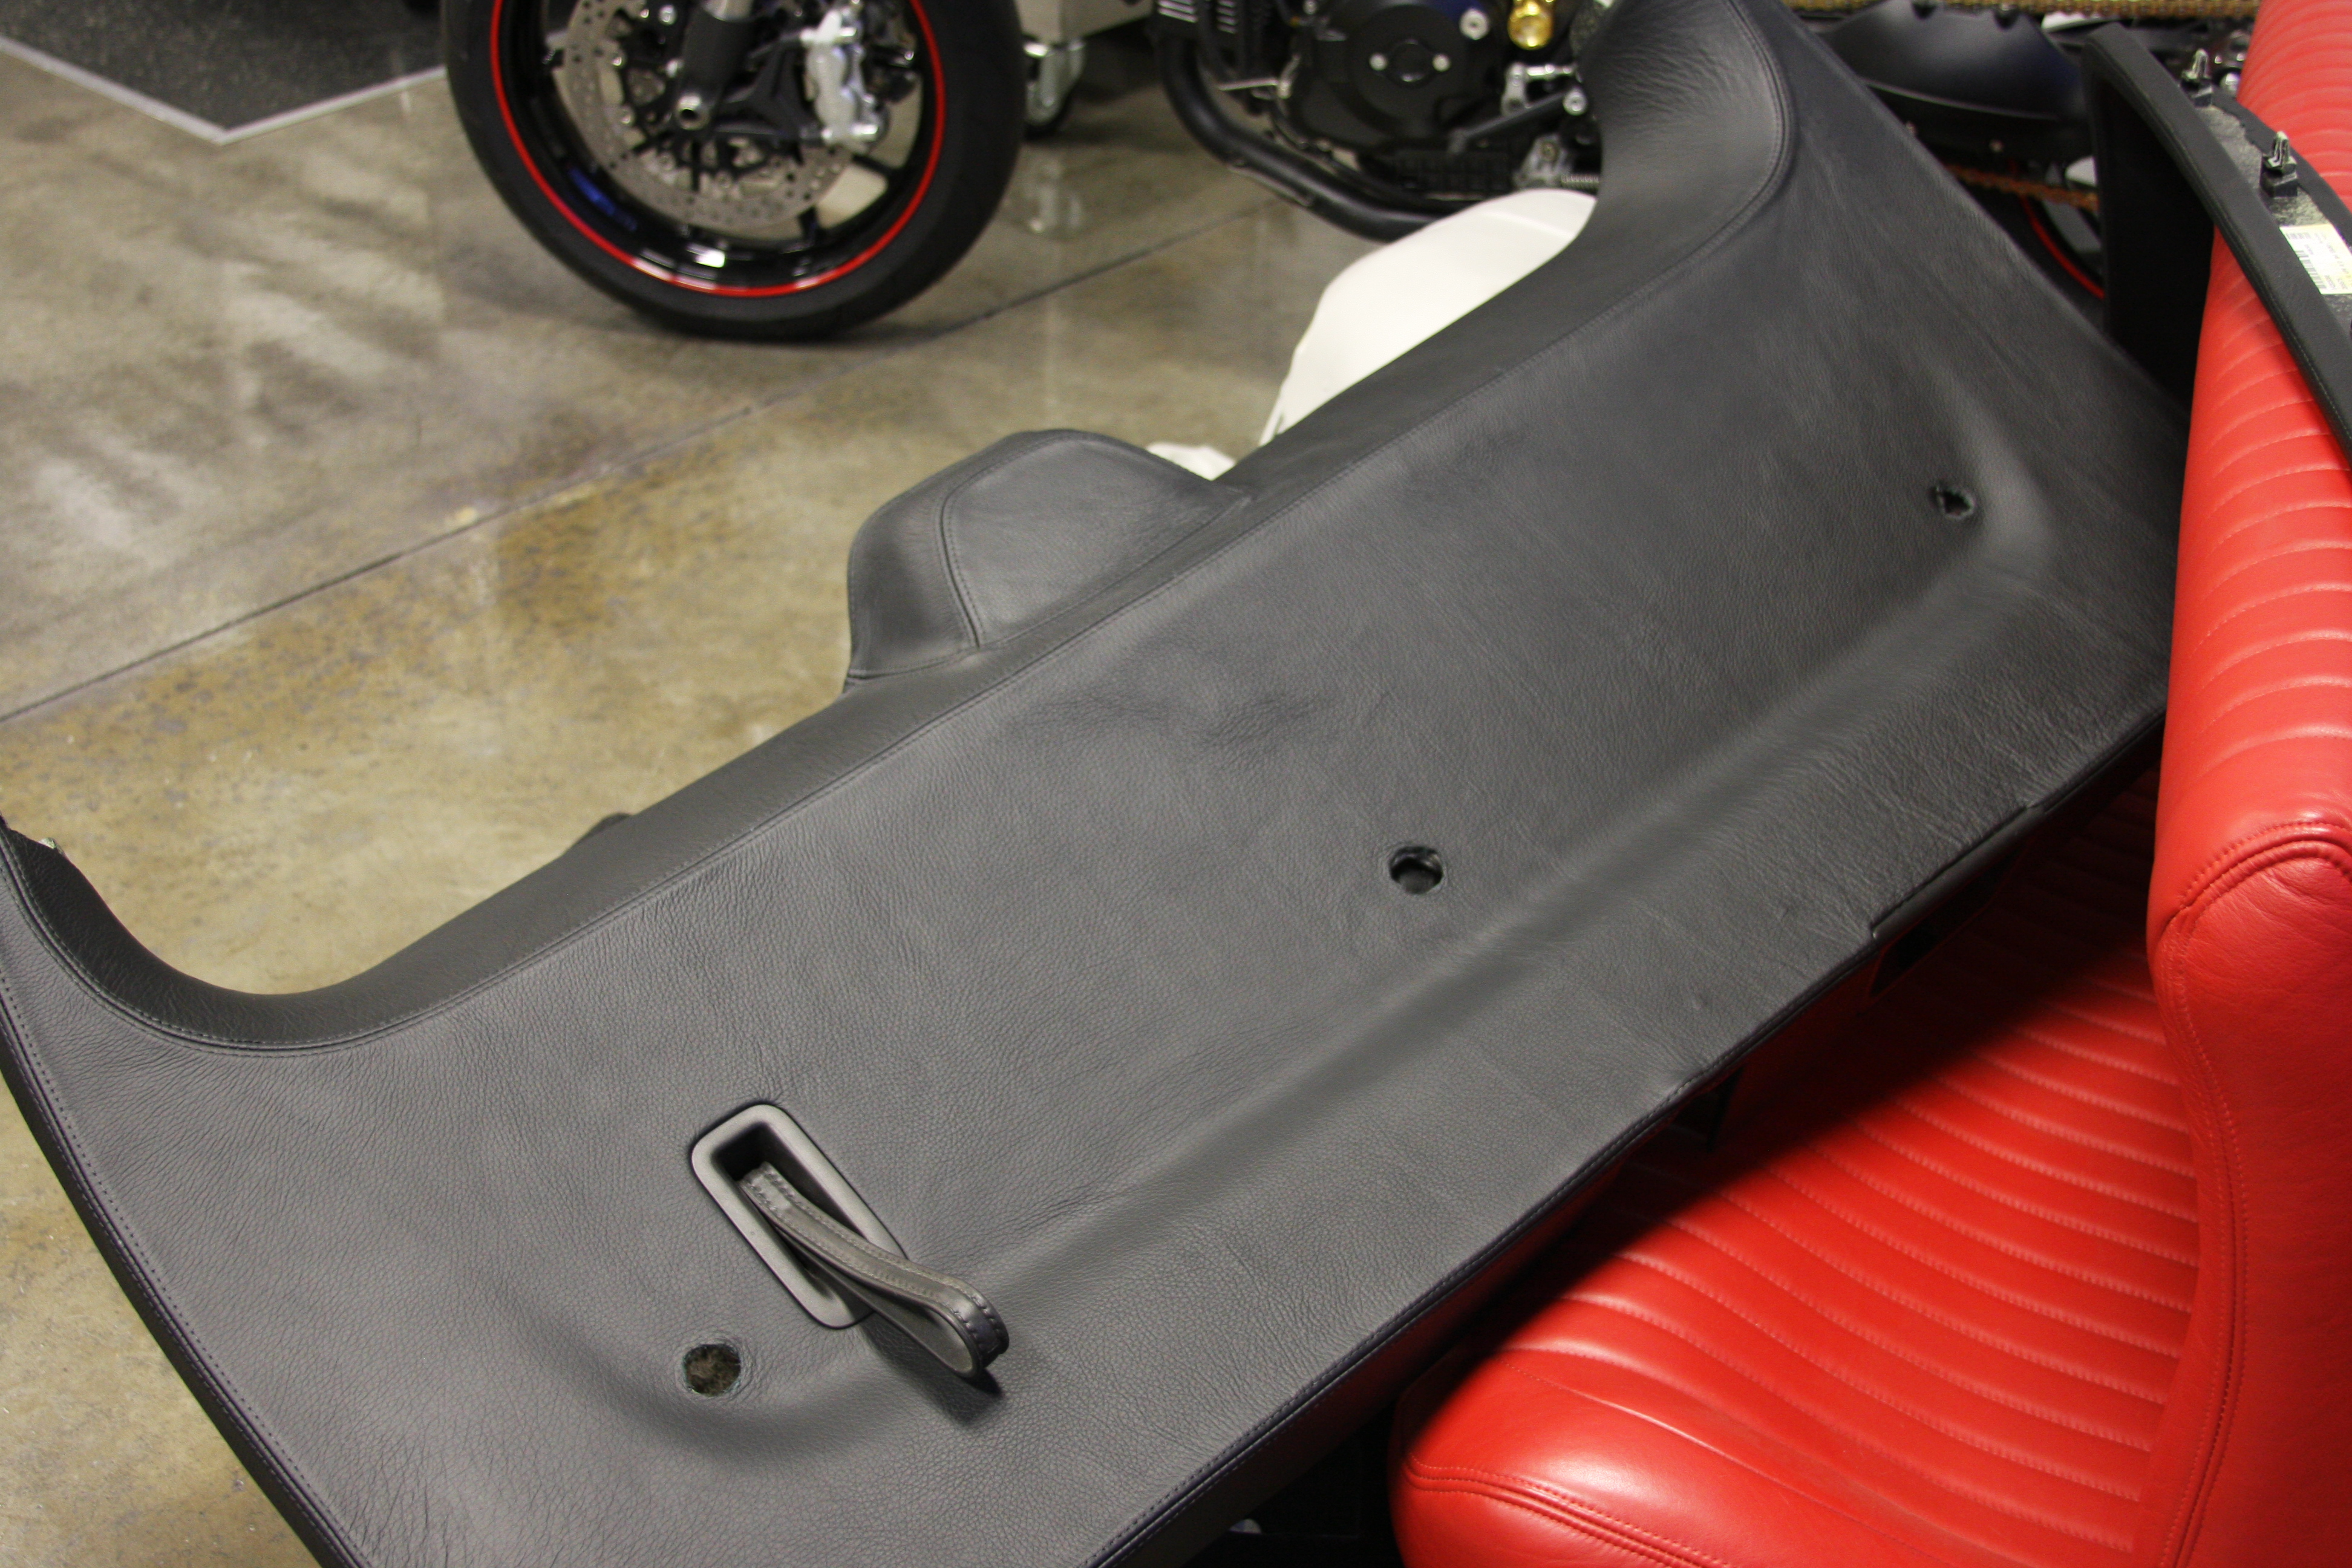
TAILGATE PANEL (NOW IN LEATHER AND OPENINGS FOR ADDITIONAL LED LIGHTS)
OTHER BITS OF HEADLINER AND INTERIOR DYED AND/OR PAINTED BLACK
The leather he is using is really soft which makes hard plastic = cheap feeling a thing of the past. The suede is a great improvement over the hard plastic, too.
BEFORE PIC OF CENTER CONSOLE
AFTER PIC OF LOWER PORTION OF CENTER CONSOLE IN SUEDE (TOP WILL BE IN NEW LEATHER)
BEFORE PIC OF REAR PART OF CENTER CONSOLE
]
AFTER PIC OF REAR PART OF CENTER CONSOLE (THE TOP PART WITH THE AIR CONDITIONER CONTROLS WAS MODIFIED TO INCLUDE CENTER CHANNEL SPEAKER FOR REAR PASSENGERS)
TAILGATE PANEL (NOW IN LEATHER AND OPENINGS FOR ADDITIONAL LED LIGHTS)

OTHER BITS OF HEADLINER AND INTERIOR DYED AND/OR PAINTED BLACK