Rear Module Heat/AC Install 2007 Tahoe
#1
I recently bought a 2007 Tahoe LT and found that the rear heat/ac modules buttons were not lighting up at night. After some research I found that this was not right. I purchased a new unit from eBay for $90. Below I did my best to capture what I did.
The rear module and entertainment controls are held in by 4 clips.
In image 1 I put a red arrow on where I started. I carefully put a flat head screwdriver in between the black plastic and the gray plastic. I then carfully pried up the black plastic. Do this slow and carefully as you don't want to mess up the plastic. Once I had enough room I put my finger in and continued to move up the side. One clip will loosen then the top one will. Repeat this for the other side. Be careful when sliding finger. The plastic can be sharp at the right angles.
In the next image you can see the clips. Next, there are two wire harnesses going into the back of the unit. Pull up on the blue locking tab until it stops. Then there is a tab on the plug of the harness, squeeze this in and wiggle the plug out. Repeat this on the other side. In the last image I have a pointer to the tabs I am talking about.
Next, unscrew the 4 screws holding in the unit. Once they are out you can add your new unit in the reverse of how you took it out.
Replug in the harnesses and from here I turned on car and checked to make sure the unit works. You'll have to turn lights on. Once it is verified that it works, line up the clips and push firmly until they snap into place.
Hope this helps out anyone needing to replace this unit. It literally took me 15 minutes and I was not 100% positive that the clips were holding everything in.
This is probably a 15-30 minute job.
Brian
#4

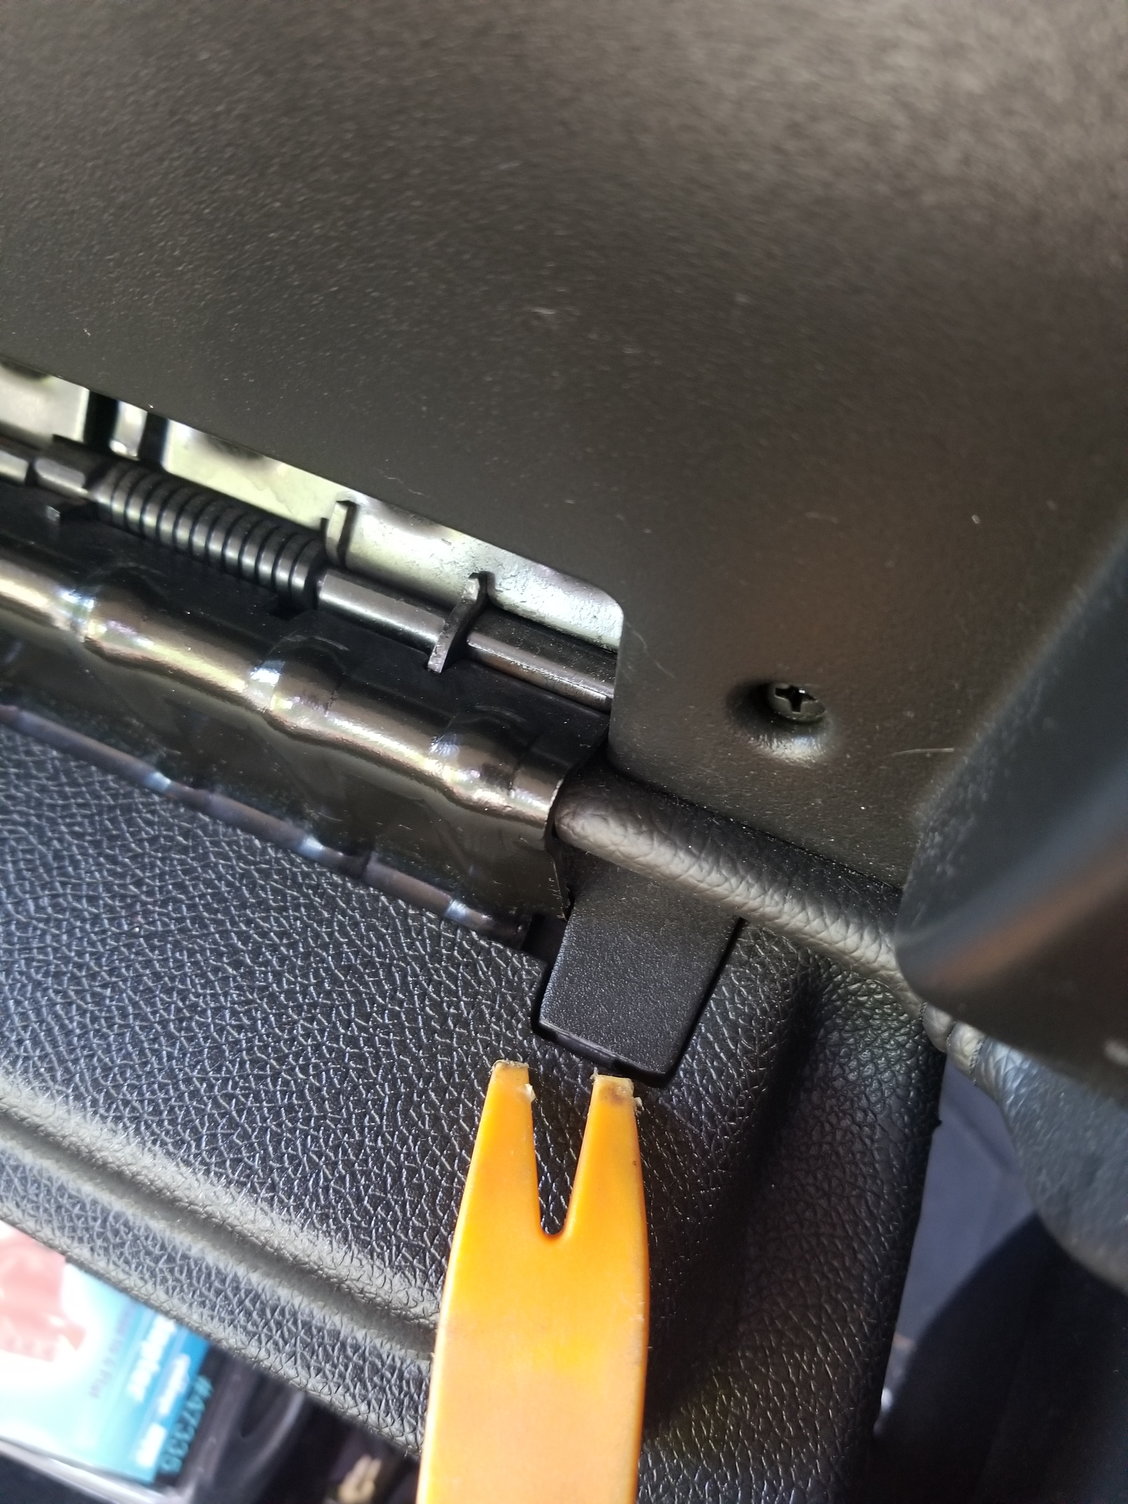
Put straight back here and on the other side and it will come off without ruining the plastic
Thread
Thread Starter
Forum
Replies
Last Post
Typerod
Tahoe & Suburban
4
February 16th, 2018 3:34 PM


 and glad it worked out for you.

